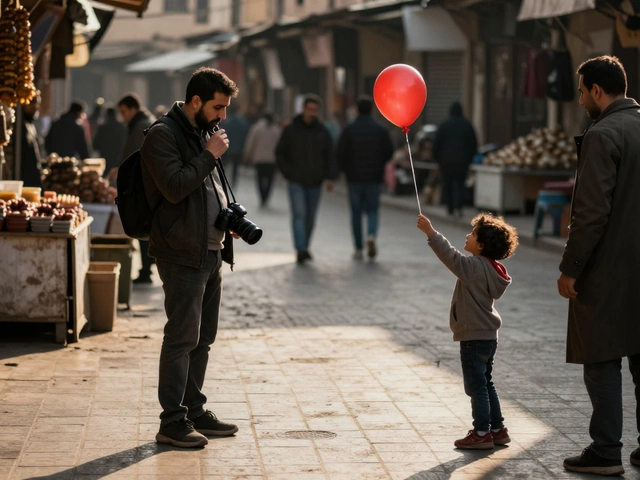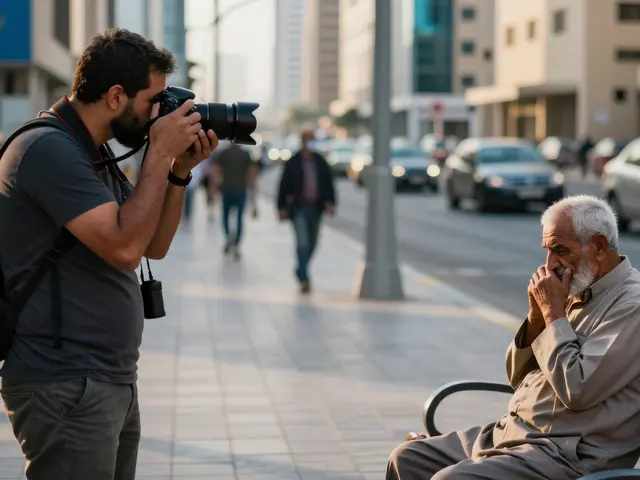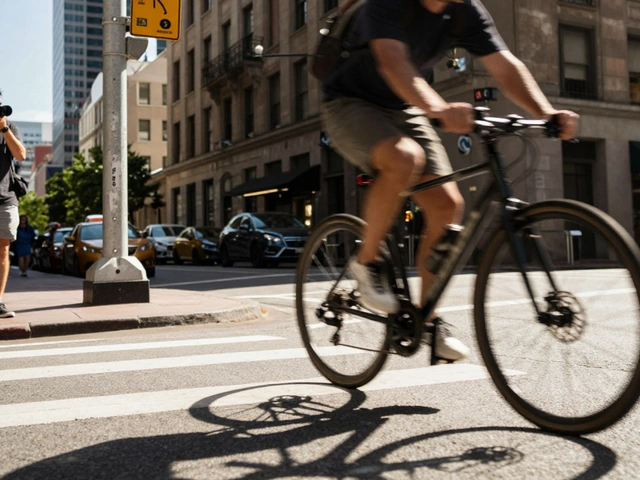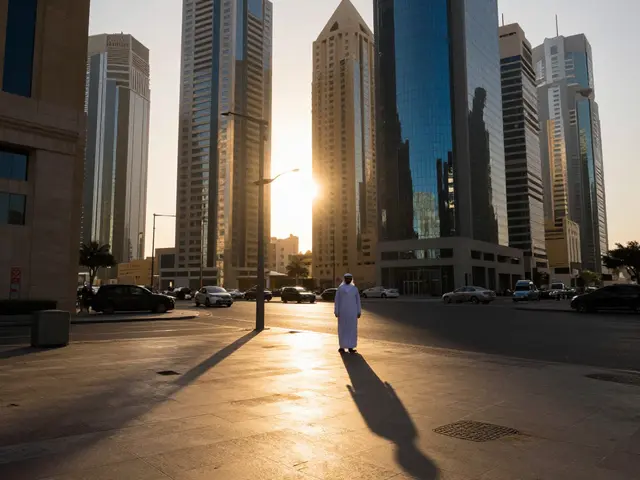
Walk down any city street at noon, and you’ll likely see harsh, flat light that flattens faces and washes out details. Now, wait until the sun dips lower or a cloud rolls in, and suddenly the scene transforms. Deep shadows carve out shapes, and bright highlights pop against dark backgrounds. This is where street photography magic happens. It’s not about having the most expensive gear; it’s about seeing how light interacts with the urban environment. If you’ve ever struggled to make your candid shots stand out from the crowd, the answer usually lies in mastering light and shadow.
Why Urban Lighting Changes Everything
Cities are complex grids of light sources. Unlike natural landscapes where the sun is the primary source, streets feature artificial lights, reflective surfaces, and unpredictable weather patterns. Understanding these elements allows you to control the mood of your image without moving the subject. In fact, the best street photos often rely on a single, strong light source to create a clear focal point. When you understand how light behaves in a built environment, you stop chasing subjects and start composing scenes.
- Hard Light: Direct sunlight creates sharp, defined shadows. This is perfect for graphic compositions but can be unforgiving on human skin.
- Soft Light: Overcast days or open shade diffuse light, reducing contrast and revealing texture in clothing and architecture.
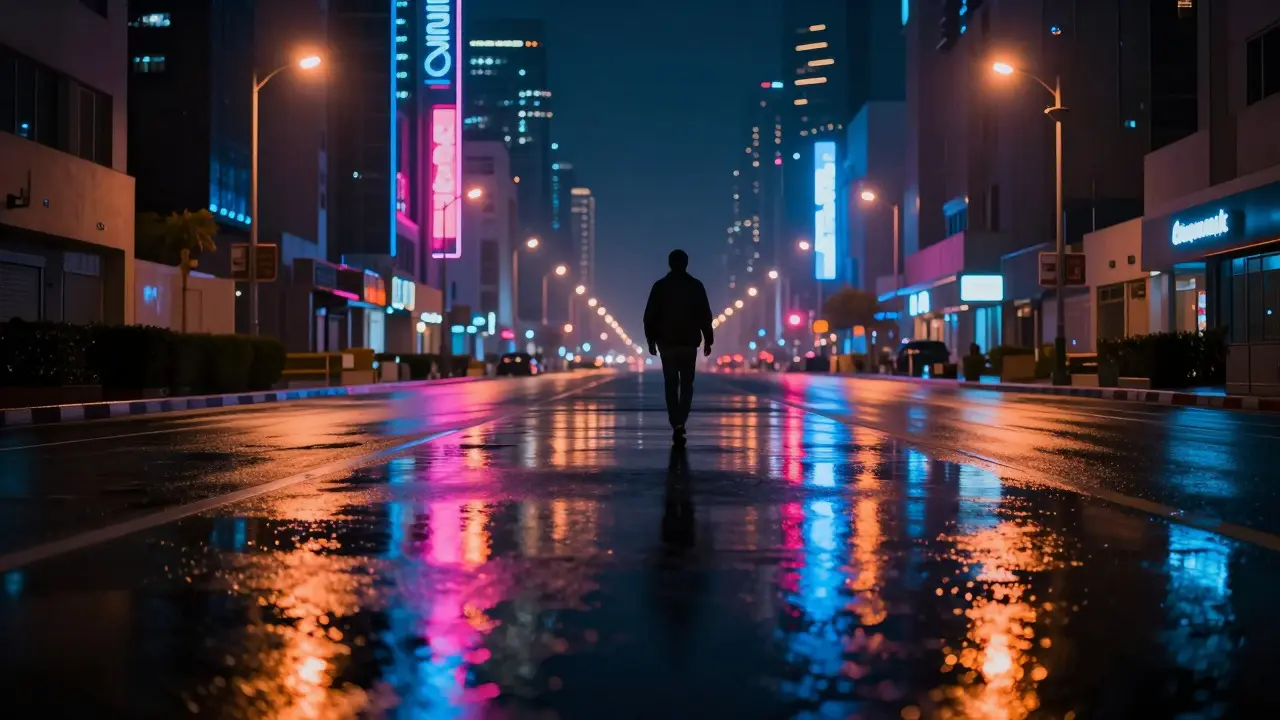
- Artificial Light: Neon signs, shop windows, and streetlamps add color temperature shifts that can define the time of day and atmosphere.
The Power of High Contrast
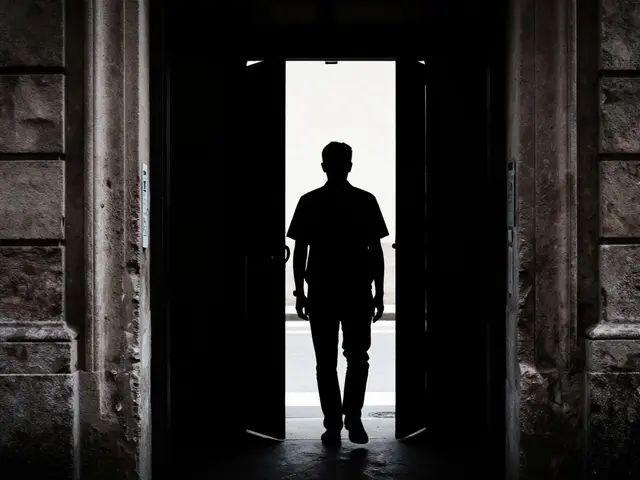
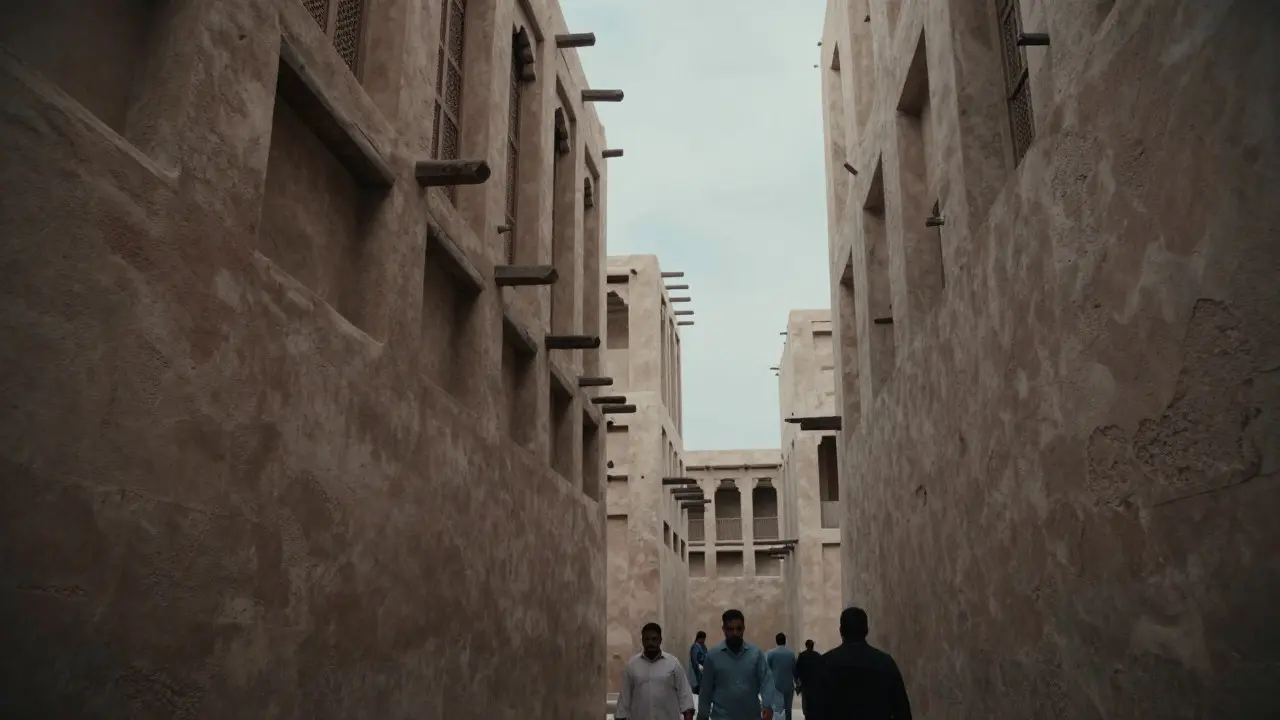
Contrast is the backbone of visual impact. In street photography, high contrast separates the subject from the background instantly. Think of a person wearing a white shirt standing in a deep shadowed alley. The eye goes straight to them because there is nowhere else for it to rest. You don’t need to overcomplicate this. Look for areas where light hits one specific spot while the rest remains dark. This technique works particularly well in narrow alleys or under bridges where ambient light is limited.
However, balance is key. Too much contrast can crush blacks, losing detail in the darkest parts of your image. Conversely, too little contrast makes images feel muddy and uninteresting. Aim for a dynamic range that preserves detail in both highlights and shadows. Modern cameras handle this well, but your eye needs to judge the exposure correctly before pressing the shutter. Use your histogram to ensure you aren’t clipping whites or blocking up blacks unnecessarily.
Reading Shadows as Compositional Tools
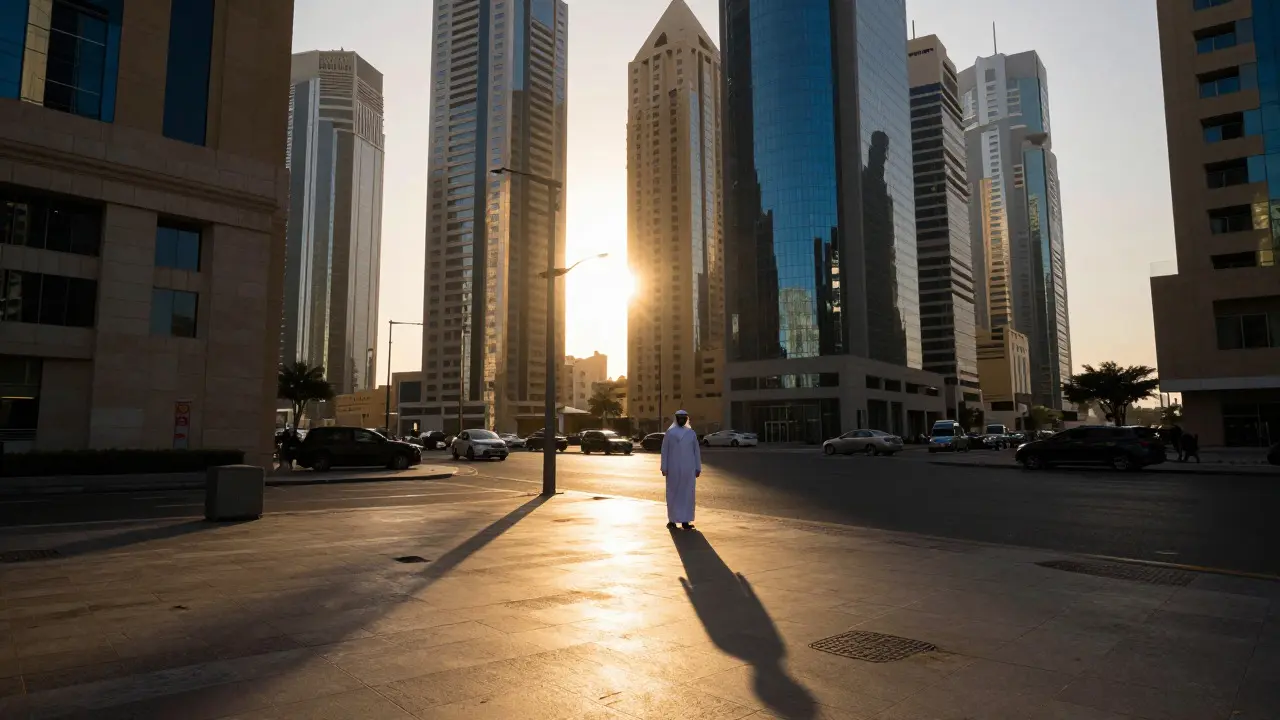
Shadows are not just the absence of light; they are active elements in your composition. They can lead the eye, frame a subject, or create geometric patterns. For example, the long shadows cast by buildings in the late afternoon can act as leading lines, guiding the viewer toward your main subject. Similarly, a patch of shadow falling across a busy sidewalk can isolate a single pedestrian, turning a chaotic scene into a focused portrait.
Consider the shape of the shadow. Is it jagged or smooth? Does it mirror the form of the object casting it? These details add depth and interest. In Portland, Oregon, the frequent rain creates wet pavement that reflects light, doubling the visual information in your frame. The reflections in puddles can mirror neon signs or sky colors, adding layers of complexity that dry asphalt simply cannot provide.
Practical Techniques for Capturing Light
You don’t need to guess your settings every time. Here are a few practical tips to help you capture light effectively in the field:
- Shoot in RAW: This gives you maximum flexibility to recover highlights or lift shadows during post-processing. JPEGs lock in tonal values, making corrections difficult later.
- Use Spot Metering: When dealing with extreme contrast, meter off the brightest part of your subject to prevent blown-out highlights. You can always darken the shadows in editing.
- Look Up and Down: Don’t just look horizontally. Check above for skylights or below for reflections. Vertical light sources often create more dramatic effects than horizontal ones.
- Wait for the Moment: Sometimes the best light only lasts for seconds. Stand still and observe. Let the subject walk into the pool of light rather than chasing them.
Common Mistakes to Avoid
Even experienced photographers fall into traps when dealing with urban lighting. One common error is ignoring the background. A beautifully lit subject can be ruined by a distracting, brightly lit element behind them. Always check what’s behind your subject before shooting. Another mistake is forcing a shot when the light is bad. If the light is flat and boring, wait. Patience is a critical skill in street photography. Finally, don’t ignore the color temperature. Warm light from sunset feels different than cool blue light from an overcast sky. Embrace these differences rather than trying to neutralize them.
| Lighting Condition | Best For | Challenges | Post-Processing Tip |
|---|---|---|---|
| Direct Sunlight (Noon) | Graphic patterns, bold shapes | Harsh shadows, high contrast | Dodge shadows carefully to retain detail |
| Overcast Sky | Portraits, texture, color accuracy | Lack of drama, flat appearance | Increase local contrast to add punch |
| Golden Hour | Mood, warmth, long shadows | Short window of time, lens flare | Enhance warm tones, watch for halation |
| Neon/Artificial | Night scenes, cyberpunk aesthetics | Noise, mixed color temperatures | Reduce noise, correct white balance selectively |
Developing Your Eye for Light
Improving your ability to see light takes practice. Start by going out without a camera. Just observe how light changes throughout the day. Notice how a single tree casts different shadows at different times. Pay attention to how people react to light-do they squint? Do they step into shade? These behaviors give you clues about where the interesting moments will happen. Once you’re comfortable observing, bring your camera back. Try to shoot the same location at three different times of day. Compare the results. You’ll quickly see how dramatically light alters the character of a place.
Remember, street photography is about capturing fleeting moments. Light is the thread that ties those moments together. By understanding and utilizing urban lighting and contrast, you transform ordinary scenes into compelling stories. Keep exploring, keep observing, and let the light guide your hand.
What is the best time of day for street photography?
The golden hour, shortly after sunrise and before sunset, is widely considered the best time due to soft, directional light that creates pleasing shadows and warm tones. However, overcast days are also excellent for even lighting and rich colors.
How do I deal with harsh midday sun?
Seek open shade, such as under trees or awnings, to soften the light. Alternatively, embrace the harshness by looking for strong graphic shadows and high-contrast compositions that turn the challenge into a stylistic choice.
Is high contrast always better in street photography?
Not always. While high contrast draws attention and adds drama, low contrast can convey mood, subtlety, and realism. The goal is to match the contrast level to the story you want to tell.
Do I need expensive gear to master lighting?
No. Any camera that allows manual control over aperture, shutter speed, and ISO will work. The skill lies in observing and interpreting light, which requires no additional hardware.
How can I improve my ability to see light?
Practice observation without a camera. Study how light changes throughout the day in familiar locations. Take notes on what works and what doesn’t. This builds intuition that translates directly to better photographic choices.