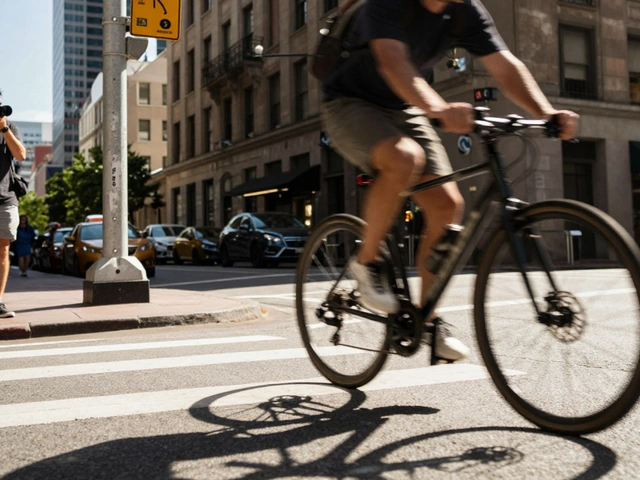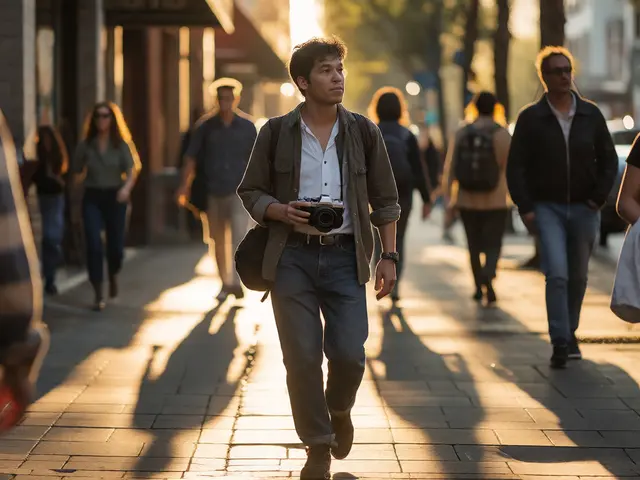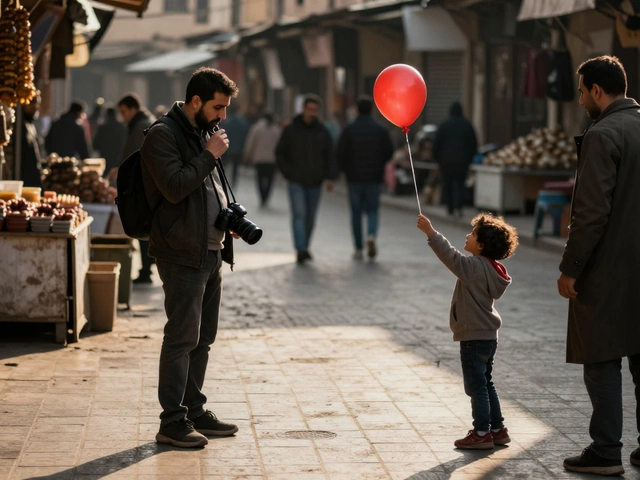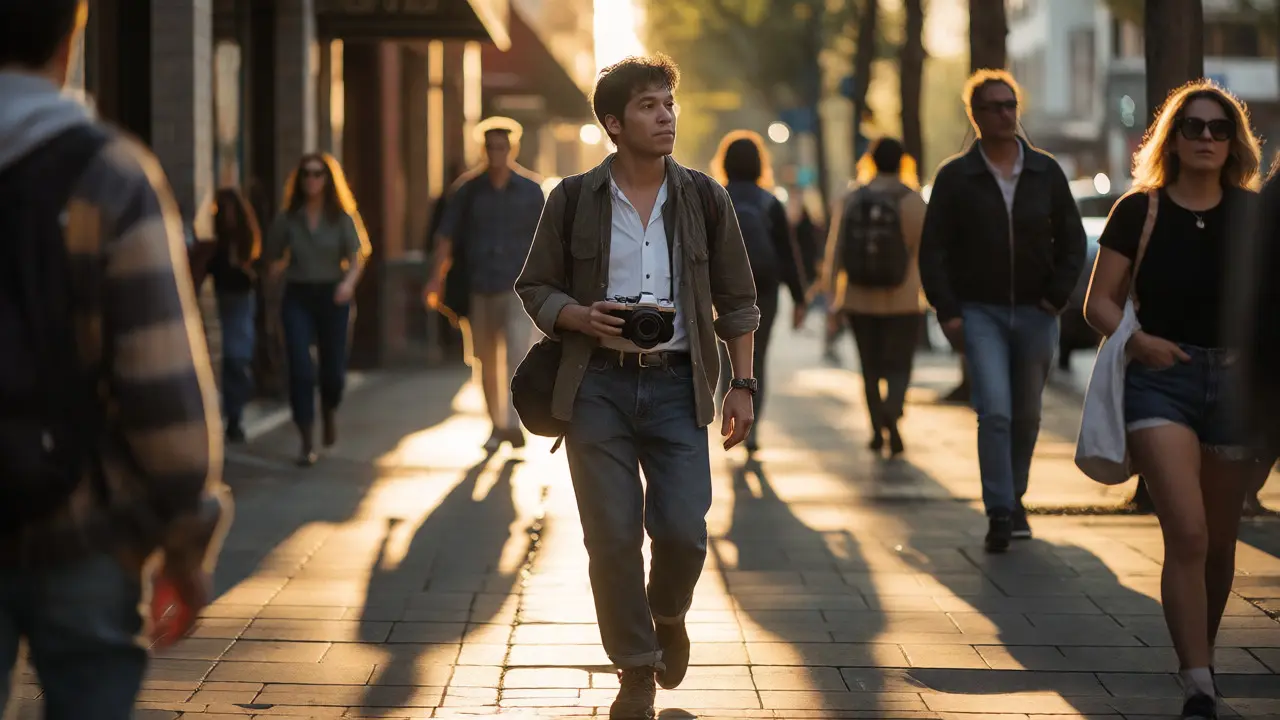
You’re walking down a busy sidewalk in Portland. The light hits a stranger’s face just right, creating a moment of raw emotion that will vanish in three seconds. You raise your camera. The subject notices. The magic is gone. They smile politely or look away, and you’ve lost the shot.
This is the classic street photographer’s dilemma. Raising the camera to your eye signals intent. It breaks the fourth wall. But what if you could capture that same decisive moment without ever lifting the viewfinder to your face? This technique is called shooting from the hip. It’s not about being sneaky; it’s about blending in so thoroughly that life continues uninterrupted around you.
Why Bother Shooting From the Hip?
Let’s be honest: most people are nervous when a camera points at them. It feels invasive. When you shoot from the hip, you remove that immediate threat. You become part of the scenery. A tourist looks like they’re checking their phone. A local looks like they’re adjusting their bag. No one clocks you as a threat.
But there’s a technical benefit too. When you look through a viewfinder, you tunnel-vision. You miss the background action, the interaction between two people ten feet away, or the dog running into frame. Shooting from the hip forces you to use peripheral vision. You start seeing the whole scene, not just the rectangle in front of you. It sharpens your situational awareness in ways eye-level shooting never can.
The Gear Setup That Makes It Work
You can’t just grab any camera and hope for the best. Shooting from the hip fails if you rely on autofocus hunting or wide apertures with shallow depth of field. You need gear that stays out of your way.
First, forget the big DSLR with a massive lens hanging off your chest. It screams "tourist" and draws attention. Compact cameras, mirrorless bodies with small primes, or even high-end smartphones work best. If you’re using a larger camera, attach a wrist strap instead of a neck strap. A neck strap causes the camera to swing wildly when you walk, making consistent framing impossible. A wrist strap keeps the camera stable against your body.
Second, set up your exposure manually. Auto-exposure often lags or changes settings mid-walk, ruining consistency. Dial in your ISO (auto-ISO is fine here), shutter speed, and aperture before you step outside. For daylight street scenes, aim for f/8 to f/11. Why? Because you need deep depth of field. You won’t be focusing precisely, so you need everything from five feet to infinity to be reasonably sharp.
Mastering Zone Focusing
Here is the secret sauce: zone focusing. Since you aren’t looking through the viewfinder, you can’t let the camera pick the focus point. You have to predict where the subject will be.
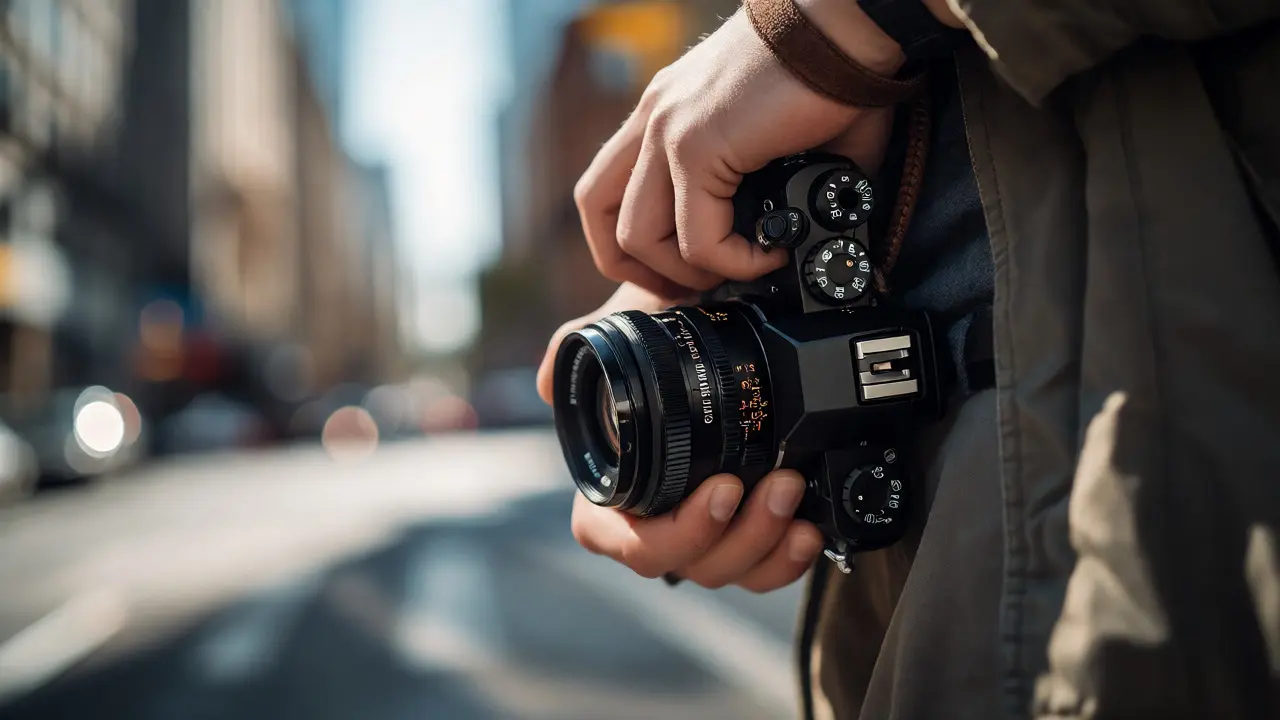
Set your lens to manual focus. Turn the ring until the distance scale shows approximately 3 meters (about 10 feet). At f/8, this setting gives you a hyperfocal distance where everything from roughly 1.5 meters to infinity is acceptably sharp. Now, you don’t need to focus on anything. You just need to ensure your subject falls within that "zone."
Walk slowly. Count your steps. Learn how many steps equal one meter. If you see someone interesting ahead, gauge the distance. Are they 2 meters away? 4 meters? If they are within your pre-set zone, press the shutter. If they are too close, step back. If they are too far, wait. This sounds hard, but after a week of practice, your brain calculates distance automatically. You stop thinking about meters and start feeling proximity.
Framing Without Looking
If you can’t see the frame, how do you compose? You learn the boundaries of your lens by feel. Hold your camera at your waist. Look at the ground directly in front of you. Notice where the left edge of your lens aligns with your foot or a crack in the pavement. Do the same for the right edge. Top and bottom are harder, but you get used to them quickly.
A pro tip: Use your non-shutter hand to frame. Many photographers hold the camera with their left hand while operating the shutter with the right. Keep your left elbow tucked in. This stabilizes the camera and prevents accidental bumps. Your body becomes the tripod. Walk with purpose. Hesitation looks suspicious. Confidence looks casual.
Don’t worry about perfect horizons. Slight tilts add dynamism to street shots. In fact, a perfectly straight horizon often looks sterile in candid work. Let the angle reflect the energy of the street.
Common Pitfalls and How to Fix Them
Everyone makes mistakes when starting out. Here are the big ones:
- Cutting off heads: This happens because you didn’t account for the top of the frame. Solution: Aim slightly higher than you think. It’s better to have too much headroom and crop later than to chop off a forehead.
- Blurry subjects: Usually caused by slow shutter speeds combined with movement. Solution: Keep your shutter speed above 1/250th of a second. If it’s cloudy, bump your ISO. Noise is fixable; blur is not.
- Missing the moment: You waited too long to confirm focus. Solution: Trust your zone focus. Shoot early. Shoot often. Digital storage is cheap.
- Looking suspicious: Staring at your screen after every shot. Solution: Don’t review immediately. Walk past the subject, then check the image later. Or just keep walking. The next moment is coming.
Practicing in Low-Stakes Environments
Don’t start in Times Square or a crowded market where tensions run high. Start somewhere boring. A quiet suburban street. A park bench. A parking lot.
Try this drill: Stand still. Pick a spot on the ground five feet away. Practice pressing the shutter when a person walks into that exact spot. Check the result. Did you catch them? Were they centered? Repeat until you hit 80% accuracy. Then, move to a busier area. Apply the same logic. Treat it like a game, not a performance.
Another effective exercise is the "Blind Walk." Put your camera in your pocket. Walk for ten minutes. Every time you see something interesting, take the photo without looking at the screen. Do not delete bad shots. Go home and review them all. You’ll learn more from your failures than your successes. You’ll realize which angles you consistently miss and adjust your physical stance accordingly.
Digital vs. Film: Does It Matter?
Film photographers pioneered this technique. With limited exposures per roll, every shot had to count. Digital allows volume. Should you shoot film to force discipline? Maybe. But digital offers instant feedback, which accelerates learning.
If you shoot digital, consider enabling silent shutter mode if your camera supports it. Electronic shutters make zero noise. Click-clack sounds draw eyes. Silence keeps you invisible. On smartphones, turn off the shutter sound. Some apps allow true silent capture, bypassing regional legal requirements for audible shutters.
Ethical Considerations
Just because you can shoot secretly doesn’t mean you should ignore ethics. Street photography exists in a gray area. Generally, public spaces mean no expectation of privacy. However, context matters.
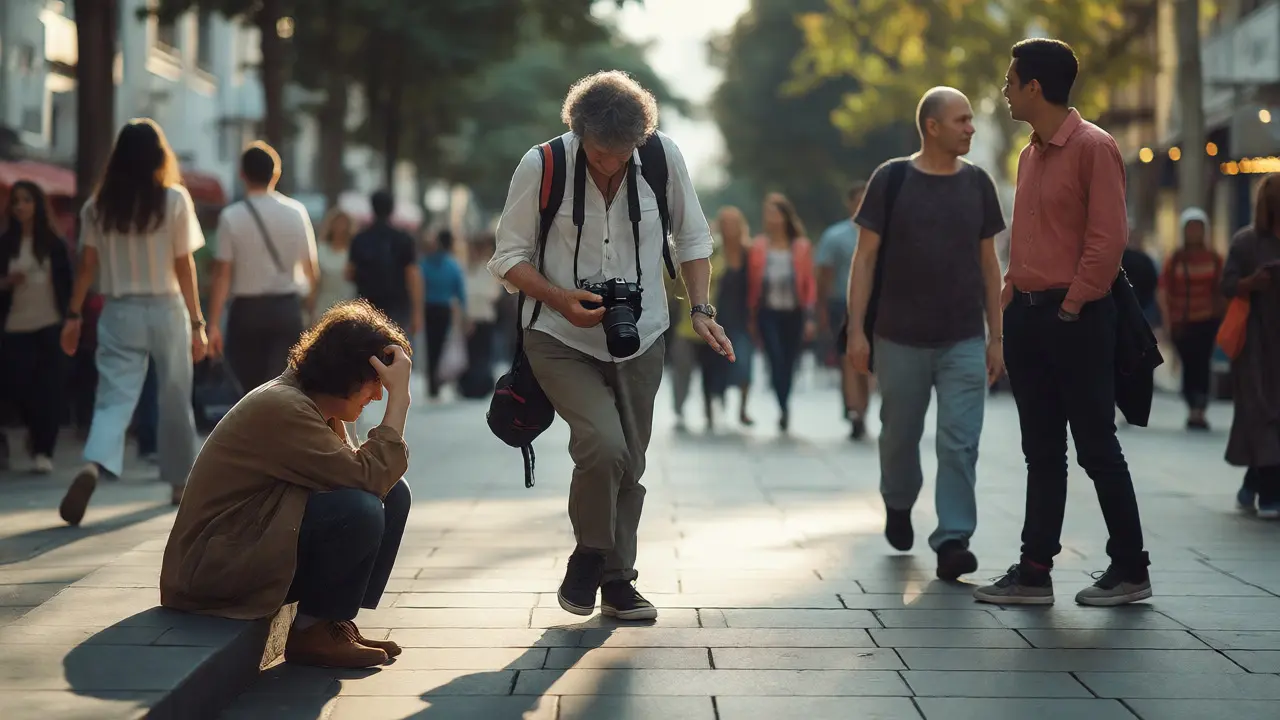
If someone is clearly distressed, crying, or in a vulnerable situation, consider lowering your camera. Respect human dignity over artistic gain. If a subject notices you and makes eye contact, a nod or a smile goes a long way. Often, breaking the ice turns a tense moment into a shared connection. Sometimes, they’ll pose. Other times, they’ll wave you off. Both outcomes are fine. You got the shot, or you respected the person. Neither is a loss.
| Setting | Recommended Value | Reason |
|---|---|---|
| Aperture | f/8 - f/11 | Ensures deep depth of field so precise focus isn't needed. |
| Shutter Speed | 1/250s or faster | Freezes motion despite lack of stabilization. |
| Focus Mode | Manual / Zone Focus | Prevents autofocus hunting and delays. |
| ISO | Auto (Cap at 3200) | Maintains exposure flexibility in changing light. |
| Lens Focal Length | 28mm - 35mm | Wide enough for context, narrow enough to avoid distortion. |
Troubleshooting Your Shots
When you get home and review your images, you might find issues. Here’s how to diagnose them:
The subject is cut off: You were too close or aimed too low. Next time, widen your stance. Imagine a wider box around your target.
The image is tilted: You weren’t holding the camera level. Tuck your elbows tighter. Use your core muscles to stabilize, not just your arms.
Nothing is in focus: Your zone was too narrow. Stop down to f/16. Yes, diffraction softens the image slightly, but a blurry mess is worse than a slightly soft sharp image.
The shot feels empty: You missed the context. Hip shooting often isolates the subject. Try stepping closer to include environmental details-signs, shadows, other pedestrians-that tell the story.
Do I need a special camera for shooting from the hip?
No, you don't need a special camera. Any camera that allows manual focus and has a discreet form factor works well. Compact point-and-shoots, mirrorless cameras with small prime lenses, and even smartphones are excellent choices. The key is having control over aperture and focus, not the brand or model.
What is zone focusing?
Zone focusing is a technique where you set your lens to a specific distance (e.g., 3 meters) and use a small aperture (like f/8) to create a large depth of field. This ensures that everything within a certain range (the 'zone') remains in acceptable focus, allowing you to shoot without waiting for the camera to autofocus.
Is shooting from the hip ethical?
Generally, yes, especially in public spaces where there is no reasonable expectation of privacy. However, always use common sense. Avoid photographing people in vulnerable moments unless necessary, and respect requests to stop taking pictures. Ethical street photography balances artistic freedom with human respect.
How do I know if my subject is in focus?
You won't know instantly without reviewing the image. That's why zone focusing is critical. By setting a small aperture and a fixed focus distance, you guarantee that any subject within that distance range will be sharp. Over time, you'll develop an intuitive sense for distance and confidence in your settings.
Should I use auto-focus or manual focus?
For shooting from the hip, manual focus with zone focusing is superior. Autofocus systems often hunt for contrast or lock onto the wrong subject when the camera is held at waist level. Manual focus eliminates delay and uncertainty, giving you total control over what is sharp.