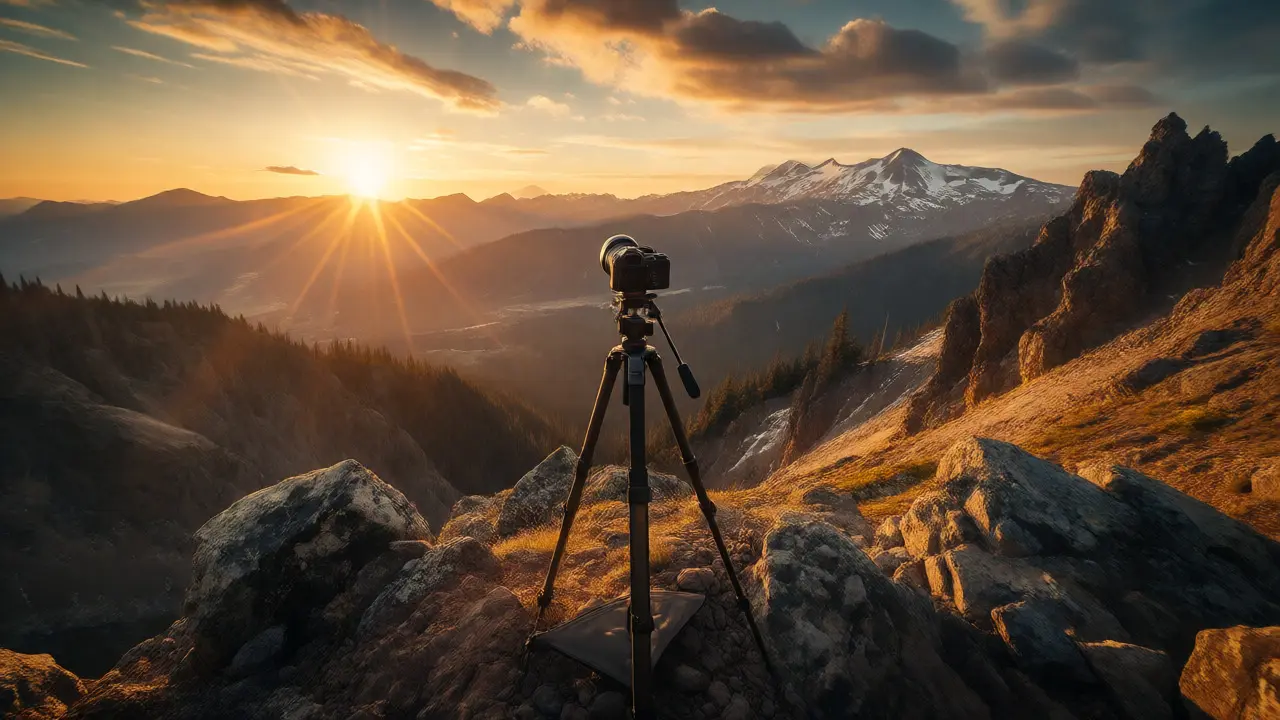
You know that feeling when you stand on a ridge in the Oregon Cascades, look out at the horizon, and realize your camera just can’t capture the sheer scale of what’s in front of you? You try backing up, but there’s a cliff edge. You switch to a wider lens, but suddenly the mountains look tiny and the foreground is full of distracting weeds. This is where panoramic landscape photography saves the day. It’s not about cheating perspective; it’s about capturing the reality of human vision, which is far wider than any single frame.
Stitching multiple images into one seamless panorama used to be a nightmare of software crashes and weird warping artifacts. Today, with tools like Adobe Lightroom and Photoshop, it’s mostly automated. But automation doesn’t mean you can press the shutter blindly. If you shoot a panorama wrong, no amount of AI processing will save it. The secret lies in how you move, how you expose, and how much overlap you give the software to work with. Let’s break down exactly how to get those sweeping, high-resolution views without pulling your hair out.
Why Bother With Panoramas?
Before we talk about settings, let’s talk about why this matters. A standard 24mm lens gives you a horizontal field of view of about 84 degrees. Human vision spans roughly 180 degrees horizontally. When you stitch three or four frames together, you’re not just getting a wider picture; you’re getting more pixels. A single shot from a 24-megapixel camera might print nicely at 8x10 inches. A stitched panorama made from five of those shots can easily yield a 100-megapixel file. That means you can crop aggressively later or print huge wall art without losing detail.
It also solves optical limitations. Wide-angle lenses often distort straight lines, making buildings lean or horizons curve. By using a mid-range focal length (like 35mm or 50mm) and stitching, you keep the geometry clean. Distortion is minimal in the center of most lenses, so by staying away from the extreme edges and combining frames, you get a sharper, more natural-looking result. Plus, it lets you use your favorite prime lens instead of buying an expensive ultra-wide zoom that might still feel cramped.
The Gear You Actually Need
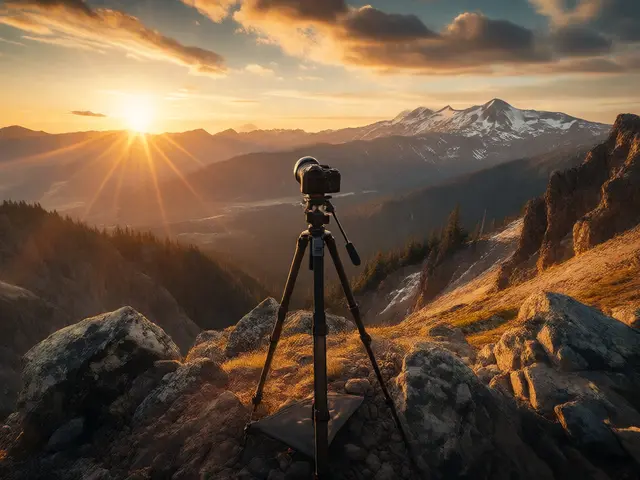
You don’t need a $5,000 rig to start. In fact, if you have a tripod, you’re halfway there. Handheld panoramas are possible, but they require a steady hand and consistent overlap, which is hard to maintain over ten frames. A sturdy tripod eliminates vertical drift, ensuring all your images sit on the same plane.
- Tripod with a Ball Head: You need smooth rotation. If your head sticks or jumps, your overlap will be inconsistent, causing stitching errors.
- L-Bracket (Optional but Helpful): This allows you to rotate the camera around its lens axis rather than the sensor plane, reducing parallax issues. For landscapes, this is less critical than for architecture, but it helps.
- Cable Release or Timer: Touching the camera between shots introduces micro-vibrations. Use a 2-second timer or a remote to keep things crisp.
Regarding lenses, avoid fisheyes unless you want a specific artistic effect. A 24mm to 50mm lens is the sweet spot. These lenses generally have low distortion and high sharpness across the frame. Avoid zoom lenses if possible, because even a slight shift in focus distance or zoom ring position between frames can confuse stitching algorithms. Stick to a prime lens or lock your zoom firmly in place.
Shooting Settings: Lock Everything Down
This is where most beginners fail. If you shoot in Auto mode, your camera will adjust exposure and white balance between frames. Frame one might be bright blue sky; frame two might be darker because the sun moved behind a cloud. When you stitch them, you’ll see visible bands of light and color mismatch. To fix this, you must go fully manual.
| Setting | Recommendation | Reason |
|---|---|---|
| Exposure Mode | Manual (M) | Prevents brightness shifts between frames. |
| White Balance | Fixed (e.g., Daylight) | Keeps color temperature consistent across the scene. |
| Focus | Manual Focus | Autofocus may hunt or change distance between shots. |
| Overlap | 30-50% | Gives software enough data to align features accurately. |
| ISO | Lowest Native ISO | Minimizes noise differences between frames. |
Meter your scene first. Point your camera at the brightest part of the sky, then the darkest part of the shadows. Set your aperture and shutter speed to preserve highlights while keeping depth of field sufficient. Since you’re shooting a wide scene, you want everything sharp, so f/8 to f/11 is usually safe. Check your histogram after the first test shot. If you’re clipping highlights, stop down or lower ISO. Once set, do not touch these dials until you’ve finished the sequence.
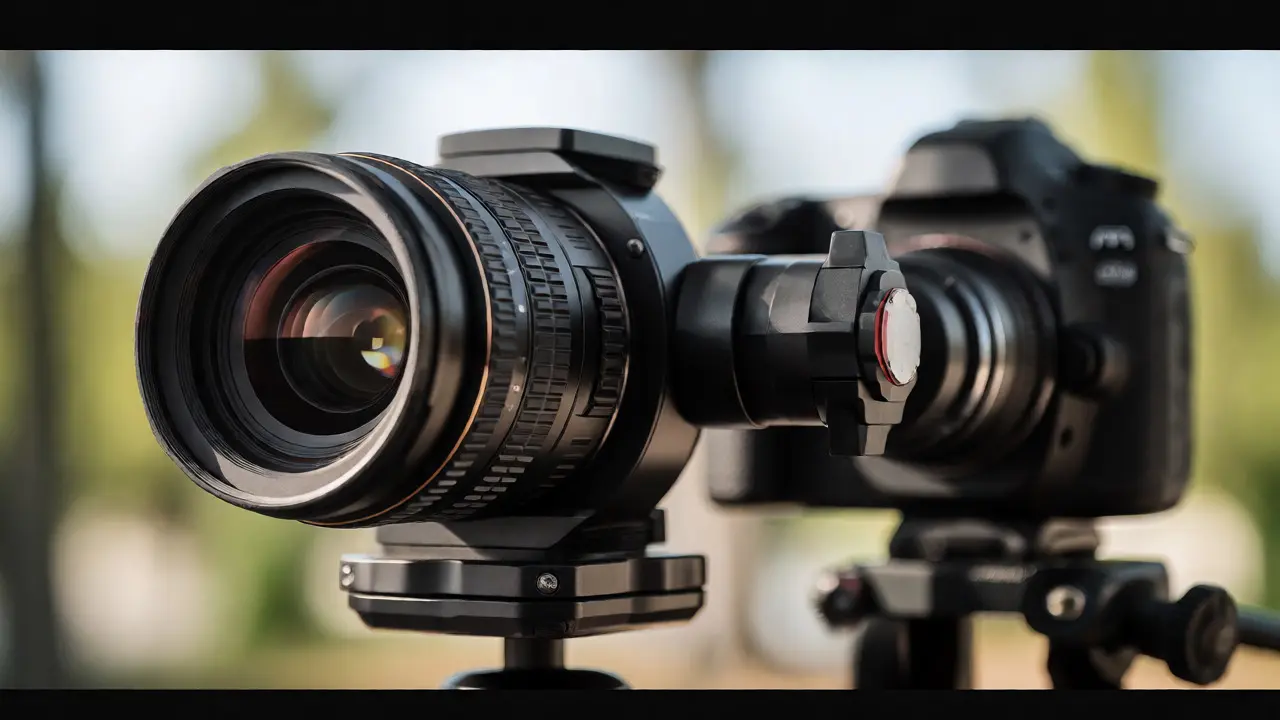
Technique: The Pivot Point and Parallax
Here’s the tricky part: parallax. This happens when nearby objects shift position relative to distant ones as you move the camera. Imagine holding your thumb up close to your face and closing one eye, then the other. Your thumb moves against the background. In photography, if you rotate your camera around the sensor (the back of the camera), nearby trees will shift against distant mountains. Stitching software hates this. It tries to warp the images to match, resulting in stretched trees or bent horizons.
To minimize parallax, you should ideally rotate around the nodal point (or entrance pupil) of your lens. This is a point inside the lens barrel, not on the camera body. For landscape photography where subjects are far away, this error is negligible. However, if you have rocks, flowers, or fences in the immediate foreground, parallax becomes a major issue. If you can’t afford a nodal slide, try to keep foreground elements simple or far enough away that the shift isn’t noticeable. Alternatively, shoot your foreground separately and composite it in later.
When rotating, move slowly and deliberately. Take a photo, rotate the tripod head by about half a frame width (ensuring 30-50% overlap), and take another. Overlap is crucial. Software needs matching patterns-rocks, tree branches, cloud edges-to find where the images connect. If you leave gaps, the stitch fails. Start from one side and move steadily to the other. Don’t zig-zag vertically unless you’re doing a multi-row panorama (which is advanced). Keep the horizon level. If your tripod head has a bubble level, use it. If not, check your LCD screen to ensure the horizon stays straight across all frames.
Processing: Stitching in Lightroom and Photoshop
Once you’re home, importing these files into Adobe Lightroom Classic is the easiest workflow. Select all your panoramic frames, right-click, and choose Photo Merge > Panorama. Lightroom offers three projection methods: Spherical, Cylindrical, and Perspective.
- Spherical: Best for very wide angles or multi-row panoramas. It maps images onto a sphere, minimizing distortion at the edges.
- Cylindrical: Good for standard horizontal panoramas. It keeps vertical lines straight, which is great for architectural scenes.
- Perspective: Often causes convergence issues (lines tilting inward) for wide landscapes. Use this only if you’re correcting a specific tilt.
Check the "Auto Crop" box initially to see the raw shape, but uncheck it if you want to retain maximum resolution. You’ll likely end up with jagged edges. Use the Boundary Warp slider to stretch the image slightly to fill the rectangle, or simply crop it manually. Modern AI-driven tools like Adobe Camera Raw’s new "Super Resolution" combined with panorama merging are incredibly powerful. They handle lighting mismatches better than older versions, but fixing bad exposure in-camera is always superior to fixing it in post.
If you’re using Photoshop, go to File > Automate > Photomerge. Choose "Reprojection" for complex scenes. Photoshop gives you more control over blending masks if the automatic alignment struggles with moving clouds or water. Speaking of water, moving elements are the enemy of panoramas. Waves crashing against rocks will look ghosted or duplicated. If you have significant motion in the frame, consider taking fewer, wider shots or using a neutral density filter to blur the movement, making it easier for the software to blend.
Common Pitfalls and How to Fix Them
Even experienced shooters run into trouble. Here are the big ones:
Vignetting and Lens Flare: Wide-angle lenses often have dark corners (vignetting). If you stitch three images, the center of the middle image is bright, but the edges are dark. When stitched, you see dark bands. Fix this by applying lens profile corrections in Lightroom before merging, or shoot with a smaller aperture (f/11+) to reduce vignetting naturally.
Changing Light Conditions: Clouds moving fast can change the sky’s appearance between frames. Try to shoot quickly. If the sky changes drastically, you might need to mask the sky in each frame and replace it with a single static sky layer in Photoshop.
Vertical Tilt: If your tripod wasn’t perfectly level, your panorama might look tilted or curved. Most software has a "Rotate" tool to correct this. Always check your horizon line during shooting. A crooked tripod head leads to hours of cropping in post.
Foreground Mismatch: As mentioned, parallax ruins foregrounds. If you have a prominent rock in the foreground, shoot it separately and composite it in. Or, step back further to reduce the relative shift.
Advanced Tip: HDR Panoramas
Landscapes often have high dynamic range-bright skies and dark forests. A single bracketed shot might not capture both. For panoramas, you can combine HDR and stitching. Shoot 3 brackets (under, normal, over) for each frame in your panorama sequence. So if you have 5 frames, you’ll have 15 images. In Lightroom, select the 3 images for the first frame, merge to HDR, repeat for each frame, then merge the resulting 5 HDR files into a panorama. This yields massive tonal range and detail, but requires patience and stable conditions.
Do I need a special panoramic head?
No, not for most landscape photography. A standard ball head works fine if you rotate around the lens axis as best as possible. Specialized panoramic heads help with precise nodal point adjustment, which is critical for architecture or scenes with close foreground elements, but for distant mountains and valleys, a regular tripod is sufficient.
What is the ideal overlap percentage for stitching?
Aim for 30% to 50% overlap. Less than 30% risks alignment failures because the software lacks enough feature points to match. More than 50% increases file size and processing time without significantly improving quality, unless you have very little texture in the scene.
Can I shoot handheld panoramas?
Yes, modern apps like Adobe Lightroom Mobile and specialized apps like Panopto allow handheld stitching. However, you must maintain consistent height and rotation speed. Walking in an arc around a central point helps. Tripods provide much higher success rates, especially for high-resolution prints.
How many photos should I take for a panorama?
It depends on the desired field of view. Typically, 3 to 7 images cover a 180-degree sweep. Going beyond 10 images increases the risk of alignment errors and makes editing cumbersome. Only increase the count if you need extreme resolution or a very wide angle.
Why does my panorama look warped?
Warping usually comes from parallax error caused by rotating around the sensor instead of the lens's nodal point, or from having strong foreground elements close to the camera. It can also happen if you used a very wide-angle lens (wider than 24mm) where distortion is high. Using a longer focal length and keeping foregrounds distant reduces this.