Ever looked at a standard landscape shot and felt like the horizon was cutting off the sky or the foreground? That’s where panoramic photography steps in. It’s not just about taking more pictures; it’s about capturing a field of view that your eye sees but a standard frame can’t hold. Whether you’re shooting a sweeping mountain range or a bustling city street, mastering ultra-wide aspect ratios transforms a good photo into an immersive experience.
This guide breaks down how to capture seamless panoramas without the headaches of stitching errors. We’ll cover the gear you actually need, the specific camera settings that prevent blur, and the post-processing tricks that make the final image look natural rather than distorted. Let’s get your shots wider and cleaner.
Understanding Ultra-Wide Aspect Ratios
Before you click the shutter, you need to know what ratio you’re aiming for. The most common panoramic formats are 2:1, 3:1, and even 5:1. A 2:1 ratio is great for general landscapes, while 3:1 starts to feel truly cinematic. If you want that “wrap-around” effect, you’re looking at 5:1 or higher, which requires significantly more individual frames to stitch together.
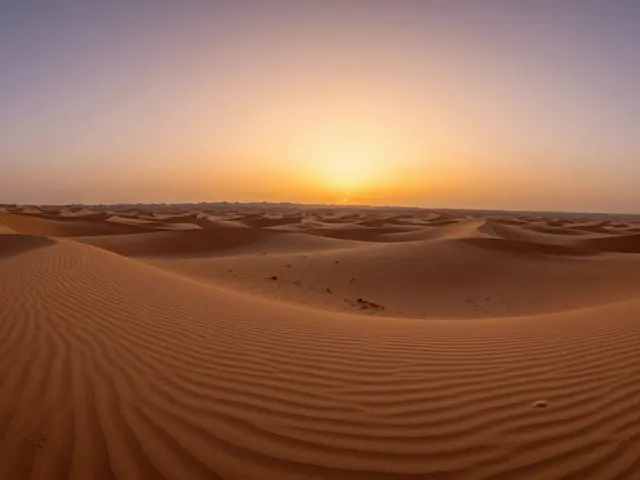
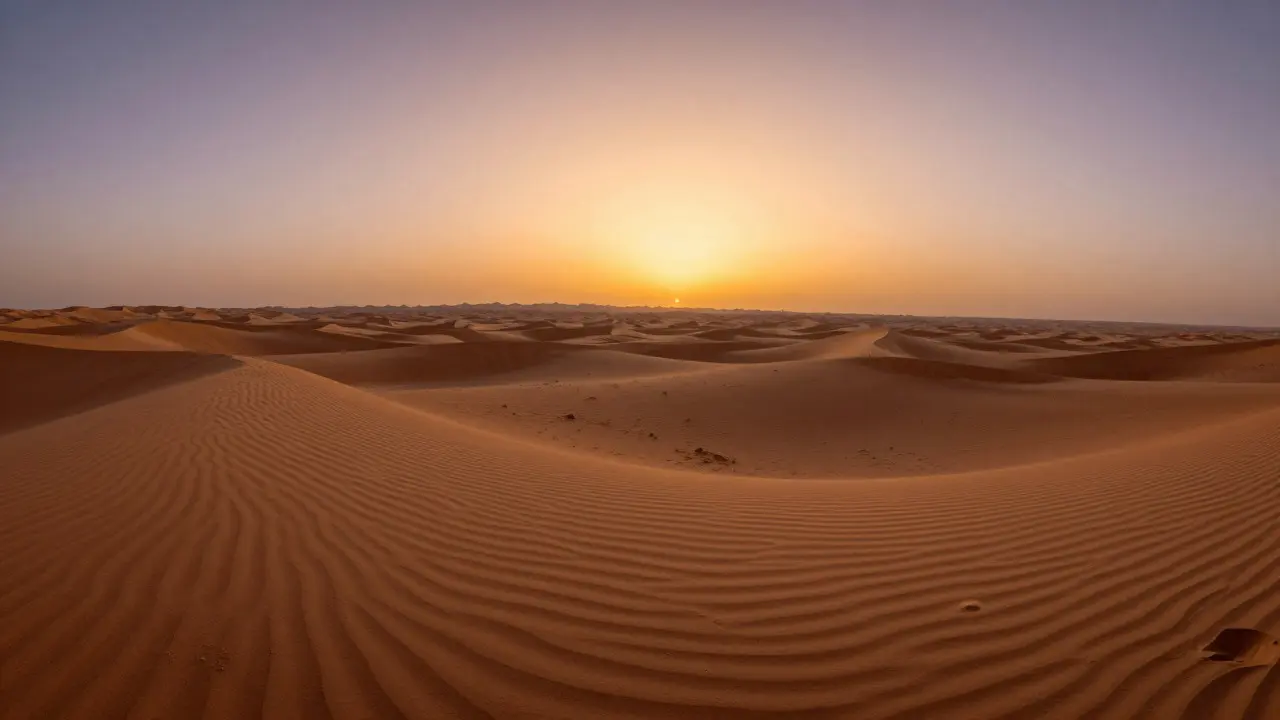
Choosing the right ratio depends on your subject. For a quiet forest scene, 2:1 might be enough to show the depth. But for a vast desert or ocean horizon, 3:1 or wider gives the viewer a sense of scale that a standard 3:2 landscape simply can’t match. Keep in mind that the wider the ratio, the more critical your alignment becomes. A tiny shift in one frame can create a noticeable seam in a 5:1 image.
| Aspect Ratio | Typical Use Case | Number of Frames (Standard Lens) |
|---|---|---|
| 2:1 | General landscapes, group portraits | 3-4 |
| 3:1 | Cinematic scenes, cityscapes | 5-6 |
| 5:1 | Vast horizons, architectural details | 8-10+ |
Gear Selection: Lenses and Tripods
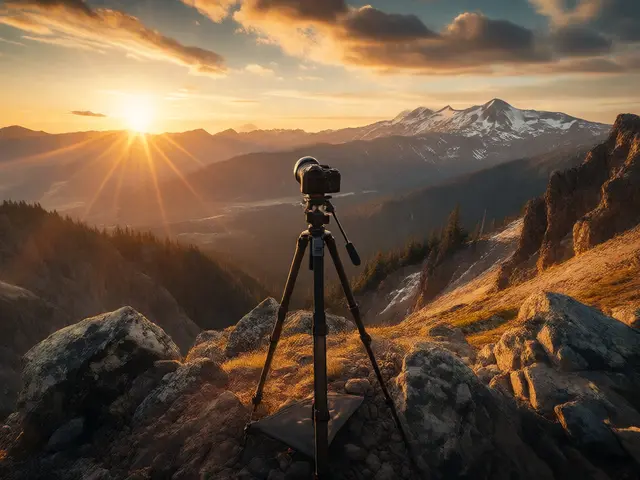
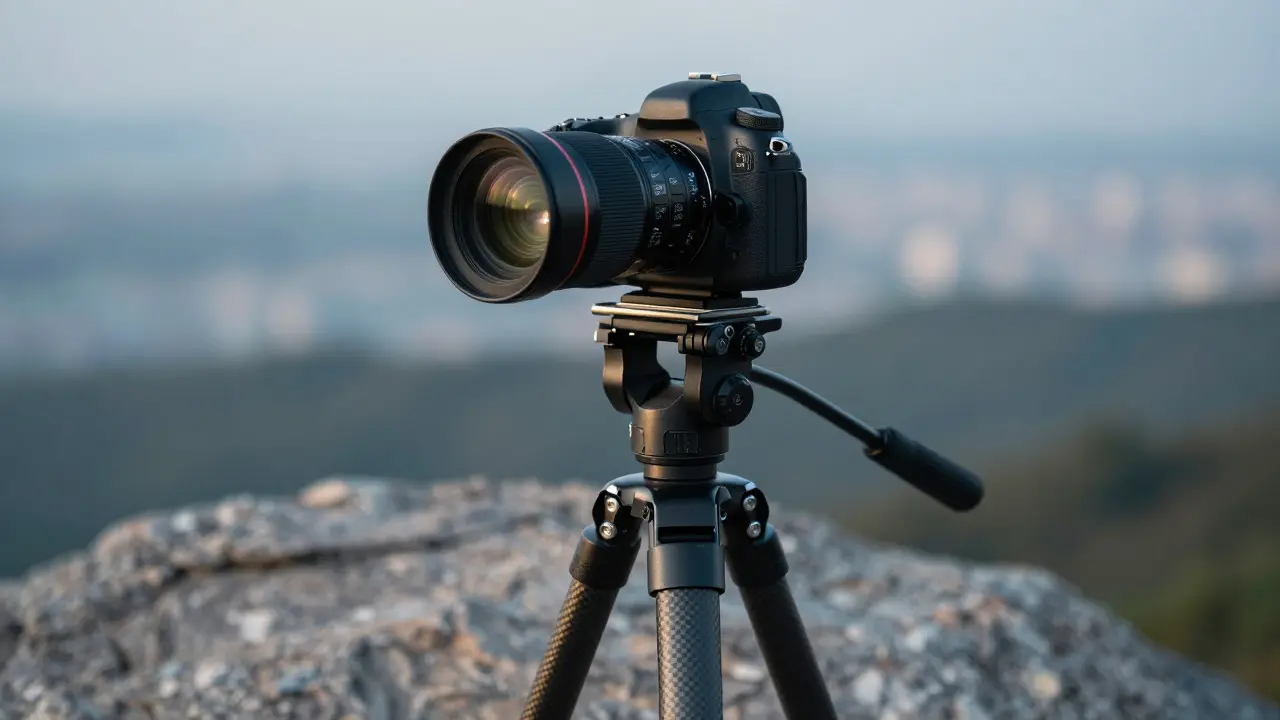
You don’t need a $5,000 camera rig to start, but you do need stability. A sturdy tripod is non-negotiable for panoramas. Why? Because any movement between frames creates parallax errors, which result in ghosting or misaligned horizons in the final stitched image. Look for a tripod with a ball head or a dedicated panoramic head if you plan to shoot serious verticals or high-resolution mosaics.
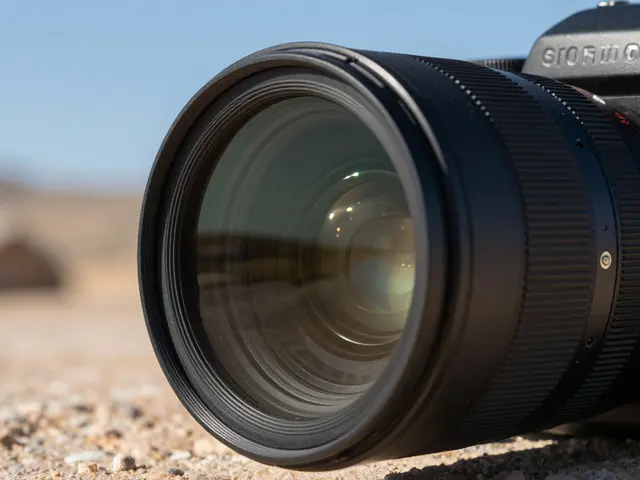
As for lenses, a wide-angle prime lens, such as a 24mm or 35mm, is ideal for beginners. These focal lengths provide enough coverage per frame to reduce the number of images you need to stitch, minimizing the chance of error. Avoid using extreme wide-angle zooms like 14mm for your first few attempts; the distortion makes stitching much harder. If you’re shooting indoors or in tight spaces, a 35mm lens often works better than a 24mm because it reduces edge distortion.
Camera Settings for Seamless Stitching
The biggest mistake beginners make is using auto-exposure. If the light changes slightly between frames-maybe a cloud passes over the sun-the brightness will vary, creating visible bands in the final image. To fix this, switch your camera to Manual Mode. Lock your aperture, shutter speed, and ISO before you start shooting.
Here is a simple workflow to ensure consistency:
- Set White Balance Manually: Auto white balance can shift colors between frames. Pick a neutral setting like daylight or shade and stick with it.
- Use a Low ISO: Keep ISO at 100 or 200 to minimize noise, which can interfere with the stitching algorithm’s ability to find matching points.
- Check Focus: Use manual focus or lock autofocus on a distant point. Hyperfocal distance is useful here to maximize depth of field across the entire scene.
- Enable Image Stabilization Off: Since you’re on a tripod, turn off in-body or lens stabilization. Sometimes, the sensor shifts slightly when stabilization is active, causing micro-movements that ruin the alignment.
The Shooting Technique: Overlap and Rotation
Now comes the physical part. You need to rotate the camera around its nodal point (the optical center of the lens) to avoid parallax. If you rotate around the wrong axis, nearby objects will appear to move relative to the background. For most consumer lenses, rotating the camera body itself on the tripod head is close enough. Just keep the camera level.
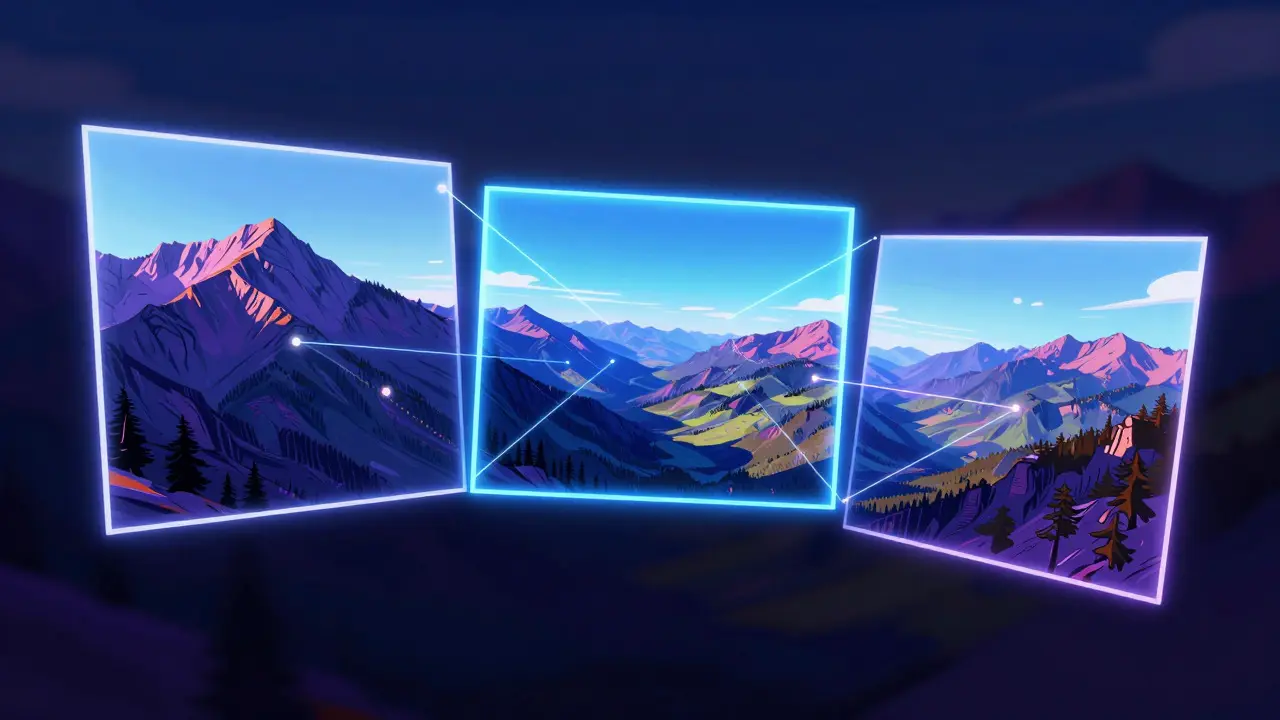
Overlap is your best friend. Aim for 30% to 50% overlap between consecutive frames. This gives the stitching software plenty of data to work with. Don’t try to be efficient by only overlapping by 10%; you’ll likely end up with gaps or seams. Start from the left side of your scene and move slowly to the right. Take a breath between shots to avoid shaking the tripod.
One pro tip: include some empty space in the corners of your frames. This helps the software crop out the edges later, which often contain vignetting or chromatic aberration. It also gives you flexibility in cropping the final image without losing important parts of the scene.
Post-Processing: Stitching and Correction
Once you’ve got your frames, it’s time to stitch them. Most modern editing software, like Adobe Lightroom or Photoshop, has built-in stitching tools. Import all your frames into a new folder, select them all, and choose "Photo Merge" > "Panorama." The software will automatically align and blend the images.
However, automatic stitching isn’t perfect. You’ll likely need to adjust a few things:
- Projection Type: Choose "Spherical" for outdoor scenes with a clear horizon. Use "Cylindrical" for indoor shots or scenes with no distinct horizon. "Perspective" is rarely used for true panoramas but can help correct perspective distortion in architecture.
- Boundary Warp: This tool allows you to pull the edges of the image inward to remove black borders or awkward crops. It’s essential for making the final image fit your desired aspect ratio cleanly.
- Seam Positioning: If you see a visible line where two images meet, use the "Healing Brush" or "Clone Stamp" tool to erase it. Try to place seams in areas with similar textures, like the sky or grass, so they’re less noticeable.
After stitching, apply your usual edits: exposure, contrast, color balance. Remember that since you locked exposure during shooting, your edits should be consistent across the whole image. Finally, export at the highest quality possible. Panoramas are large files, so save them as TIFF or high-quality JPEGs depending on your storage needs.
Common Mistakes to Avoid
Even with the right gear and settings, things can go wrong. Here are the top pitfalls to watch out for:
- Moving Objects: People, cars, and birds can create ghosts in the final image. Shoot during quieter times or use a longer shutter speed to freeze motion. If you must shoot in busy areas, take multiple sets of photos and pick the cleanest frames.
- Uneven Lighting: If the sun is low, shadows can stretch across the scene. Use a graduated ND filter or bracket your exposures (HDR) to balance the light. When stitching HDR panoramas, make sure each set of brackets overlaps correctly.
- Distortion Artifacts: Wide-angle lenses bend straight lines. While this is normal, it can look weird in architectural panoramas. Use a rectilinear lens or correct the distortion in post-processing. Be careful not to over-correct, as it can warp the perspective.
Frequently Asked Questions
Do I need a special panoramic lens?
No, you don’t need a specialized fisheye or ultra-wide lens. A standard wide-angle prime lens, like a 24mm or 35mm, works perfectly well. The key is overlapping frames correctly and using a stable tripod. Specialized lenses are only necessary if you want to capture 360-degree views in a single shot, which is a different technique entirely.
What is the best aspect ratio for social media panoramas?
For Instagram or Facebook, a 2:1 or 2.39:1 ratio works well. These ratios fit nicely within feed dimensions without being too cropped. However, if you’re posting to platforms that support full-screen viewing, you can go wider, up to 3:1. Always check the platform’s recommended dimensions before exporting.
How do I fix visible seams in my stitched panorama?
Visible seams usually happen due to slight exposure differences or misalignment. First, try adjusting the blending options in your stitching software. If that doesn’t work, use the Healing Brush or Clone Stamp tool in Photoshop or Lightroom to manually erase the seam. Place the seam in areas with uniform texture, like the sky, to make it less obvious.
Can I shoot panoramas handheld?
Yes, but it’s challenging. You need to move smoothly and consistently, keeping the camera level. Use a fast shutter speed to freeze motion and rely on your editing software’s ability to handle slight misalignments. Handheld panoramas are best for casual shots or when a tripod isn’t available. For professional results, always use a tripod.
What is the difference between a panorama and a mosaic?
A panorama is created by stitching together overlapping wide-angle images to create a single, continuous image. A mosaic, on the other hand, is typically made from many small, non-overlapping or minimally overlapping images, often used for very high-resolution detail shots. Panoramas focus on width and field of view, while mosaics focus on resolution and detail.