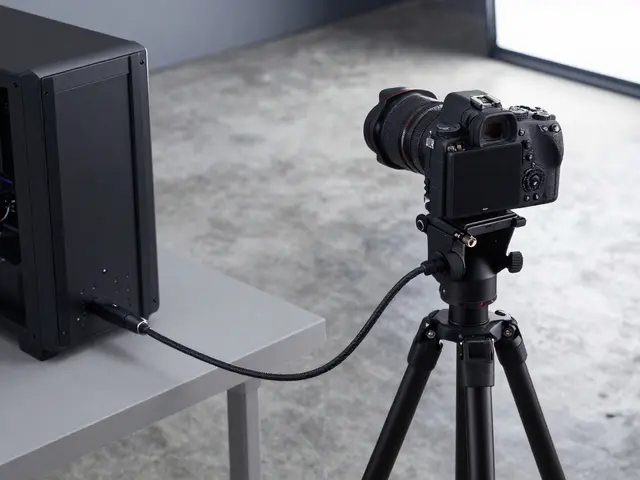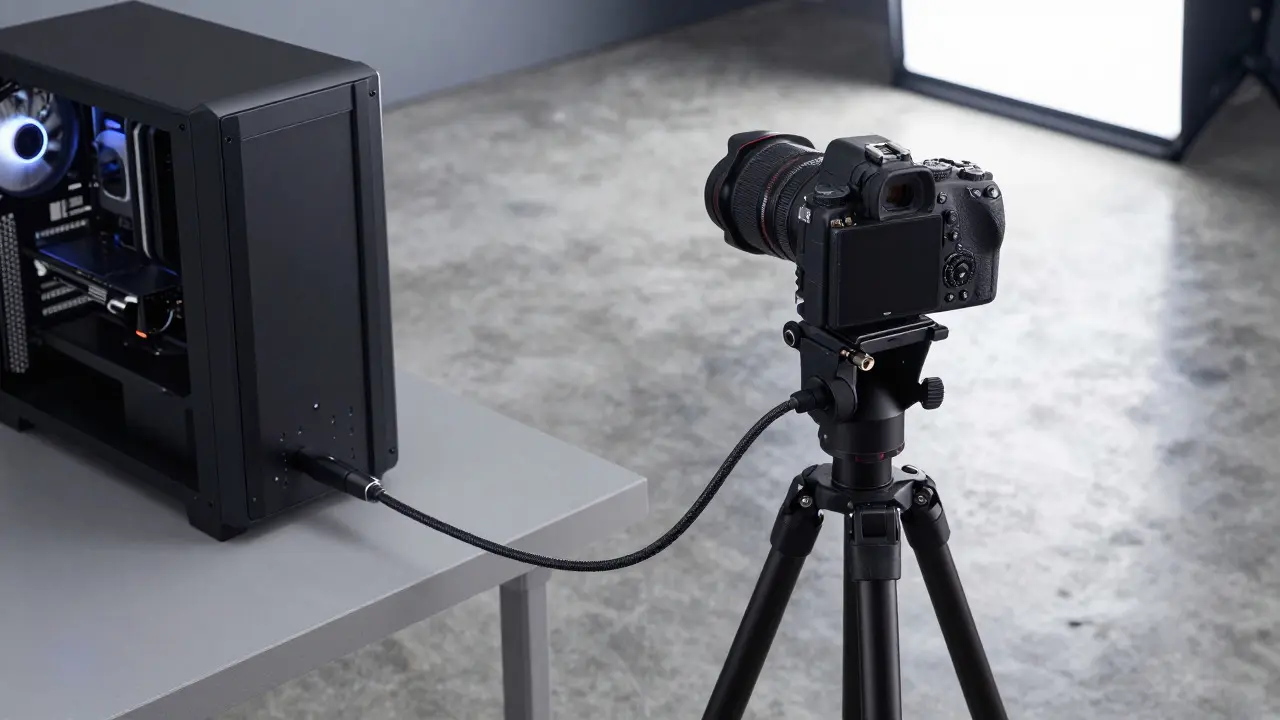
Imagine setting up a high-end studio in your home or a rented space. You’ve got the lights, the backdrop, and the camera. But when you press the shutter, you have to walk over to check the image on the tiny LCD screen. It’s slow, it breaks the flow, and it frustrates clients who want immediate feedback. This is where tethering changes everything. By connecting your camera directly to a computer, you see every shot full-screen instantly, edit on the fly, and manage files without swapping memory cards mid-session.
Why Tethering Matters in a Studio Environment
Tethering isn’t just a luxury for pros; it’s a workflow necessity for serious studio work. When you shoot tethered, the raw data from your sensor goes straight to your computer. This eliminates the risk of card corruption and ensures that if your camera battery dies, you haven’t lost any images because they are already saved to your hard drive. More importantly, it allows for real-time collaboration. In a portrait session, your client can see exactly what you’re seeing. If they think their eyes look closed in frame 14, you know immediately, rather than finding out three hours later during post-production.
The core benefit is control. You can adjust exposure, white balance, and focus right on the computer monitor while the model waits. This reduces guesswork and speeds up the shooting process significantly. For product photographers, it means checking sharpness at 100% zoom instantly, ensuring no dust spots or focus errors slip through.
Choosing the Right Tethering Cable
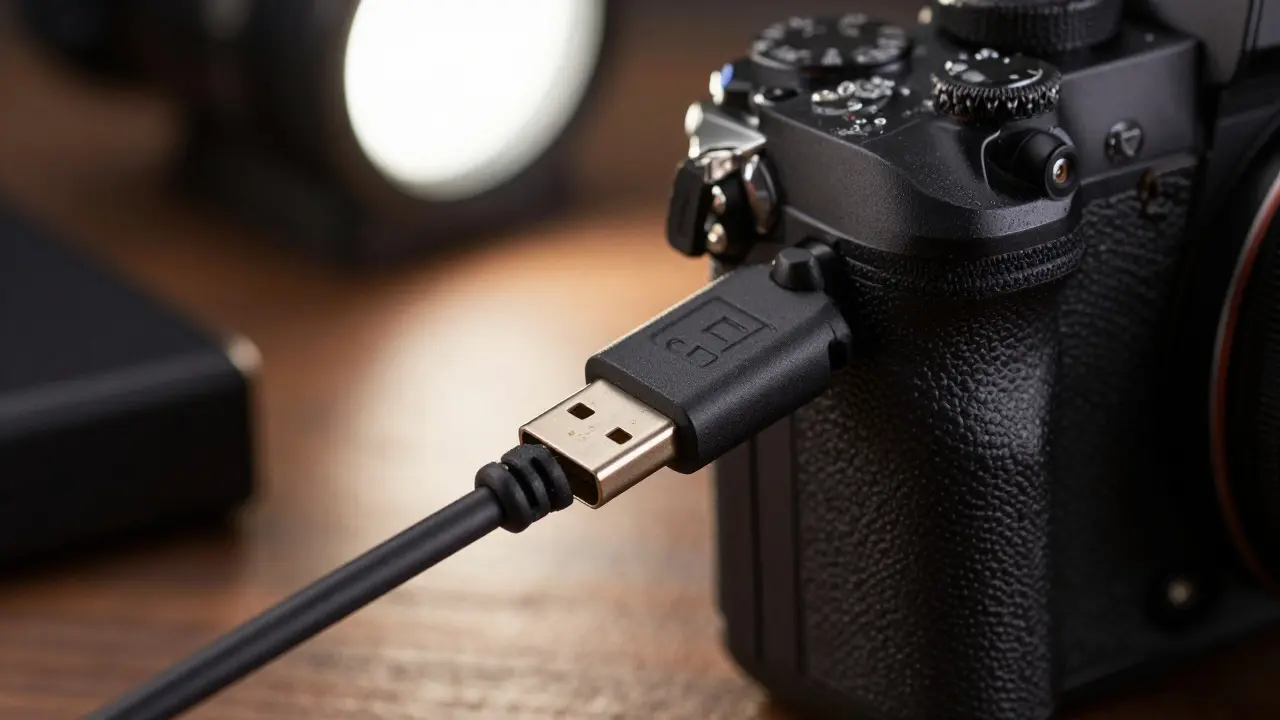
Not all cables are created equal. The most common standard for modern digital cameras is USB 3.0 (or USB-C for newer models). However, many older DSLRs still use proprietary ports or USB 2.0. Before buying anything, check your camera manual for the specific cable type required. Using a generic USB cable from an old phone charger might work, but it often lacks the shielding needed to prevent signal interference in a busy studio environment with multiple light stands and power strips nearby.
- USB 3.0 / USB-C: Best for speed. Handles large RAW files quickly without bottlenecking. Look for cables certified for data transfer, not just charging.
- FireWire (IEEE 1394): Found on some older professional bodies like certain Nikon D series and Canon 1D series. Still reliable but less common now.
- Proprietary Ports: Some legacy cameras use unique connectors. Always buy the OEM cable if possible, as third-party clones can be flaky.
Cable length matters too. A 6-foot cable is usually sufficient for a standard studio setup where the computer sits near the photographer. If you need more reach, go for 10 feet, but avoid going longer than that unless you have active signal boosters, as passive cables lose signal integrity over distance. Braided cables are durable but slightly stiffer; smooth rubberized ones are easier to route around tripods and stands.
Top Tethering Software Options
Once you have the physical connection, you need software to bridge the gap between the camera and your operating system. There are two main categories: free/entry-level and professional/paid. Your choice depends on how complex your workflow is.
| Software | Price Model | Best For | Key Feature |
|---|---|---|---|
| Capture One Pro | Subscription/Perpetual | Color-critical commercial work | Superb color engine and live tethering tools |
| Adobe Lightroom Classic | Subscription | All-in-one cataloging and editing | Seamless integration with Creative Cloud ecosystem |
| Camera Connect (Canon/Nikon) | Free | Basic testing and simple sessions | No cost, native manufacturer support |
| Shoot! (by Capture One) | One-time purchase | Standalone tethering without full editor | Lightweight, fast startup |
Capture One Pro is widely regarded as the gold standard for tethering. Its interface is designed specifically for this workflow, allowing you to drag and drop edits onto the live view. The color rendering is often preferred by fashion and beauty photographers for its skin tones. If you are already in the Adobe ecosystem, Lightroom Classic offers robust tethering capabilities within its import dialog. It’s not as granular as Capture One for live adjustments, but it keeps everything in one place. For those on a budget, the free apps provided by camera manufacturers like Canon EOS Utility or Nikon Transfer Utility are surprisingly capable for basic needs.
Setting Up Your Tethering Workflow
Getting started is straightforward, but small details make a big difference in reliability. First, ensure your computer has enough storage. A single hour of shooting high-resolution RAW files can consume 50GB or more. Use a fast SSD for the capture folder to ensure no lag occurs during transfer.
- Connect the Camera: Power off your camera, plug in the cable, then turn it on. This prevents driver conflicts on Windows systems.
- Select Tether Mode: On the camera menu, set the tether release mode to "On" or "Remote." This allows the computer to trigger the shutter.
- Launch Software: Open your chosen tethering application. Most will auto-detect the camera. If not, select the correct port manually.
- Configure File Saving: Decide whether to save only to the computer, only to the card, or both. Saving to both is safer but doubles storage usage. For critical shoots, always save to both.
- Test Firewire/USB Stability: Take a few test shots. Watch for lag. If there is a delay between pressing the button and seeing the image, check your cable quality or close other background applications consuming bandwidth.
Pro tip: Assign a keyboard shortcut for the shutter release in your software. Clicking a mouse button repeatedly gets tiring. A dedicated hardware remote or a key combo lets you keep your hands on the controls or gesture to the model.
Common Pitfalls and How to Avoid Them
Even with the best gear, things can go wrong. The most common issue is driver conflicts. If you switch between different cameras frequently, uninstall old drivers before installing new ones. Windows Update sometimes installs generic USB drivers that interfere with specific camera protocols. Keep your drivers updated directly from the manufacturer’s website, not just via OS updates.
Another frequent problem is overheating. Tethering keeps the camera’s processor active constantly. In hot studios, this can lead to thermal throttling or even shutdowns. Position your laptop away from direct heat sources and consider using a cooling pad. For desktops, ensure good airflow inside the case.
Finally, don’t ignore the file naming convention. If you’re shooting multiple days or multiple clients, organize your folders by date and client name before you start. Once thousands of images are captured, renaming them is a nightmare. Set up a template in your software that automatically appends the date and a custom prefix to each file name.
Hardware Considerations for the Computer Side
Your computer needs to be powerful enough to handle the data stream. A modern mid-range laptop with 16GB of RAM and an SSD is usually sufficient for most photographers. However, if you’re shooting 8K video or very high-megapixel stills (like the Sony A7R V or Nikon Z9), you’ll want a machine with a faster CPU and more RAM to prevent buffer delays.
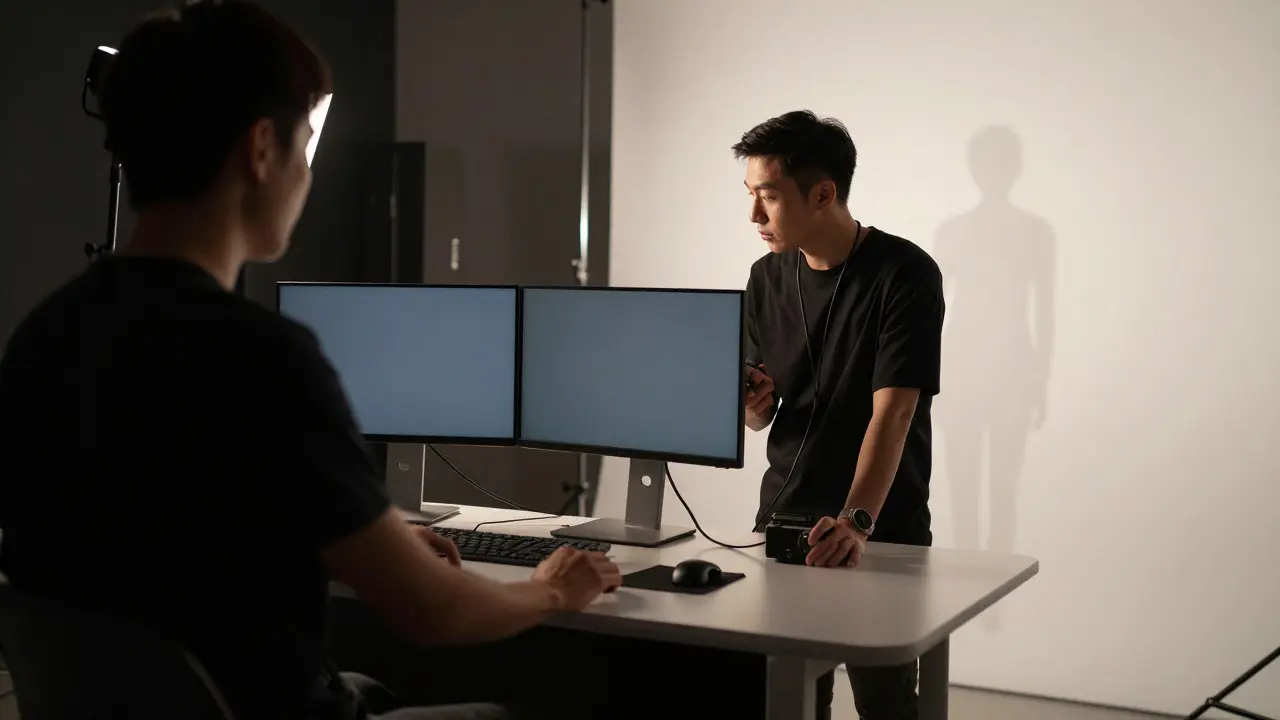
Monitor size also plays a role. A 27-inch 4K monitor is ideal for checking fine details like focus accuracy and skin texture. Dual monitors are a game-changer: use one for the live tethering view and the other for reference images, mood boards, or communication with the client. This setup minimizes context switching and keeps the creative flow uninterrupted.
Frequently Asked Questions
Can I tether my camera wirelessly?
Yes, many modern cameras support Wi-Fi tethering. However, for studio work, wired connections are generally preferred due to their reliability and lower latency. Wireless signals can be interrupted by metal equipment or other devices, leading to dropped frames or delayed previews. Use wireless for quick checks or when cabling is impractical, but stick to wired for critical commercial shoots.
Do I need a special USB hub for tethering?
Usually, no. Direct connection to the computer’s motherboard port is best. If you must use a hub, choose a powered USB 3.0 hub. Unpowered hubs may not provide enough stable current or data integrity for continuous high-speed transfers, especially with larger RAW files.
What happens if my camera battery dies while tethering?
If you are saving images to the computer, you have already captured the data. The session will pause, but no images are lost. Simply swap the battery or connect an AC adapter if your camera supports it. This is one of the biggest safety nets of tethering compared to relying solely on memory cards.
Is tethering necessary for product photography?
It is highly recommended. Product photography requires extreme precision in focus and lighting. Being able to zoom into 100% on a computer screen to verify sharpness on text or logos is far superior to squinting at a small camera LCD. It also allows for precise color matching against brand standards in real-time.
Which is better: Capture One or Lightroom for tethering?
Capture One Pro is generally considered superior for pure tethering workflows due to its dedicated interface and advanced live adjustment tools. Lightroom Classic is excellent if you want a seamless transition from capture to editing within a single ecosystem. Choose Capture One if tethering is your primary daily task; choose Lightroom if you value integrated cataloging and cloud syncing more.