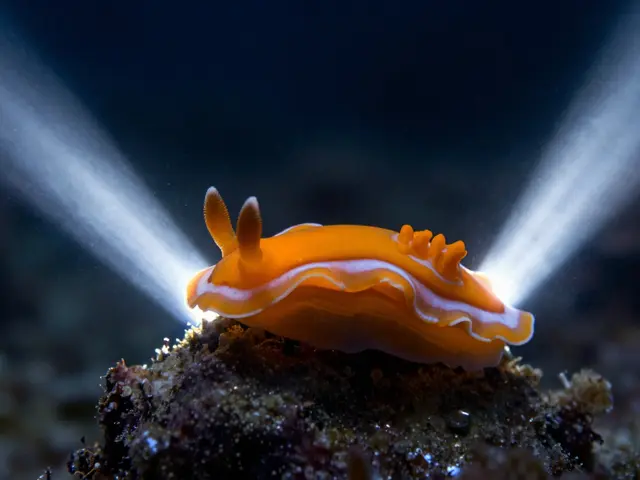
Most underwater macro shots fail for one reason: the light is wrong. It’s too flat, too harsh, or it washes out the delicate details of a nudibranch or a pipefish. Getting underwater macro lighting right isn’t about buying the most expensive strobes; it’s about controlling how that light hits your subject. You need to shape the beam, soften the edges, and place the lights in specific spots to bring out texture and color without creating ugly shadows.
This guide breaks down the three pillars of lighting control: snoots, diffusers, and positioning. We’ll look at why each tool matters, when to use them, and how they work together to create professional-looking images from just a few feet away.
Why Standard Strobe Light Fails in Macro
When you shoot wide-angle scenes, you usually want maximum coverage. Your strobes are set to their widest angle, flooding the scene with light. But macro photography flips this logic. You are often shooting subjects smaller than a coin, sometimes less than an inch. If you use a standard wide-beam strobe at close range, you aren’t illuminating the subject; you’re illuminating the entire water column around it. This causes backscatter-those annoying white specks in your photos-and dilutes the light intensity where you actually need it.
The goal in macro is precision. You want a concentrated pool of light that hits the subject but fades quickly into the surrounding darkness. This contrast makes colors pop and isolates the subject from the background. To achieve this, you need to manipulate the physical output of your strobes using accessories like snoots and diffusers, then position those strobes with geometric care.
Snoots: Narrowing the Beam for Precision
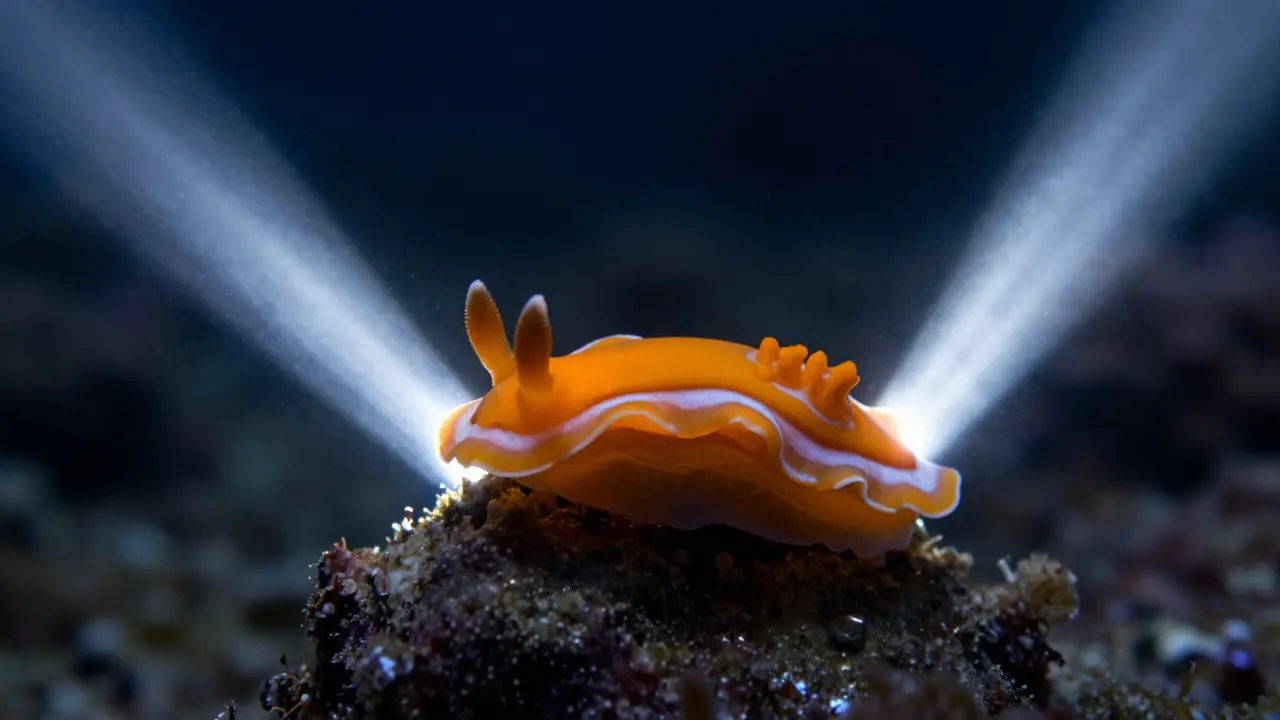
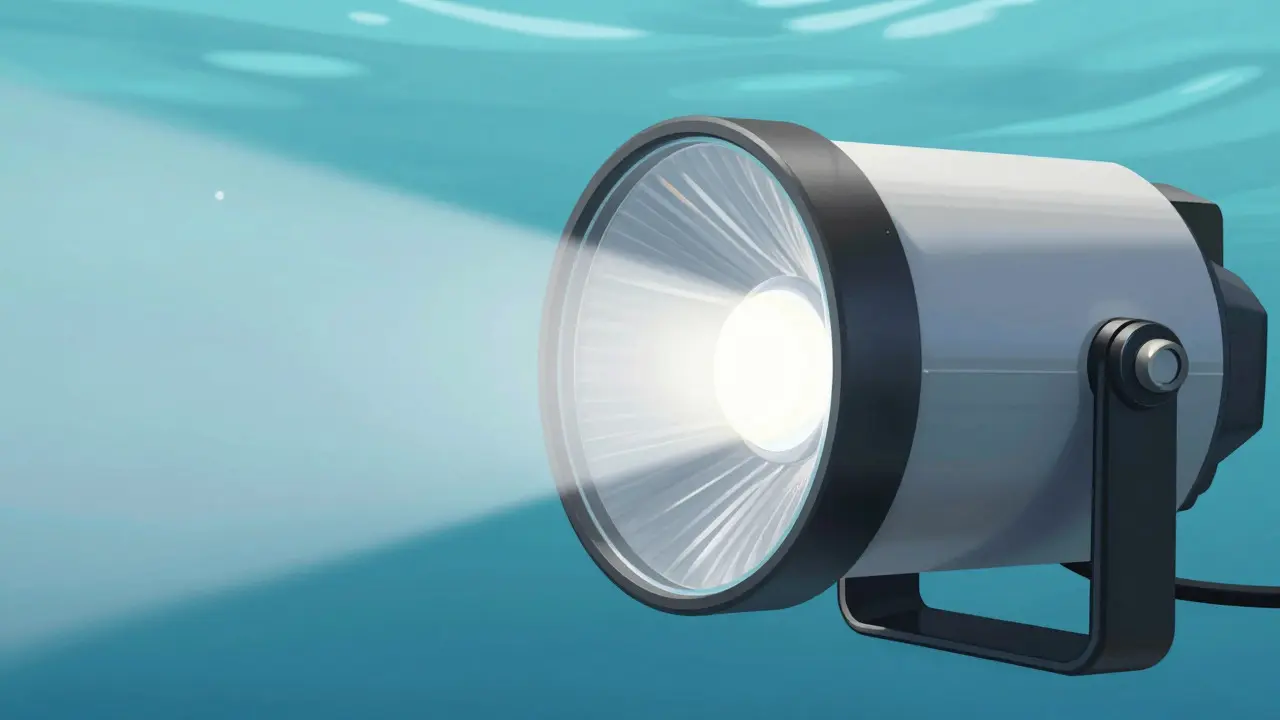
Snoots are cylindrical attachments that screw onto the front of an underwater strobe to narrow the beam angle. Think of them as a flashlight cone for your camera flash. Without a snoot, a typical strobe might emit a 100- to 140-degree beam. With a snoot, you can restrict that to 30, 60, or even 90 degrees, depending on the model.
Here is why that matters for macro:
- Intensity Boost: By narrowing the beam, you concentrate the same amount of energy into a smaller area. This effectively increases the brightness on the subject without needing to raise your ISO or slow down your shutter speed.
- Backscatter Reduction: Since the light doesn’t spread as far, there is less chance of hitting particles in the water between you and the subject.
- Background Isolation: A tight beam ensures the background stays dark, which helps the subject stand out sharply.
However, snoots have a downside. They create hard edges. If your subject is moving or if your focus is slightly off, the transition from lit to unlit areas can look unnatural. This is where diffusers come in.
Diffusers: Softening the Edges
A Diffuser is a translucent material placed over the strobe head to scatter and soften the light. In macro photography, diffusers serve two distinct purposes depending on whether you use them alone or combined with a snoot.
If you use a diffuser alone (without a snoot), you get a softer, more natural look. This is great for subjects with fine, hair-like structures, such as certain types of sea fans or soft corals. The light wraps around the subject gently, reducing harsh shadows that might hide detail.
But for most macro work, the pro move is combining a snoot with a diffuser. Here is how that works:
- You attach the snoot to the strobe to narrow the beam.
- You place a diffuser panel over the open end of the snoot.
The Geometry of Light Positioning
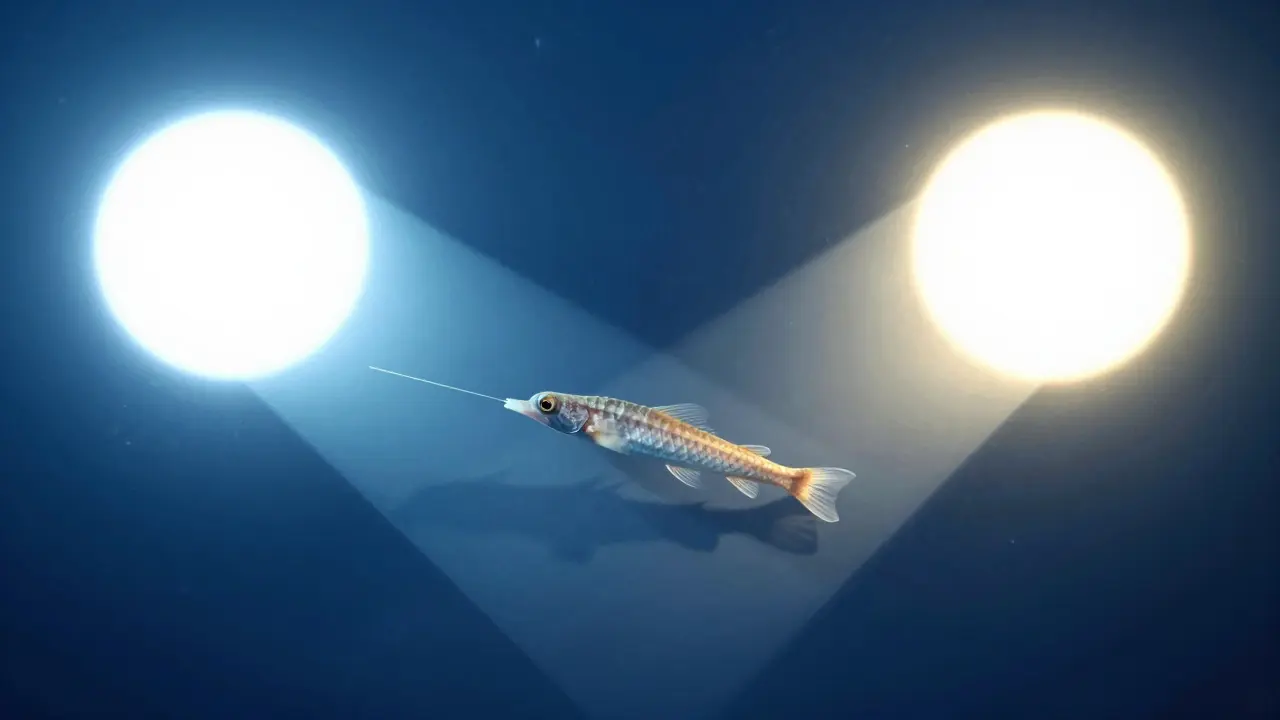
Even with the perfect snoot and diffuser setup, bad positioning will ruin your shot. Underwater macro lighting relies heavily on geometry. You are essentially working with two light sources (your left and right strobes) and a single point subject. The angles at which these lights hit the subject determine how three-dimensional it looks.
The golden rule for macro is the 45-degree rule. You should aim your strobes so that the light hits the subject at approximately 45 degrees from the camera axis. Why? Because this angle creates enough shadow to define form without being so steep that it hides detail in deep crevices.
Consider the difference between frontal lighting and side lighting:
| Light Angle | Visual Effect | Best For |
|---|---|---|
| Frontal (0 degrees) | Flat, two-dimensional look; minimal shadows | Transparent subjects, flat patterns |
| Side (45 degrees) | Strong dimensionality; highlights texture | Nudibranchs, crabs, textured shells |
| Raking (60+ degrees) | Dramatic shadows; high contrast | Artistic shots, emphasizing spikes/spines |
When you move the strobes further out (increasing the angle), you increase the contrast. This is powerful for subjects with protruding features, like the horns of a hermit crab or the tentacles of a polyp. The light catches the tips while leaving the base in shadow, making the subject look incredibly sharp. But be careful: if you go too extreme, you risk losing detail in the darker parts of the subject.
Practical Workflow: Setting Up Your Shot
Let’s walk through a real-world scenario. You spot a small, orange nudibranch on a rocky reef. It’s about two inches long. You swim up to frame it, but the first test shot looks washed out and lacks depth. Here is how you fix it step-by-step:
- Check your distance: Get as close as possible without getting too close to avoid disturbing the animal. Aim for a working distance of 12 to 18 inches.
- Attach your tools: Put snoots on both strobes. Add diffusers over the snoots to soften the edges.
- Position the lights: Move your left and right arms outward so the strobes are angled inward toward the subject. Aim for that 45-degree sweet spot.
- Test and adjust: Take a photo. If the subject looks flat, move the strobes wider. If the shadows are too harsh, add a stronger diffuser or move the strobes closer to the center.
- Watch the background: Ensure the snooted beams are not hitting the rock behind the nudibranch. If they are, tighten the snoot angle or reposition the lights higher or lower.
This process takes seconds once you are comfortable. The key is to treat the lights as part of your composition, not just as illumination tools.
Common Mistakes to Avoid
Even experienced photographers make these errors. Keep an eye out for them:
- Using full power unnecessarily: With snoots, you don’t need max power. Start at 1/4 or 1/8 power and work up. Lower power reduces the chance of overexposing bright parts of the subject.
- Ignoring white balance: Underwater, everything turns blue. Make sure your camera is set to the correct white balance for your depth, or use a custom preset. Otherwise, your carefully lit subject will look tinted.
- Forgetting about the second light: In macro, both lights matter equally. If one is brighter than the other, you’ll get uneven shadows. Check your settings to ensure both strobes are firing at the same power level.
Frequently Asked Questions
Do I always need a snoot for macro?
Not always. If you are shooting very large macro subjects, like a big lobster or a group of cleaner shrimp, a standard wide beam might suffice. However, for subjects under 4 inches, a snoot is highly recommended to control backscatter and increase intensity.
What kind of diffuser is best for underwater use?
Look for diffusers made of flexible, clear plastic that can withstand pressure. Some brands offer magnetic diffusers that stick to the strobe head, while others are clip-on. The material should be smooth to avoid creating hotspots in the light pattern.
How do I know if my light angle is correct?
Take a test shot and zoom in. Look at the shadows on the subject. If the shadows are directly behind the subject relative to the camera, your lights are too centered. If the shadows are visible on the sides, you are likely in the 45-degree zone. Adjust until the shadows define the shape without obscuring important details.
Can I use LED panels instead of strobes for macro?
Yes, continuous LEDs are excellent for video and stills because you can see the lighting effect in real-time. However, they generally lack the peak power of strobes, so you may need to get closer or use a faster lens aperture. The principles of snooting and positioning still apply, though many LED systems have built-in beam control.
What happens if I only use one light?
One light creates strong directional shadows. This can be artistic, but it often hides half the subject’s detail. Two lights allow you to fill in those shadows while maintaining dimensionality. If you must use one, position it to the side to maximize texture visibility.