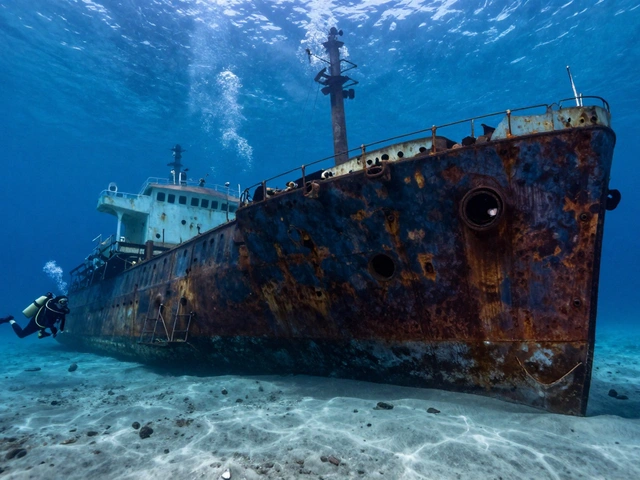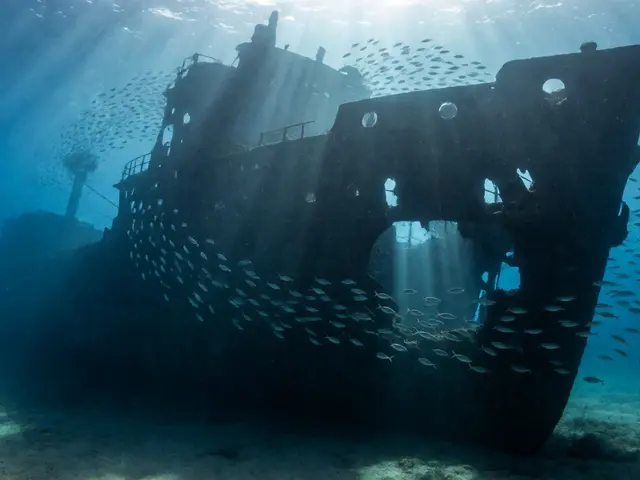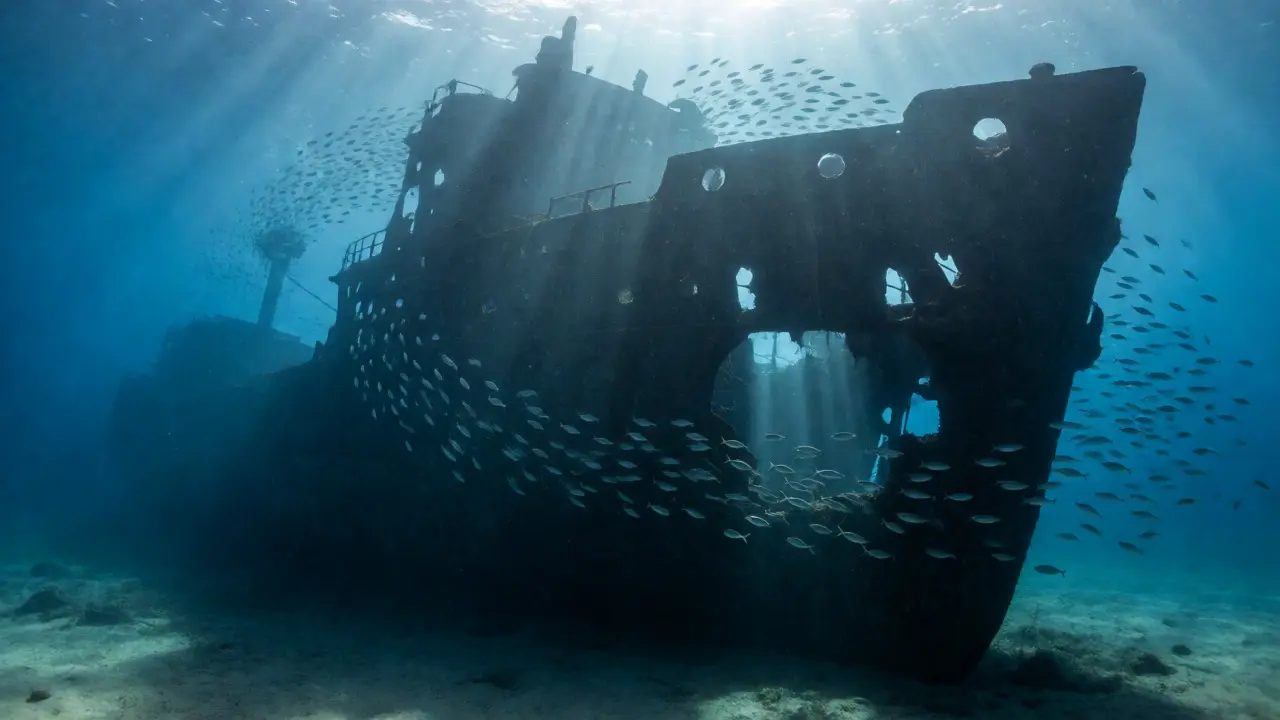
You’ve seen the photos. The ghostly silhouette of a sunken freighter resting on the sand, shafts of sunlight piercing through broken hulls, schools of fish swirling around rusted metal. It looks magical, but getting that shot is harder than it seems. Wreck photography isn’t just about pointing your camera at a big object; it’s about understanding light, buoyancy, and composition in an environment that actively fights you.
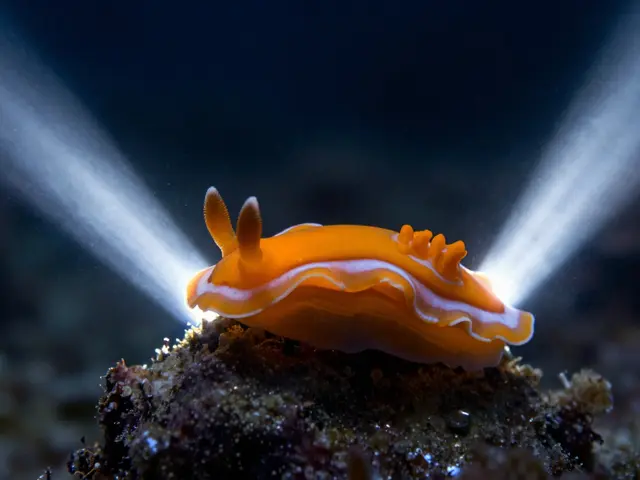
If you’re tired of flat, blue-tinted snapshots that look like everyone else’s dive log, this guide breaks down exactly how to capture the drama of submerged structures. We aren’t talking about macro shots of nudibranchs here. This is about scale, atmosphere, and telling the story of what went wrong-and why it’s beautiful now.
The Gear That Actually Works for Wrecks
Let’s cut through the noise. You don’t need a $10,000 rig to take great wreck photos, but you do need the right tools for the job. Wide-angle lenses are non-negotiable. Why? Because water absorbs red light quickly, and distance makes everything look smaller and hazier. If you try to shoot a whole ship with a standard zoom lens from ten feet away, you’ll get a tiny speck in a sea of blue.
A fisheye or rectilinear wide-angle lens (like a 15mm full-frame equivalent) lets you get close. Really close. In underwater photography, proximity is clarity. By moving within two to three feet of a structure, you eliminate the water column between you and the subject, which reduces backscatter and increases color saturation. Most pro underwater photographers use dome ports with these lenses to correct for refraction, ensuring straight lines stay straight-crucial when photographing man-made structures with rigid geometry.
| Gear Type | Best For | Key Advantage | Common Pitfall |
|---|---|---|---|
| Wide-Angle Lens + Dome Port | Full wreck exteriors, interior rooms | Corrects refraction, allows extreme closeness | Vignetting if not centered; hard to focus manually |
| Strobes (Dual) | Restoring color, adding depth | Reveals texture and separates subject from background | Backscatter if too close to particles |
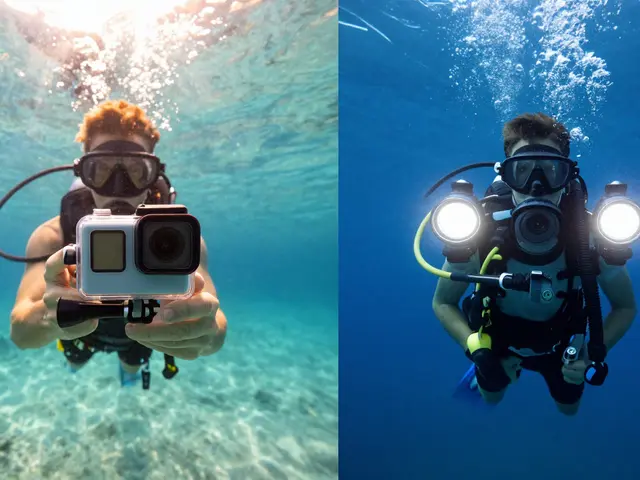
| Focus Light / Video Light | Focusing in low light, modeling strobe position | Helps see what you’re framing before firing strobes | Can overheat; drains battery fast |
| Neutral Buoyancy Trim | Stability, hovering without kicking up silt | Cleaner images, less disturbance to marine life | Requires practice to master weighting |
Mastering Light in the Blue Void
Sunlight is your best friend and worst enemy underwater. At 30 feet, you lose most red wavelengths. At 60 feet, you’re living in a monochrome world of blues and greens unless you bring artificial light. This is where strobes come into play. They aren’t just for brightness; they’re for separation.
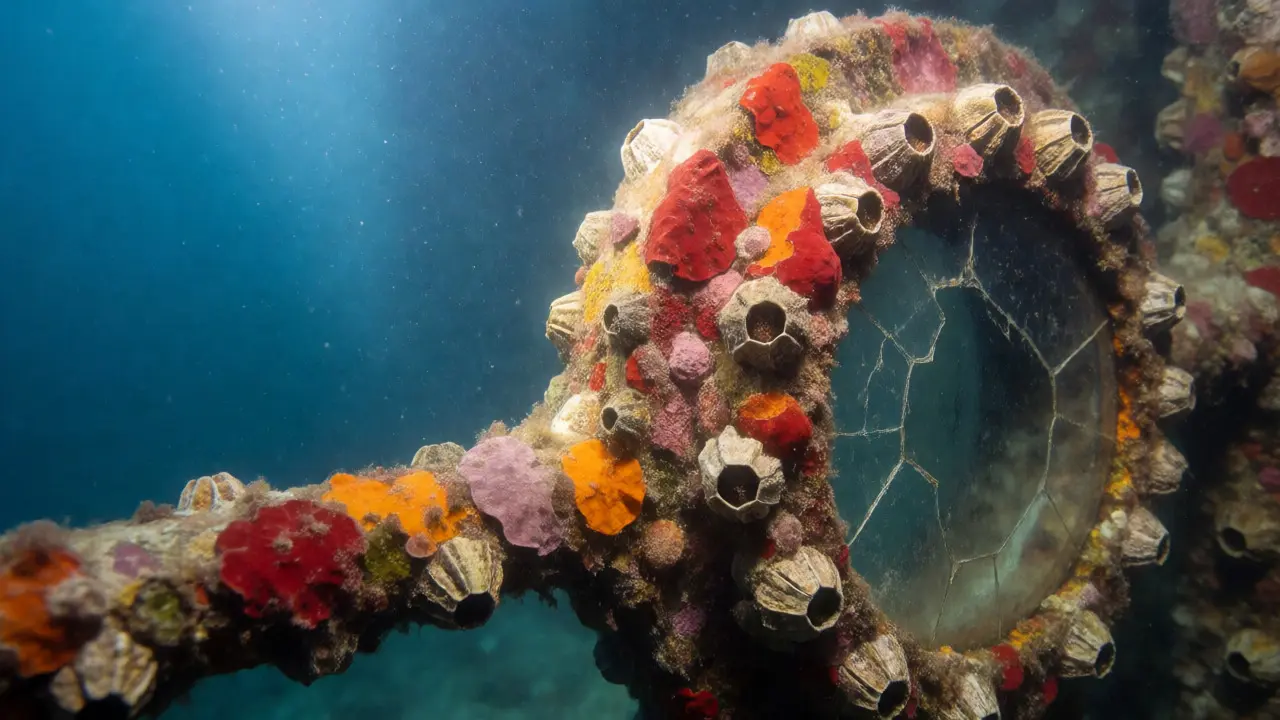
When you shoot a large wreck, the background often blends into the foreground because there’s no distinct horizon line. Strobes create a "pop" by illuminating the foreground while leaving the background darker. This contrast draws the viewer’s eye to the detail-the barnacle-encrusted railing or the cracked porthole-rather than letting it get lost in the haze.
But here’s the trap: backscatter. Every particle in the water reflects light. If your strobes are too close to the lens, you’ll end up with white snowflakes ruining your image. The solution? Move your strobes out and forward. Use arms to push them away from the housing, aiming them slightly inward toward the subject. This creates a cone of light that hits the wreck but misses the floating debris between you and the lens.
Composition Strategies for Sunken Giants
Shooting a shipwreck is different from shooting a reef. Reefs are chaotic and colorful; wrecks are geometric and imposing. You need to emphasize their size and history. One effective technique is using leading lines. The bow of a ship, a row of portholes, or the curve of a mast can guide the viewer’s eye through the frame. Position yourself so these lines start in the corner of your image and lead toward the main subject.
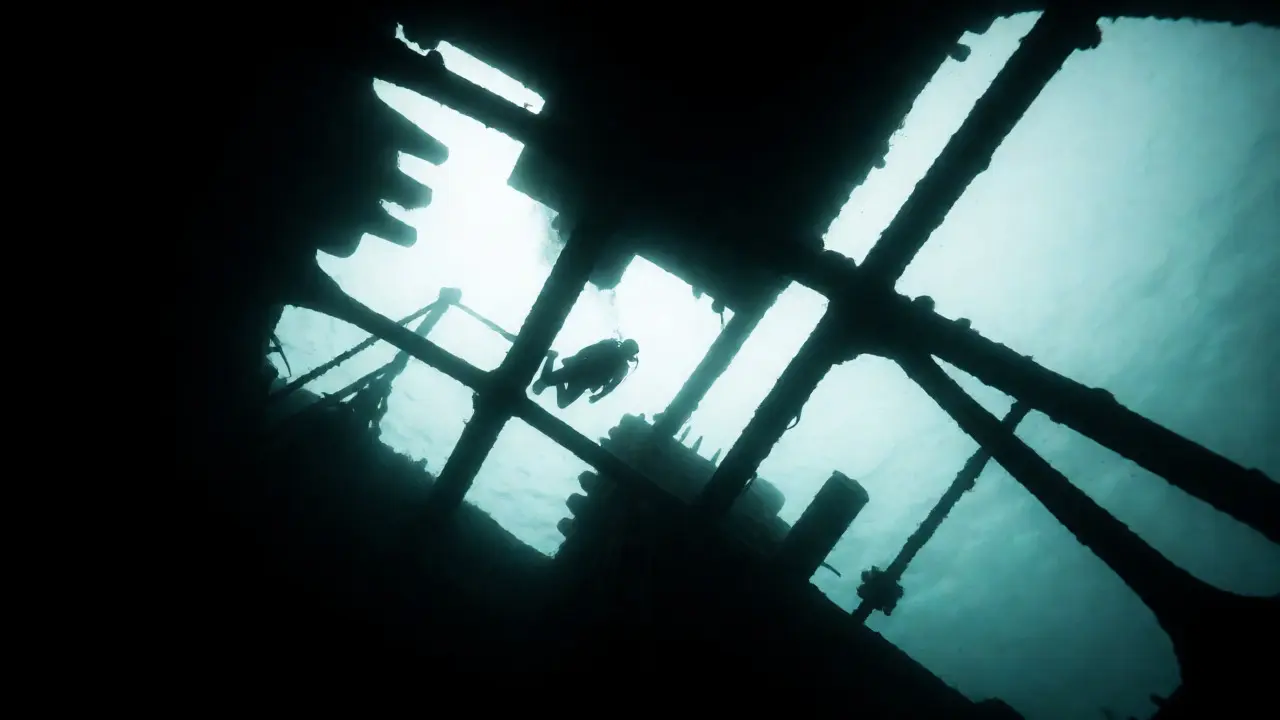
Another powerful approach is silhouetting. When shooting interiors or looking up toward the surface, turn off your strobes and expose for the bright background. This turns the complex details of the wreck into stark, dramatic shapes against the light. It simplifies the scene and adds mystery. Think of the famous shots of divers swimming through the superstructure of the SS Thistlegorm. The diver is small, the wreck is massive, and the light does all the storytelling.
Don’t forget perspective. Most beginners shoot from eye level, parallel to the seabed. Boring. Try shooting from below, looking up at the underside of a deck. Or float above and shoot down into an open hold. Changing your angle changes the emotional impact. Looking up feels awe-inspiring; looking down feels exploratory.
Buoyancy: The Silent Killer of Good Photos
You can have the best gear in the world, but if you’re stirring up silt every time you move, your photos will be muddy. Wrecks sit on soft bottoms. A single kick can cloud the water for minutes. Before you even raise your camera, check your trim. Are you horizontal? Is your weight distribution balanced?
Practice hovering motionless. Use your fins only for minor adjustments, not propulsion. If you need to move, do it slowly and gently. Better yet, anchor yourself to a stable part of the wreck if local regulations allow. Holding onto a solid structure stabilizes your camera and prevents drift. Remember, patience pays off. Wait for the current to calm down. Wait for the fish to settle. Wait until the water clears before pressing the shutter.
Post-Processing: Bringing Out the Story
Rarely does an underwater RAW file look perfect straight out of the camera. Water flattens contrast and shifts colors. Post-processing is where you restore reality-or enhance it artistically.
Start with white balance correction. Even with auto-WB, underwater images tend to lean cyan. Use a gray card reference if you took one, or manually adjust the temperature slider until the whites look neutral. Then, tackle contrast. Underwater images are often hazy due to suspended particles. Increasing contrast helps, but be careful not to crush the shadows. Instead, use dehaze sliders in software like Adobe Lightroom or Capture One. These tools specifically target atmospheric scattering, cutting through the "blue fog" to reveal crisp details.
Cropping is also vital. Since you’re likely using a wide-angle lens, there will be empty space around the edges. Crop tightly to remove distractions and focus on the narrative element-a diver interacting with the wreck, or a specific architectural feature.
Legal and Ethical Considerations
Not all wrecks are playgrounds. Many are war graves or protected heritage sites. Before you enter the water, research the site’s status. In places like the Red Sea or Truk Lagoon, touching certain areas might be prohibited. Always maintain a respectful distance. Your goal is to document, not disturb.
Also, consider the ethics of staging. Some photographers pose models or place props. That’s fine, as long as it’s transparent. Don’t pretend a staged shot is candid documentary work. Honesty builds trust with your audience and the diving community.
Do I need strobes for wreck photography?
Yes, for most situations. Natural light fades rapidly underwater, especially at depths greater than 15 meters. Strobes restore lost colors (reds and oranges) and add dimension by creating shadows that define the structure's shape. Without them, your photos will likely appear flat and blue-green.
What is the best lens for shooting shipwrecks?
A wide-angle lens, typically between 10mm and 20mm (full-frame equivalent), is ideal. This focal length allows you to get physically close to the wreck, which minimizes water distortion and maximizes sharpness. Pairing this with a dome port corrects for refractive errors, keeping straight lines straight.
How do I avoid backscatter in my photos?
Move your strobes further away from the lens and aim them outward or slightly forward. Backscatter occurs when light hits particles between the lens and the subject. By widening the beam angle and increasing the distance between the strobe and the lens, you reduce the volume of illuminated water in the immediate foreground, thus reducing visible particles.
Is it better to shoot in RAW or JPEG underwater?
Always shoot in RAW. Underwater conditions are unpredictable, and white balance issues are common. RAW files retain much more data, allowing you to fix color casts and recover details from shadows and highlights during post-processing. JPEGs bake in these errors, making them difficult to correct later.
How important is buoyancy control for underwater photography?
It is critical. Poor buoyancy leads to kicking up silt, which clouds the water and ruins visibility. It also causes camera shake and makes it hard to compose shots steadily. Mastering neutral buoyancy allows you to hover precisely, ensuring sharp images and a clean environment.