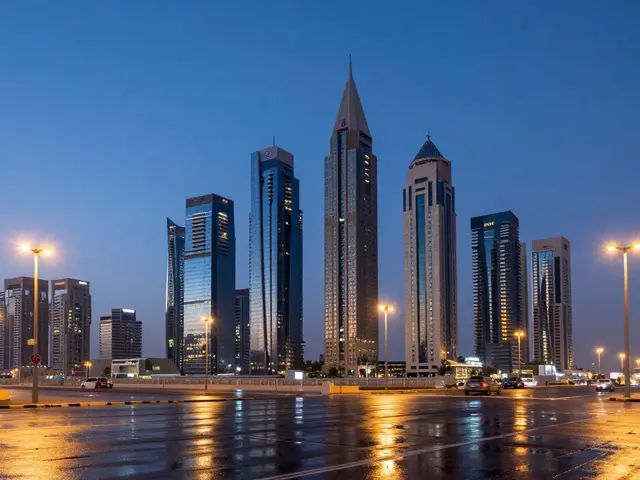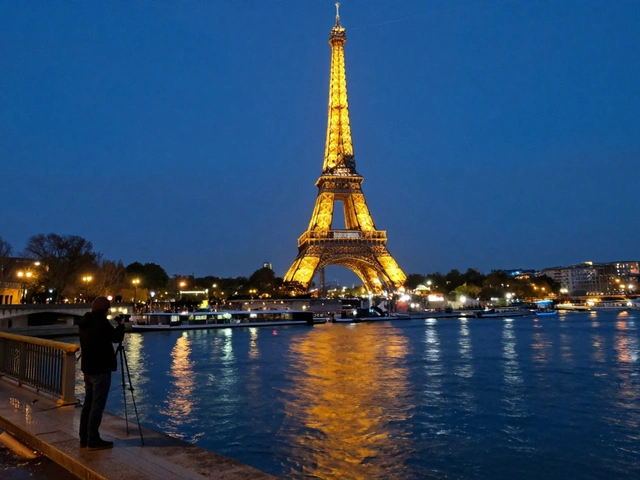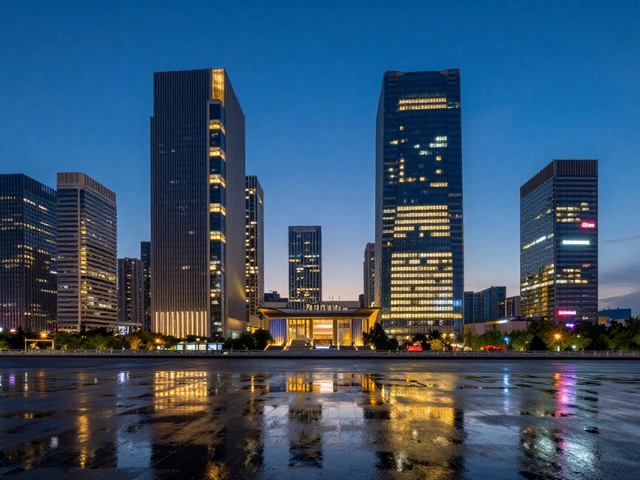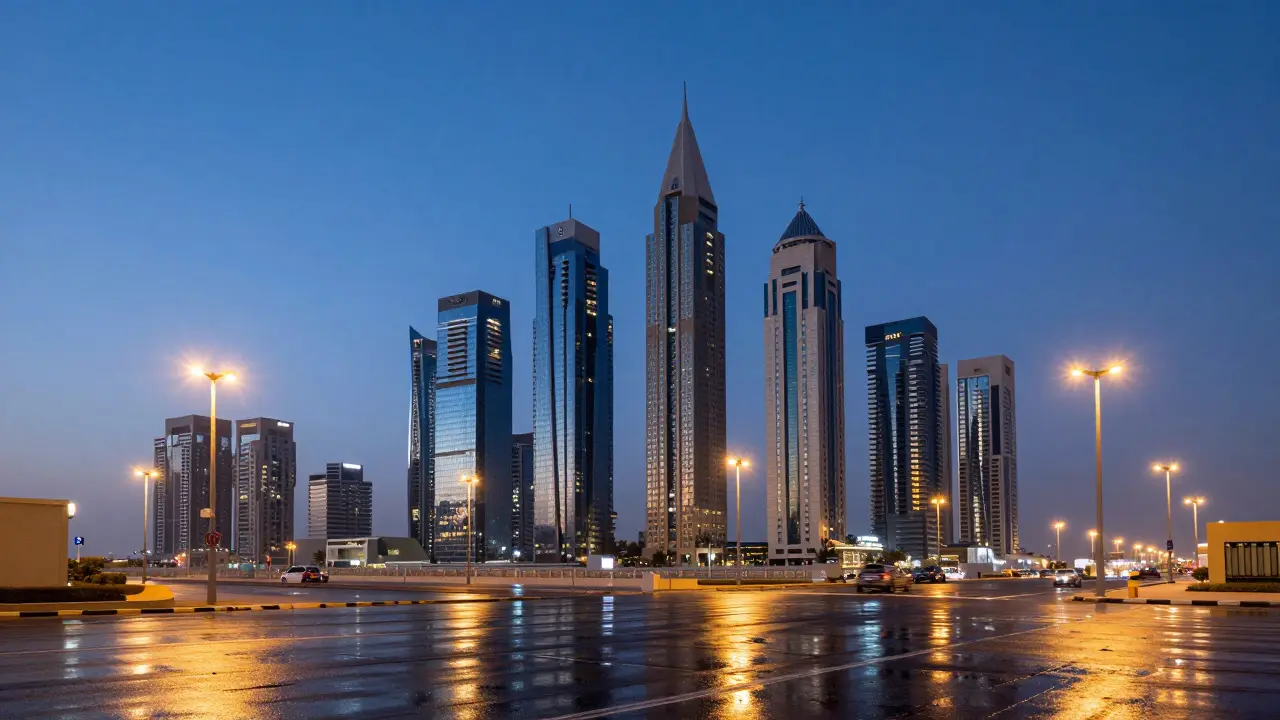
There is a specific moment in the evening when the sky turns a deep, saturated indigo while streetlights flicker on. This is the Blue Hour, a window of time that offers photographers a unique challenge: capturing both the fading natural light and the emerging artificial glow without losing detail in either. Many beginners struggle here because standard metering modes often favor one source over the other, resulting in blown-out windows or crushed shadows. The key to mastering this look lies not just in camera settings, but in understanding how your sensor perceives color temperature and dynamic range during this transitional phase.
To get it right, you need to treat the scene as two distinct lighting environments happening simultaneously. The sky is still receiving scattered sunlight, which gives it its characteristic cool hue. Meanwhile, the city below is bathed in warm sodium-vapor or LED light. If you expose for the sky, the streets will look dark and murky. If you expose for the streets, the sky will turn black too quickly. The solution involves a deliberate underexposure of the highlights while protecting the midtones, a technique that requires precise control over your shutter speed and aperture.
Understanding the Physics of Twilight Light
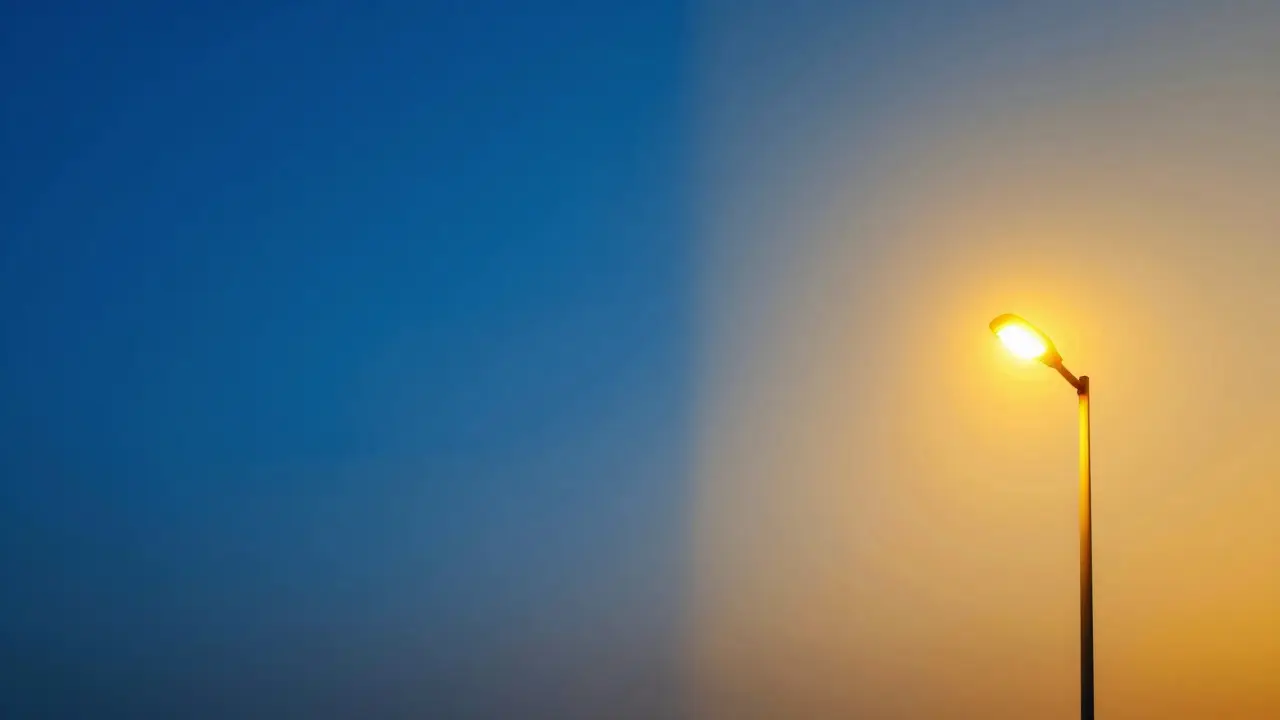
The Blue Hour occurs approximately 30 to 45 minutes after sunset, depending on your latitude and season. During this time, direct sunlight has hit the horizon, but the upper atmosphere is still illuminated by refracted rays. This creates a low-intensity, high-diffusion light source that is significantly cooler than daylight. In terms of color temperature, the sky can range from 8,000K to 12,000K, whereas typical urban streetlights operate between 2,700K and 4,000K. This massive gap in Kelvin values is why balancing them is so difficult; your camera’s white balance setting cannot perfectly satisfy both extremes at once.
However, you don’t always need perfect neutrality. In fact, the contrast between the cool blue sky and the warm yellow lights is what makes these images visually compelling. The goal isn’t to make everything look “correct” in real life, but to enhance the atmospheric mood. You are essentially painting with light temperatures. By slightly shifting your white balance toward the warmer side (around 5,500K), you allow the sky to retain its blue depth while keeping the streetlights from looking overly orange or harsh. This subtle adjustment preserves the emotional weight of the scene.
Camera Settings for Dynamic Range Control
When shooting during the Blue Hour, your primary enemy is clipping highlights. Windows in buildings, neon signs, and traffic lights are extremely bright compared to the dimming sky. To manage this, start with a manual mode setup. A good baseline is an aperture of f/8 or f/11, which provides enough depth of field to keep foreground elements sharp while allowing for a slower shutter speed. Your ISO should remain as low as possible, typically ISO 100 or 200, to minimize noise in the darker areas of the frame.
The shutter speed is where the magic happens. You want it slow enough to let the ambient light register but fast enough to prevent the artificial lights from blooming excessively. For most urban scenes, a shutter speed between 1/4 second and 2 seconds works well. Use your camera’s histogram to guide you. You want the graph to peak in the middle-to-left area, ensuring that the rightmost edge (highlights) doesn’t touch the wall. If the sky looks too dark, increase your exposure compensation by +0.3 or +0.7 stops, then re-check the highlights. This iterative process is faster than trying to guess the perfect setting upfront.
Composition Strategies for Urban Environments
Lighting is only half the battle; composition determines whether the image feels chaotic or cohesive. In a cityscape, you have countless light sources competing for attention. To create a strong visual hierarchy, look for leading lines that draw the eye from the foreground into the distance. Wet pavement after rain acts as a natural reflector, doubling the impact of artificial lights and adding texture to the lower third of your frame. These reflections bridge the gap between the cool sky and the warm ground, creating a seamless transition in color.
Consider the placement of your subject relative to the light sources. If you place a brightly lit building directly against the brightest part of the sky, you risk losing detail in both. Instead, position structures so that their silhouettes are backlit by the fading sun, or place them in front of darker portions of the sky. This contrast helps define the architectural forms. Also, watch out for stray light pollution. Distant city glows can wash out the stars if you’re aiming for a longer exposure, so check your horizon for unnecessary brightness that might distract from the main subject.
Managing White Balance and Color Grading
While in-camera white balance is crucial, post-processing is where you truly fine-tune the balance. When you import your RAW files, you’ll notice that the blue cast in the sky and the orange cast in the lights are separate data streams. Most modern editing software allows you to adjust the temperature and tint independently for different parts of the image using masks or local adjustments. Start by neutralizing the overall image, then selectively add warmth to the artificial light sources and coolness to the sky.
A common mistake is over-saturating the blues. While vibrant skies are attractive, they can look unnatural if pushed too far. Aim for a realistic yet enhanced tone. Check your skin tones if people are present in the shot; they should not appear greenish or overly magenta. If they do, your white balance shift was too aggressive. Additionally, pay attention to the midtones. Often, the gray areas of buildings can look muddy if the contrast isn’t managed properly. Adding a slight S-curve to the tonal histogram can restore clarity without crushing the blacks.
Equipment Considerations and Stabilization
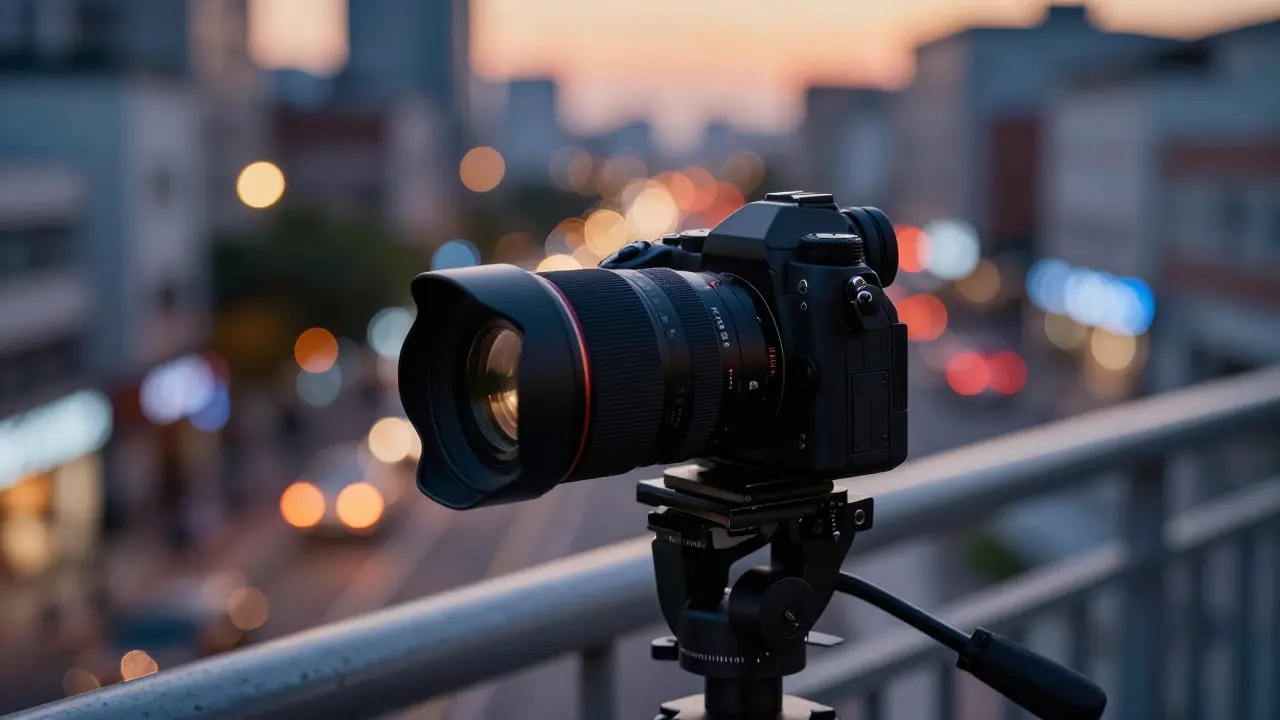
Because Blue Hour shots require slower shutter speeds, camera shake is a significant risk. Even a small vibration can blur the edges of buildings or smear the points of light. A sturdy tripod is non-negotiable for this type of photography. Use a remote shutter release or your camera’s self-timer function to avoid pressing the shutter button manually, which can introduce movement. If you’re using a lens with optical stabilization, consider turning it off when mounted on a tripod, as some systems can cause micro-adjustments that lead to softness.
Lens choice also matters. Wide-angle lenses (16mm to 35mm) are ideal for capturing the expanse of the city and the sky. However, be mindful of distortion. Straighten vertical lines in post-processing if necessary, especially when shooting tall skyscrapers. A tilt-shift lens can help correct perspective distortion in-camera, but it’s expensive and specialized. For most photographers, a standard wide-angle zoom combined with careful framing and post-correction is sufficient. Ensure your filter stack is clean; smudges on polarizers or ND filters can scatter light and reduce contrast, particularly noticeable in low-light conditions.
Frequently Asked Questions
What is the best time to shoot Blue Hour cityscapes?
The optimal window is typically 20 to 40 minutes after sunset. This varies by location and season, but generally, you want to arrive about 15 minutes before sunset to set up, then wait for the sky to deepen in color. Check local sunset times and weather forecasts to ensure clear skies for the best results.
Should I use Auto White Balance or Manual?
Manual White Balance is recommended. Auto WB can fluctuate wildly as the light changes rapidly during twilight. Setting a fixed Kelvin value (around 5,500K to 6,000K) gives you consistent results across multiple shots, making post-processing easier and more predictable.
How do I prevent motion blur from traffic?
If you want light trails, use a longer exposure (2-5 seconds). If you want crisp cars, use a faster shutter speed (1/30s or faster) and increase your ISO accordingly. Alternatively, choose a less busy street or shoot from an elevated position where traffic moves out of frame quickly.
Is a tripod necessary for Blue Hour photography?
Yes, for most cases. Since you are likely using shutter speeds slower than 1/60s, handholding will result in blur. A tripod ensures sharpness in static elements like buildings and trees. If you must handheld, use a higher ISO and wider aperture, accepting some noise in exchange for stability.
How do I handle mixed lighting colors in post-production?
Use local adjustment tools like radial gradients or brushes to tweak the temperature and tint of specific areas. Warm up the streetlights and cool down the sky separately. Avoid global adjustments that affect the entire image uniformly, as this will compromise the balance between the two light sources.