Walking into a dark studio with just a camera in your hand can feel overwhelming. You have lights, stands, modifiers, and cables everywhere, but where do you start? A proper studio portrait setup isn't about owning the most expensive gear; it's about understanding how light behaves on a face and controlling it to create the mood you want. Whether you are shooting headshots for clients or artistic portraits for a portfolio, mastering the basics of artificial lighting will change your results more than any new lens ever could.
Key Takeaways
- The core of any portrait session is controlling light direction and quality, not just brightness.
- A two-light setup (key and fill) is the most versatile starting point for beginners and pros alike.
- Softboxes and umbrellas soften shadows, while snoots and grids create dramatic, hard-edged looks.
- White balance consistency is critical when mixing multiple light sources.
- Background separation depends on light spill control and distance from the subject.
The Foundation: Light Sources and Modifiers
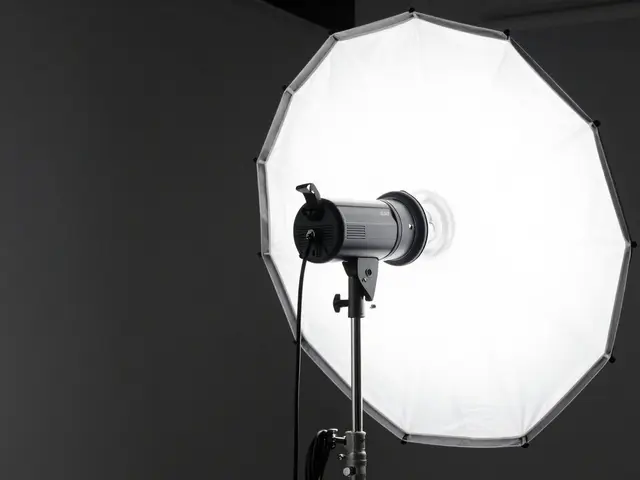
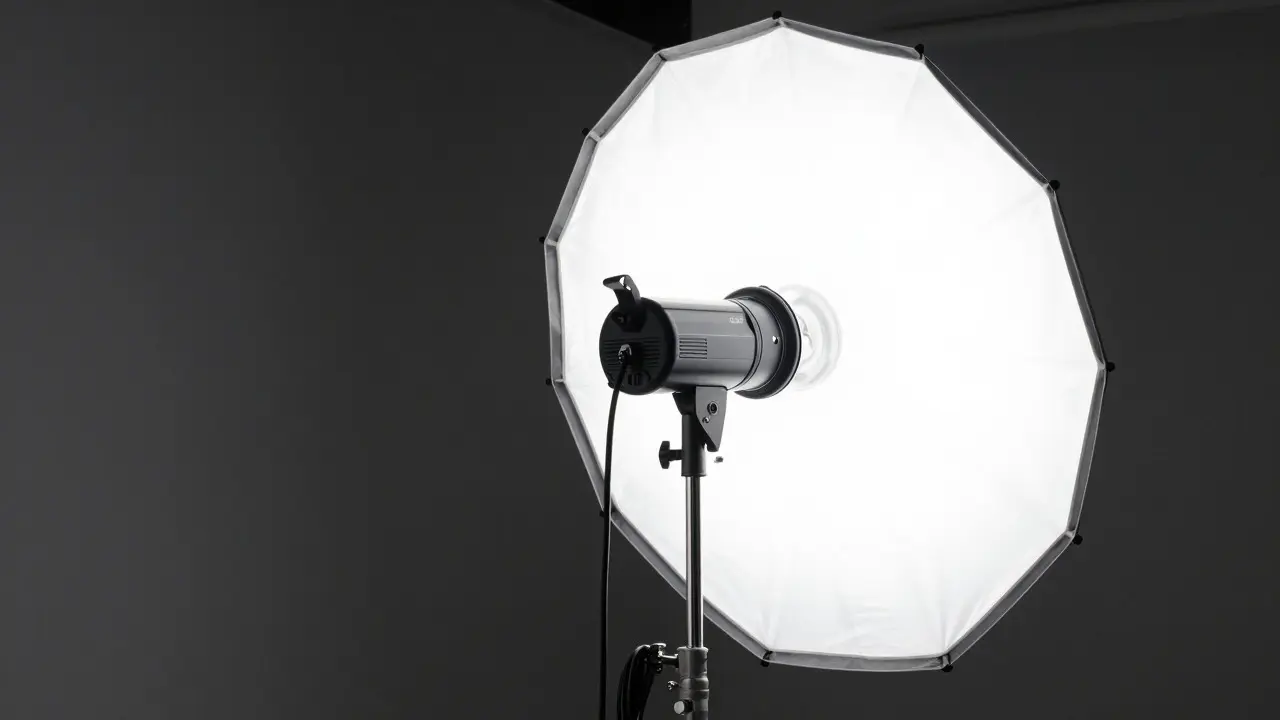
Before you worry about cameras or lenses, you need to understand the tools that shape the image. The primary entity here is the Strobe Flash, which is a high-powered electronic flash unit used in studios to provide consistent, powerful illumination. Unlike on-camera flashes, strobes recycle quickly and offer precise power control, allowing you to expose for the background separately from the subject.
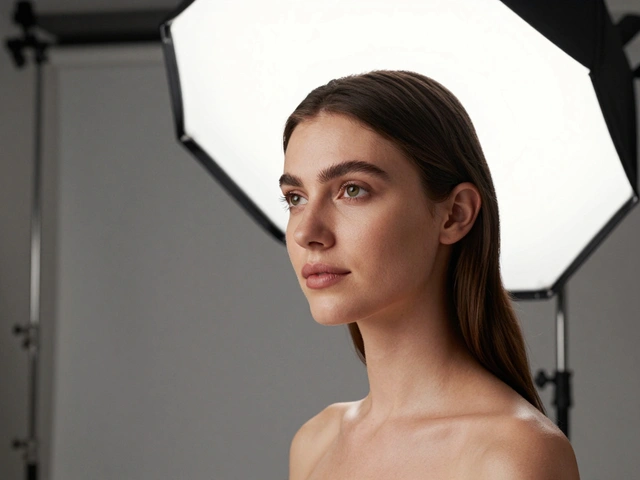
However, raw strobe light is harsh and unflattering. This is where Light Modifiers come in. These devices alter the size, direction, and quality of the light. The most common modifier is the Softbox, a fabric enclosure that diffuses light through a front panel. A larger softbox creates softer shadows because the light source appears bigger relative to the subject. For example, an 18-inch softbox produces gentle transitions, while a 4x5 foot softbox wraps around the face, minimizing pore texture and creating a smooth, flattering look.
| Modifier Type | Light Quality | Best Use Case | Control Level |
|---|---|---|---|
| Umbrella (Shoot-through) | Very Soft | General portraiture, group shots | Low |
| Softbox (Octagon/Square) | Soft to Medium | Beauty, corporate headshots | Medium |
| Reflector (Silver/Gold) | Hard to Medium | Adding catchlights, rim lighting | High |
| Snoot/Grid | Hard/Focused | Dramatic accents, hair lighting | Very High |
Building Your First Two-Light Setup
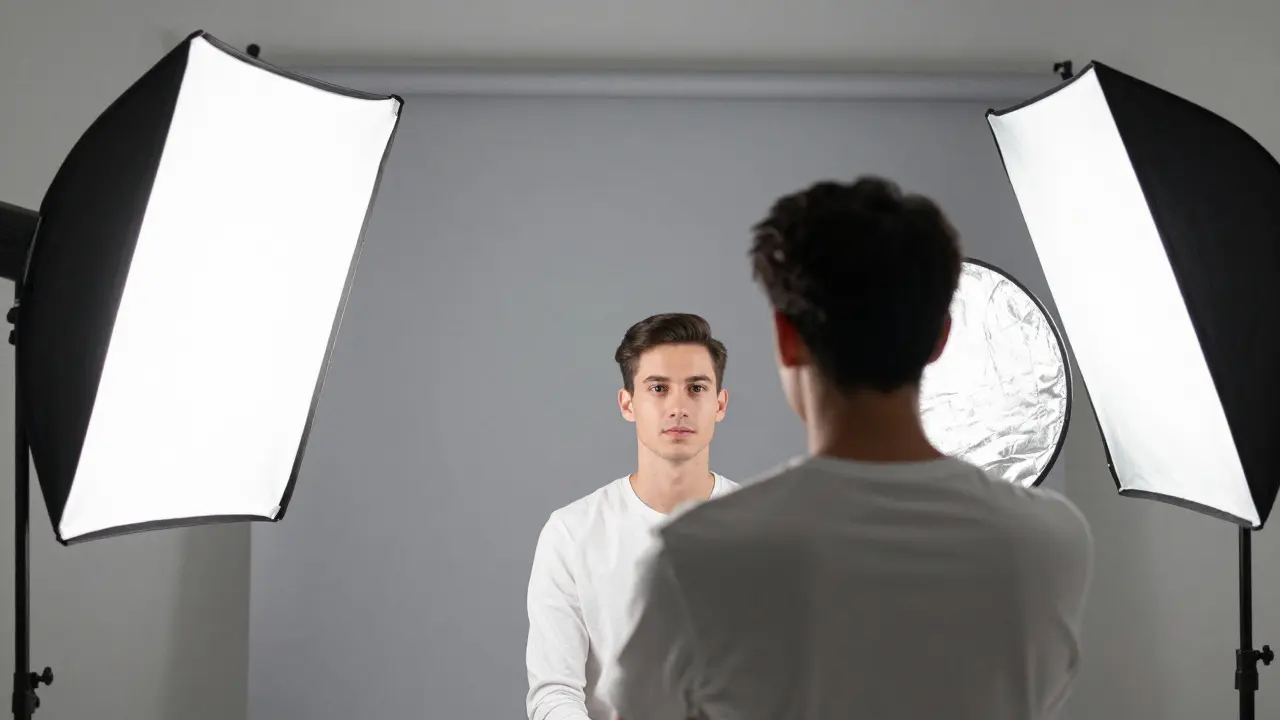
You don't need four lights to make a great portrait. In fact, too many lights can clutter the scene and confuse the viewer. The industry standard for learning is a two-light system. The first light is the Key Light, which provides the main illumination. Place this at a 45-degree angle to the subject’s face, slightly above eye level. This position mimics natural window light and creates a classic, pleasing shadow pattern under the nose and chin.
The second light is the Fill Light. Its job is not to illuminate the entire face equally, but to lift the shadows created by the key light. If the shadows are too dark, details in the eyes or cheekbones get lost. Position the fill light on the opposite side of the camera axis, usually further away than the key light to keep its intensity lower. A good rule of thumb is to set the fill light one stop less powerful than the key light. This maintains contrast and dimension without flattening the face completely.
If you only have one light, use a Reflector as your fill. A silver reflector bounces back about 90% of the light, providing a strong fill, while a white reflector provides a gentler, more natural bounce. Holding a reflector also allows you to adjust the fill in real-time, something a second fixed light cannot do easily.
Mastering Background Separation
A common mistake in studio portraiture is having the subject blend into the background. To fix this, you must manage light spill. When your key light is aimed at the subject, some light inevitably hits the backdrop behind them. If the backdrop is the same color as the clothing, the subject disappears.
To separate the subject, you have three options:
- Distance: Move the subject further away from the backdrop. The further they are, the less light reaches the background due to the inverse square law.
- Flagging: Use black cards or flags to block light from hitting the background directly.
- Background Lighting: Add a third light dedicated solely to illuminating the backdrop. This allows you to darken the background even if the subject is brightly lit, creating a clean, professional look.
For a seamless look, use a paper roll or a large vinyl sheet. Paper is cheaper and easier to change colors, but it tears if handled roughly. Vinyl is durable and reusable but can wrinkle, which shows up in photos if the light is angled incorrectly.
Camera Settings and Exposure Control
When using studio strobes, your shutter speed matters less than you might think. Strobe flashes fire for a fraction of a millisecond, effectively freezing motion. However, you still need to set your camera correctly. Set your ISO to the base native value (usually 100) to ensure maximum image quality and minimal noise. Aperture controls your depth of field; f/5.6 to f/8 is often the sweet spot for portraits, ensuring the eyes are sharp while keeping the background softly blurred. Shutter speed should be set to your camera’s sync speed, typically between 1/125s and 1/200s. Going faster than this won’t help because the flash is already instantaneous.
One critical setting is White Balance. Studio strobes emit light at approximately 5500K, which matches daylight. Set your camera to Daylight mode or manually input 5500K. If you mix continuous LED lights with strobes, you must match their color temperatures exactly, or you’ll end up with orange faces and blue backgrounds. Always shoot in RAW format so you can fine-tune white balance in post-production without losing data.
Practical Workflow Tips
Setting up a studio takes time, but efficiency saves money and keeps clients happy. Here is a practical workflow that works well:
- Pre-visualize: Before turning on lights, sketch out where each light will go. Decide on the mood first-soft and friendly, or hard and dramatic?
- Test with Meter: Use a light meter to get accurate readings. While trial and error works, a meter ensures consistency across multiple shots. Measure the key light at the subject’s position, then measure the fill light. Adjust power until the ratio matches your desired look (e.g., 2:1 for soft, 4:1 for dramatic).
- Check for Hotspots: Look at the subject’s forehead and nose. If there are bright spots, the light is too close or too direct. Pull the light back or add a diffusion panel.
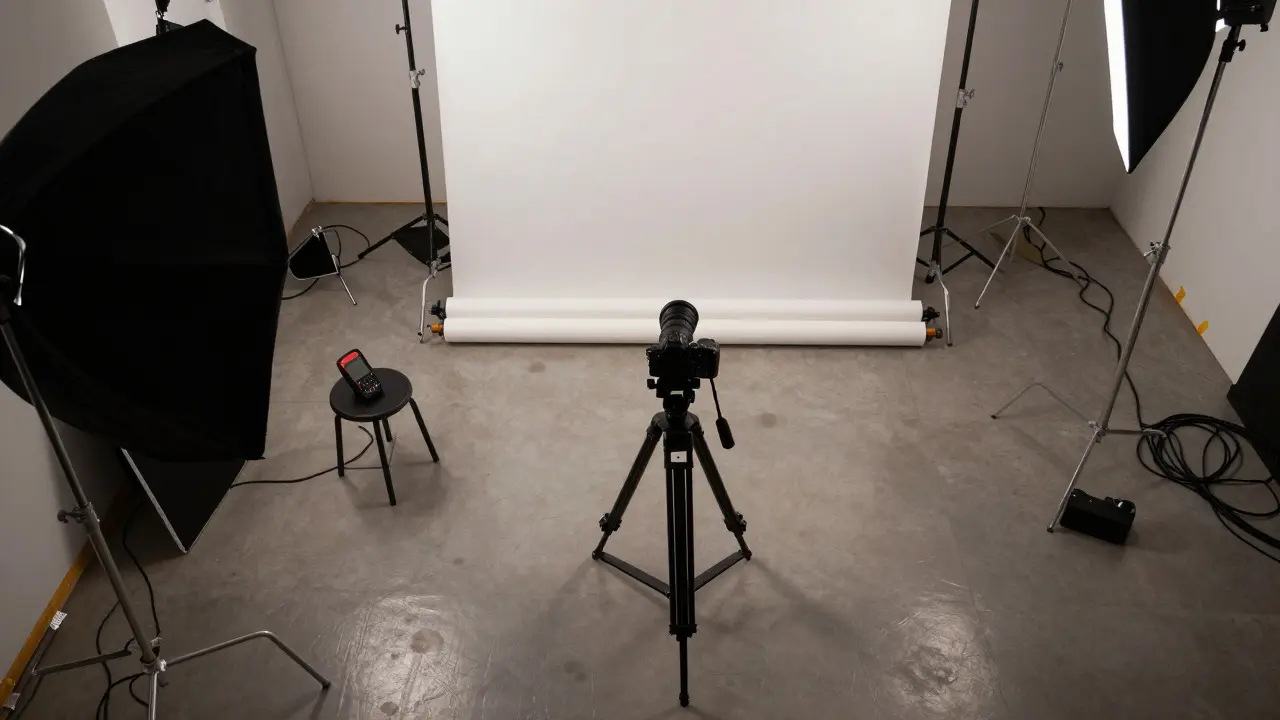
- Cable Management: Tape down all cables. Nothing ruins a photo like a visible cable running across the floor or a tripped stand knocking over a light.
Finally, invest in a sturdy light stand. Cheap stands wobble, causing blur if the subject moves or if the room vibrates. A weighted base adds stability, especially if you’re using heavy modifiers like large softboxes.
Frequently Asked Questions
Do I need a light meter for studio photography?
No, it is not strictly necessary. Many photographers rely on test shots and histogram analysis. However, a light meter speeds up the setup process significantly and helps maintain consistent exposure levels across different sessions and subjects, reducing guesswork and saving time during client shoots.
What is the best aperture for studio portraits?
There is no single best aperture, but f/5.6 to f/8 is generally recommended. This range provides enough depth of field to keep both eyes in focus while still blurring the background sufficiently. If you are shooting full-body portraits, you may need to stop down to f/11 to ensure the feet remain sharp.
How far should the softbox be from the subject?
The distance determines the hardness of the light. The closer the softbox, the softer the shadows. For a typical headshot, place the softbox about 3 to 5 feet from the subject. If you move it further away, the light becomes harder and more directional, similar to sunlight. Experiment with distance to find the look that suits your subject’s features.
Can I use continuous LEDs instead of strobes?
Yes, continuous LEDs are excellent for video and live-view photography. They allow you to see the final result instantly on the camera screen. However, they require higher ISO settings or wider apertures compared to strobes, which can introduce noise or limit depth of field. Strobes are better for high-quality stills with low noise, while LEDs are better for real-time adjustments and video work.
How do I avoid red-eye in studio portraits?
Red-eye occurs when light reflects off the retina. In studio setups, this is rare because lights are positioned off-axis. If you do see red-eye, it usually means the light is too close to the camera lens. Move the key light further away from the camera or use a flag to block direct reflection. Additionally, looking at the monitor rather than the lens can reduce the effect.