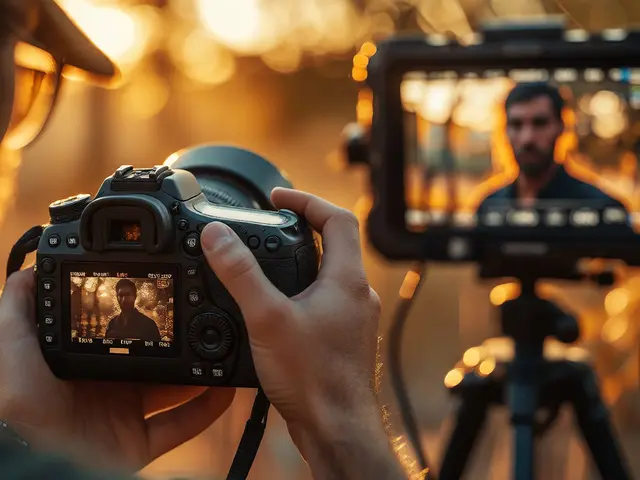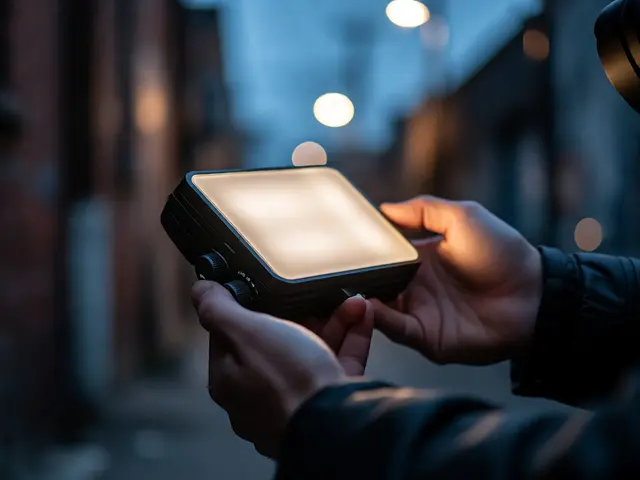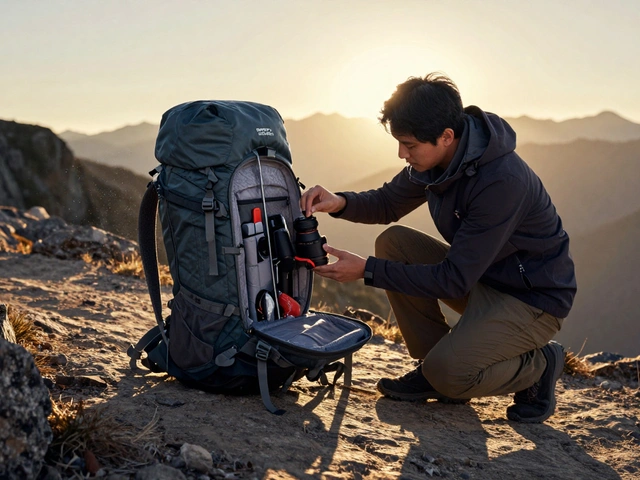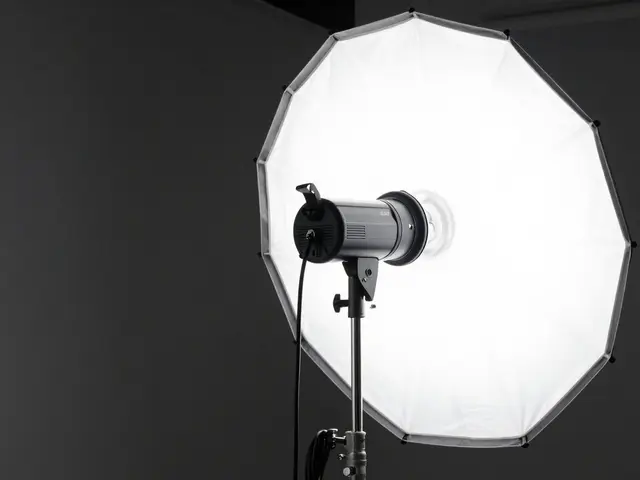
You’re standing in a dimly lit alleyway or a cramped client’s living room. The natural light is fading fast, and your camera settings are screaming for help. You need light that travels well, sets up in seconds, and doesn’t require a generator truck. This is where portable lighting kits become the difference between a missed shot and a portfolio piece.
For years, "portable" meant heavy tungsten bulbs that got hot enough to fry an egg and drained batteries in ten minutes. Not anymore. In 2026, we’re looking at bi-color LED panels, pocket-sized RGB wands, and battery systems that last all day. But with so many options flooding the market, how do you pick the right one without wasting cash? Let’s break down exactly what you need to know before you buy.
What Actually Counts as Portable?
Let’s clear up the confusion first. A big studio strobe isn’t portable just because it has wheels. True portability in photography means three things: weight, power source, and setup speed.
- Weight: If you can’t carry it in one hand while holding a coffee in the other, it’s not truly portable. We’re talking sub-5-pound units for handheld work, or softboxes that collapse into a bag smaller than a laptop sleeve.
- Power Source: It must run on rechargeable lithium-ion batteries. Plugging into a wall outlet limits your location. You want freedom to shoot in a forest, a parking garage, or a rooftop.
- Setup Speed: Can you get from case-open to shooting in under two minutes? If you have to assemble a complex umbrella system, you’re losing time-and momentum.
The sweet spot for most on-location shooters today is continuous LED light. Unlike flash, you see exactly what you’re getting before you press the shutter. This saves massive amounts of time when dealing with unpredictable ambient light conditions.
The Three Main Types of Portable Lights
Not all portable lights are created equal. Choosing the wrong type for your workflow is the fastest way to end up with gear collecting dust. Here are the three main categories you’ll encounter.
| Type | Best For | Pros | Cons |
|---|---|---|---|
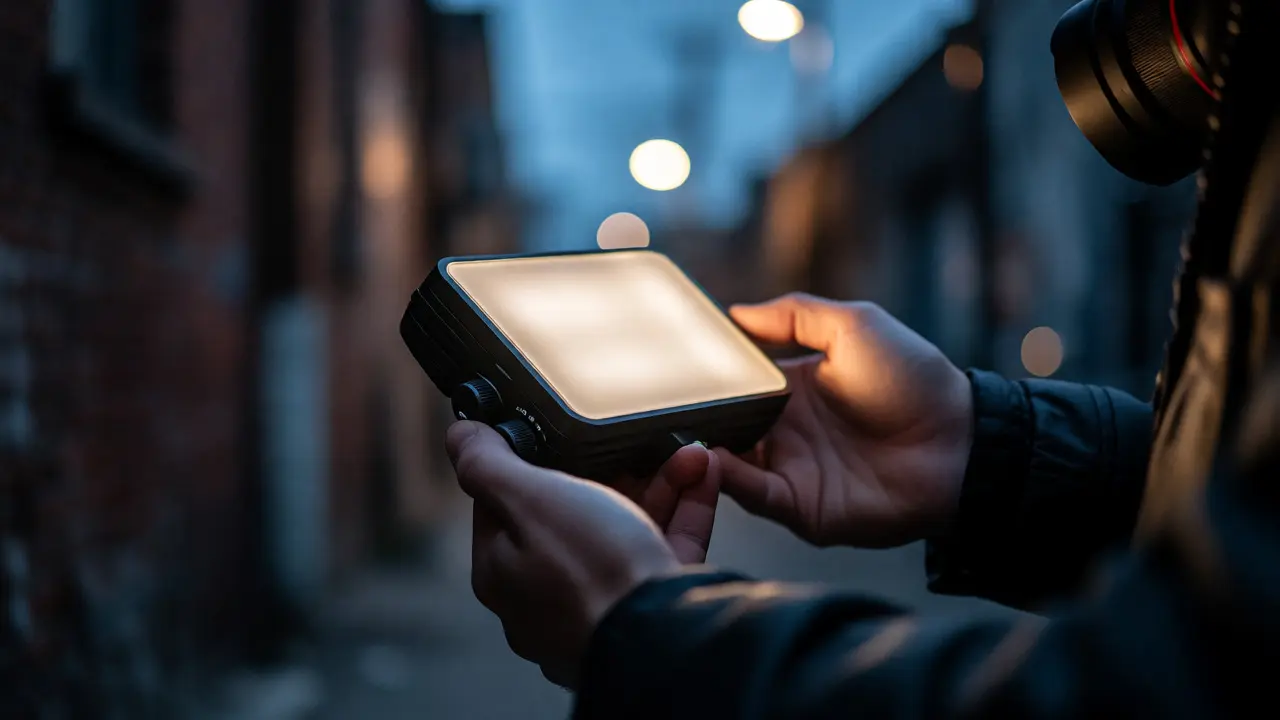
| Bi-Color LED Panels | Interviews, portraits, small product shots | Accurate color temperature (3200K-5600K), high CRI (>95), easy to diffuse | Can be bulky, limited range compared to flash |
| RGB Pocket Wands | Creative accents, night scenes, mood lighting | Incredibly small, millions of colors, magnetic mounts | Low output, not suitable for key lighting subjects |
| Compact Flash/Strobe Units | Action, freezing motion, overpowering sun | High peak power, long battery life per charge | Harder to visualize results, requires triggering sync |
Key Specs That Actually Matter
Marketing materials love to throw around numbers like "lumens" and "watts," but those don’t always tell the whole story. When comparing LED panels, focus on these specific metrics instead.
Color Rendering Index (CRI) and TLCI: This measures how accurately the light renders skin tones and colors. Anything below 90 will make people look sickly or greenish. Aim for CRI 95+ and TLCI 95+. Brands like Aputure and Godox now hit this standard consistently in their mid-range kits.
Battery Runtime vs. Output: There’s a trade-off here. Running a panel at 100% brightness might drain a battery in 45 minutes. At 50%, you might get 3 hours. Check if the kit supports USB-C PD (Power Delivery) charging. Being able to top up your light from a standard power bank is a game-changer for long shoots.
Mounting Options: Look for lights with built-in cold shoes, magnetic backs, or standard 1/4"-20 threads. If you have to buy separate brackets for every accessory, the total cost adds up quickly. Magnetic mounting is particularly useful for attaching lights to metal surfaces like refrigerators or car doors during street photography.
Building Your Kit: A Tiered Approach
You don’t need to buy everything at once. Build your kit based on your most common shooting scenarios.
Tier 1: The Essential Starter
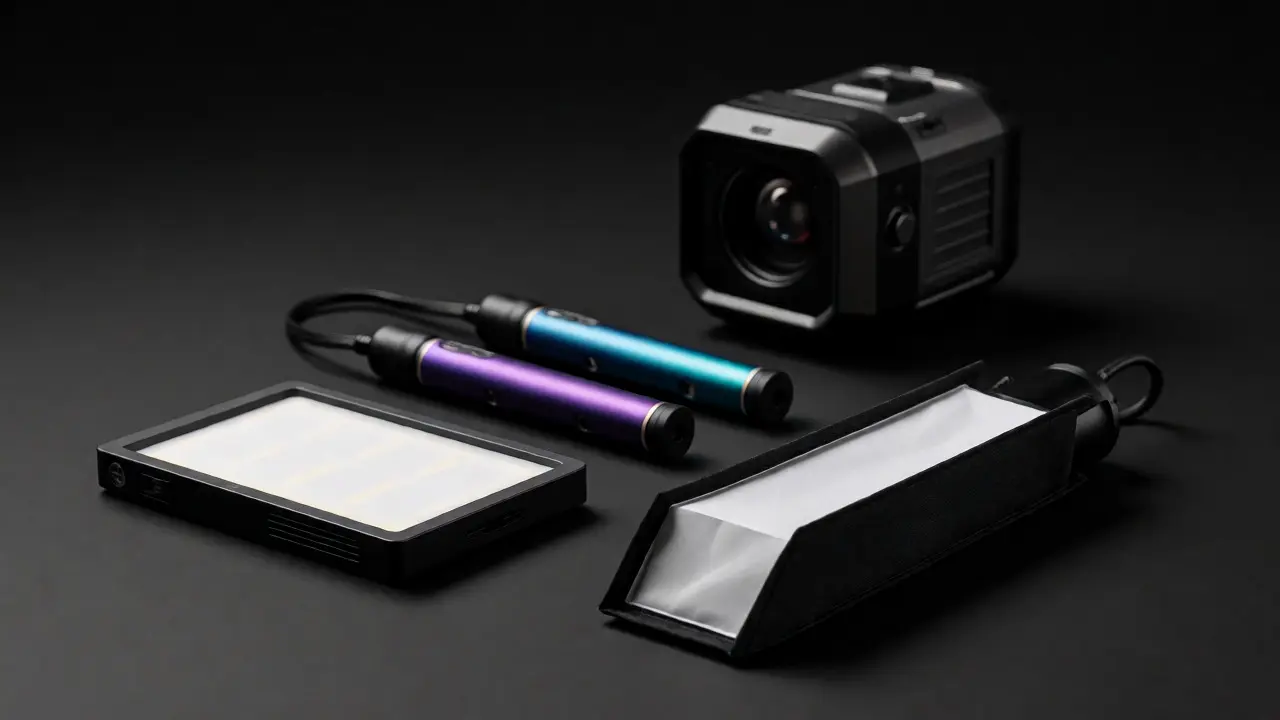
If you’re just starting out, grab one reliable bi-color LED panel with a built-in battery. Something like the Amaran P-series or Godox ML series offers excellent value. These units typically output enough light to act as a key light for head-and-shoulders portraits at ISO 800. Pair it with a simple collapsible diffuser box. This combo weighs less than 3 pounds and fits in any backpack.
Tier 2: The Creative Add-On
Once you have your key light, add color. Two small RGB wands, such as the Nanlite Pavotube II or similar tube lights, allow you to add rim light or background color without carrying another heavy panel. These are perfect for adding depth to flat images. Stick them behind a subject or tape them to a wall for instant atmosphere.
Tier 3: The Pro Setup
For serious commercial work, you might need more punch. This involves larger battery-powered strobes like the Profoto B10 or Broncolor Siros L. These provide the power to freeze action or overpower bright sunlight, which continuous LEDs struggle with. However, they are heavier and require more careful handling.
Real-World Scenario: Shooting in a Dark Alley
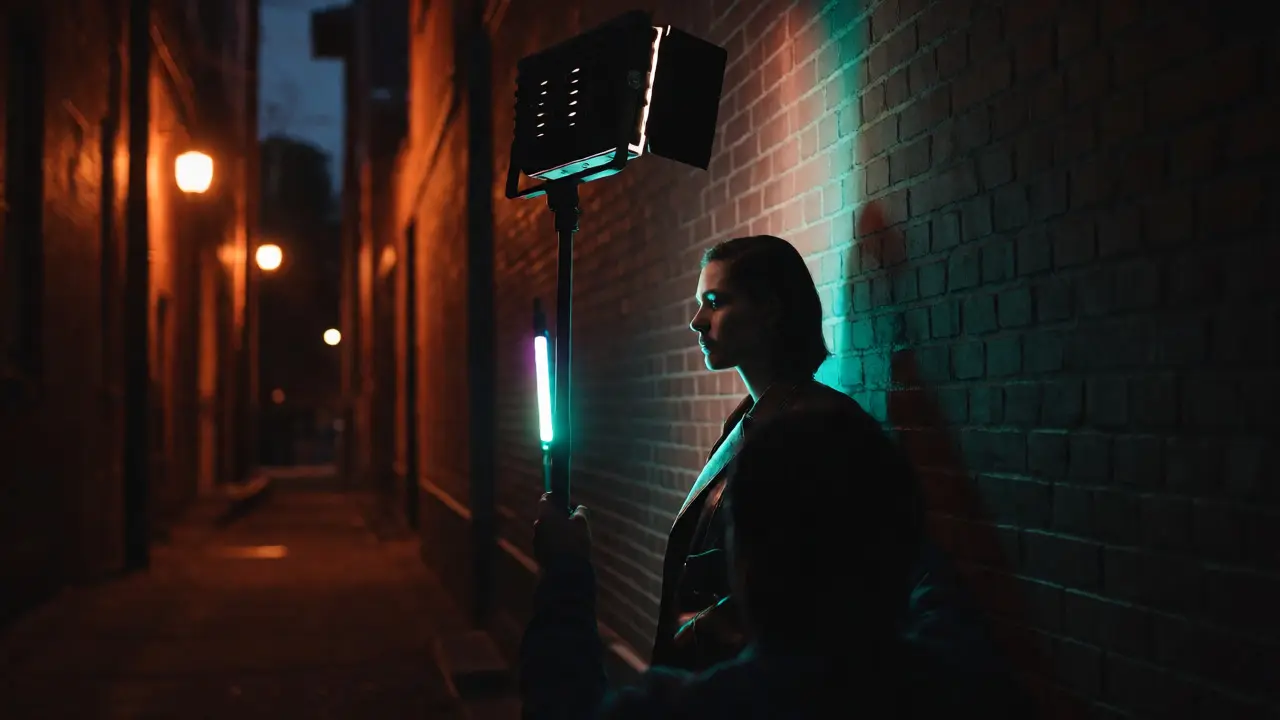
Imagine you’re shooting a fashion editorial in a narrow Portland alley at dusk. Ambient light is low and mixed with sodium vapor streetlights (which cast an ugly orange glow).
First, set your bi-color LED panel to 5600K to match daylight balance, overriding the orange streetlight. Place it slightly above eye level, angled down at 45 degrees. Use a large diffusion panel to soften the shadows. Next, take one of your RGB wands, set it to a complementary teal color, and place it behind the subject to create separation from the dark brick wall. Because the lights are battery-powered, you can move freely, adjusting angles as the model moves, without worrying about tripping over cables.
This setup takes five minutes to deploy. With traditional tungsten, you’d be sweating under hot bulbs and waiting for gels to cool down. The efficiency gain alone justifies the investment.
Pitfalls to Avoid When Buying
Don’t fall for these common traps:
- Ignoring Flicker: Cheap LEDs often flicker at certain frame rates, especially in video. Always check for "flicker-free" certification if you plan to shoot video alongside photos.
- Underestimating Diffusion Needs: Bare LEDs are harsh. They create unflattering shadows. Budget for diffusion accessories; the light itself is only half the equation.
- Buying Proprietary Batteries: Try to stick with brands that use standard V-mount or NP-F batteries, or at least widely available USB-C charging. Proprietary batteries can become obsolete or hard to replace.
Final Thoughts on Gear Selection
The best portable lighting kit isn’t the most expensive one-it’s the one you’ll actually carry. If your gear is too heavy, you’ll leave it home. Start with a single high-quality bi-color LED panel that meets the CRI 95+ standard. Master its limitations. Then, expand with creative tools like RGB tubes when your projects demand them. Technology in 2026 makes professional-grade light accessible and mobile, but only if you choose wisely.
Do I need continuous light or flash for on-location photography?
It depends on your subject. Continuous LED lights are better for beginners and video because you see the lighting effect in real-time. Flash/strobe is better for freezing fast motion or overpowering bright sunlight, but it requires more technical skill to master.
How many batteries do I need for a full-day shoot?
For a typical 6-hour shoot using a mid-range LED panel at 50-70% power, you should bring at least two spare batteries. If you rely on USB-C power banks, ensure they have a capacity of at least 20,000mAh to sustain the light throughout the day.
Is CRI 90 good enough for portrait photography?
CRI 90 is acceptable for general work, but CRI 95+ is highly recommended for portraits. Lower CRI values can cause skin tones to appear unnatural or require significant color correction in post-production, which eats up editing time.
Can I use phone flashlights as portable lighting?
Phone flashlights are okay for emergency fill light or macro details, but they lack consistent color temperature and intensity control. Dedicated portable LED kits offer adjustable brightness and color temperature, which is crucial for professional results.
What is the benefit of bi-color lights over fixed temperature?
Bi-color lights allow you to adjust the color temperature (usually between 3200K and 5600K) to match ambient light sources. Fixed temperature lights require physical gels to change color, which reduces light output and adds setup complexity.