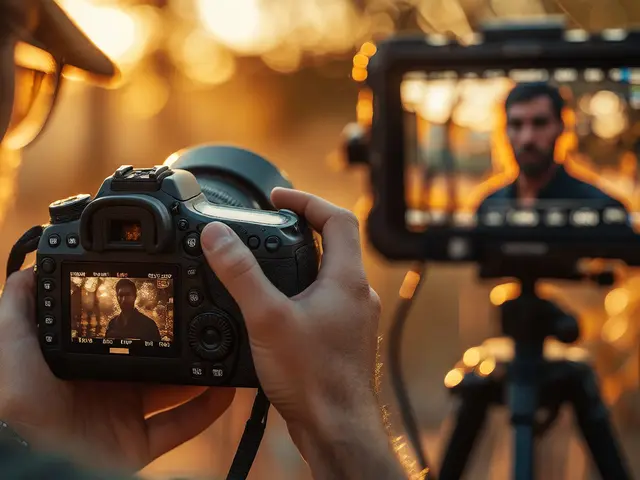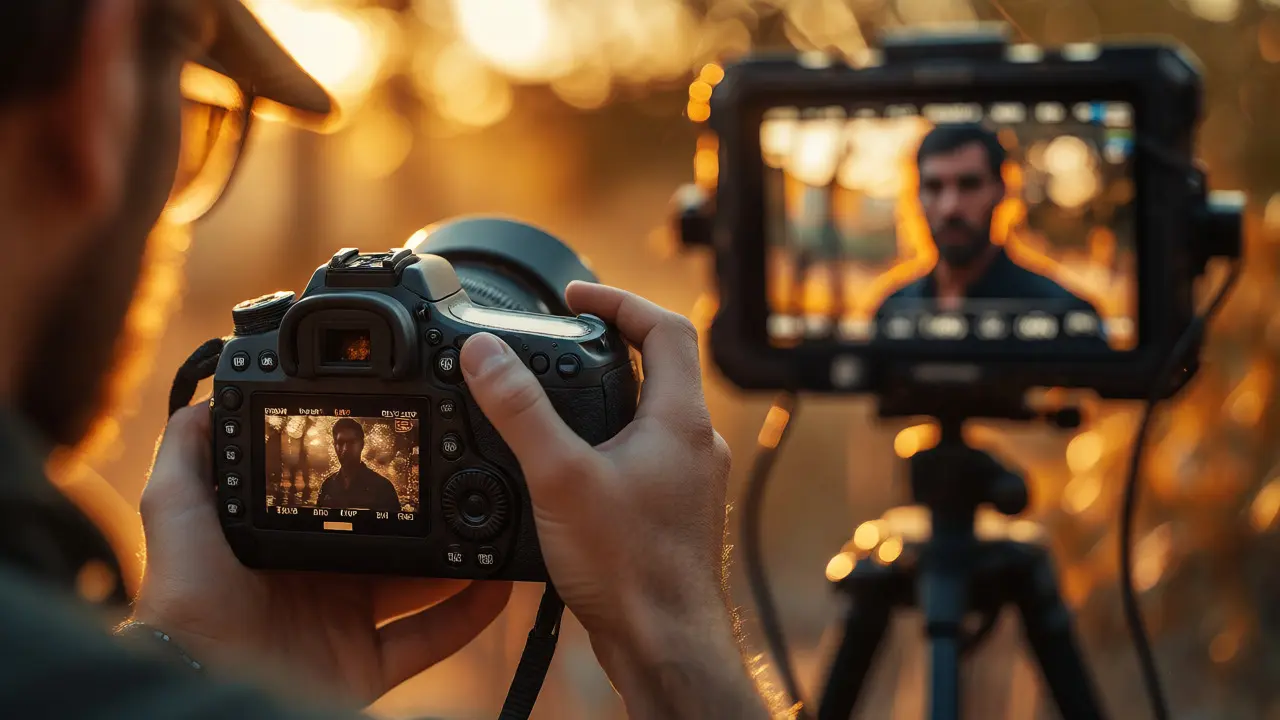
You just spent three hours shooting golden hour portraits. You check the back of your camera, squinting at that tiny 3-inch LCD under the sun, and think, "That looks sharp." But when you get home and load those files onto your 27-inch calibrated display, half your subjects are slightly out of focus. Sound familiar? This is the trap of small screens. They lie to you about detail, exposure, and color accuracy.
External monitors are not just luxury accessories for video shooters anymore. They have become essential tools for photographers who want to nail focus in-camera and trust their histograms. A good field monitor gives you a clear, bright view of what your sensor actually sees, stripping away the guesswork from manual focusing and exposure metering.
Why Your Camera’s Built-in Screen Isn’t Enough
Camera manufacturers face a tough engineering trade-off. They need screens that are battery-efficient, durable, and cheap enough to keep the body price competitive. The result? Most built-in LCDs max out around 500-800 nits of brightness. Try viewing that outdoors on a sunny day in Portland without a hood, and you’re basically guessing. If it rains or the sun hits the screen directly, you might as well be shooting blind.
Then there’s resolution. Even high-end mirrorless cameras often use lower-resolution panels for their EVFs and rear LCDs to save power. You miss subtle skin texture details or slight chromatic aberrations until you’re deep into post-processing. An external monitor solves this by offering higher pixel density (often 1080p or 4K) and significantly higher brightness levels, sometimes exceeding 1,000 nits. This means you can see exactly where the highlights are clipping and whether your subject’s eye is truly tack-sharp.
The Three Features That Actually Matter
Not all monitors are created equal. You don’t need every feature listed on the spec sheet; you need the ones that help you take better photos. Here is what you should prioritize:
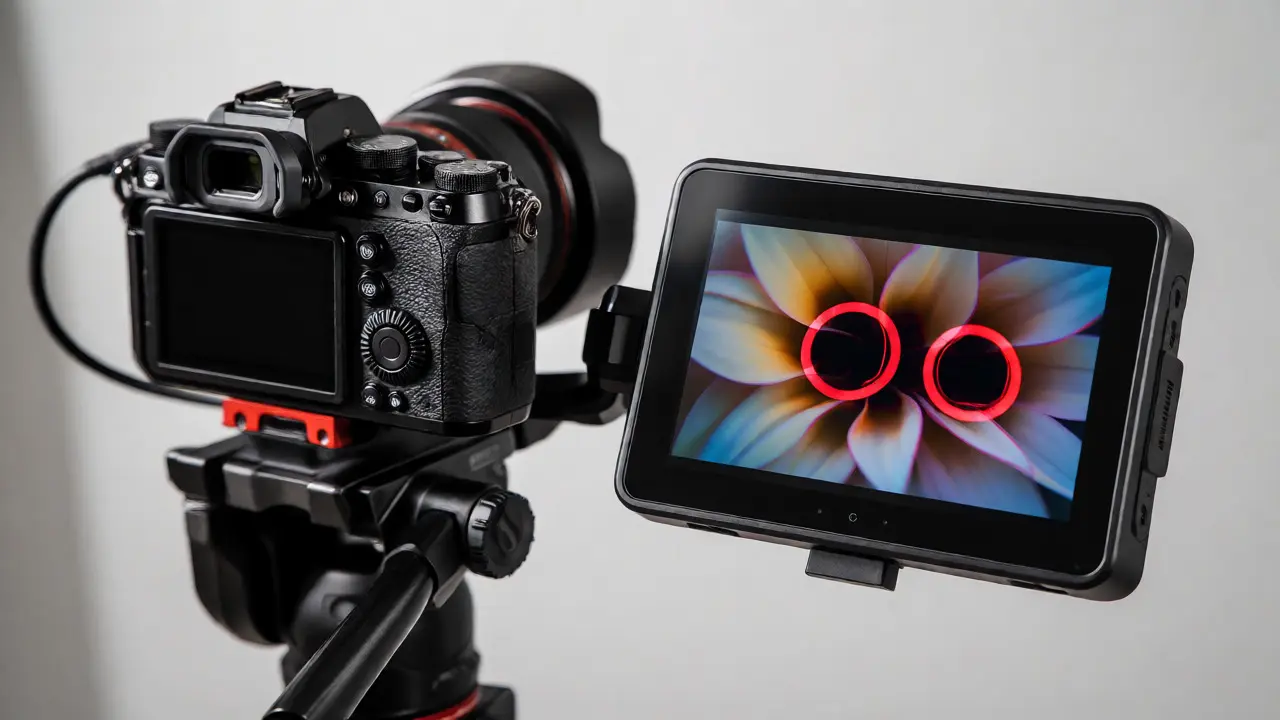
- Focus Peaking: This overlays colored lines (usually red, yellow, or white) on the areas of highest contrast in your image. When shooting manually focused lenses-common with vintage glass or macro work-peaking tells you instantly if your plane of focus is correct. Without it, you’re relying on digital zoom, which is slow and clunky on small screens.
- False Color: Originally a video tool, false color maps luminance values to specific colors. For example, skin tones might appear pink, while overexposed highlights turn red. This allows you to expose for the brightest part of the scene without blowing out your subject’s face. It’s far more accurate than trusting the camera’s histogram alone.
- LUT Preview: If you shoot RAW but plan to edit with a specific look (like a teal-and-orange cinematic grade), many monitors allow you to load a Look-Up Table (LUT). This lets you visualize the final edited image while shooting, helping you make better decisions about lighting and composition in the moment.
Size, Brightness, and Battery Life Trade-offs
Choosing the right size is a balancing act between visibility and portability. A 5-inch monitor is compact and fits easily in a jacket pocket, but it offers limited real estate for waveform displays and detailed focus checks. A 7-inch monitor is the sweet spot for most working photographers-it’s large enough to judge critical focus comfortably but still portable enough for travel. Anything larger than 9 inches becomes cumbersome unless you’re working on a tripod-heavy studio setup.
| Size | Best Use Case | Portability | Battery Impact |
|---|---|---|---|
| 5-inch | Street photography, hiking, run-and-gun events | High - Fits in pocket | Low - Minimal drain |
| 7-inch | Weddings, portraits, commercial shoots | Medium - Needs bag space | Medium - Requires spare batteries |
| 9+ inch | Studio tethering, product photography | Low - Needs stand/rig | High - Often needs AC power |
Brightness is non-negotiable for outdoor work. If you plan to shoot midday landscapes or beach weddings, aim for a monitor with at least 1,000 nits. Models like the SmallHD Cine 7 or Atomos Ninja V offer high-brightness modes specifically designed for daylight visibility. In dimmer environments, you can dial this down to save battery life, which typically ranges from two to four hours depending on brightness settings and input signal.
Mounting Solutions: How to Keep It Stable
A shaky monitor ruins the point of having one. If the screen bounces around when you move, you can’t judge focus accurately. The standard mounting method involves using the cold shoe on top of your camera or a dedicated bracket attached to the baseplate of your tripod head. However, placing the monitor directly above the hot shoe can block access to your flash or microphone.
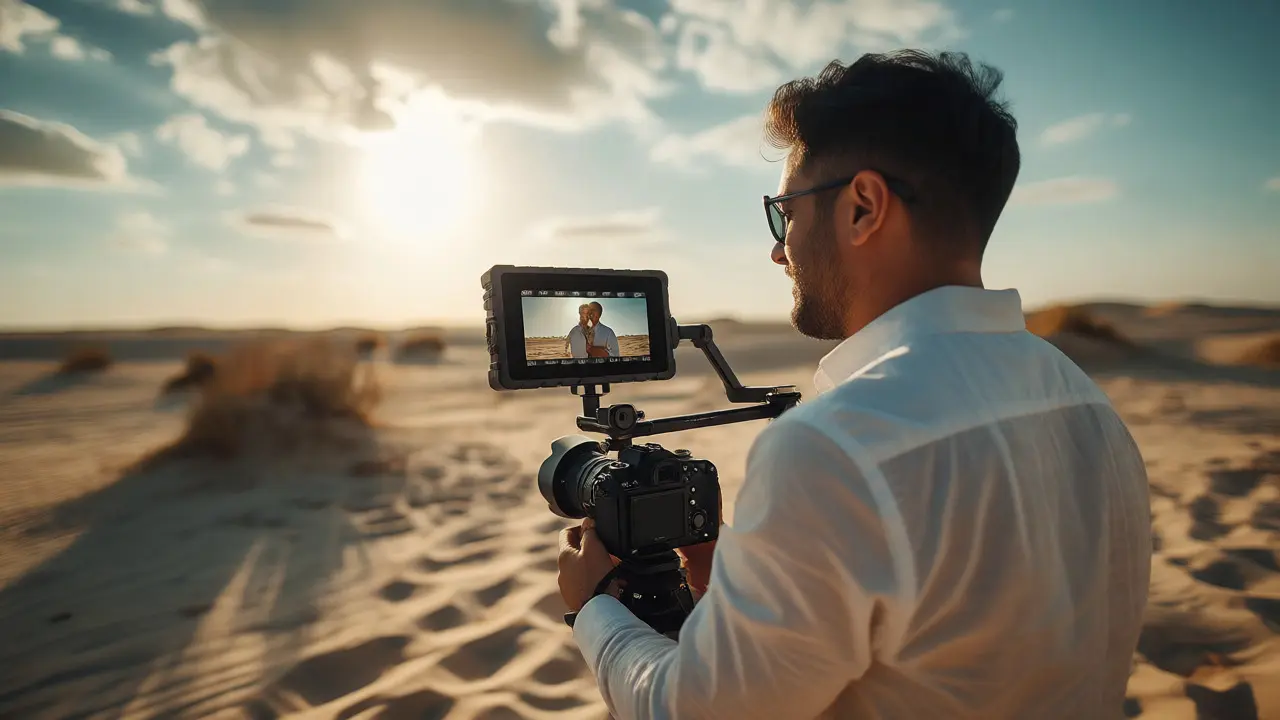
For most photographers, an articulating arm mount is the best solution. These arms attach to the side of your camera cage or tripod handle, allowing you to position the monitor exactly where you need it-whether that’s low for street shots or high for waist-level composing. Brands like Manfrotto and Neewer offer affordable magic-arm kits that provide rigid support without adding excessive weight.
Connection Types: HDMI vs. USB-C
Check your camera’s ports before buying. Older DSLRs and entry-level mirrorless cameras usually only have micro-HDMI outputs. Newer professional bodies often include full-size HDMI or even USB-C video output. Full-size HDMI cables are sturdier and less prone to breaking during active shoots, whereas micro-HDMI connectors are fragile and notorious for failing after repeated plugging and unplugging.
If your camera supports USB-C video output, consider getting a monitor with USB-C input. This single cable can often carry both the video signal and power, simplifying your rig. However, not all monitors draw power via USB-C, so always verify compatibility. For critical color work, ensure the monitor supports 10-bit color depth. While 8-bit is standard, 10-bit provides smoother gradients, which is crucial if you’re grading skies or shadows heavily in post-production.
Do You Really Need One?
Here is the honest truth: if you shoot autofocus-driven sports or wildlife action, an external monitor might be overkill. Your camera’s AF system is likely faster than your ability to manually adjust focus anyway. But if you shoot portraits, landscapes, macro, or any genre requiring precise manual control, the investment pays off immediately.
Think about your workflow. Are you constantly fixing missed focus in Lightroom? Do you struggle to judge exposure in bright conditions? If yes, a monitor isn’t a gadget-it’s insurance against reshoots. For a wedding photographer, missing a key moment because the screen was too dark to see costs money. For a landscape shooter, missing the perfect light balance because the histogram was misleading costs art.
Start with a reliable 5- or 7-inch model from established brands like Atomos, Blackmagic, or Feelworld. You don’t need the most expensive unit with recording capabilities if you’re only using it for monitoring. Save money by choosing a "monitor-only" version rather than a recorder, unless you also want to capture ProRes footage.
Can I use my smartphone as an external monitor?
Yes, via apps like Canon Camera Connect or Sony Imaging Edge Mobile, but it’s rarely ideal for serious work. Smartphones introduce latency (lag), have inconsistent brightness levels, and lack specialized features like focus peaking or false color. Additionally, using Wi-Fi drains your phone’s battery quickly, and Bluetooth connections can be unstable. For critical focus checking, a dedicated hardware monitor is superior.
Does using an external monitor drain my camera battery faster?
It depends on how the monitor is powered. If the monitor draws power from the camera via HDMI or USB-C, yes, it will reduce your shooting time per charge. However, most professional monitors have their own battery slots (using NP-F style batteries). Powering the monitor independently prevents additional drain on your camera’s internal battery, keeping your primary power source reserved for the sensor and processor.
What is the difference between a field monitor and a camera recorder?
A field monitor only displays the live feed from your camera. A camera recorder does the same but also records the video signal to an external drive (SSD or SD card). Recorders are heavier, more expensive, and generate more heat. If you only photograph, buy a monitor. If you shoot hybrid photo/video content, a recorder might justify the extra cost by providing higher-quality video files than the camera’s internal codec.
How do I calibrate an external monitor for accurate colors?
True calibration requires a hardware colorimeter (like an X-Rite i1Display) and software to create a profile. However, for field use, most photographers rely on preset modes (such as sRGB or Rec.709) and visual reference charts. Ensure your monitor is set to its native color space and avoid using dynamic contrast modes, which distort color accuracy. For critical print work, calibrate at home before going on location.
Are touchscreen monitors worth it for photography?
Touchscreens add convenience for navigating menus and setting focus points, especially if your camera lacks touch controls. However, they can be distracting during fast-paced shoots and may register accidental touches. Many professionals prefer physical buttons and dials for reliability. If you choose a touchscreen, ensure it has a glove-friendly mode if you shoot in cold weather.