You know that feeling when you’re halfway through a complex mask in Photoshop, the cursor freezes, and your fans sound like a jet engine taking off? It’s not just annoying; it’s killing your creative flow. Most photographers obsess over camera bodies and lenses but treat their computer as an afterthought. That is a mistake. Your hardware dictates how fast you can process raw files, how smooth your brush strokes feel, and whether what you see on screen actually matches the print coming out of the lab.
We aren’t talking about buying the most expensive gear available. We are talking about building a Photo Editing Workstation that balances performance with budget. You need to understand which components matter for specific tasks-like batch exporting versus local adjustments-and where you can save money without sacrificing quality. This guide breaks down the three pillars of photo workflow hardware: memory, graphics power, and visual fidelity.
Key Takeaways
- RAM: 32GB is the new minimum for heavy multitasking; 64GB+ is ideal for large panoramas or video hybrid work.
- GPU: Modern software like Adobe Lightroom Classic relies heavily on GPU acceleration for rendering previews and masking.
- Displays: Resolution matters less than color accuracy (Delta E < 2) and coverage (99% sRGB / 95%+ DCI-P3).
- Bottlenecks: A slow drive slows everything down; NVMe SSDs are non-negotiable for scratch disks.
Random Access Memory: The Workspace Size
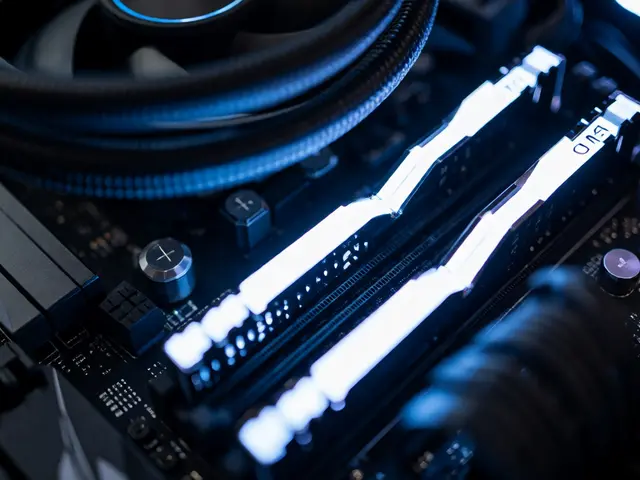
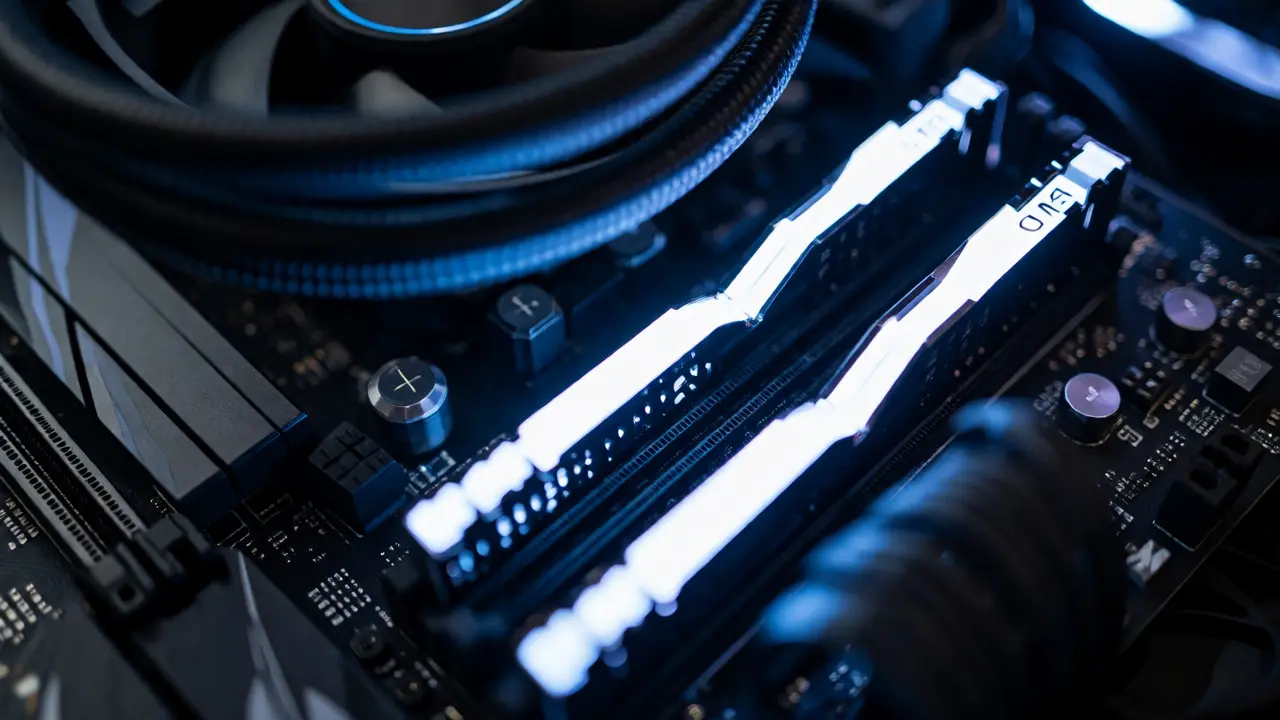
Think of RAM (volatile memory used by the CPU to store data currently in use) as your physical desk space. If you have a small desk, you have to constantly swap papers in and out of drawers (your hard drive). In computing terms, if you run out of RAM, your system starts using "virtual memory" on your storage drive, which is significantly slower.
For a long time, 16GB was considered sufficient for photography. That changed around 2023-2024 as file sizes grew and AI-based tools became standard. When you open a 45-megapixel RAW file in Adobe Lightroom Classic (a digital asset management and non-destructive photo editor), it doesn't just load the image. It loads the preview cache, the history states, and potentially several other applications like Photoshop or web browsers simultaneously.
| Workflow Profile | Minimum RAM | Recommended RAM | Why? |
|---|---|---|---|
| Light Web/Social Media | 8 GB | 16 GB | Small JPEGs, minimal layering. |
| Standard Pro (RAW + PS) | 16 GB | 32 GB | Handles 24-45MP files with moderate layers. |
| High-Res/Panorama/Video | 32 GB | 64 GB+ | Gigapixel stitching and 4K video exports. |
If you shoot weddings or events, you might think 16GB is fine because you mostly do culling and basic edits. But consider this: you likely have Chrome open with reference sites, Spotify running, and maybe a cloud sync tool active. Those background apps eat up 4-6GB before you even touch a photo. Upgrading to 32GB gives you headroom so you don't have to close tabs every time you want to make a precise adjustment.
Graphics Processing Units: More Than Just Gaming
A few years ago, photographers didn't care much about the GPU (specialized electronic circuit designed to rapidly manipulate and alter memory to accelerate the creation of images). The CPU did all the heavy lifting. Today, that has flipped. Adobe and other vendors have aggressively optimized their codebases to offload tasks to the GPU. Features like Enhance Details, Sky Masking, and real-time slider adjustments rely on parallel processing capabilities found in modern graphics cards.
You don't need a top-tier gaming card meant for ray-tracing at 4K resolution. However, you do need a card with decent VRAM (Video RAM). If you try to render a complex mask on a 100-megapixel medium format file with only 4GB of VRAM, you will hit a wall. The system will fall back to the CPU, causing lag.
Here is the current landscape for October 2026:
- NVIDIA RTX Series: Generally offers better driver support for creative apps via CUDA cores. An RTX 4060 Ti (16GB version) or RTX 4070 is often the sweet spot for price-to-performance.
- AMD Radeon RX Series: Has improved significantly with Metal support on macOS and OpenCL on Windows. Great value, but check specific app compatibility lists.
- Apple Silicon (M-series): Uses unified memory architecture. There is no separate VRAM; the GPU shares system RAM. This means if you buy a Mac with 16GB total, the GPU might only effectively access 10-12GB depending on OS overhead.
Pro tip: Don't ignore the drivers. Creative Suite updates often require newer GPU drivers to unlock full acceleration features. Always keep your NVIDIA Studio Drivers or AMD Adrenalin Edition updated, rather than the Game Ready drivers, as they are tested specifically for stability in creative applications.
The Display: Where Truth Happens
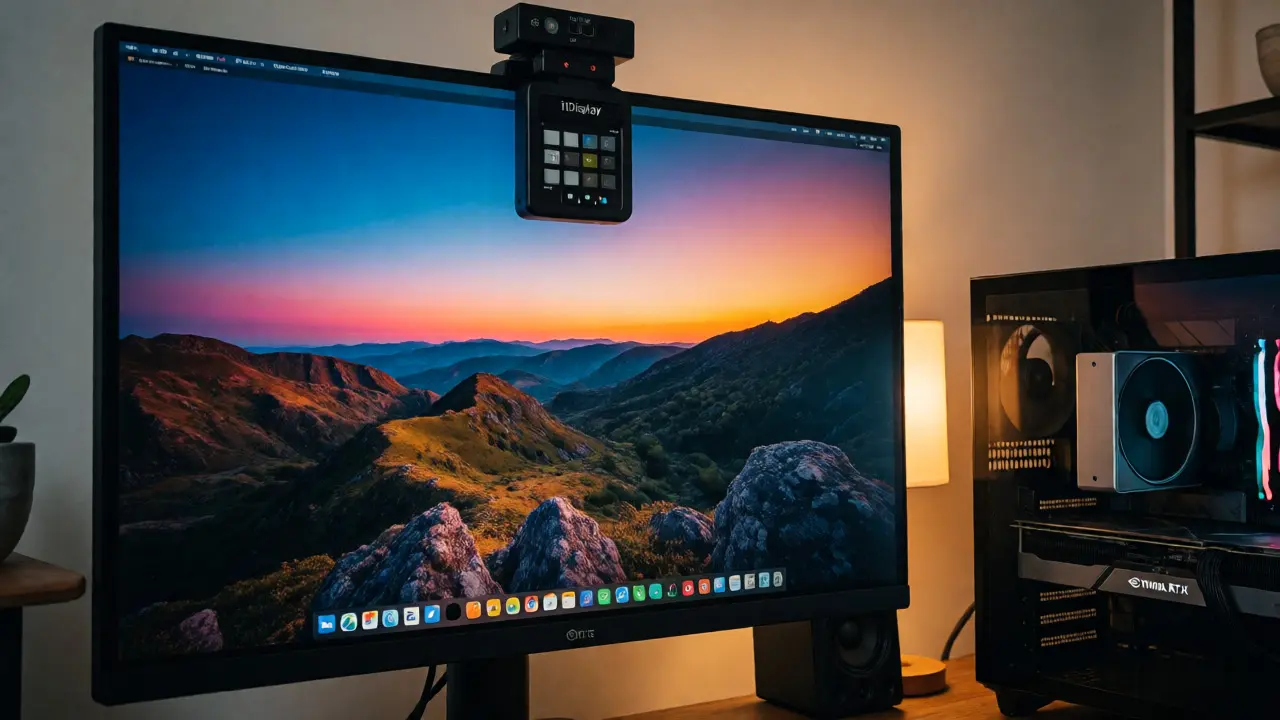
You can have the fastest computer in the world, but if your monitor lies to you, your photos will look wrong everywhere else. This is the single most overlooked component in a photographer's setup. Many people buy high-resolution monitors (4K or 5K) assuming higher pixel count equals better quality. It doesn't. It equals sharper text. Color accuracy is what matters.
When shopping for a Color-Critical Monitor (a display calibrated to show accurate colors within a specific gamut), look for these specs:
- Panel Type: IPS (In-Plane Switching) is the standard. OLED is emerging but watch out for burn-in risks with static UI elements in editing software.
- Color Gamut: Look for wide-gamut panels covering at least 99% sRGB and ideally 95%+ DCI-P3. For professional printing, Adobe RGB coverage is critical, though fewer consumer monitors support it fully.
- Delta E Value: This measures how far the displayed color deviates from the true color. A Delta E < 2 is imperceptible to the human eye. Anything above 3 might be noticeable to trained eyes.
- Bit Depth: 10-bit color depth allows for smoother gradients, reducing banding in skies and shadows. 8-bit dithered is acceptable for hobbyists, but native 10-bit is preferred for pros.
Calibration is mandatory. Even a $1,000 monitor will drift over time. Use a hardware calibrator like a X-Rite i1Display or Datacolor SpyderX every month. Software calibration alone is rarely accurate enough for professional work. Without calibration, you might edit a portrait to look warm on your screen, only to find it looks yellowish-orange on your client's laptop.
Storage Speed: The Hidden Bottleneck
While RAM and GPU get the glory, storage speed determines how snappy your entire experience feels. Traditional Hard Disk Drives (HDDs) are too slow for active editing. They are fine for cold storage archives, but never use them for your working library.
You need NVMe SSDs (solid-state drives using the PCIe interface for high-speed data transfer). These drives plug directly into the motherboard, bypassing the SATA bottleneck. Read speeds exceeding 3,000 MB/s are common now. This impacts two things:
- Library Loading: Opening a Lightroom catalog with 50,000 images takes seconds instead of minutes.
- Scratch Disk Performance: When Photoshop runs out of RAM, it writes temporary files to the disk. If that disk is slow, Photoshop hangs. A fast NVMe drive makes this swapping process nearly invisible.
Consider a tiered storage approach. Keep your OS and Applications on one NVMe drive. Keep your Active Project files and Scratch Disks on a second, larger NVMe drive. Store your completed, archived projects on mechanical HDDs or NAS systems where speed isn't critical.

Pulling It All Together: Building Your Rig
So, how do you prioritize when funds are limited? Let's look at three common scenarios.
| User Persona | Priority 1 | Priority 2 | Priority 3 | Sample Budget Allocation |
|---|---|---|---|---|
| Hobbyist | Good Monitor | 16GB RAM | SSD Storage | 40% Display, 30% PC, 30% Peripherals |
| Wedding/Event Pro | CPU/RAM | Fast Storage | Reliable Monitor | 50% PC, 30% Storage, 20% Display |
| Fine Art/Landscape | Color Accuracy | GPU Power | Large RAM | 50% Display, 30% PC, 20% Storage |
Notice the shift. For event shooters, speed is king because volume is high. You need to cull thousands of frames quickly. For fine art photographers, accuracy is king because each print must be perfect. A wedding photographer might tolerate a slightly off-color monitor if they calibrate frequently, but a landscape artist selling limited edition prints cannot afford that risk.
Another factor is connectivity. If you use external drives, ensure your ports match your drive speeds. USB-C Thunderbolt 4 ports allow for high-speed transfers, whereas older USB-A ports might throttle your expensive SSDs. Check your motherboard specifications before buying high-end peripherals.
Common Pitfalls to Avoid
Even experienced users make mistakes when upgrading. Here are the most frequent ones:
- Mixing RAM Sticks: Buying mismatched RAM modules can cause instability or force the system to run at the speed of the slowest stick. Always buy kits.
- Ignoring Thermal Throttling: High-performance CPUs and GPUs generate heat. If your case has poor airflow, components will slow down to protect themselves. Invest in a good cooler and case fans.
- Underestimating Backup Needs: Hardware fails. No amount of RAM prevents a drive crash. Follow the 3-2-1 backup rule: 3 copies of data, 2 different media types, 1 offsite.
- Buying 4K Monitors Without Scaling: On smaller screens (under 27 inches), 4K text can be tiny. Ensure your operating system supports proper scaling, or opt for 1440p (QHD) resolutions which offer a better balance of sharpness and workspace size for many editors.
Ultimately, your hardware should disappear into the background. You shouldn't be thinking about your computer while you're editing. You should be thinking about light, composition, and emotion. Get the specs right, calibrate your screen, and let the technology serve the art, not distract from it.
Do I really need a dedicated GPU for photo editing?
Yes, for modern workflows. While you can technically run Lightroom or Photoshop on integrated graphics, you lose significant performance benefits. Features like AI masking, denoising, and real-time zooming rely on GPU acceleration. A mid-range discrete GPU (like an RTX 4060 or equivalent) drastically reduces wait times compared to integrated solutions.
Is 4K resolution necessary for a photo editing monitor?
Not necessarily. Resolution helps with sharpness and fitting more UI elements on screen, but color accuracy is far more important. A high-quality 1440p (QHD) IPS monitor with excellent color coverage is often better for editing than a cheap 4K panel with poor color reproduction. Prioritize Delta E values and gamut coverage over pixel count.
How much RAM do I need for Lightroom Classic?
For casual use, 16GB is the bare minimum. For professional work involving large catalogs, multiple concurrent apps, and high-megapixel cameras (40MP+), 32GB is recommended. If you also edit video or work with massive panoramas, consider 64GB to prevent swapping to disk.
What is the difference between sRGB, Adobe RGB, and DCI-P3?
These are color spaces (gamuts). sRGB is the standard for web and general displays. Adobe RGB covers a wider range of greens and cyans, useful for high-end printing. DCI-P3 is a cinema standard with wider reds and greens, increasingly used in modern devices. For general photography, aim for a monitor that covers 99% sRGB and at least 90-95% DCI-P3 or Adobe RGB depending on your output medium.
Should I upgrade my CPU or GPU first?
It depends on your bottleneck. If your system lags during import/export or complex math operations, the CPU is likely the issue. If sliders feel sluggish or masks take forever to render, the GPU is the culprit. For most photographers today, ensuring adequate RAM and a capable GPU provides the most noticeable daily improvement, followed by CPU upgrades.