You just landed back in your hotel room after a day of hiking, and your phone is already buzzing with notifications. But before you check email, there’s a stack of 50 photos from the sunset that need fixing. You don’t have time to sit at a laptop, and you definitely don’t want to wait until you’re home to organize them. This is where efficient on-the-go workflows come into play. The goal isn’t just to make pictures look pretty; it’s to save hours of post-processing later by doing the heavy lifting while the memory is fresh and the files are still warm.
Why Mobile Editing Beats Waiting for Home
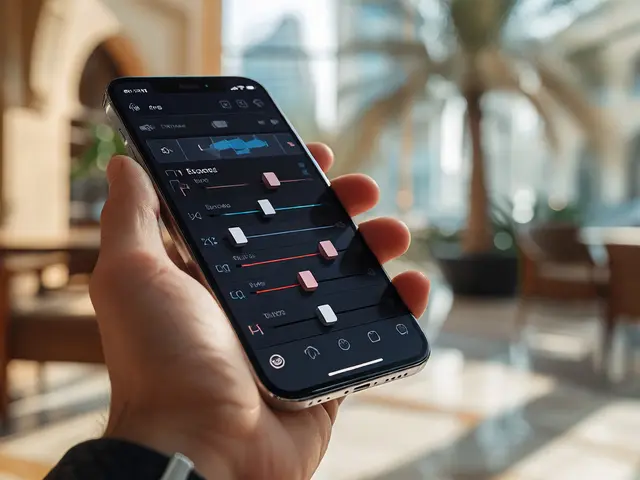
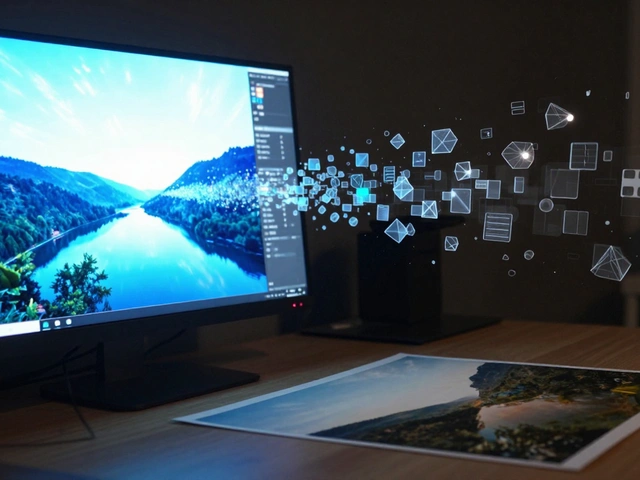
There’s a common myth that desktop software is always superior for serious editing. While that’s true for high-end retouching or batch processing thousands of images, mobile apps have caught up significantly in recent years. Apps like Lightroom Mobile is a cloud-based photo editing application that syncs edits across devices. It allows you to make adjustments on your phone and see them instantly on your computer without transferring files manually. This seamless integration means you can do 80% of your work in transit, leaving only the final polish for when you have a larger screen.
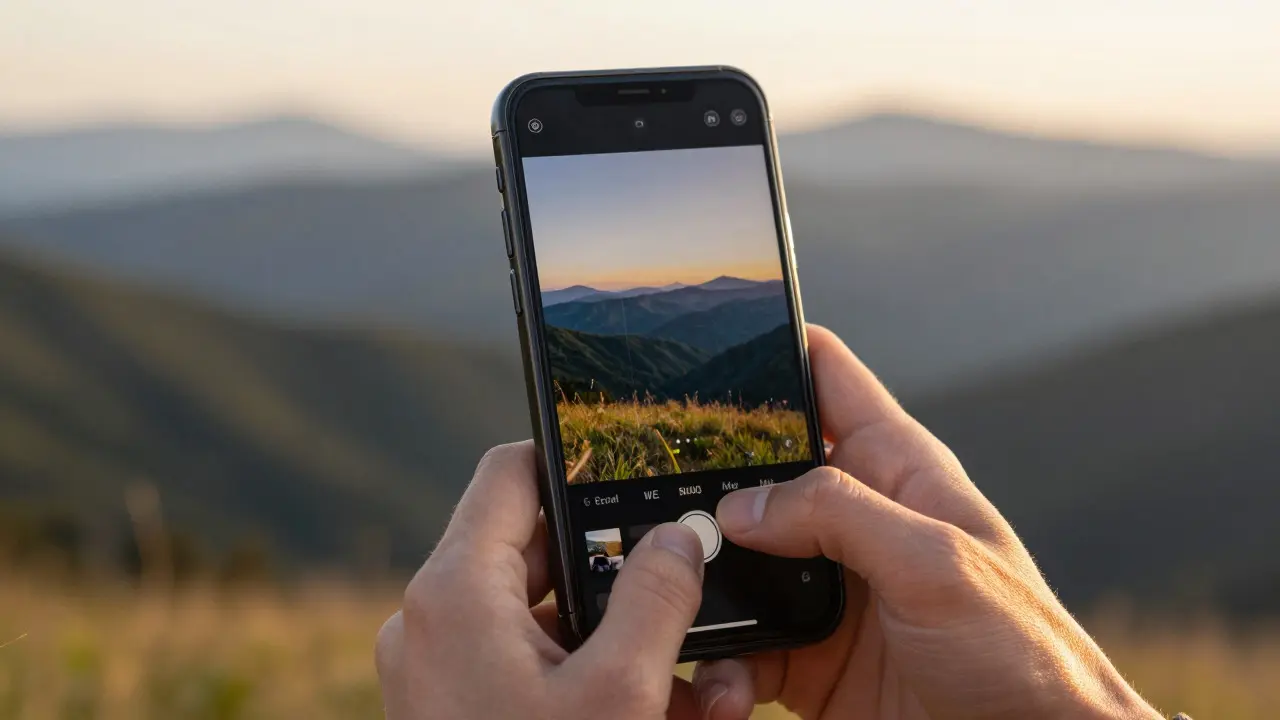
Consider the scenario: you take a landscape shot in the mountains. The sky is slightly overexposed, and the foreground is a bit dark. If you wait until you’re home, you might forget the specific lighting conditions or the mood you were trying to capture. By editing on-site, you preserve the context. You remember exactly why you exposed for the shadows, so your corrections feel natural rather than forced. This immediate feedback loop is crucial for maintaining consistency across a trip’s gallery.
The Core Tools: Choosing Your Mobile Arsenal
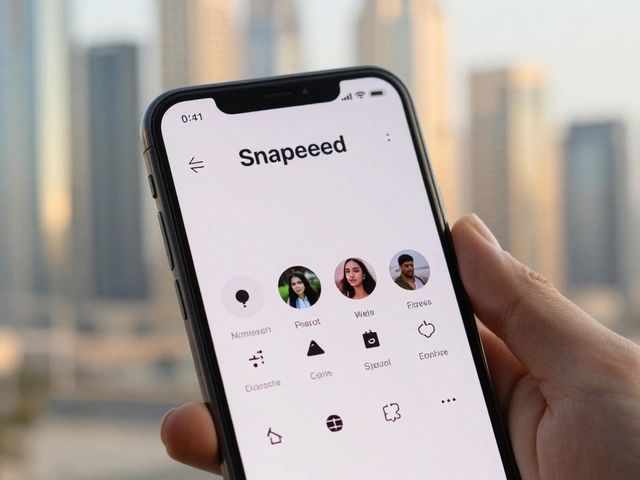
Not all mobile editors are created equal. For most travelers, two apps form the backbone of an efficient workflow: Adobe Lightroom Mobile and Snapseed is a free, feature-rich photo editor known for its intuitive tools and non-destructive editing capabilities.
- Lightroom Mobile: Best for global adjustments, color grading, and syncing. It uses DNG (Digital Negative) files, which are lossless formats ideal for preserving image quality during multiple edits.
- Snapseed: Best for local fixes, healing blemishes, and creative filters. Its "Healing" tool is unmatched for removing tourists from backgrounds or power lines from skies.
- VSCO: Popular for film emulation and presets. Great if you want a consistent aesthetic look across all your social media posts.
Most professionals use a hybrid approach. They start with Lightroom for exposure and white balance, then switch to Snapseed for spot removals. This division of labor keeps each app’s interface simple, reducing decision fatigue. You don’t need to learn every single filter in VSCO if you know that Lightroom handles your base corrections better.
Step-by-Step: The 10-Minute Edit Routine
Efficiency comes from routine. Instead of tweaking sliders randomly, follow a structured sequence. Here is a proven workflow that takes about 10 minutes per photo, allowing you to process a full day’s worth of shots in under an hour.
- Import and Cull: Open Lightroom Mobile. Import your new photos. Immediately flag the keepers (thumbs up) and reject the blurry or redundant ones. Don’t edit yet. Just sort. This reduces your workload by 30-40% right away.
- Global Exposure: Select a keeper. Adjust the Exposure slider first. Aim for a balanced histogram. Then tweak Contrast and Clarity. Avoid pushing these too hard; subtle changes look more professional.
- White Balance: Use the temperature and tint sliders. Look at a neutral gray object in the scene (like concrete or stone) to gauge the correct color. If unsure, use the Auto White Balance button as a starting point.
- Local Corrections: Switch to Snapseed. Use the "Healing" tool to remove distractions. Use "Tune Image" for fine-tuning shadows and highlights if Lightroom didn’t get it quite right.
- Crop and Straighten: Go back to Lightroom. Crop out unnecessary edges. Straighten the horizon using the grid overlay. A level horizon makes a huge difference in perceived professionalism.
- Export and Sync: Export the edited version as a JPEG for social media. Keep the original DNG file in the cloud for future reference. Enable auto-sync so your desktop library updates automatically.
This routine ensures you never miss a step. It also prevents over-editing, which is the most common mistake beginners make. By limiting yourself to specific tools in a specific order, you maintain control over the final image.
Managing Storage and Battery Life
One of the biggest hurdles to mobile editing is hardware limitation. Phones have limited storage, and editing drains battery fast. To combat this, adopt these habits:
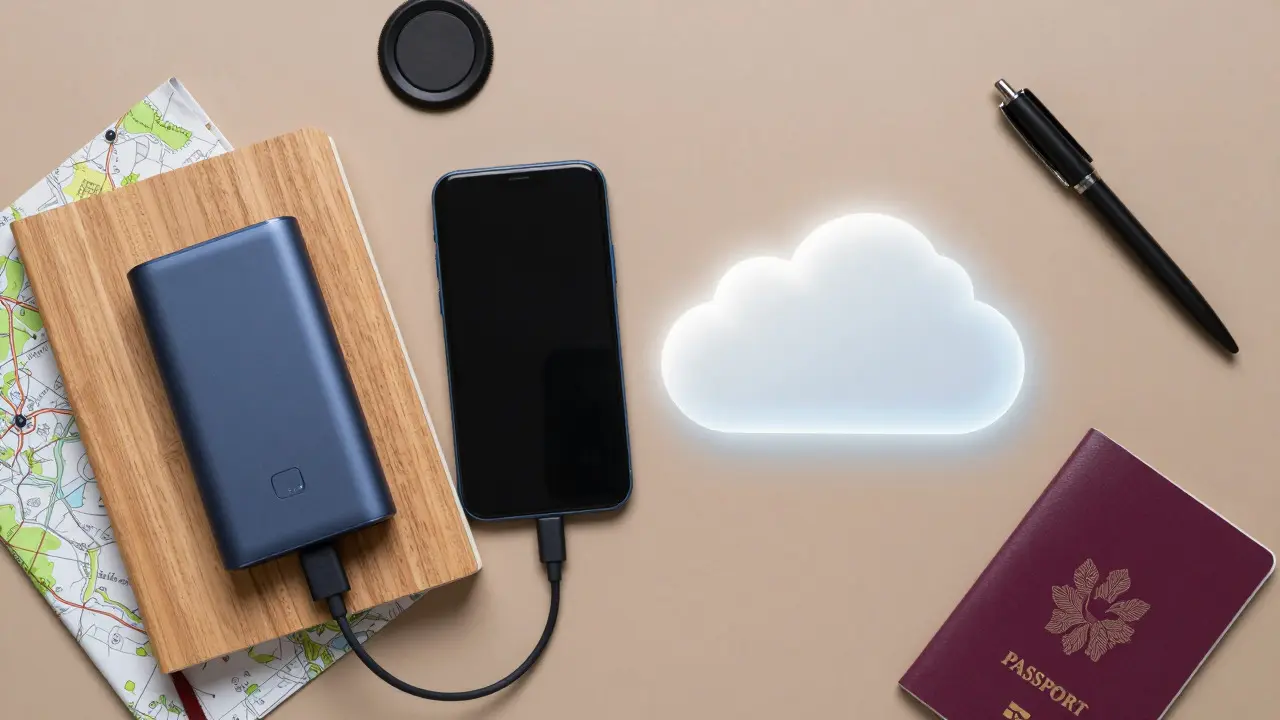
- Use Cloud Backups: Enable automatic backups to Adobe Creative Cloud or Google Photos. Once backed up, delete the originals from your phone’s local storage. This frees up space without losing data.
- Edit in Batches: Don’t edit one photo at a time. Pick three similar shots (e.g., three angles of the same landmark). Apply settings to the first one, then copy those settings to the others. This saves significant time and ensures consistency.
- Power Bank is Essential: Carry a portable charger. Editing 20 photos can drain 30% of your battery. Having a backup power source ensures you don’t lose progress mid-edit.
Storage management is often overlooked but critical. A full phone forces you to stop editing, breaking your flow. By offloading to the cloud daily, you keep your device light and ready for the next day’s shoot.
Common Pitfalls to Avoid
Even with the best apps, travelers make recurring mistakes that undermine their efficiency. Watch out for these:
- Over-Saturating Colors: It’s tempting to boost saturation to make blue skies pop. But excessive saturation leads to unnatural skin tones and banding in gradients. Stick to +10 to +20 on the saturation slider unless the scene is truly dull.
- Ignoring the Histogram: Relying solely on how the image looks on your small phone screen can be misleading. Always check the histogram in Lightroom. If the graph touches the left edge, you’ve lost shadow detail. If it touches the right, highlights are blown out.
- Forgetting Metadata: When exporting for web, ensure metadata is stripped to reduce file size. However, keep the original DNG file with full metadata for archival purposes. This distinction matters if you plan to sell prints later.
Avoiding these pitfalls doesn’t require advanced knowledge, just awareness. Taking five seconds to check the histogram or resist the urge to max out saturation will save you from having to re-edit photos weeks later.
Comparison of Popular Mobile Editors
To help you choose the right tools, here’s a breakdown of how the top contenders stack up for travel-specific needs.
| App Name | Best For | Cost Model | Cloud Sync | Learning Curve |
|---|---|---|---|---|
| Lightroom Mobile | Global adjustments, color grading, professional workflow | Subscription (included in Creative Cloud) | Yes, seamless with desktop | Moderate |
| Snapseed | Local fixes, healing, quick tweaks | Free | No native sync (manual export) | Low |
| VSCO | Film emulation, preset sharing, aesthetic consistency | Subscription (one-time purchase available) | Yes, via VSCO account | Low |
| Darkroom | iOS users wanting RAW support and speed | One-time purchase | Limited (iCloud integration) | Moderate |
Notice that no single app does everything perfectly. Lightroom wins on workflow integration, Snapseed on utility, and VSCO on style. The most efficient travelers combine at least two of these to cover their bases.
Next Steps for Your Next Trip
Ready to implement this? Start small. On your next short weekend trip, try the 10-minute routine on just five photos. Notice how much faster you feel compared to waiting until Sunday night to clean up your camera roll. As you get comfortable, expand to a full day’s worth of shots. Over time, this habit will transform your travel photography from a chaotic mess of unedited files into a curated portfolio you can share immediately.
Remember, the goal is not perfection in every pixel, but efficiency in your process. By mastering these mobile workflows, you reclaim your evenings, reduce stress, and ensure your best moments are preserved in their best light-without ever touching a desktop computer until you’re back home.
Is it safe to edit photos directly on my phone?
Yes, provided you use non-destructive editing apps like Lightroom or Snapseed. These apps create adjustment layers rather than altering the original file. Always enable cloud backup to prevent data loss if your phone is damaged or lost.
Which app is better for removing people from travel photos?
Snapseed is generally considered superior for this task due to its Healing tool, which blends surrounding pixels seamlessly. Lightroom has a Spot Removal tool, but it requires more manual blending for complex backgrounds.
How much storage space do I need for mobile editing?
Aim for at least 64GB of free space on your phone. High-resolution RAW files can consume several gigabytes per day. Regularly offload edited photos to the cloud to keep local storage manageable.
Can I use mobile-edited photos for print?
Yes, if you edit in DNG format and avoid aggressive compression. Lightroom Mobile preserves quality well enough for standard 8x10 or 11x14 prints. For larger canvas prints, consider final adjustments on a desktop for higher resolution output.
What is the best way to keep colors consistent across different locations?
Create a custom preset in Lightroom based on your preferred color palette. Apply this preset to all photos as a starting point, then make minor individual adjustments. This ensures a cohesive look across your entire trip’s gallery.