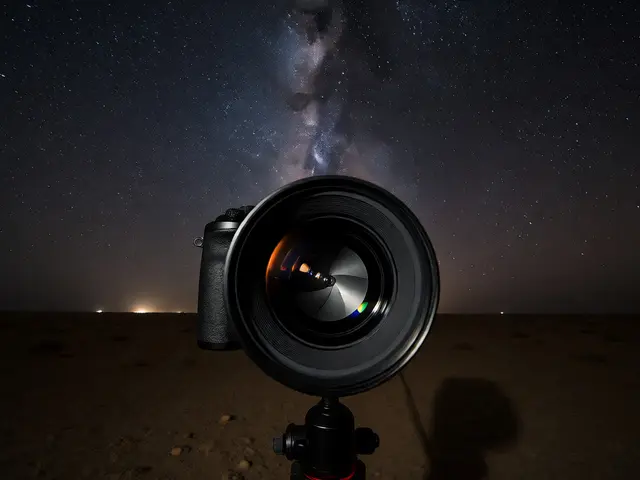
You’ve captured a stunning single frame of the Milky Way. The stars are sharp, the colors pop, and you’re ready to hit publish. But then you watch a time-lapse video where the stars swirl around Polaris like liquid silver, or where clouds race across the moonlit landscape in seconds. You want that motion. You want that smooth, cinematic flow that makes the static night feel alive. Getting there isn’t just about pointing your camera at the sky and pressing record; it’s about sequencing thousands of individual exposures into a coherent story without flicker, banding, or jitter.
Most photographers fail at astro time-lapses because they treat them like standard day-time sequences. They forget that the night sky is dynamic. Stars move. Air glows. Sensors heat up. If you don’t account for these variables, your final video will look like a strobe light show rather than a seamless glide through space. This guide breaks down exactly how to sequence your shots, handle the technical hurdles unique to low-light environments, and stitch it all together so your footage looks professional from the first frame to the last.
Why Astro Time-Lapses Are Harder Than Daytime Ones
Astro time-lapse photography is a technique that captures a series of still images over an extended period to create a video showing the passage of time in the night sky. Unlike daytime landscapes, where lighting changes slowly and predictably, night skies introduce rapid fluctuations in brightness due to airglow, passing clouds, and satellite interference.
The biggest enemy here is flicker. In daylight, your auto-exposure mode might work fine. At night, tiny variations in sensor temperature or minor shifts in ambient light cause the camera to adjust exposure between frames. These micro-adjustments result in a pulsing effect when played back at 24 or 30 frames per second. To fix this, you must lock everything down. Manual focus, manual white balance, and manual exposure are non-negotiables. If you leave anything on auto, the camera will try to "help" you, and it will ruin your sequence.
Another challenge is the sheer volume of data. A 10-second clip at 30fps requires 300 photos. A one-minute clip needs 1,800. If you’re shooting RAW files to retain detail in the shadows, you’re looking at gigabytes of data before you even open Lightroom. Managing this file size while maintaining image quality is part of the art form.
Essential Gear and Settings for Smooth Sequences
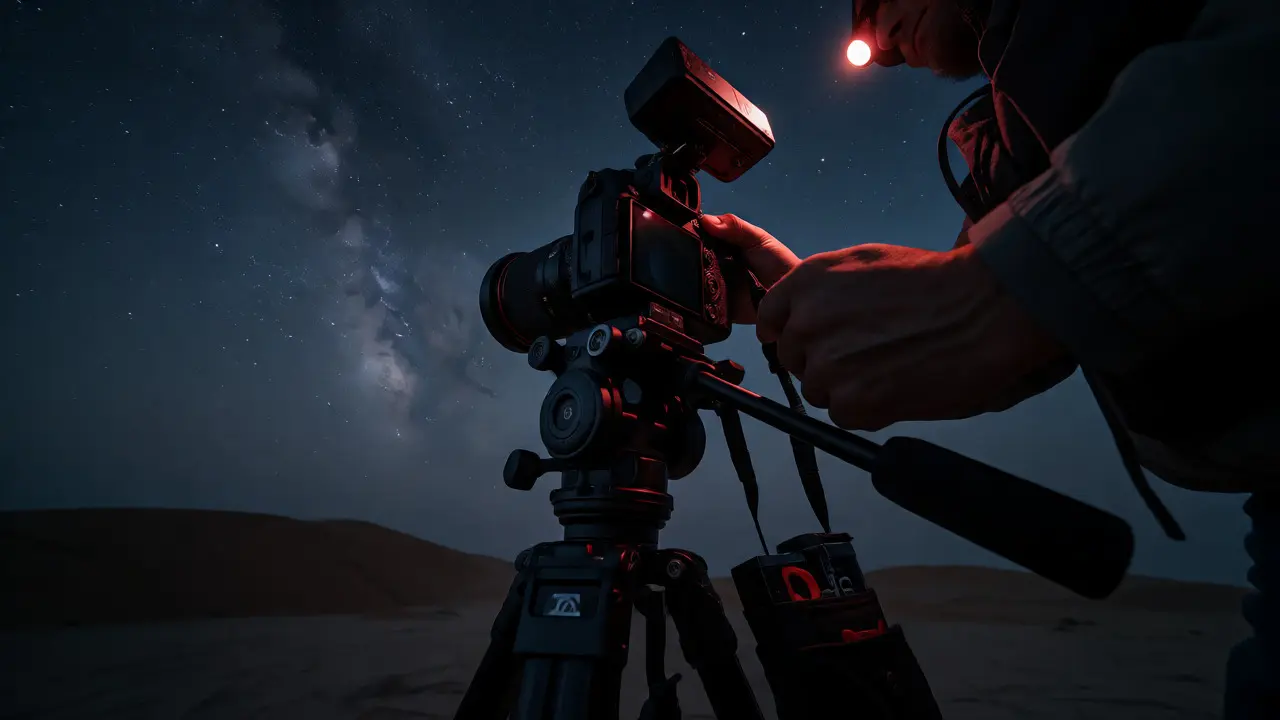
You don’t need a cinema camera to get started, but you do need control. Most modern mirrorless cameras (Sony A7 series, Nikon Z6/Z7, Canon R5/R6) can handle this task if configured correctly. Here is what matters most:
- Intervalometer: While many cameras have built-in interval timers, an external device offers more precision. It ensures consistent timing between shots, which is critical for smooth playback.
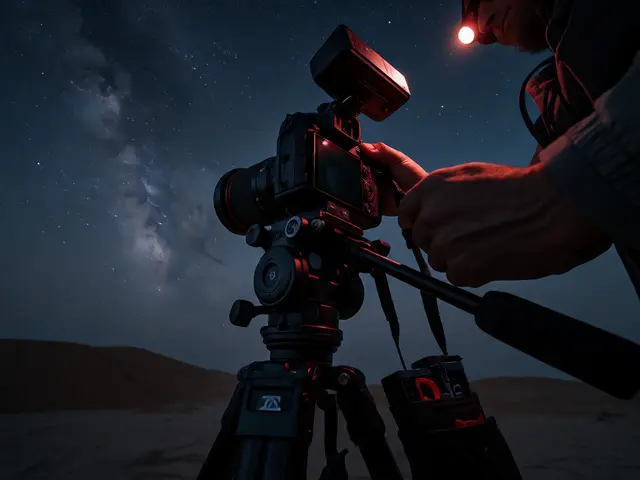
- Sturdy Tripod: Wind is a major issue at night. Even a slight breeze can shake your tripod enough to cause micro-jitters in the final video. Use a heavy tripod or hang weight from the center column.
- Batteries: Cold nights drain batteries fast. Keep spares in an inside pocket close to your body heat. Swap them out during longer shoots if necessary.
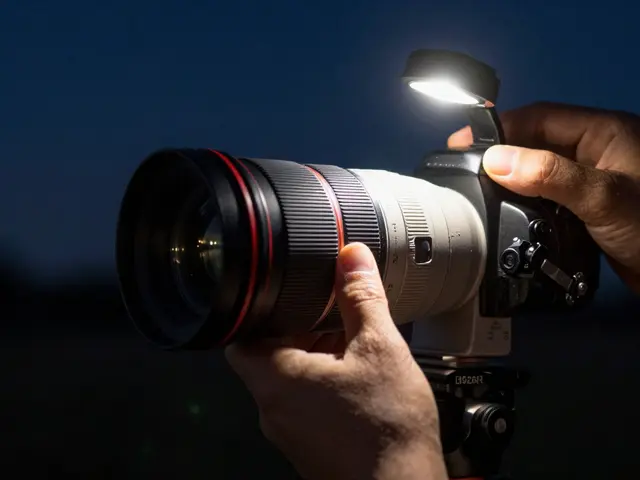
- Lens Choice: Wide-angle lenses (14mm-24mm) are ideal for capturing large swaths of the sky. Fast apertures (f/1.8-f/2.8) help gather light quickly, allowing for shorter exposures that reduce star trailing.
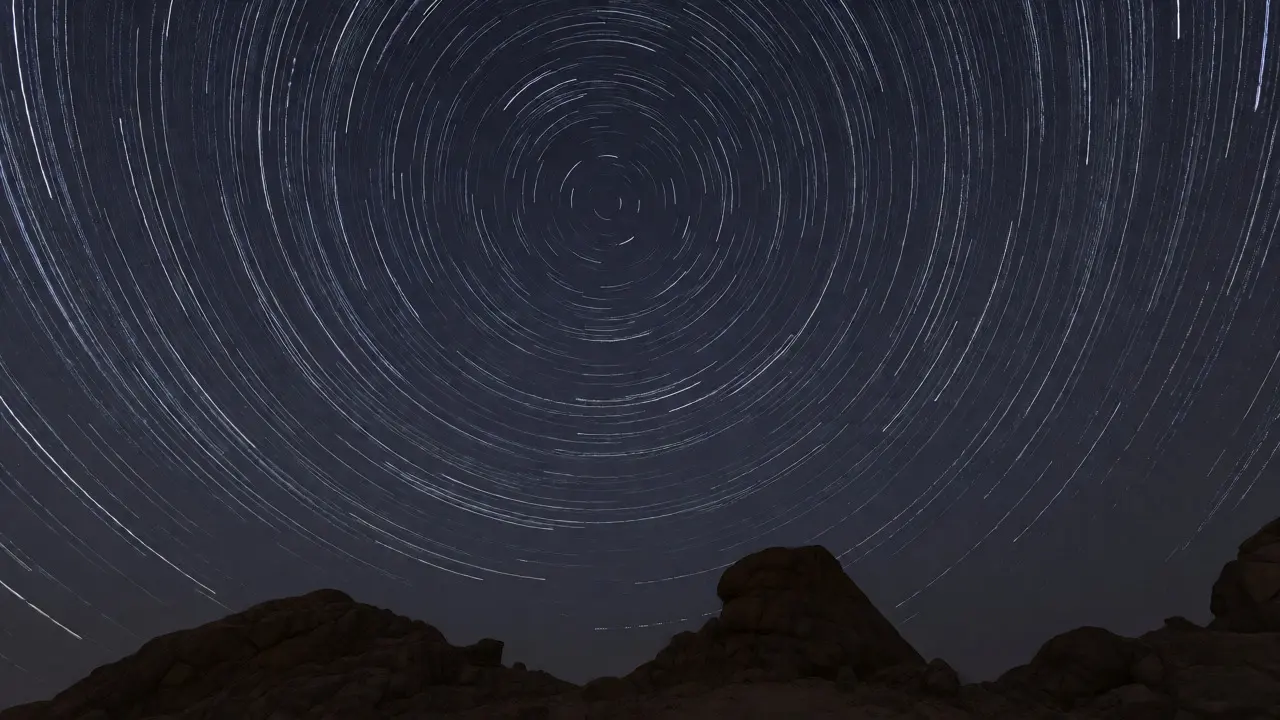
When setting up your camera, switch to Bulb mode or use a dedicated long-exposure setting if available. Set your ISO manually-usually between 1600 and 6400 depending on your camera’s noise performance. Choose an aperture wide enough to keep exposure times under 20 seconds to minimize star trails in individual frames, unless you specifically want those trails.
Mastering Exposure and Avoiding Flicker
Flicker happens when the camera’s metering system tries to compensate for changing light conditions between frames. Since you’re shooting the same scene repeatedly, you want identical exposure values for every shot. Here’s how to achieve that consistency:
- Lock White Balance: Do not use Auto White Balance (AWB). AWB will shift color temperatures as clouds pass or satellites streak by, causing weird color jumps in your video. Set a fixed Kelvin value (e.g., 4000K-5000K) and stick with it.
- Use Manual Mode: Turn off all automatic adjustments. Your shutter speed, aperture, and ISO should remain constant throughout the entire sequence.
- Disable Long Exposure Noise Reduction: This feature takes a second dark frame after each exposure to subtract thermal noise. While useful for single shots, it doubles your capture time and can introduce inconsistencies if the sensor cools unevenly. Turn it off and handle noise in post-production.
- Shoot in RAW: JPEGs compress data and discard shadow details. RAW files give you the flexibility to recover highlights and crush blacks later without introducing artifacts.
If you’re shooting near a city, light pollution adds another layer of complexity. Streetlights may turn on or off, or cars may drive by. These sudden changes can trick the camera if any automation is left on. Double-check that no flash units or auxiliary lights are active.
Calculating Intervals and Duration
The interval-the time between the start of one shot and the next-determines how fast time appears to move in your video. Too short, and you waste storage space with redundant frames. Too long, and the motion becomes jerky.
For star rotation, a common rule of thumb is to shoot an interval slightly longer than your exposure time plus a buffer for card write speeds. For example, if your exposure is 15 seconds, set your interval to 20 seconds. This gives the camera time to process and save the file before starting the next exposure. If the interval is too tight, the camera might miss shots or drop frames, leading to stuttering.
| Subject | Exposure Time | Recommended Interval | Reasoning |
|---|---|---|---|
| Star Trails | 15-30 sec | 35-40 sec | Allows buffer for processing; creates dense trails. |
| Milky Way Rotation | 10-20 sec | 25-30 sec | Balances motion smoothness with manageable file count. |
| Cloud Movement | 1-5 sec | 5-10 sec | Faster intervals needed to capture fluid cloud drift. |
| Aurora Borealis | 2-5 sec | 5-8 sec | Auroras change rapidly; short intervals preserve detail. |
Calculate your total duration based on the desired output length. Remember the formula: Total Frames = Desired Video Seconds × Frame Rate. If you want a 10-second clip at 30fps, you need 300 frames. With a 30-second interval, your shoot will take 150 minutes (2.5 hours). Plan accordingly. Bring coffee.
Post-Processing: From Stills to Cinematic Flow
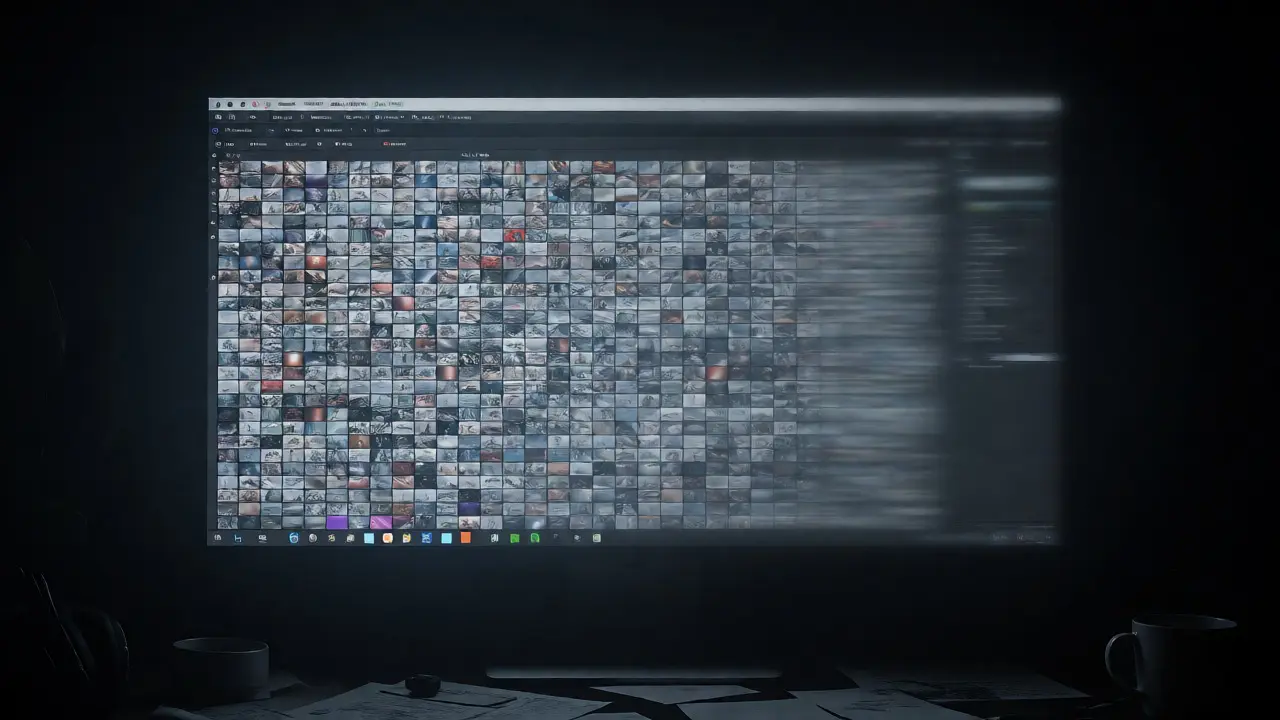
Once you have your sequence, the real work begins. Importing hundreds of RAW files into editing software can be overwhelming, but tools like Adobe Lightroom Classic or Capture One make batch processing efficient.
Start by applying basic corrections to the first frame: lens profile correction, black point adjustment, and contrast enhancement. Then sync these settings to all other frames. However, beware of syncing local adjustments like gradient masks or brush strokes, as moving elements (clouds, planes) will break the mask logic. Stick to global adjustments.
To eliminate residual flicker, use specialized plugins like LRTimelapse or Deflicker. These tools analyze luminance changes between frames and smooth them out algorithmically. They can detect gradual changes (like dawn approaching) versus abrupt ones (like a car headlight) and apply different smoothing curves accordingly.
After deflickering, export the sequence as a high-quality video file (ProRes or DNxHR) rather than jumping straight to MP4. This preserves maximum quality for further editing in Premiere Pro or DaVinci Resolve. In your NLE (Non-Linear Editor), you can add subtle speed ramps or stabilize the footage if there was minor wind shake. Adding a slow zoom or pan in post can also enhance the sense of motion without requiring complex motorized heads on location.
Common Pitfalls and How to Fix Them
Even experienced shooters run into issues. Here are three frequent problems and their solutions:
- Bandings: Horizontal lines appearing in gradients often result from sensor readout issues or aggressive compression. Shoot in RAW and avoid extreme stretching in post. If banding persists, apply a small amount of grain in post-production to mask it.
- Jitter: Small shifts in framing between frames. This usually stems from tripod instability or mirror slap (in DSLRs). Use Live View to eliminate mirror movement, ensure your tripod is rock-solid, and consider using electronic shutter if available.
- Sensor Heat Noise: As the camera runs continuously, the sensor heats up, increasing thermal noise. This can cause the background to brighten over time. Mitigate this by taking short breaks every 30-60 minutes if possible, or use a fan to cool the camera body. Alternatively, correct for gradual brightness increase in post using keyframed exposure adjustments.
Patience is your best tool. Astro time-lapses require planning, execution, and meticulous editing. But when you see those stars dancing smoothly across the screen, you’ll know it was worth every cold minute spent outside.
How many photos do I need for a 10-second astro time-lapse?
You typically need 240 to 300 photos for a 10-second clip, assuming a standard frame rate of 24 or 30 frames per second. Multiply your desired video length in seconds by your chosen frame rate to calculate the exact number of frames required.
What is the best interval setting for star trails?
For star trails, set your interval 5-10 seconds longer than your exposure time. For example, if your exposure is 20 seconds, use a 25-30 second interval. This buffer allows the camera to write the file to the memory card and prevents dropped frames, ensuring a smooth trail effect.
Can I shoot astro time-lapses with a smartphone?
Yes, modern smartphones with manual modes and dedicated astrophotography apps (like NightCap or ProCam) can shoot basic time-lapses. However, they lack the sensor size and dynamic range of dedicated cameras, making them prone to noise and limited in low-light performance compared to mirrorless or DSLR systems.
How do I prevent flicker in my astro time-lapse?
Prevent flicker by locking all camera settings: manual exposure, manual white balance, and manual focus. Disable auto-ISO and long exposure noise reduction. Additionally, use deflickering software like LRTimelapse during post-processing to smooth out any remaining luminance variations between frames.
Do I need a special lens for astro time-lapses?
While not strictly required, a fast wide-angle lens (f/1.4-f/2.8, 14mm-24mm) is highly recommended. It gathers more light, allowing for shorter exposures that reduce star trailing in individual frames and keeps ISO lower for cleaner images.