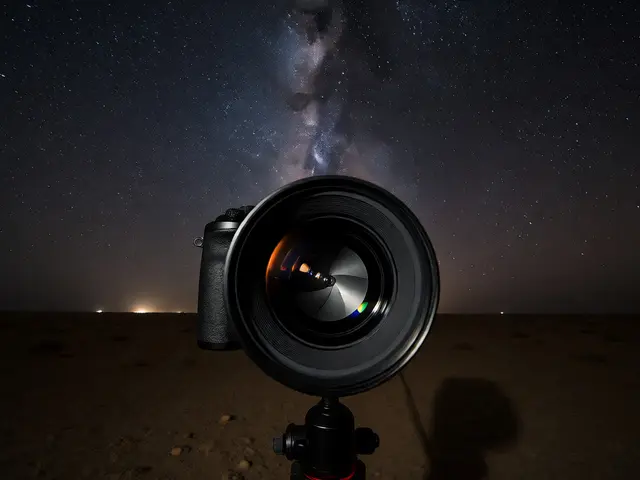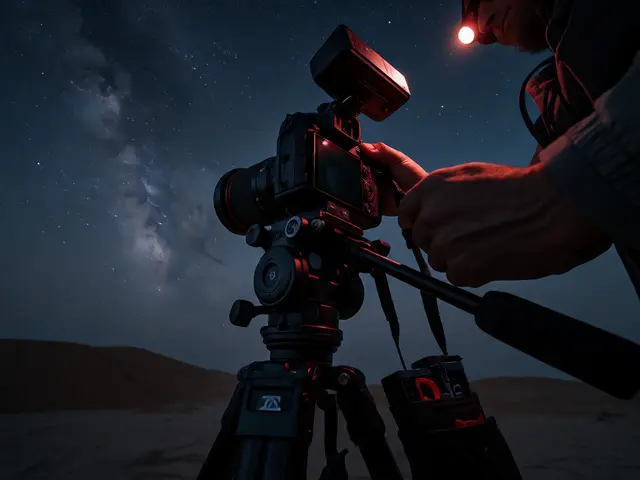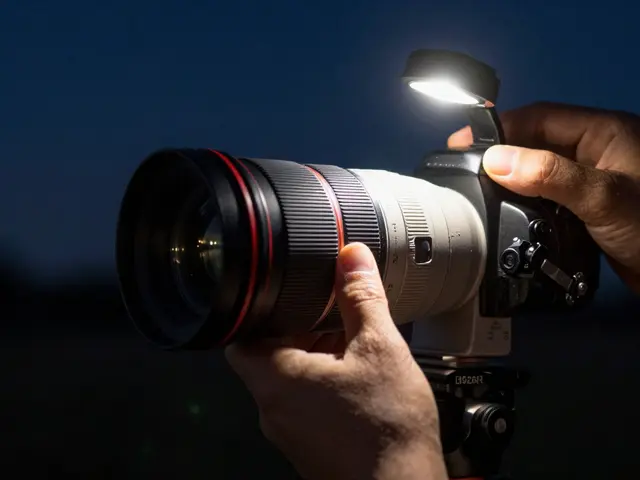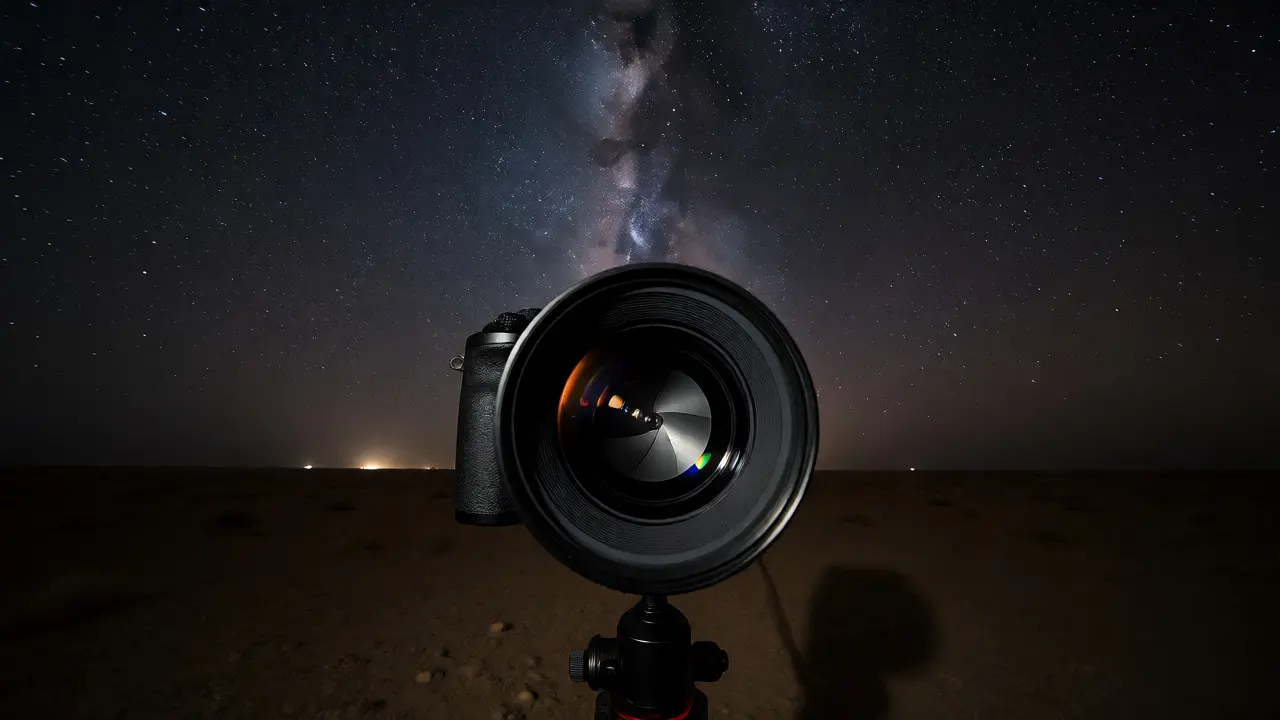
You’re standing in a dark field, tripod set up, camera ready. You look through your viewfinder and see nothing but blackness. Then you remember: you need light. Specifically, you need a lens that lets every possible photon hit your sensor. This is where aperture becomes the single most critical decision in your astrophotography workflow. It’s not just about exposure; it’s about physics. A wider opening gathers more light, shortens exposure times, and reduces star trailing caused by Earth’s rotation. But it also introduces optical challenges like coma and vignetting that can ruin an otherwise perfect shot.
The Physics of Light Gathering
Think of your camera sensor as a bucket catching rain. The larger the opening (the aperture), the faster the bucket fills. In photography terms, this is measured in f-stops. An f/1.4 lens has a much larger physical opening than an f/4 lens, allowing four times more light to reach the sensor. For night sky photography, this difference is massive. At ISO 3200, an f/1.4 lens might capture stars in 15 seconds, while an f/4 lens needs 60 seconds. Those extra 45 seconds are enough for stars to turn into streaks due to Earth’s spin.
This isn’t just theoretical. If you’ve ever tried shooting the Milky Way with a kit lens at f/3.5 or f/5.6, you likely noticed blurry stars or had to crank your ISO so high that noise dominated the image. Fast lenses-those with maximum apertures of f/2.8 or wider-solve this by letting you keep exposures under the "500 Rule" limit (500 divided by focal length equals max seconds before trailing). For a 24mm lens, that’s roughly 20 seconds. With an f/1.4 lens, you can easily stay within that window without pushing ISO to breaking point.
F-Stop Sweet Spots vs. Maximum Width
Here’s the trap many beginners fall into: they shoot wide open at f/1.4 or f/1.8 because they want maximum light. While this works for faint nebulae, it often hurts sharpness. Most lenses suffer from soft edges, chromatic aberration, and distortion when used at their widest setting. For landscape astrophotography, where foreground detail matters, stopping down slightly to f/2.0 or f/2.8 often yields sharper results across the frame.
However, if you’re capturing deep-sky objects or aiming for dramatic star fields where edge sharpness is less critical than signal-to-noise ratio, staying wide open is acceptable. The key is knowing your specific lens’s behavior. Test it on a clear night. Shoot at f/1.4, then f/2.0, then f/2.8. Compare the corners. If the improvement in sharpness outweighs the loss of light, stop down. If the stars remain pinpoints, stay wide.
Managing Optical Aberrations
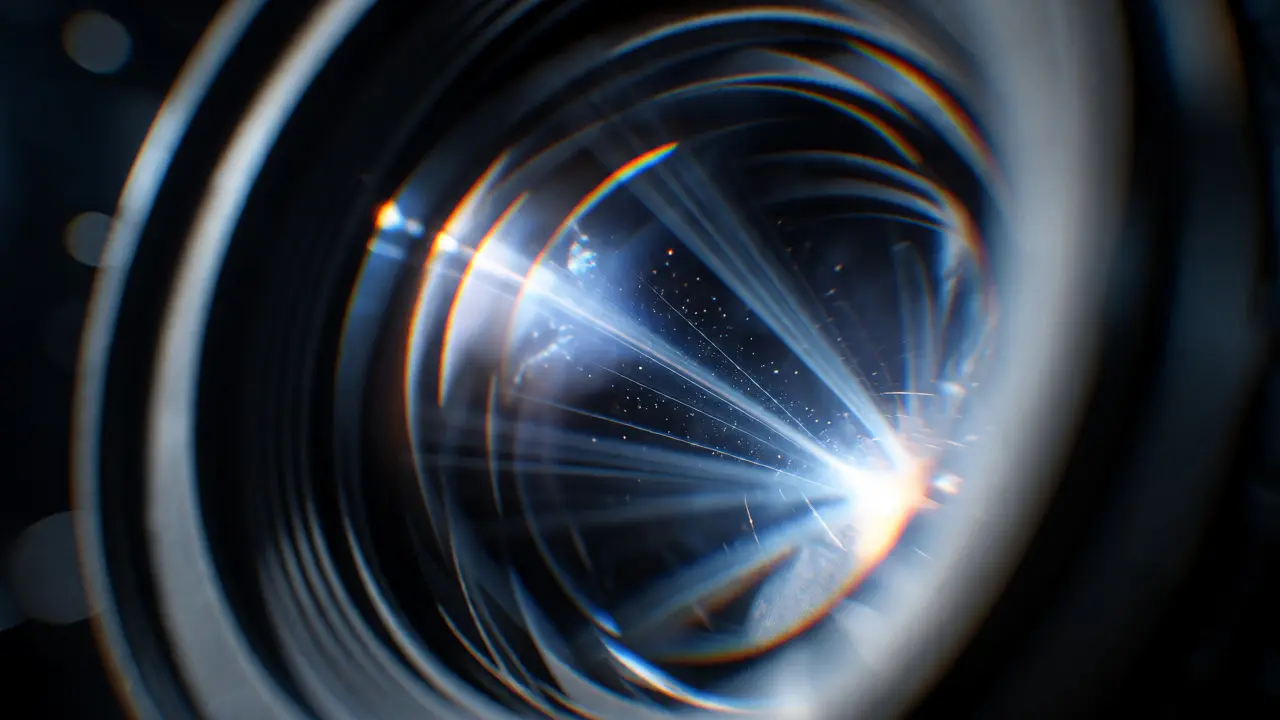
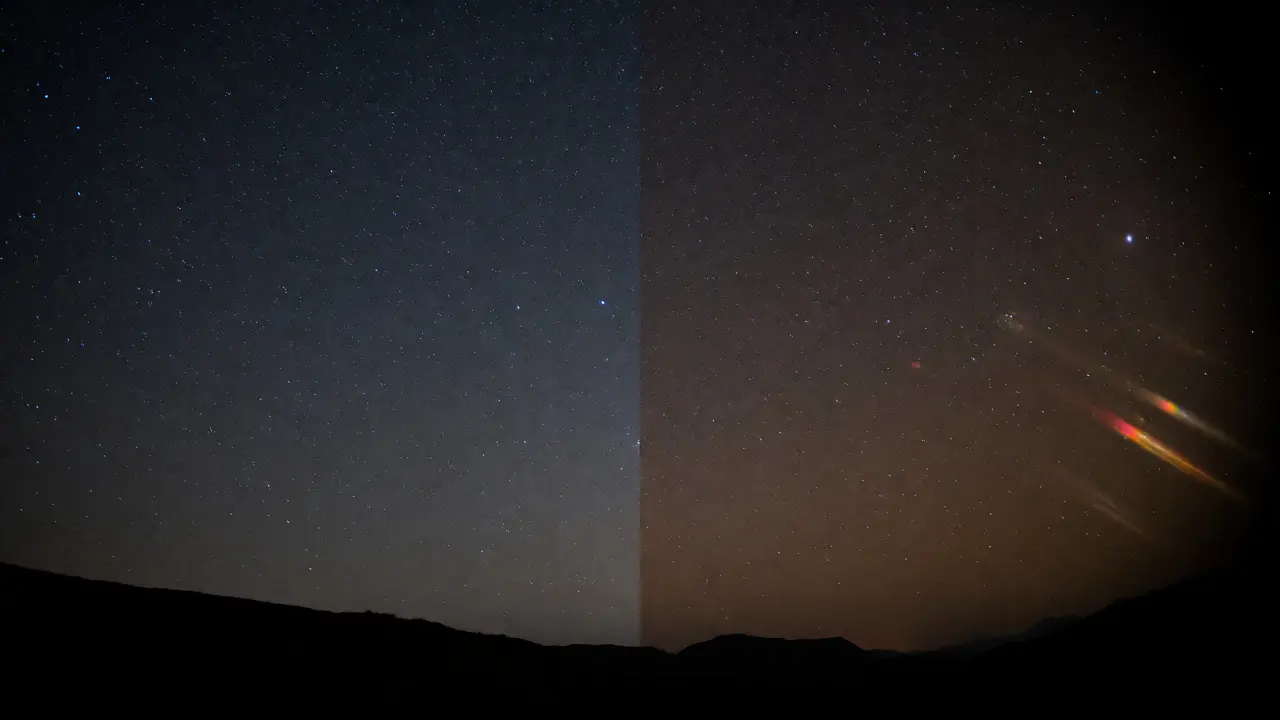
Wide apertures bring two notorious enemies: coma and vignetting. Coma makes stars near the edges of your frame look like little birds or comets instead of dots. Vignetting darkens the corners. Both are exacerbated by fast glass.
| Aperture | Light Gathered | Star Shape Quality | Vignetting Risk | Best Use Case |
|---|---|---|---|---|
| f/1.4 - f/1.8 | Maximum | Poor (Coma visible) | High | Faint nebulae, low-light portraits |
| f/2.0 - f/2.8 | High | Good (Minor coma) | Moderate | Milky Way landscapes, star trails |
| f/4.0+ | Low | Excellent (Pinpoints) | Low | Lunar close-ups, planetary imaging |
To combat coma, many astrophotographers use dedicated astro-modified lenses or apply correction software during post-processing. Tools like StarNet++ or Adobe Camera Raw have built-in lens profiles that can mitigate these effects, but they can’t fully fix severe optical flaws. If you plan to print large or crop heavily, investing in a lens known for flat-field performance-like certain Sigma Art series or Nikon Z primes-is worth the cost.
Depth of Field Considerations
In daylight photography, we often worry about depth of field (DoF) blurring backgrounds. In astrophotography, infinity focus is usually our goal, so DoF seems irrelevant. But here’s the catch: when you include a foreground element like a tree, mountain, or building, you need both the stars and the ground to be sharp. Wide apertures reduce DoF, making it harder to keep both in focus.
The solution? Hyperfocal distance calculations become crucial. By focusing at a specific distance rather than infinity, you maximize sharpness from half that distance to infinity. With an f/2.8 lens, this zone is narrower than with an f/8 lens. If your foreground is close (within 10 meters), you might need to stop down to f/4 or f/5.6, even if it means longer exposures. Stack multiple shorter exposures to avoid trailing while maintaining depth.
Choosing the Right Glass
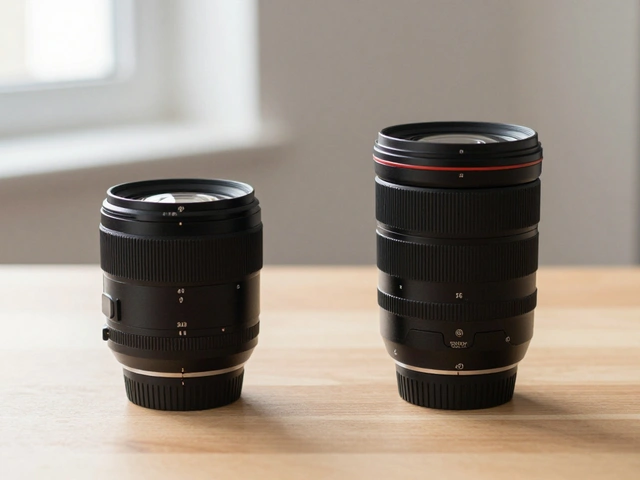
Not all fast lenses are created equal. Canon RF 15-35mm f/2.8L IS USM is popular for its versatility, but prime lenses generally offer better corner sharpness at wide apertures. The Sony FE 20mm f/1.8 G is a favorite among mirrorless users for its compact size and excellent coma control. For DSLR shooters, the Samyang/Rokinon 14mm f/2.8 remains a budget king, though manual focus requires practice.
When shopping, prioritize these attributes:
- Coma Control: Look for reviews specifically mentioning "astro-rated" or "coma-free" performance.
- Focus Stability: Temperature changes at night can cause autofocus motors to drift. Manual focus locks or hard stops help.
- Vignetting Correction: Check if your camera body supports lens profile corrections in-camera.
Practical Workflow Tips
Start by framing your shot during twilight. Focus manually using live view zoomed in on a bright star or distant light source. Once focused, tape the focus ring to prevent accidental bumps. Set your aperture to f/2.0 initially. Take a test shot at ISO 3200 for 15 seconds. Review the histogram. If the left side is clipped (too dark), open up to f/1.8. If stars are trailing, shorten time or raise ISO.
Remember, there is no single "best" aperture. It’s a balance between light gathering, optical quality, and creative intent. Experimentation is part of the craft. Keep notes on which settings worked best for different lenses and conditions. Over time, you’ll develop an intuition for when to go wide open and when to stop down.
Is f/1.4 always better than f/2.8 for astrophotography?
No. While f/1.4 gathers twice as much light as f/2.8, it often suffers from worse coma and vignetting. For Milky Way shots with foreground elements, f/2.8 often provides a better balance of sharpness and speed. Reserve f/1.4 for deep-sky targets where edge sharpness is less critical.
How does aperture affect star trailing?
Aperture itself doesn't cause trailing; exposure time does. However, a wider aperture allows you to use a shorter exposure time for the same brightness. Shorter exposures mean less time for Earth's rotation to smear the stars, resulting in rounder points of light.
What is the 500 Rule?
The 500 Rule helps calculate the maximum exposure time before stars begin to trail. Divide 500 by your focal length (in mm) to get the max seconds. For example, 500 / 24mm = 20.8 seconds. Note that this rule assumes a full-frame sensor; for APS-C, divide by the crop factor first.
Can I use a slow lens for astrophotography?
Yes, but with limitations. Slow lenses (f/4 or higher) require longer exposures or higher ISOs. This increases noise and risks star trailing. They are best suited for lunar photography, planetary imaging, or stacking techniques where long exposures are managed via tracking mounts.
Does stopping down reduce noise?
Indirectly, yes. Stopping down reduces light intake, forcing you to increase ISO or extend exposure time. Higher ISO increases digital noise. Longer exposure increases thermal noise and risk of trailing. Therefore, keeping the aperture as wide as optically acceptable helps maintain lower ISOs and cleaner images.