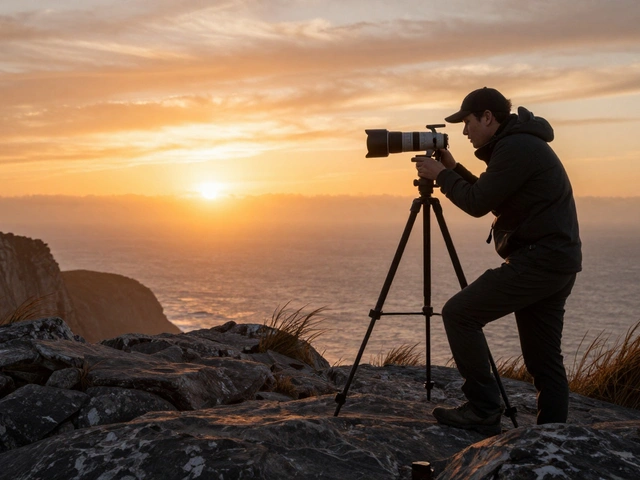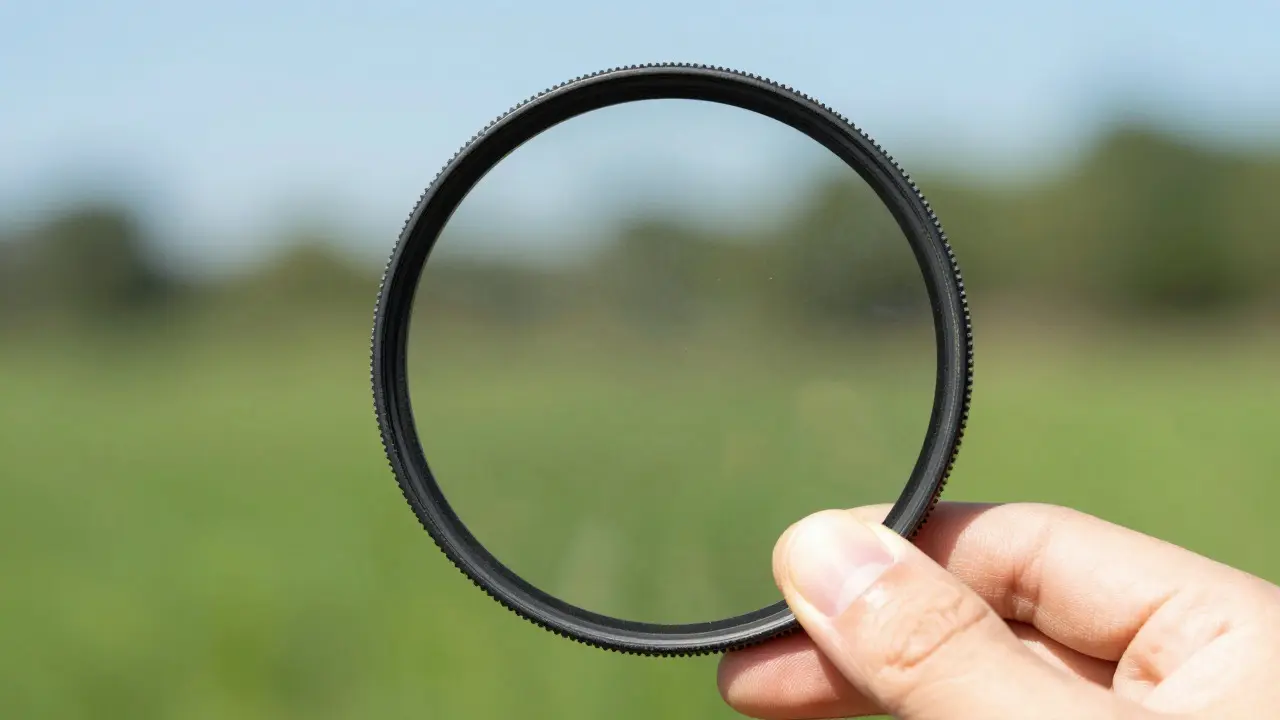
Imagine standing on a cliff edge in the Pacific Northwest, watching water crash against rocks. The sun is high, the sky is bright, and you want that silky, long-exposure look where the water turns into mist. But your camera says you need a shutter speed of 1/4000th of a second to avoid blowing out the highlights. You’re stuck. This is exactly where a Neutral Density Filter comes in. It’s not just a piece of glass; it’s a tool that lets you extend your shutter speed without changing your aperture or ISO, keeping your image balanced even in harsh light.
What Is a Neutral Density Filter?
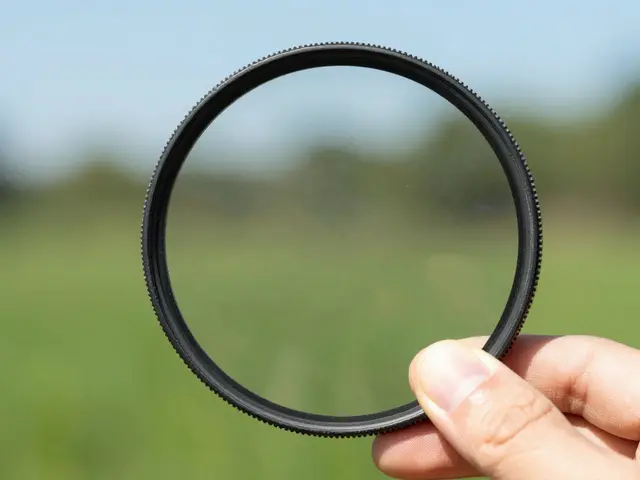
A neutral density (ND) filter is a darkened lens attachment that reduces the amount of light hitting your camera sensor. Unlike polarizing filters, which also cut glare and boost saturation, ND filters aim to be color-neutral. They don’t change the white balance or the hue of your scene; they simply dim it. Think of them as sunglasses for your camera. When you put them on, the world looks darker, but the colors remain true.
The strength of an ND filter is measured in stops. One stop cuts light in half. Two stops cut it to a quarter. Ten stops cut it to one-thousandth of the original light. For most photographers, the two main types are:
- ND8 (3 stops): Reduces light by three stops. Good for slight motion blur in moving subjects like people or cars.
- ND64 (6 stops): Reduces light by six stops. Ideal for medium-length exposures in daylight.
- ND1000 (10 stops): Reduces light by ten stops. Essential for long exposures in bright conditions, turning fast-moving water into smooth silk.
Why Extend Shutter Speed Without Overexposure?
Your camera has three main controls for exposure: aperture, shutter speed, and ISO. Aperture controls depth of field. ISO controls noise. Shutter speed controls motion blur. Often, you want a specific aperture for creative focus reasons and a low ISO for clean images. That leaves shutter speed as your only variable for balancing exposure. In bright sunlight, this variable often forces you to use very fast shutter speeds, freezing motion completely.
If you want to show motion-like the flow of a river or the trail of car lights-you need a slower shutter speed. Without an ND filter, slowing down the shutter in bright light means overexposing the image. The whites turn pure white with no detail, and the shadows blow out. An ND filter solves this by blocking light, allowing you to keep the shutter open longer while maintaining the correct exposure level.
Choosing the Right ND Strength
Selecting the right filter depends on how much light you need to block and how slow you want your shutter to be. Here is a simple way to think about it. If your meter suggests 1/500s at f/8 and ISO 100, but you want 1/2s instead, you need to know how many stops apart those are.
| Filter Type | Stops Reduced | Light Transmission | Typical Use Case |
|---|---|---|---|
| ND4 | 2 | 25% | Slight blur in bright sun |
| ND8 | 3 | 12.5% | Moderate motion blur, portraits in sun |
| ND64 | 6 | 1.56% | Waterfalls in midday, street scenes |
| ND1000 | 10 | 0.1% | Long exposure landscapes, day-for-night |
Notice that going from 1/500s to 1/2s is a jump of seven stops (1/500 -> 1/250 -> 1/125 -> 1/60 -> 1/30 -> 1/15 -> 1/8 -> 1/2). So, if you were at 1/500s and wanted 1/2s, you’d need roughly a 7-stop reduction. Since standard filters come in 3, 6, and 10 stops, you might stack an ND8 and an ND64, or use a variable ND filter that covers that range.
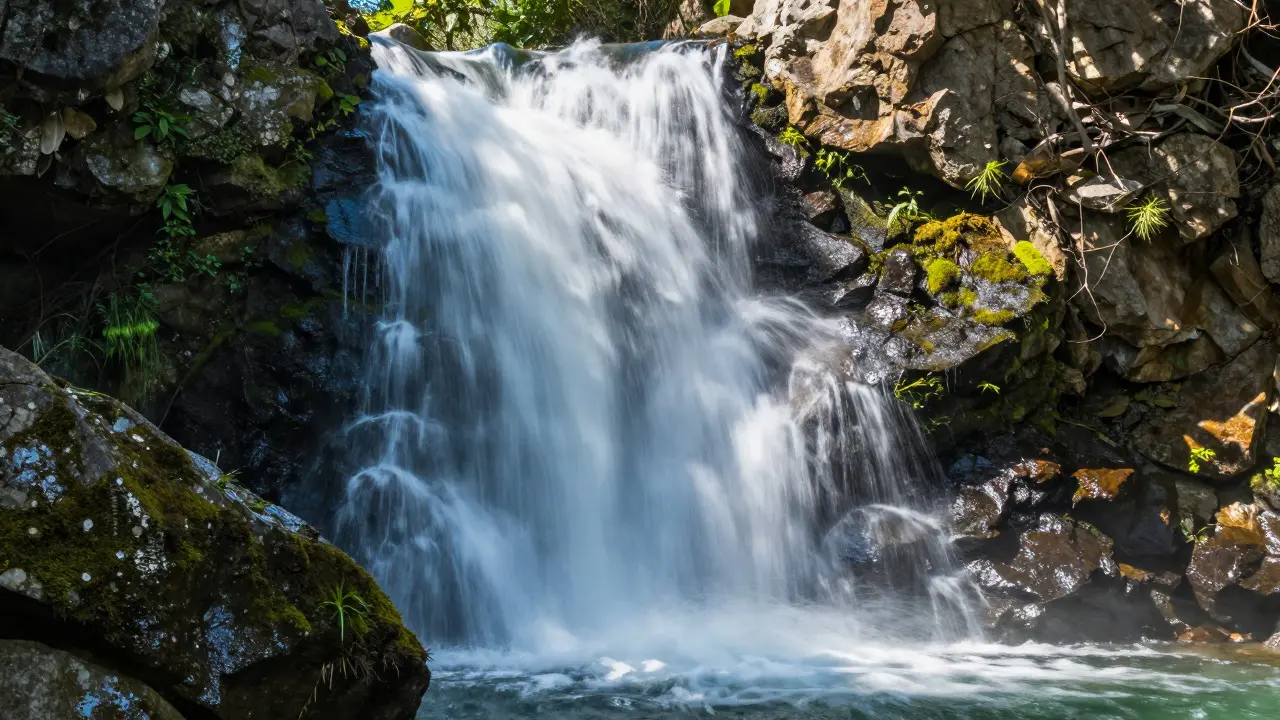
Practical Application: Waterfalls and Seascape
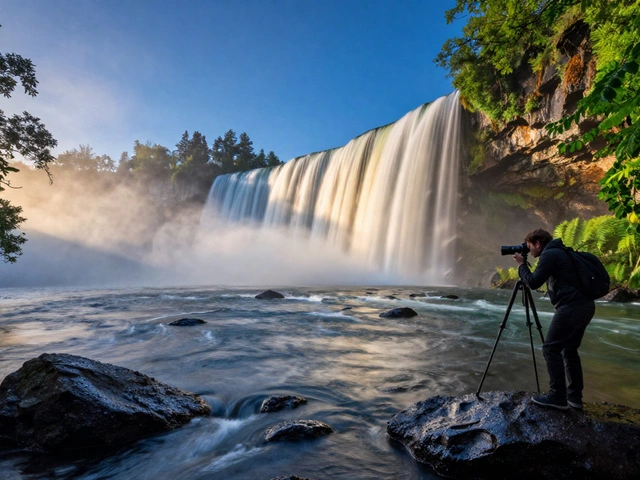
Let’s look at a real scenario. You’re photographing a waterfall in Portland on a sunny afternoon. The light is intense. Your camera settings are f/11, ISO 100. Without a filter, your shutter speed is 1/250s. The water looks frozen, jagged, and chaotic. You want it to look soft and ethereal. You attach an ND1000 filter. Now, your meter reads underexposed by 10 stops. You adjust your shutter speed to 1/4s. The water now blurs beautifully, creating a creamy texture. The rocks remain sharp because they are stationary. This is the magic of controlling motion through time, not just space.
Another common use is the "day-for-night" effect. By using a very strong ND filter (like ND1000 or stronger), you can shoot during the day with such a slow shutter that artificial lights appear prominent while the sky stays dark enough to mimic dusk. This technique requires careful attention to white balance, as long exposures can shift colors slightly.
Common Pitfalls and How to Avoid Them
Using ND filters isn't without its quirks. Here are the biggest issues photographers face and how to fix them.
Color Casts
Cheaper ND filters, especially variable ones, often introduce a color cast. A blue or purple tint is common in lower-end models. To check this, take a photo of a neutral gray card or a white wall with and without the filter. Compare the RGB values in post-processing. If there’s a significant shift, you’ll need to correct it in software. High-quality fixed ND filters from reputable brands usually minimize this issue.
Vignetting
Thick ND filters, particularly when stacked, can cause vignetting-dark corners in your image. This happens because the filter blocks light unevenly at the edges of the frame. To mitigate this, avoid stacking more than two filters unless necessary. Also, be mindful of wide-angle lenses; they are more susceptible to vignetting from thick filter plates.
Focusing Challenges
When you put a strong ND filter on, your viewfinder becomes very dark. Autofocus may struggle to lock onto subjects. The best practice is to compose and focus first, then screw on the filter. Switch your camera to manual focus mode after focusing to prevent the camera from hunting for focus when the light drops significantly. Some photographers use live view and zoom in digitally to ensure sharp focus before attaching the filter.
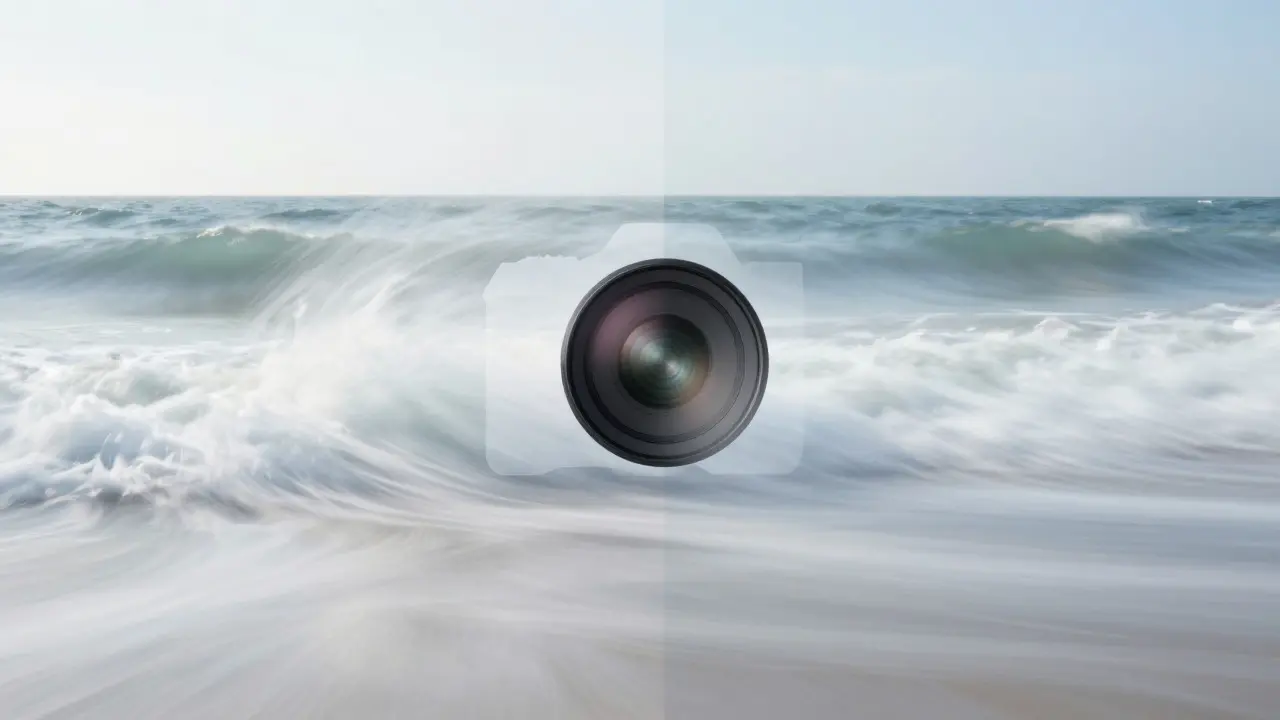
Variable ND Filters: Flexibility vs. Quality
Variable ND filters allow you to twist the front element to change the density, typically ranging from 2 to 10 stops. This is convenient because you carry one filter instead of several. However, they have a known flaw: the "X-pattern." At higher densities (above 6 stops), an X-shaped artifact appears in the center of the image due to interference between the two polarizing layers inside the filter. This pattern is distracting and hard to remove in post-production. For critical work, fixed-strength filters are superior. For travel and casual shooting, variable filters offer great flexibility.
Pro Tips for Better Results
- Use a Tripod: Long exposures require stability. Even a tiny vibration will ruin your shot. Invest in a sturdy tripod with a ball head.
- Use a Remote Shutter Release: Pressing the shutter button can shake the camera. Use a cable release or your camera’s self-timer (2-second delay) to minimize vibration.
- Lock White Balance: Auto white balance can fluctuate between shots, especially in mixed lighting. Set your white balance manually to Kelvin values for consistency across a series of photos.
- Bracket Your Shots: Long exposures can sometimes result in unexpected brightness changes (like clouds moving quickly). Bracketing (taking multiple shots at different exposures) ensures you get at least one usable image.
FAQ
Do I need an ND filter for every photo?
No. You only need an ND filter when you want to use a slower shutter speed than what the available light allows, or when you want to use a wider aperture in bright light without overexposing. For static subjects in normal light, you likely won’t need one.
Can I use an ND filter with a smartphone?
Yes, but it requires a clip-on or threaded adapter designed for phones. Many modern smartphones have manual modes that allow you to control shutter speed, making ND filters useful for creative effects like light trails or blurred water.
What is the difference between an ND filter and a polarizer?
An ND filter reduces light evenly across all wavelengths to let you use slower shutter speeds. A polarizer reduces glare and reflections from non-metallic surfaces and can deepen blue skies. While both reduce light, their primary purposes differ: ND for exposure control, polarizers for contrast and clarity.
How do I calculate the required ND strength?
First, determine your desired shutter speed and your current metered shutter speed. Count the number of stops between them. Each stop represents a doubling or halving of light. Choose an ND filter that matches that number of stops. For example, if you need to go from 1/125s to 1s, that’s 6 stops, so you’d use an ND64 filter.
Will an ND filter affect my image quality?
High-quality ND filters should not degrade image quality. They maintain sharpness and color accuracy. Low-quality filters can introduce color casts, reduced contrast, or vignetting. Always buy from reputable manufacturers to ensure optimal performance.