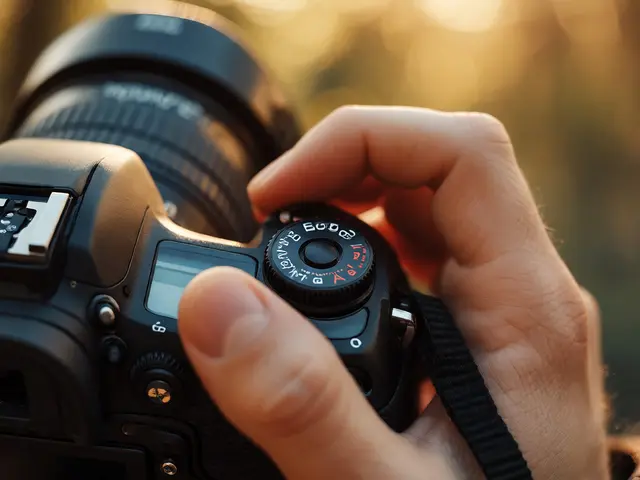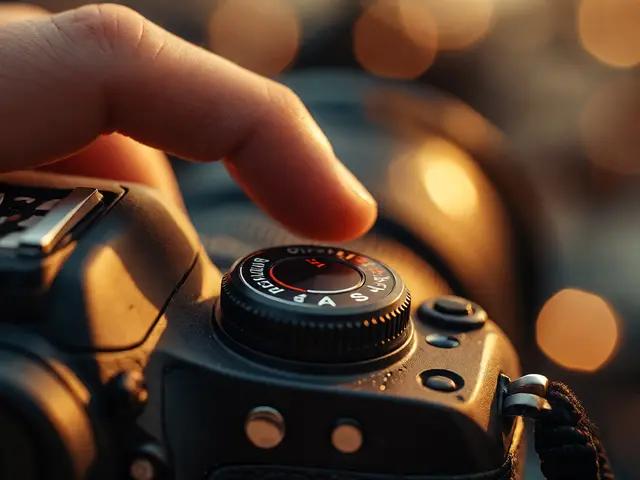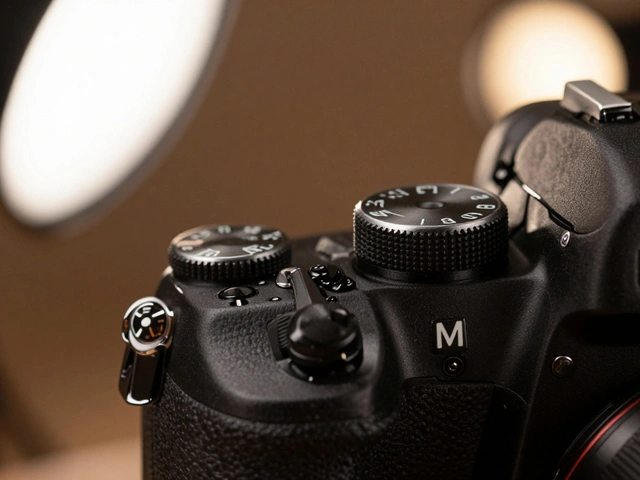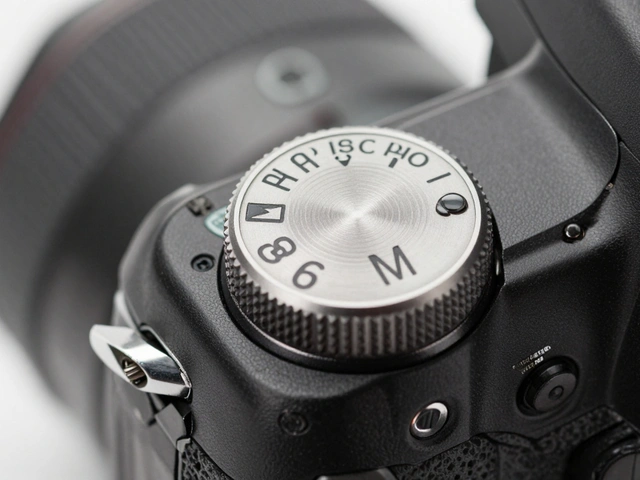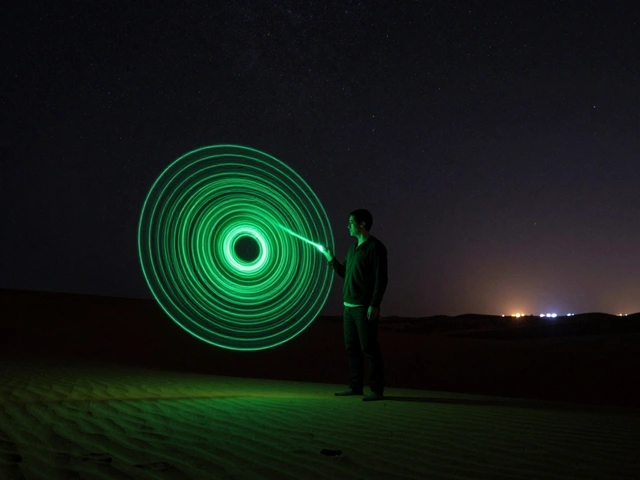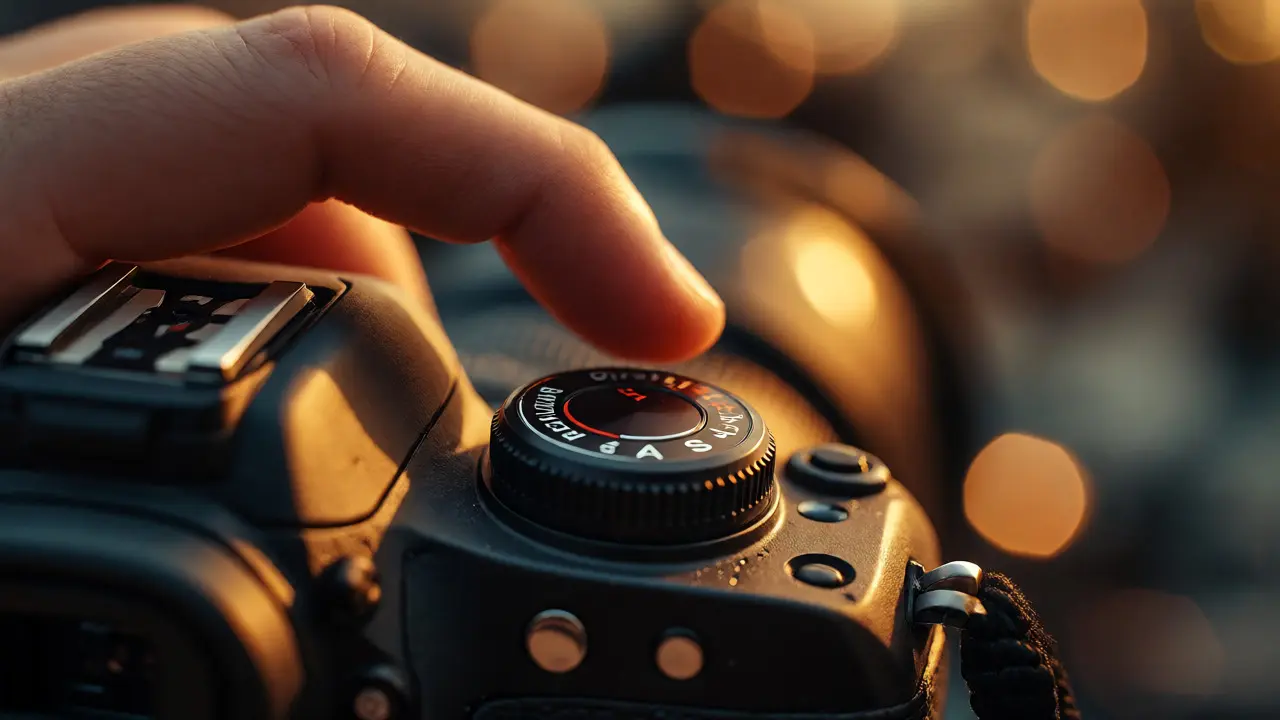
You’re standing in front of a scene that looks incredible. The light is perfect, the subject is sharp, and you have about three seconds before it’s gone forever. Your finger hovers over the mode dial. Do you twist it to Aperture Priority or Shutter Priority? If you’ve ever frozen up because you weren’t sure which button gives you the creative control you actually need, you aren’t alone. Most photographers spend years toggling between these two semi-automatic modes without really understanding the trade-offs.
The truth is simpler than the manuals make it seem. You aren’t choosing between "good" and "bad." You are choosing which variable matters more for your specific shot: depth of field or motion blur. Once you grasp that core concept, picking the right mode becomes second nature. Let’s break down exactly how each mode works, when to use them, and how to avoid the common pitfalls that ruin photos.
Understanding the Exposure Triangle Basics
Before we pick sides, let’s look at what these modes actually control. Every photo relies on the Exposure Triangle, consisting of aperture, shutter speed, and ISO. In manual mode, you adjust all three. In program mode, the camera adjusts all three. But in priority modes, you take charge of one element, and the camera calculates the others to get a balanced exposure.
Aperture Priority (often marked as A or Av) lets you set the lens opening size. The camera then picks the shutter speed needed to properly expose the image based on your chosen ISO. Conversely, Shutter Priority (marked as S or Tv) locks the duration the sensor is exposed to light. The camera then selects the aperture width to compensate.
This division of labor is powerful. It frees up mental bandwidth so you can focus on composition and timing rather than math. But it also means you surrender control over one critical aspect of the image. Knowing which aspect to surrender is the key to mastering these modes.
When Aperture Priority Wins
If your primary goal is controlling how much of the scene is in focus, Aperture Priority is your default setting. This mode is indispensable for portraits, landscapes, and macro photography where depth of field dictates the mood of the image.
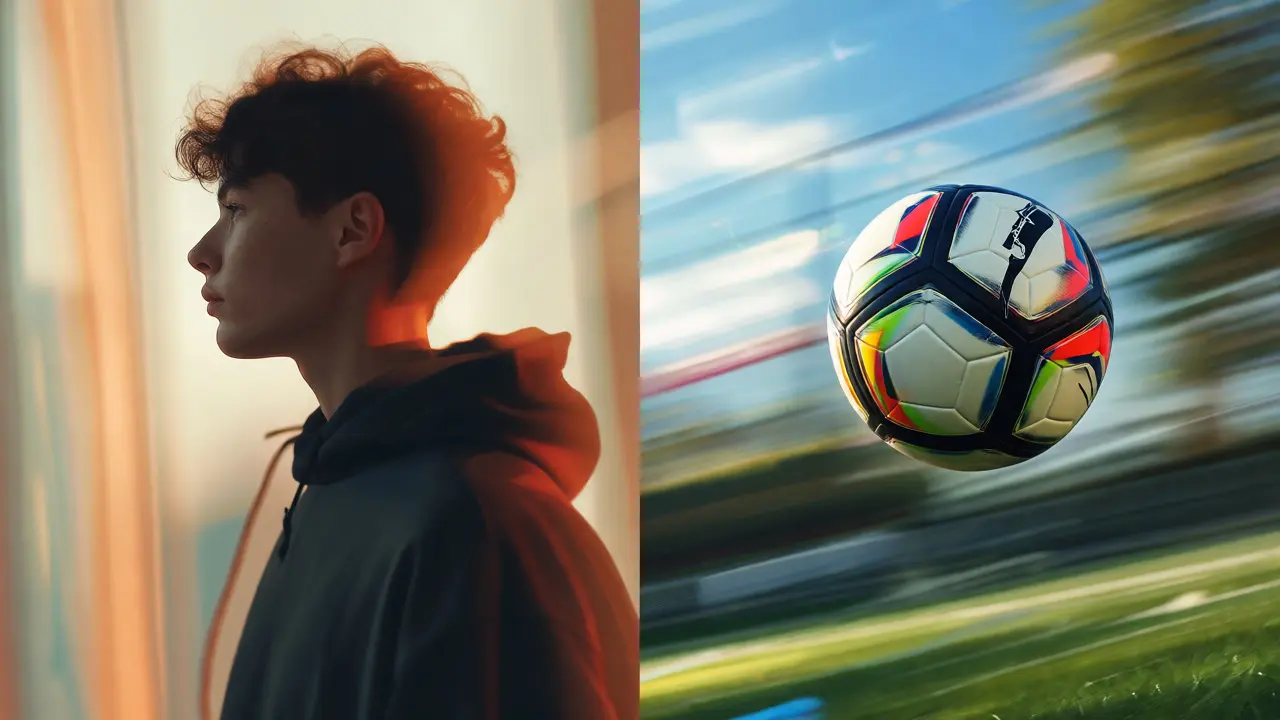
Consider a portrait session. You want that creamy background blur-known as bokeh-to isolate your subject. To achieve this, you need a wide aperture, such as f/1.8 or f/2.8. By setting this value in Aperture Priority, you guarantee that aesthetic. The camera handles the rest. If the light drops, the camera slows down the shutter speed automatically. If the light spikes, it speeds up the shutter. You stay focused on directing your model, not fiddling with dials.
Landscape photographers often flip to the other end of the spectrum. You might choose f/11 or f/16 to ensure everything from the foreground rocks to the distant mountains remains sharp. Here, the risk isn’t blur from movement; it’s diffraction softening the image if you go too small (like f/22). Aperture Priority allows you to lock in that optimal sharpness zone while trusting the camera to manage the exposure time.
- Portraits: Wide apertures (f/1.4-f/2.8) for subject isolation.
- Landscapes: Narrow apertures (f/8-f/16) for maximum depth of field.
- Macro: Moderate to narrow apertures (f/8-f/11) to keep tiny subjects fully in focus.
The main danger here is shooting in low light with a wide aperture. If the camera chooses a shutter speed slower than your handheld stability limit (usually around 1/60th of a second for standard lenses), you’ll get camera shake. Always check the viewfinder display to see what shutter speed the camera has selected. If it dips below safe limits, bump your ISO up to force the shutter speed higher.
When Shutter Priority Takes Control
Now, imagine a different scenario. You’re at a local park watching kids play soccer. The action is fast, unpredictable, and chaotic. Depth of field doesn’t matter nearly as much as freezing the moment the ball leaves the foot. This is where Shutter Priority shines.
In Shutter Priority, you dictate the minimum speed required to freeze motion. For sports, that might mean setting your dial to 1/500th of a second or faster. The camera will then open the aperture as wide as necessary to let enough light in to maintain that speed. If the light is dim, the aperture might hit its widest limit (say, f/3.5 on a kit lens), and the image could become underexposed. But you won’t miss the shot because of motion blur.
This mode is equally useful for creative effects involving motion. Want those silky smooth waterfalls? Set a slow shutter speed like 1/2nd of a second. The camera will stop down the aperture to prevent overexposure. Without Shutter Priority, you’d be stuck calculating neutral density filters or guessing settings in Manual mode. Here, you simply tell the camera, "I want this long," and it figures out the rest.
| Feature | Aperture Priority (A/Av) | Shutter Priority (S/Tv) |
|---|---|---|
| Primary Control | Depth of Field | Motion Blur/Freeze |
| Camera Adjusts | Shutter Speed | Aperture |
| Best For | Portraits, Landscapes, Macro | Sports, Wildlife, Panning, Long Exposure |
| Main Risk | Camera Shake (slow shutter) | Underexposure (limited aperture) |
| ISO Strategy | Auto-ISO helps maintain safe shutter | Auto-ISO prevents underexposure |
The Hidden Variable: Auto-ISO
Here is a pro tip that changes how you use both modes: enable Auto-ISO. Many beginners hesitate to use automatic ISO because they fear noise. However, modern cameras handle high ISO surprisingly well. Noise is usually preferable to a blurry photo or a black frame.
When using Aperture Priority, set a minimum shutter speed limit in your camera’s Auto-ISO settings. For example, if you shoot at 50mm, set the minimum shutter speed to 1/50th. If the light fades, the camera raises ISO instead of dropping the shutter speed into blur territory. Similarly, in Shutter Priority, allowing Auto-ISO ensures that if your lens can’t open wide enough to match your desired shutter speed, the camera boosts sensitivity to keep the image bright.
This combination turns your semi-automatic modes into near-perfect tools. You control the creative variable (depth or motion), and the camera manages the technical variables (light gathering) within safety limits you define.
Common Pitfalls and How to Avoid Them
Even experienced shooters fall into traps with these modes. The most frequent issue in Aperture Priority is ignoring the shutter speed indicator. You might be happily shooting portraits indoors, only to realize half your images are soft because the camera dropped the shutter to 1/15th of a second. Always glance at the viewfinder data. If the number flashes red or looks dangerously low, intervene by raising ISO or widening your aperture further.
In Shutter Priority, the trap is hitting the aperture wall. If you demand 1/2000th of a second but your lens maxes out at f/5.6, the camera cannot gather enough light. The result is an underexposed, muddy shadow area. Watch for exposure compensation warnings. If the camera indicates it can’t keep up, you either need a faster lens, a higher ISO ceiling, or a slightly slower shutter speed.
Another subtle mistake is forgetting to reset your settings. If you leave your camera in Shutter Priority set to 1/4000th from a sunny beach trip, and then switch to Aperture Priority for an indoor dinner, the camera might struggle to find a reasonable shutter speed unless your ISO is cranked way up. Developing a habit of checking your current mode and base settings before starting a new shoot saves headaches later.
Which Mode Should Be Your Default?
So, which one should live on your dial most of the time? There is no single answer, but there is a strong consensus among working professionals. For general everyday photography, travel, and street work, Aperture Priority is often the preferred choice. Why? Because controlling what is in focus feels more intuitive and creatively satisfying for static scenes. Motion is less of a concern when you’re photographing buildings, food, or posed subjects.
Switch to Shutter Priority only when motion is the defining characteristic of the shot. If things are moving fast, or if you specifically want to show movement through blur, shift the dial. This hybrid approach keeps you agile. You aren’t locked into one philosophy; you’re responding to the scene in front of you.
Remember, the best camera mode is the one that lets you capture the moment without thinking. If you find yourself constantly fighting the camera’s choices, maybe it’s time to try Manual mode for a bit. But for 90% of situations, knowing when to prioritize aperture versus shutter speed will elevate your consistency and creative output significantly.
Is Aperture Priority better than Shutter Priority?
Neither is inherently better. Aperture Priority is superior when you need to control depth of field, such as in portraits or landscapes. Shutter Priority is better when you need to control motion, such as in sports or wildlife photography. The right choice depends entirely on the subject and the effect you want to create.
Can I use Auto-ISO with Aperture Priority?
Yes, and you should. Using Auto-ISO with Aperture Priority allows the camera to increase sensitivity when light levels drop, preventing the shutter speed from becoming too slow and causing camera shake. Just ensure you set a minimum shutter speed limit in your camera's Auto-ISO settings to maintain sharpness.
What happens if the camera can't reach the correct exposure in Shutter Priority?
If the camera cannot open the aperture wide enough to allow enough light for your chosen shutter speed, the image will be underexposed. The camera may also flash an exposure warning indicator. To fix this, you can lower your shutter speed requirement, increase your ISO limit, or use a lens with a wider maximum aperture.
Why do my landscape photos look soft in Aperture Priority?
Softness in landscapes taken in Aperture Priority is often caused by using an aperture that is too small (e.g., f/22 or higher), which leads to diffraction. Alternatively, the camera may have selected a very slow shutter speed, resulting in slight camera shake even if you thought you were holding steady. Try sticking to apertures between f/8 and f/11 for optimal sharpness.
Should beginners start with Aperture Priority or Shutter Priority?
Beginners often find Aperture Priority easier to learn first because the visual feedback of depth of field is immediate and intuitive. Changing the aperture visibly blurs or sharpens the background, making the cause-and-effect relationship clear. Shutter Priority requires understanding motion blur, which can be harder to predict until you see the results.