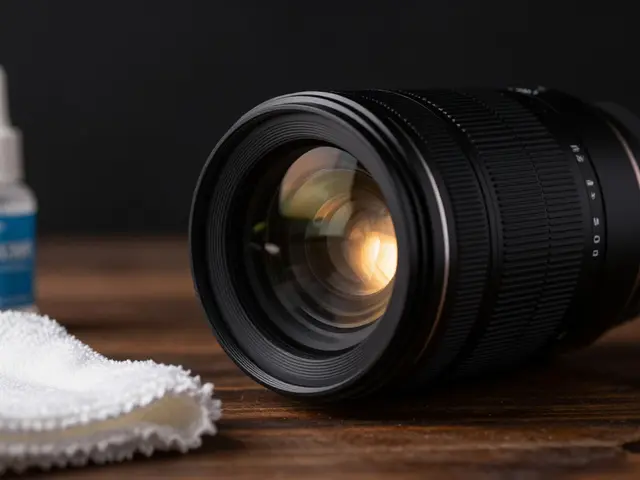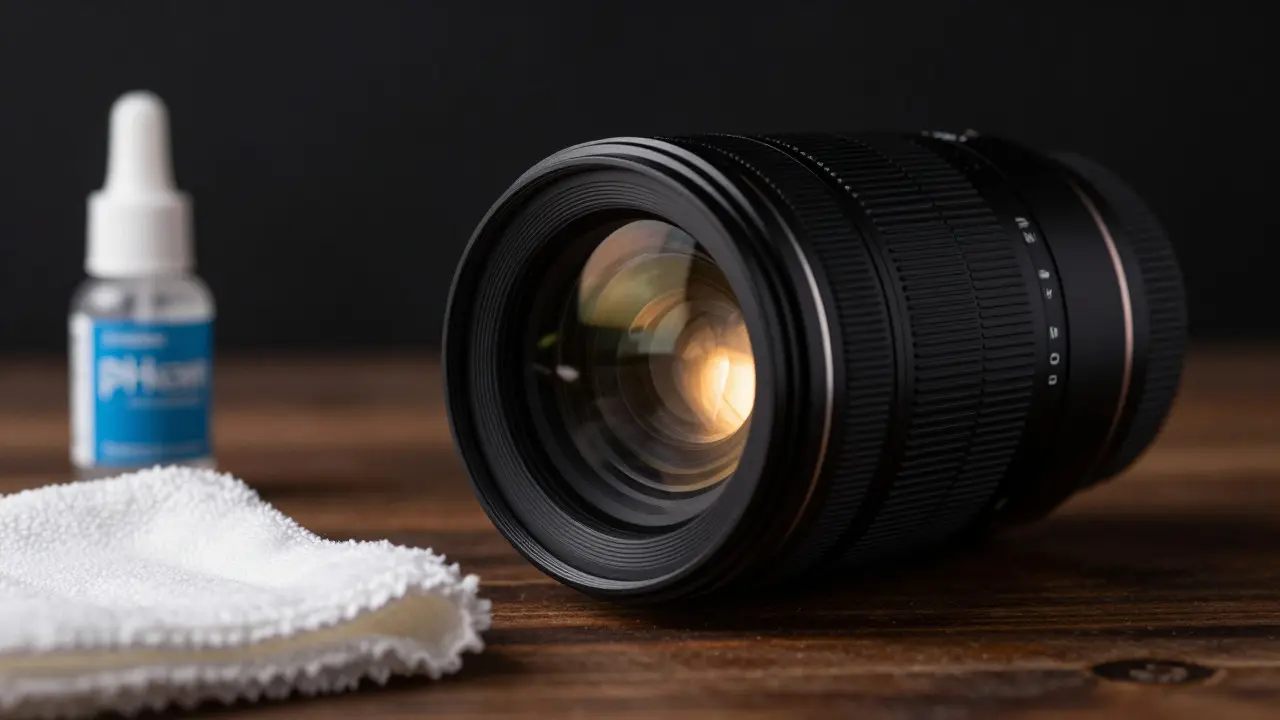
There is nothing more frustrating than spotting a smudge on your sensor or a streak across your landscape shot that ruins the dynamic range. You didn’t miss the focus; you just missed the wipe. Maintaining optical quality in photography isn't just about buying expensive glass; it’s about keeping that glass clean without scratching it. A proper lens cleaning kit is the difference between a crisp image and a hazy one, yet most photographers either over-clean with harsh chemicals or under-clean until dust becomes permanent etching.
The core problem here is simple: lenses are delicate. The front and rear elements are coated with thin layers of anti-reflective compounds that can degrade if treated roughly. When you pick up a kit, you aren't just buying cloths and bottles; you are buying a system for preserving the longevity of your investment. Whether you shoot street scenes in Portland rain or portraits in dry studio light, the method remains the same: remove loose particles first, then dissolve oils, then polish. Skip a step, and you risk micro-scratches that scatter light permanently.
What Actually Belongs in a Professional Kit?
Many entry-level kits come with everything you don’t need and lack the one thing you do. Let’s break down the essential components based on how they interact with glass surfaces.
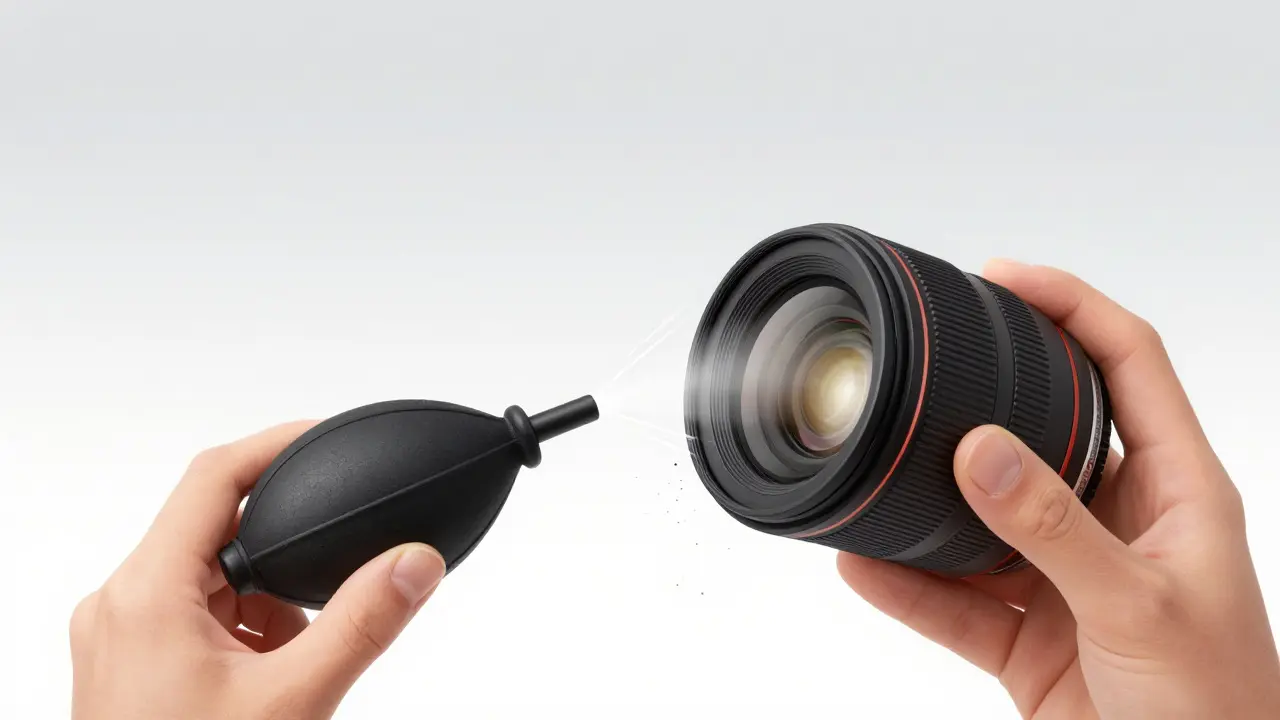
- Air Blower: This is your first line of defense. Unlike compressed air cans which contain propellants that can freeze on the glass, a hand-held rubber blower (like the classic rocket shape) uses pure air pressure. It removes loose sand and dust before any liquid touches the lens. If you skip this, every subsequent wipe acts like sandpaper.
- Microfiber Cloths: Not all microfibers are created equal. Look for double-sided, lint-free cloths with a high thread count. Cheap ones shed fibers that stick to sticky residue, creating new problems. You should have at least two: one for general wiping and one reserved for final polishing.
- Lens Pen or Swabs: For tight corners and textured filters, a pen-style cleaner with a built-in brush and solvent tip is invaluable. Cotton swabs are good for edges but require careful handling to avoid pushing debris into the center.
- Cleaning Solution: Avoid household glass cleaners. They often contain ammonia or alcohol that can strip lens coatings over time. Dedicated lens solutions are pH-neutral and formulated to evaporate quickly without leaving streaks.
You might wonder if you need a full bottle of solution if you already have a pre-moistened lens pen. The answer depends on frequency. If you clean weekly, a pen suffices. If you work in dusty environments or handle lenses daily, a small bottle of solution gives you control over moisture levels, preventing the 'drying too fast' issue that leads to streaks.
The Step-by-Step Cleaning Protocol
Order matters more than product quality. Here is the sequence that protects your optics while ensuring clarity.
- Inspect Under Light: Hold the lens at an angle to a bright light source. Identify where the dirt is. Is it on the outside? Inside the barrel? On the filter? Knowing this prevents unnecessary internal cleaning attempts that can disassemble the lens.
- Blast Loose Debris: Use the air blower in short bursts from a distance of about six inches. Do not touch the glass. This removes 80% of the problem. If you see large particles, use a soft brush attachment gently.
- Apply Moisture: If using a solution, spray it onto the cloth or swab, never directly onto the lens. Direct spraying can cause liquid to run down the sides and enter the focus ring mechanism. Damp, not wet. A few drops are enough for a standard 50mm lens.
- The Circular Wipe: Start from the center of the element and move outward in a spiral pattern. Do not wipe back and forth linearly; this traps dust in the path of the cloth. Keep the motion continuous until you reach the edge.
- Dry and Polish: Switch to a dry, clean side of the microfiber cloth. Repeat the circular motion to remove any remaining moisture. Check again under light. If streaks remain, repeat the damp-dry cycle. If scratches appear, you likely skipped the initial blow-out step.
This routine takes less than three minutes. Doing it before every shooting session ensures that what you see through the viewfinder matches what the sensor captures.
Comparing Common Cleaning Methods
Not all tools serve the same purpose. Choosing the wrong tool for the specific type of contamination can damage your gear. Below is a comparison of the most common approaches and their ideal use cases.
| Tool/Method | Best For | Risk Level | Cost Range |
|---|---|---|---|
| Air Blower | Loose dust, sand, outdoor debris | Very Low | $10 - $30 |
| Compressed Air Cans | Quick travel cleanup | Medium (Propellant residue) | $5 - $15 |
| Lens Pen | On-the-go, filters, tight spots | Low | $15 - $25 |
| Microfiber + Solution | Fingerprints, oil, deep cleaning | Low (if done correctly) | $20 - $40 |
| Household Glass Cleaner | Emergency only | High (Coating damage) | $5 |
Notice the risk level for compressed air cans. While convenient, the propellants can leave a oily film if the can is shaken too vigorously or held upside down. For regular maintenance, the manual blower is superior because it offers consistent pressure without chemical byproducts.
Maintaining Filters and Hoods
Lenses are rarely used bare. UV filters, polarizers, and ND filters add another layer of glass that needs attention. These accessories are often cheaper than the lens itself, but their cleanliness directly impacts image contrast and color fidelity.
When cleaning a filter, pay extra attention to the edges. Dust tends to collect in the tiny gap between the filter and the lens hood. Use a cotton swab dipped slightly in solution to trace the inner rim. A dirty filter edge creates dark vignetting in wide-angle shots that no post-processing can fully fix.
Lens hoods also trap dust. Before attaching a hood, give its interior a quick blow-out. If you ignore this, every time you attach the hood, you’re pressing trapped dust against the front element. It’s a subtle habit that saves hours of cleaning later.
Common Mistakes That Damage Optics
Even with the right kit, technique errors can ruin a lens. Here are the pitfalls I see most often among enthusiasts.
- Wiping Dry Dirt: This is the cardinal sin. Always blow off loose particles first. If you wipe dry sand, you create microscopic scratches that look like fogging after a year.
- Using Too Much Pressure: Lenses are curved. Pressing hard with a cloth can warp the coating or push debris into the central aperture. Let the solvent do the work; use gentle contact.
- Ignoring the Rear Element: Many photographers only clean the front. But the rear element is closer to the sensor. Dust here causes visible specks in out-of-focus areas (bokeh). Clean both ends.
- Storing Dirty Lenses: Putting a smudged lens in a bag traps humidity and oils inside. Clean before storing, not after retrieving.
These mistakes accumulate slowly. You won’t notice the degradation immediately, but after six months of improper care, your once-crisp prime lens will show haze in high-contrast situations.
Storage and Long-Term Care
Cleaning is reactive; storage is preventive. To maintain optical quality between shoots, your environment matters as much as your cleaning routine.
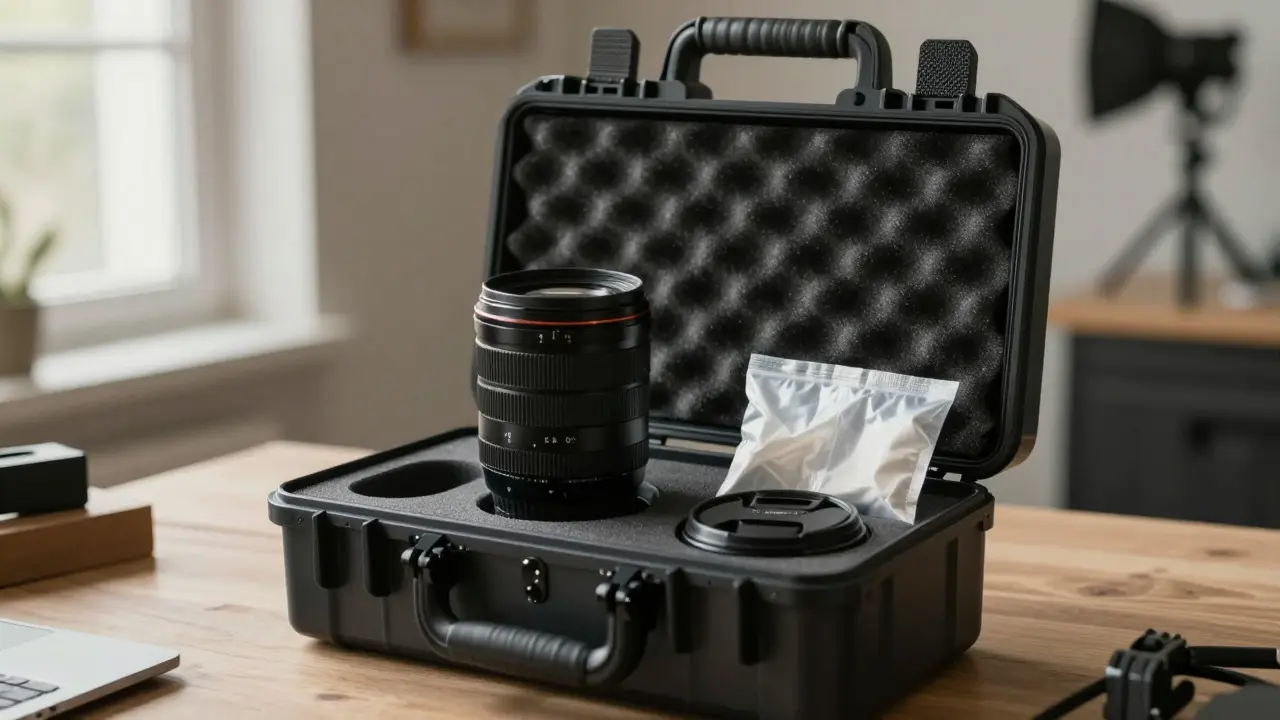
Store lenses in a dry place. Humidity promotes mold growth on older lenses, especially those with organic cement between elements. A silica gel packet in your camera bag or lens case absorbs excess moisture. Replace these packets every six months or when they change color.
If you live in a humid climate, consider a dehumidified cabinet for long-term storage. It’s a larger investment, but for professional-grade gear, it’s worth the peace of mind. For casual shooters, a sealed plastic bin with silica packs works well for seasonal storage.
Also, check your lens caps. Old rubber caps can degrade and leave black residue on the glass. Inspect them annually and replace if they feel brittle or sticky. A clean cap keeps the front element protected during transport.
Frequently Asked Questions
How often should I clean my camera lens?
Clean your lens whenever you notice visible dust or smudges affecting image quality. For most hobbyists, this means a quick blow-out before each shoot and a full wet clean once a month. In dusty environments, increase the frequency to weekly.
Can I use eyeglass cleaner on camera lenses?
Generally, no. Eyeglass cleaners often contain alcohol or ammonia that can strip the multi-coated layers on photographic lenses over time. Stick to pH-neutral solutions specifically labeled for optics.
Is it safe to clean the inside of a lens?
Only if necessary and with extreme caution. Internal dust usually requires professional service. If you must attempt it, use a blower and a soft brush, avoiding direct contact with internal elements. If the dust is stuck to an element, stop and seek professional help to avoid dislodging it further.
Do lens pens scratch glass?
Quality lens pens do not scratch glass if used correctly. The felt tip is designed to be softer than glass. However, if there is coarse sand on the lens, the pen can drag particles across the surface. Always blow off loose debris before using a pen.
What is the best way to store a lens when not in use?
Store lenses vertically or horizontally in a padded case with silica gel packets to control humidity. Ensure the lens is clean before storage. Avoid leaving lenses in hot cars or direct sunlight, as heat can degrade seals and coatings.