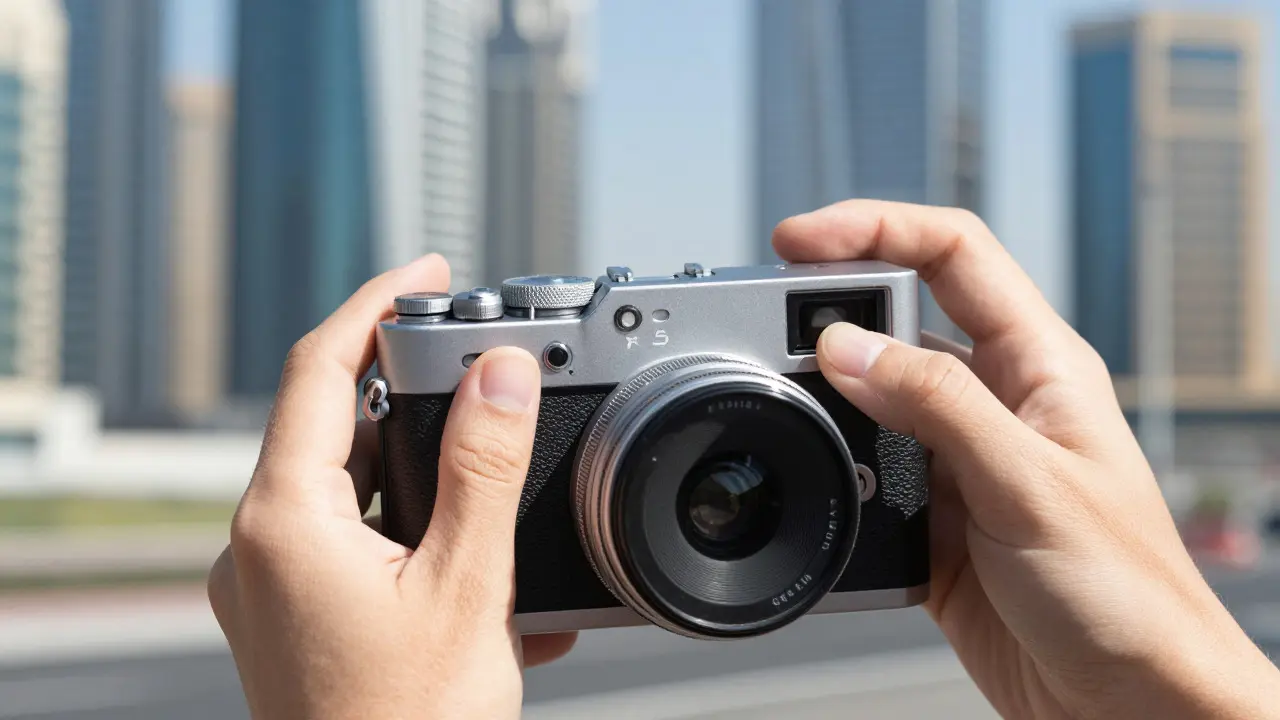
Ever held a freshly developed instant photo only to find it looks like a ghost in the shadows or washed out by harsh sunlight? It’s frustrating. The magic of Instant Film is its immediacy, but that same speed leaves little room for error when things go wrong with exposure. If you are shooting with a dedicated camera or an adapter on your smartphone, understanding how to manage brightness and color temperature is the difference between a keep-forever print and a shot in the trash bin.
The Physics of Light and Film Sensitivity
To control what you see, you first need to understand what the film is seeing. Instant film, such as Fujifilm Instax Mini or Polaroid 600, has a fixed sensitivity known as ISO. For most modern mini formats, this is roughly equivalent to ISO 800. This high sensitivity means the film captures more light than standard digital sensors, making it prone to overexposure in bright daylight if not managed correctly.
Exposure is determined by two variables: the amount of light hitting the sensor (aperture) and the duration of that light (shutter speed). In manual mode cameras like the Lomo'Instant or Hybrid Camera Systems, you have direct control over these. However, even in auto-mode devices, environmental factors dictate the baseline settings. Understanding the relationship between these variables allows you to predict how a scene will render before you press the shutter.
Mastering Brightness: The Exposure Compensation Dial
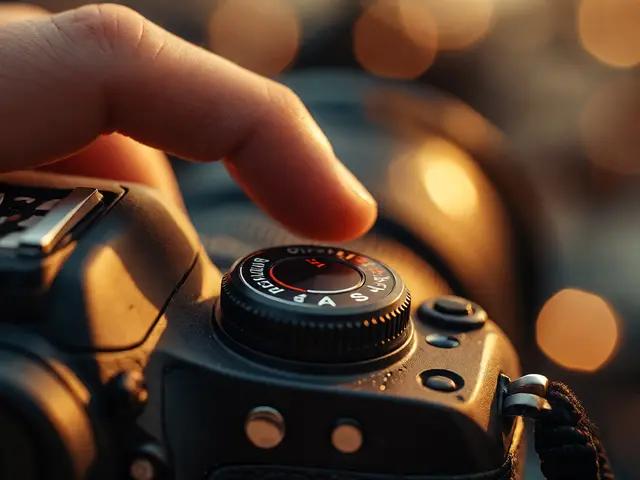
Brightness control is primarily about adjusting the total light intake. Most serious instant cameras feature an exposure compensation dial, often marked with plus (+) and minus (-) symbols. This tool adjusts the internal exposure value without changing the aperture or shutter speed manually. Think of it as a volume knob for light.
- Underexposed (Too Dark): If your subjects look muddy or lack detail in the shadows, increase the exposure by one or two steps (+1 or +2). This opens the shutter longer or widens the aperture internally.
- Overexposed (Too Bright): If highlights are blown out and skin tones look pale, decrease the exposure (-1 or -2). This reduces the light hitting the film emulsion.
A practical rule of thumb for outdoor daytime shooting is to start at 0 (neutral) and adjust based on the dominant tone of your subject. A person wearing a black t-shirt against a gray wall might need +1 to bring out texture, while a bride in a white dress against a blue sky might need -1 to preserve fabric details.
Managing Color Temperature: Warmth vs. Coolness
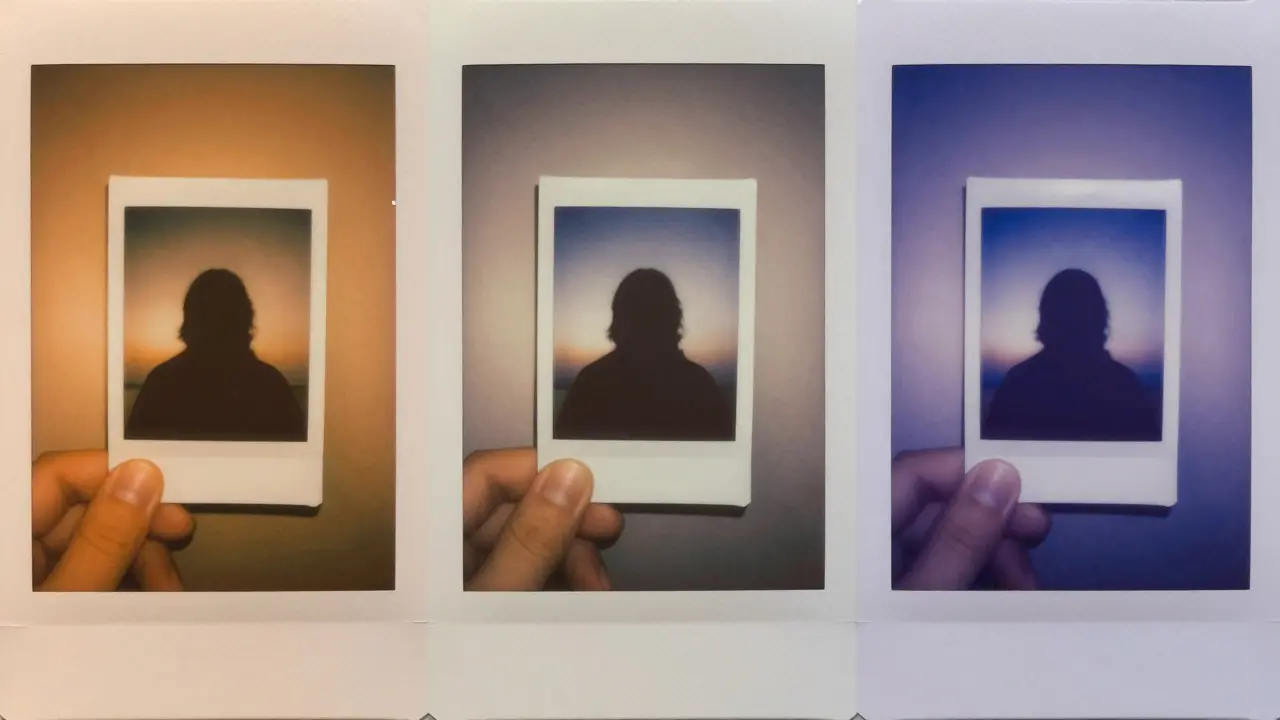
While brightness controls quantity, color temperature controls quality. Measured in Kelvin (K), this setting determines whether your image leans toward warm yellows/oranges or cool blues/purples. Instant film has a native tendency to be slightly warm, which many photographers love for its nostalgic feel. However, artificial lighting can throw this off significantly.
Daylight ranges from approximately 5500K to 6500K, which matches the film's natural response well. Indoor incandescent bulbs, however, operate around 2700K to 3000K. Shooting under these lights without correction results in photos that look overly orange or yellow. Conversely, fluorescent office lights sit around 4000K to 5000K, which can introduce a greenish cast if the film isn't calibrated properly.
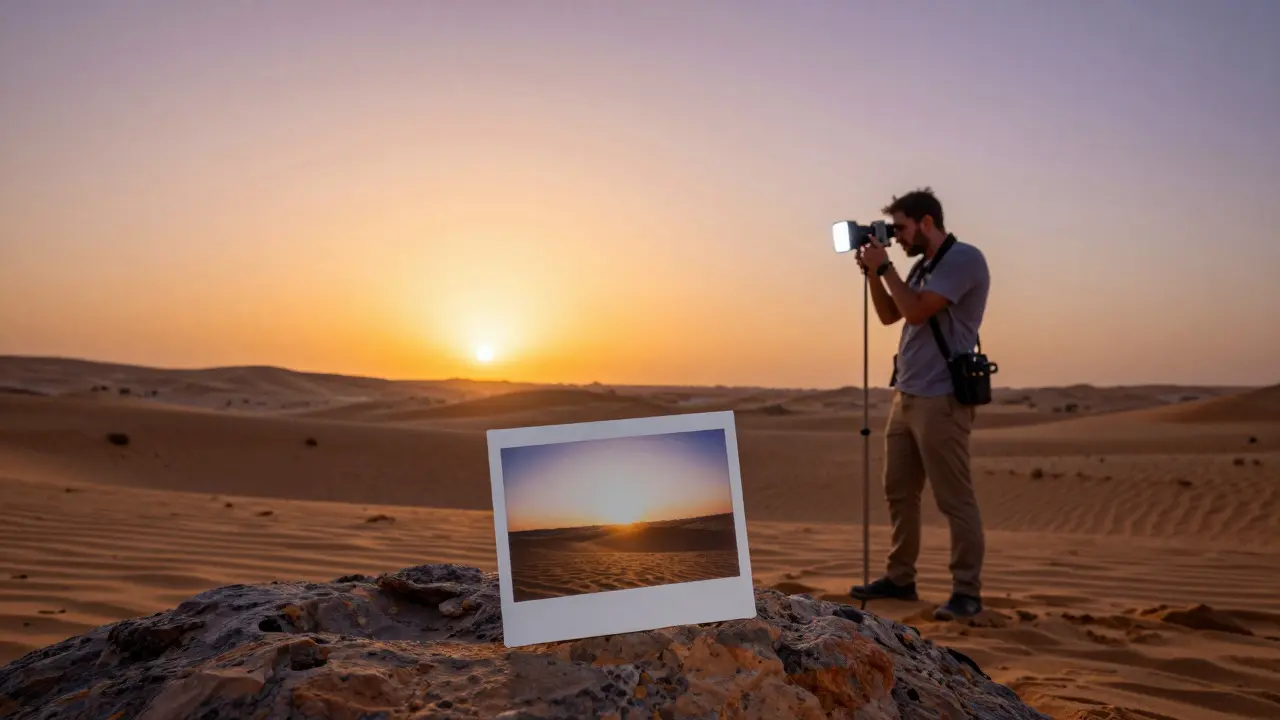
If your camera lacks a built-in white balance adjustment, you can simulate it using filters or post-processing techniques on hybrid setups. For pure analog cameras, choosing the right time of day becomes your primary tool for managing color temperature. Golden hour light (around sunrise and sunset) provides a warm, flattering tone that complements the film's inherent warmth without looking unnatural.
Tools for Precision: Meters and Apps
Gauging exposure by eye is an art, but relying on intuition alone leads to inconsistency. A handheld light meter, such as the Sekonic L-308, provides precise readings for both incident and reflected light. Incident light measures the light falling on your subject, offering a more consistent exposure regardless of the subject's reflectivity. Reflected light measures the light bouncing off the subject, which can be tricky if the subject is very dark or very bright.
For those who prefer digital assistance, smartphone apps like Light Meter Pro or MagneMeter serve as effective alternatives. These apps use your phone's sensor to estimate exposure values. While not as accurate as professional hardware, they provide a reliable starting point. Always cross-reference app suggestions with your specific film type, as different brands may react slightly differently to the same light levels.
| Scenario | Color Temp (Kelvin) | Exposure Adjustment | Visual Result |
|---|---|---|---|
| Direct Midday Sun | 5500K - 6500K | -1 to -2 | Crisp, high contrast; risk of blown highlights |
| Open Shade / Overcast | 6500K - 7500K | 0 to +1 | Soft, neutral colors; low contrast |
| Indoor Incandescent | 2700K - 3000K | +1 to +2 | Warm, yellow cast; requires flash or filter |
| Golden Hour | 2000K - 3500K | 0 | Flattering warm tones; ideal for portraits |
Troubleshooting Common Exposure Errors
Even with careful planning, mistakes happen. Here is how to diagnose and fix the most common issues:
- Black Photos: Usually caused by a dead battery or a stuck shutter mechanism. Check your power source first. If the battery is fine, ensure the film cartridge is fully inserted and locked into place.
- White/Washed Out Photos: Typically overexposure. Reduce the exposure compensation. If shooting indoors with flash, move further away from the subject or use a diffuser to soften the light intensity.
- Green Cast: Often seen under fluorescent lighting. This happens because the film's spectral sensitivity doesn't match the light source perfectly. Using a magenta filter or adjusting white balance on hybrid systems can correct this.
- Purple Fringing: Can occur in high-contrast scenes where light bends through the lens elements. This is less about exposure and more about lens quality, but reducing backlighting helps minimize it.
Practical Workflow for Consistent Results
To build a reliable workflow, follow these steps every time you pick up your camera:
- Assess the Light: Look at the direction and quality of the light. Is it hard (direct sun) or soft (shade/clouds)?
- Set Baseline: Start with exposure at 0 and white balance set to Auto (if available) or Daylight.
- Test Shot (Optional): If you have a spare frame, take a test shot of a mid-tone object (like a gray card or a hand) to verify exposure.
- Adjust: Based on the test or your visual assessment, adjust exposure compensation by half-steps if possible.
- Shoot: Take the final shot. Remember, instant film develops in real-time, so wait for the full development cycle before judging the result.
Consistency comes from repetition. Keep a small logbook noting the time of day, weather conditions, and settings used for successful shots. Over time, you will develop an intuitive sense for how different environments affect your specific equipment.
Can I use a DSLR light meter for instant film?
Yes, but you must account for the film's ISO. Most instant films are equivalent to ISO 800. If your meter is set to ISO 100, you will need to open up four stops more than the meter suggests. Alternatively, simply set your meter to ISO 800 to get accurate readings directly.
Why do my indoor photos look yellow?
This is due to the low color temperature of incandescent bulbs (around 2700K). To fix this, you can use a blue filter to add cool light, increase exposure to compensate for the dimmer light, or switch to LED bulbs with a higher Kelvin rating (4000K or above).
Does flash change the color temperature?
Yes, most camera flashes emit light around 5500K, which is similar to daylight. This can create a mix of warm ambient light and cool flash light, resulting in mixed color casts. To avoid this, either block the ambient light or use a gel on the flash to match the room's color temperature.
What is the best time of day for instant photography?
Early morning and late afternoon (golden hour) are ideal. The light is softer, warmer, and less harsh than midday sun. This reduces the risk of overexposure and creates flattering tones that complement the film's characteristics.
How does humidity affect instant film development?
High humidity can slow down development, leading to darker images initially that lighten over time. Low humidity can cause faster development, potentially resulting in lighter images. Store your film in a cool, dry place to maintain consistent chemical reactions during the development process.