Lighting is the invisible hand that shapes every photograph. You can have the perfect lens and the sharpest focus, but if the light hits your subject from the wrong angle, the image feels flat or harsh. Two directions often confuse beginners: front light and top light. One flatters almost everyone; the other creates drama but demands skill. Knowing when to use each transforms your work from snapshot-level to intentional art.
The Core Difference: Angle and Shadow
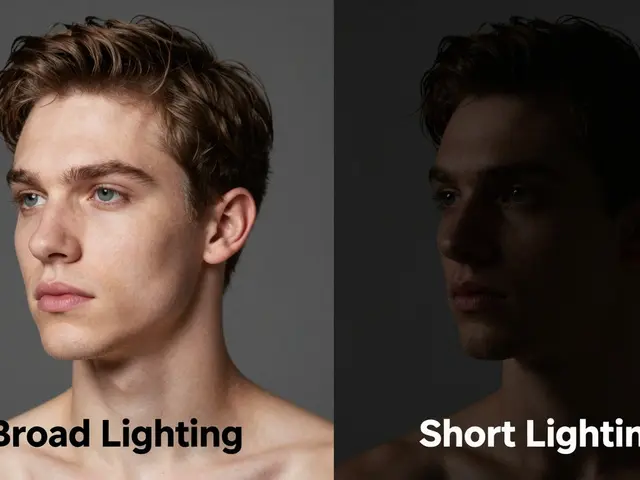
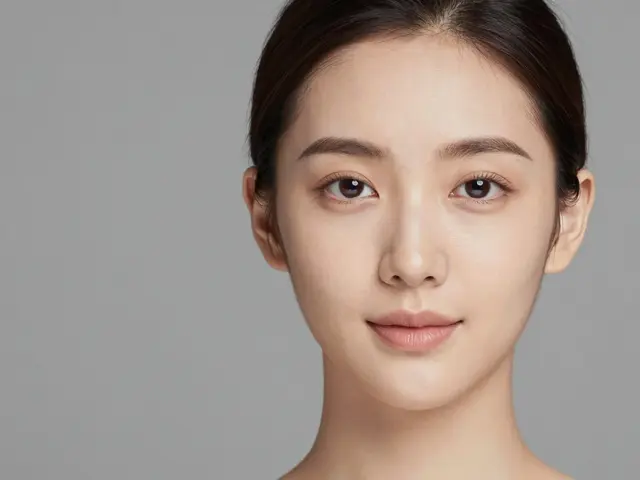
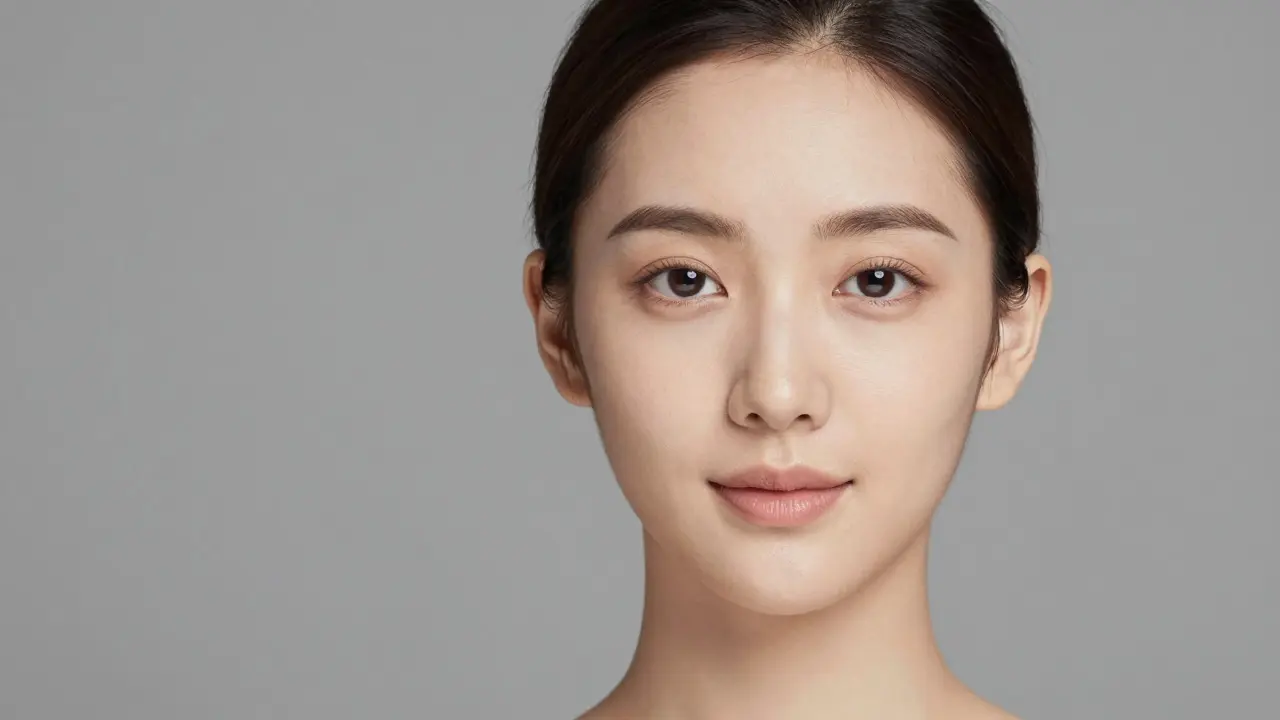
Front light is lighting that originates from behind the camera, illuminating the subject directly toward the viewer. Think of standing in the sun with the light hitting your face straight on. This setup minimizes shadows, making skin tones even and details crisp. It’s the default for headshots, product shots, and casual portraits because it’s forgiving.
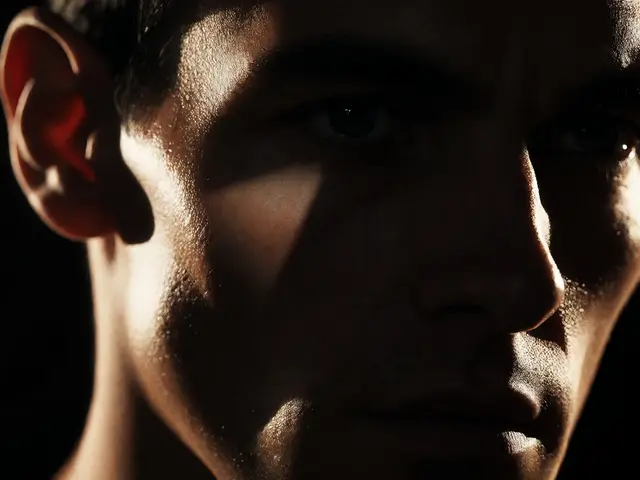
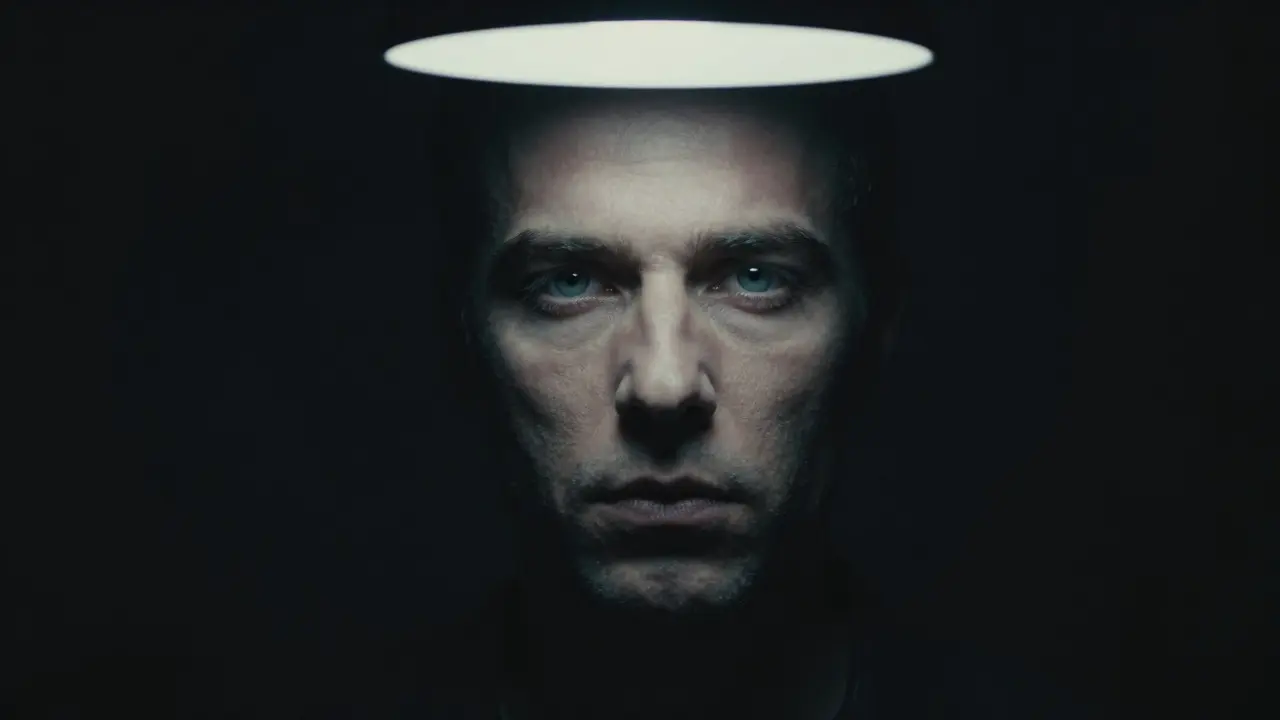
Top light is lighting that comes from above the subject, casting shadows downward under the eyes, nose, and chin. Imagine standing under a streetlamp at night or shooting under a single overhead studio softbox. This direction adds depth and structure but can create unflattering hollows if not managed. It’s powerful for still life, food photography, and dramatic portraits, but risky for casual use.
Why Front Light Works for Most People
Front light is the safest bet for a reason. It reduces contrast, which means less need for fill flash or reflectors. If you’re shooting a family reunion or a quick client session, front light ensures nobody looks like they’re wearing a mask. The light wraps around facial features rather than cutting across them, so wrinkles and blemishes are less pronounced.
However, front light has a downside: it flattens dimension. Without shadows, faces can look two-dimensional. To fix this, photographers often add a subtle kicker from the side or use a reflector to bounce light back into the shadow areas. But if speed is priority, front light wins. It’s why most smartphone cameras default to this mode-they assume the user wants a clear, bright image without technical fuss.
When Top Light Creates Drama
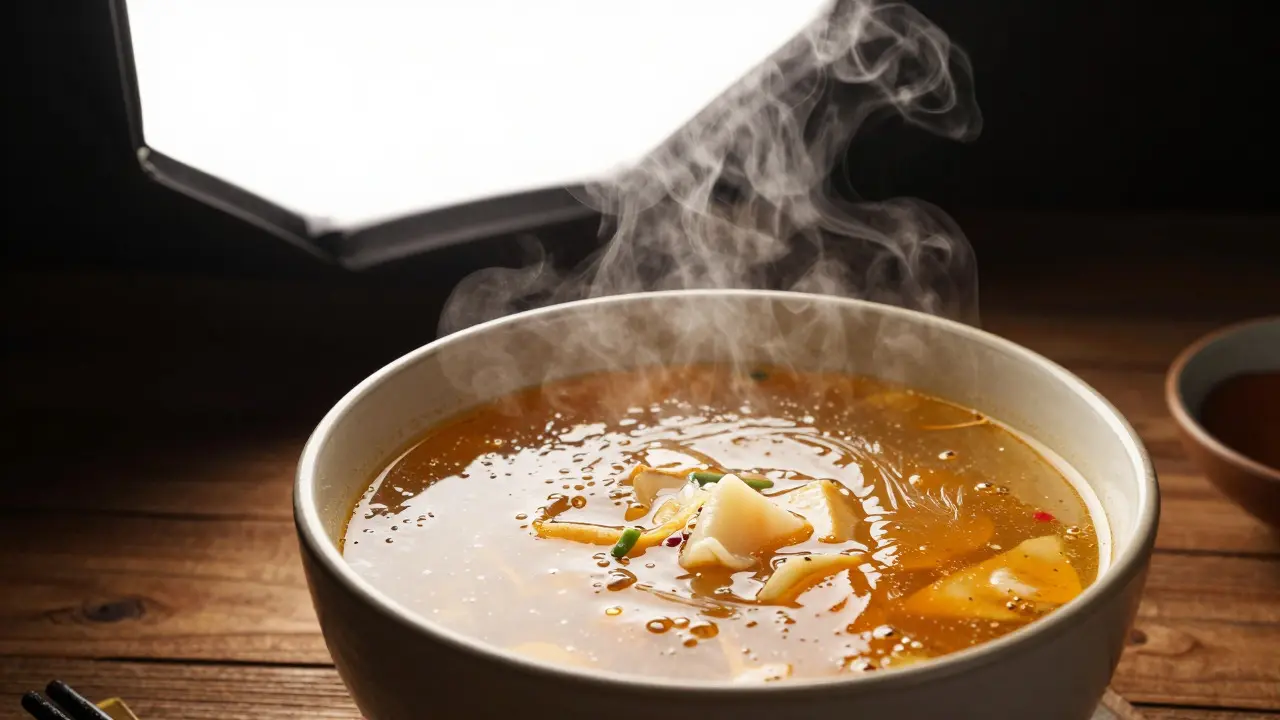
Top light is where creativity kicks in. Because shadows fall downward, it emphasizes texture and form. A chef plating a dish benefits from top light because it highlights the steam rising off hot food or the glisten of sauce. In portraiture, top light can make eyes pop by creating a natural catchlight in the upper iris, though it requires careful control to avoid dark eye sockets.
Consider a classic noir-style portrait. The subject stands under a single overhead source, leaving the lower half of the face in shadow. This isn’t just aesthetic-it tells a story. The light suggests mystery, intensity, or isolation. But try this on a toddler with big eyes and delicate features, and you’ll get a spooky result unless you fill in the shadows with a second light or reflector.
Practical Scenarios: Choosing Your Direction
You don’t need to memorize theory. Instead, match the lighting direction to your goal:
- Casual Portraits & Events: Use front light. It’s fast, flattering, and low-risk. Position the sun or main light behind you, slightly elevated to avoid glare.
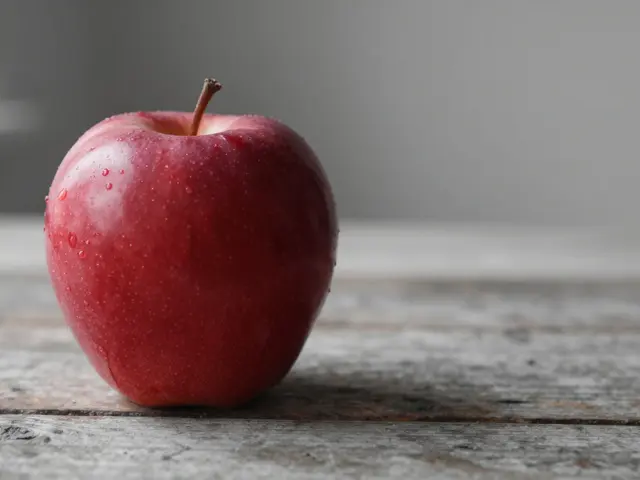
- Food & Still Life: Prefer top light. It enhances texture and makes liquids look glossy. Place a large softbox or window above the table, angled slightly forward to soften harsh shadows.
- Dramatic Portraits: Try top light with a fill. Start with an overhead source, then add a reflector or secondary light below to lift shadows. This balances drama with clarity.
- Product Photography: Front light for flat-lay items (like jewelry) to show detail evenly. Top light for three-dimensional objects (like bottles) to emphasize shape.
Common Mistakes to Avoid
Even experienced shooters trip up here. The biggest error with top light is ignoring the underside of the face. If you shoot a person under a bare bulb without fill, their eyes disappear into darkness. Always check your histogram-if the midtones are crushed, you need more fill.
With front light, the mistake is overexposing the background. Since the light is coming from behind you, the area behind the subject gets less illumination. This can cause the subject to blend into the backdrop. Solution: separate the subject from the background using distance or a different exposure setting.
| Attribute | Front Light | Top Light |
|---|---|---|
| Shadow Direction | Minimal / Behind subject | Downward (under eyes, nose) |
| Flattery Level | High (for most people) | Moderate (requires fill) |
| Best For | Portraits, events, products | Food, still life, dramatic portraits |
| Setup Complexity | Low | Medium-High |
| Risk of Flaws | Flat appearance | Hollow cheeks, dark eyes |
Pro Tips for Better Execution
If you’re using natural light, position yourself relative to the sun. For front light, stand with the sun behind you. For top light, find a spot where sunlight filters through a skylight or high window. Indoors, use a reflector to bounce light upward for front-light effects or downward to soften top-light shadows.
When mixing both, think about balance. A common technique is 80% front light and 20% top light. This gives you the clarity of front illumination with the depth of top shadows. Adjust the ratio based on how much drama you want. More top light = more mood. More front light = more clarity.
Frequently Asked Questions
Is front light always better for portraits?
Not always. While front light is flattering for most people, it can lack dimension. For creative portraits, combining front light with a subtle top or side accent adds depth without losing clarity. The key is balancing shadow and highlight to suit the subject’s features.
How do I fix harsh shadows from top light?
Use a fill light or reflector placed below the subject. A white foam board or silver reflector bounced from chest level can lift shadows under the eyes and chin. Alternatively, diffuse the top light with a larger softbox or sheer fabric to reduce contrast.
Can I use top light for outdoor photography?
Yes, but it’s tricky. Midday sun acts as strong top light, creating deep shadows under hats and chins. To mitigate this, shoot during golden hour when the sun is lower, or use a reflector to fill in shadows. Overcast days naturally soften top light, making it easier to manage.
What equipment helps with top light setups?
A sturdy light stand with a boom arm allows precise positioning of lights above the subject. Softboxes or umbrellas help diffuse the light, reducing harshness. Reflectors are essential for controlling shadow density. For food photography, a crossbar system keeps lights stable above the table.
How does top light affect color rendering?
Top light itself doesn’t change color, but it affects how colors appear in shadowed areas. Deep shadows can desaturate colors, making reds look brown or blues look gray. Using fill light restores vibrancy in shadow regions, ensuring accurate color representation across the entire frame.