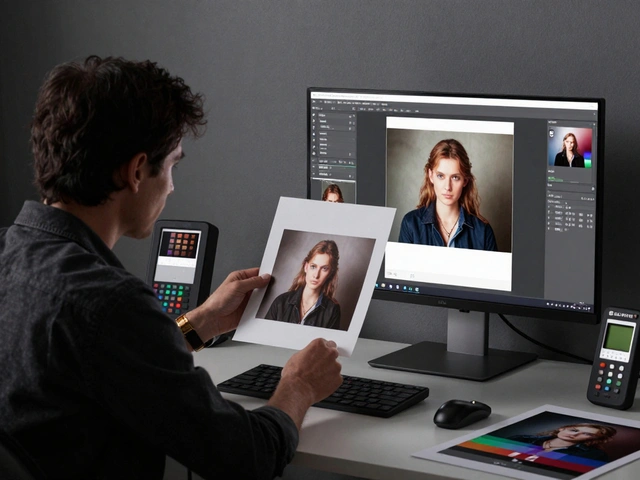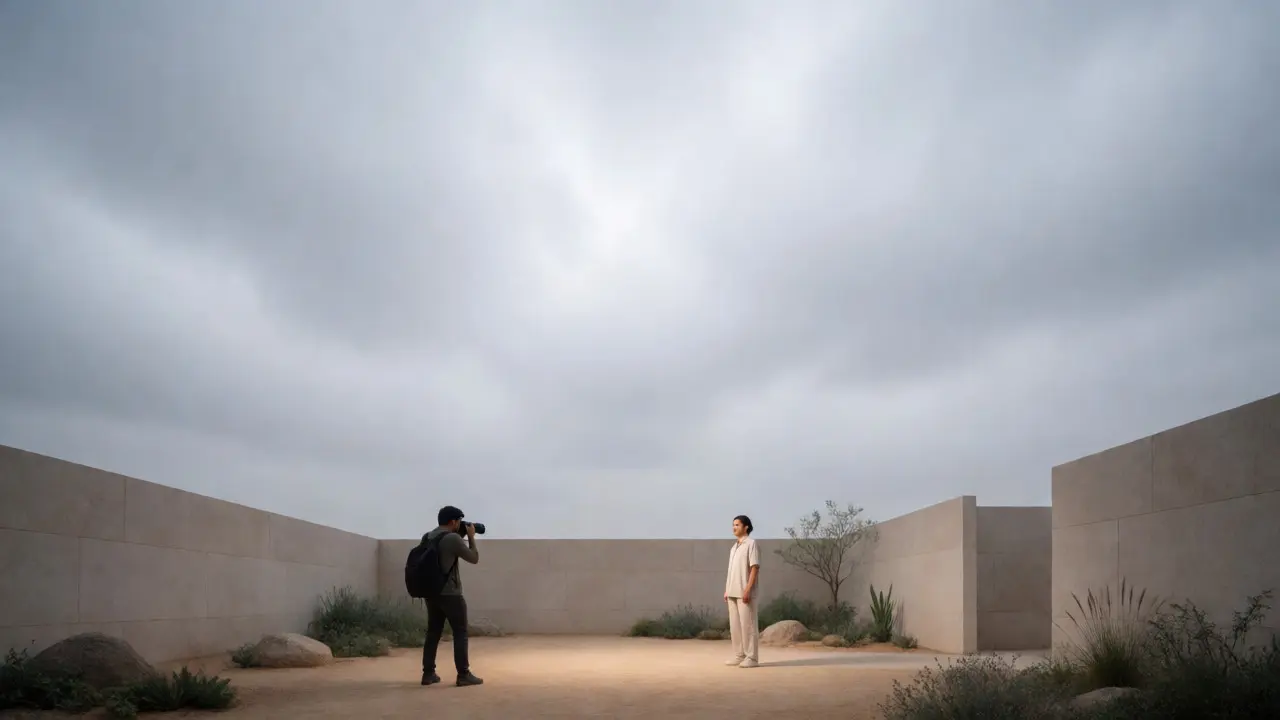
You’ve probably heard photographers obsess over "golden hour," but there’s a secret weapon that doesn’t require waking up at 4 AM or racing against the sunset. It’s soft light, which is light that has been scattered or diffused to reduce contrast and soften shadows. Unlike the harsh, direct sunlight that blows out highlights and creates deep, unflattering black holes under eyes, soft light wraps around your subject. It reveals texture without drama and flatters skin tones with gentle transitions. The problem? Most people think they need expensive studio gear to get it. They don’t. You just need to know how to find it, or how to make it.
Why Hard Light Fails (And Why Soft Light Wins)
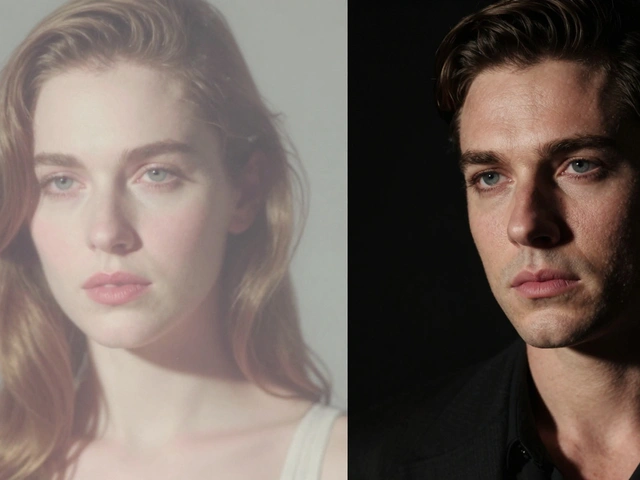
Let’s talk physics for a second, but keep it simple. Light sources have a size relative to their distance from the subject. A tiny sun millions of miles away acts like a point source. When it hits your face directly, it casts sharp, defined shadows because there’s no way for the light to bend around your nose or chin. This is hard light. It’s great for high-contrast noir films, but terrible for most portraits or product shots where you want detail in both the bright spots and the dark corners. Soft light happens when the source becomes effectively larger than the subject. Think of a cloud covering the sun. Suddenly, the entire sky becomes the light source. Because the light is coming from every direction above you, it fills in the shadows naturally. The transition from highlight to shadow is gradual. This is what makes soft light photography so desirable-it mimics the look of professional studio setups without the $2,000 strobe kit. If you’re shooting outdoors and the sun is blazing, you are fighting physics. If you move into the shade, you are working with it.
The Overcast Advantage: Nature’s Giant Softbox
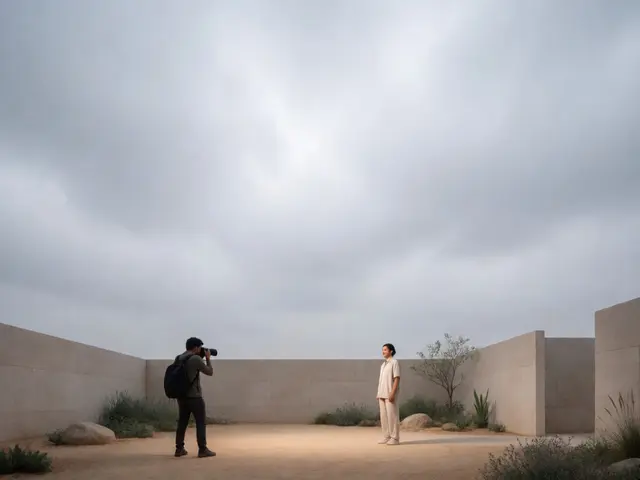
Many photographers pack up their cameras when the sky turns gray. That’s a mistake. An overcast day is arguably the best time for outdoor portraiture and landscape details. The cloud layer acts as a massive diffusion panel, scattering the sunlight before it reaches the ground. This creates even illumination across the scene. There are no hotspots on a forehead and no crushed blacks in the eye sockets. However, not all clouds are created equal. Thin, wispy cirrus clouds might let too much direct sun through, creating mixed lighting conditions that confuse your camera’s white balance. Thick, uniform stratus clouds provide the most consistent soft light. If you shoot during these conditions, you’ll notice two things: colors appear more saturated because there’s less glare reflecting off surfaces, and you can shoot anywhere in the open without hunting for shade. Just be aware that the lack of directional light can sometimes make images look flat. To counter this, use leading lines in composition or add a small reflector to reintroduce a hint of directionality if needed.
Finding and Using Open Shade
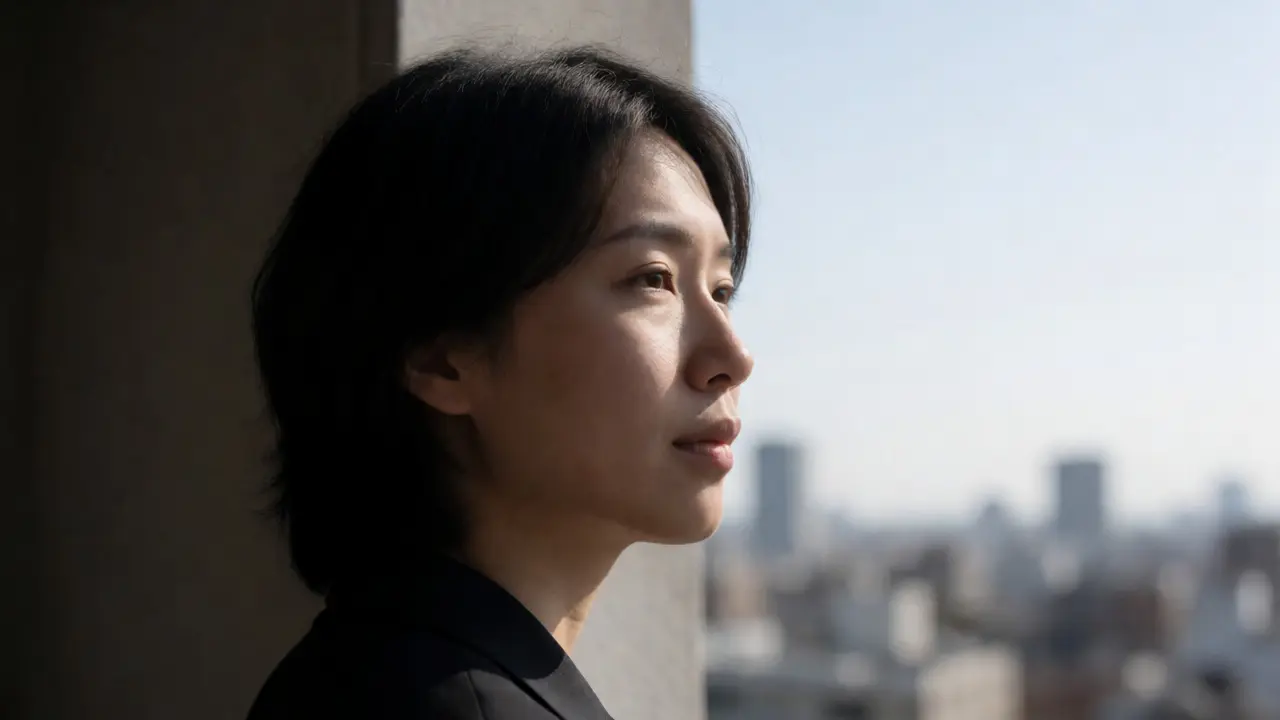
If the sky is clear blue, you must create your own overcast condition. This is called open shade. It’s not just any shadow; it’s a specific type of shaded area where the subject is protected from direct sunlight but still receives ambient light from the sky. Standing under a tree canopy often fails because leaves block too much light, making the image dark and green-tinted. Instead, look for the edge of a building’s shadow, the north side of a house (in the Northern Hemisphere), or under a large umbrella that isn’t blocking the view of the sky. The key here is positioning. Place your subject so their face points toward the open sky, not the wall behind them. If you put them facing a brick wall, the light bouncing off that wall will be dim and colored by the bricks. Facing the open sky ensures the primary light source is the vast, neutral-colored dome of the atmosphere. This setup gives you beautiful catchlights in the eyes and clean skin tones. It’s free, it’s instant, and it works almost everywhere in an urban environment.
DIY Diffusion: Making Your Own Soft Light
Sometimes, nature isn’t cooperating, or you’re stuck in a spot with harsh, direct sun and nowhere to hide. That’s when you bring out the tools. You don’t need a giant octabox. You need a diffuser. A diffuser is simply a translucent material placed between the light source and the subject to scatter the rays. Here are three accessible strategies:
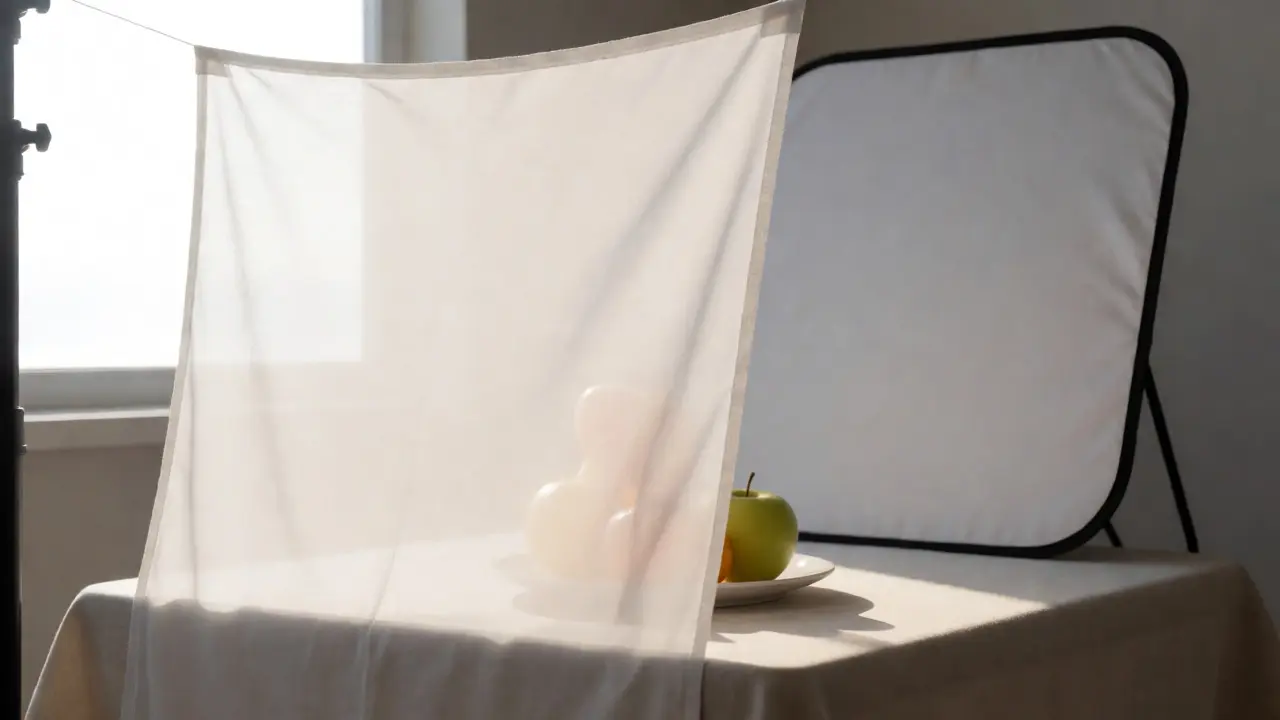
- The White Sheet Trick: Hang a plain white bedsheet between the sun and your subject. Secure it with clips or weights. Ensure it’s taut to avoid uneven wrinkles causing weird light patterns. This works surprisingly well for full-body portraits.
- Translucent Umbrellas: Shoot through a white translucent umbrella rather than bouncing off it. Position the umbrella close to the subject-closer than you think. The closer the diffuser is to the subject, the softer the light becomes due to the increased apparent size of the light source.
- Window Light Modification: Indoors, tape a thin piece of tracing paper or a sheer curtain over a window. This turns a harsh afternoon sunbeam into a gentle, wraparound glow perfect for food styling or macro shots.
| Strategy | Light Source Size | Shadow Quality | Best For | Cost/Effort |
|---|---|---|---|---|
| Direct Sun | Tiny (Point Source) | Hard, Sharp Edges | High Contrast Art | Free / Low |
| Overcast Sky | Huge (Sky Dome) | Very Soft, Gradual | Portraits, Landscapes | Free / Weather Dependent |
| Open Shade | Large (Partial Sky) | Soft, Directional | Urban Portraits | Free / Location Scouting |
| DIY Diffuser | Medium-Large | Controlled Softness | Studio-like Outdoor | $15-$50 / Moderate |
Controlling Contrast with Reflectors
Soft light is wonderful, but it can sometimes lack punch. Without strong shadows, faces can look two-dimensional. This is where a reflector comes in. A reflector bounces existing soft light back onto the subject to lift shadows. You don’t need to buy one; a white foam core board from a craft store costs about five dollars and works perfectly. Hold the reflector opposite the main light source (usually the sky) and angle it toward the subject’s face. Watch the shadows under the chin disappear. If you want warmer tones, use a gold side of a collapsible reflector. If you want neutral color, stick to white or silver. Silver is stronger but can look metallic if used too aggressively on skin. Start with white. The goal isn’t to eliminate all shadows-that looks fake-but to fill them enough to retain detail while keeping the soft aesthetic.
Common Pitfalls to Avoid
Even with the right strategy, mistakes happen. Here’s what to watch out for:
- Color Casts: Shooting in open shade near a red brick building or green grass can tint your subject. Always check your white balance manually or shoot RAW to correct this later.
- Mixed Lighting: Don’t mix cool open shade with warm direct sunlight on the same face. The mismatch looks unnatural. Move until the entire face is in the same light zone.
- Underexposure: Soft light is often darker than direct sun. Cameras may underexpose subjects against a bright sky background. Use spot metering on the face or apply positive exposure compensation (+0.7 to +1.3 EV).
Is overcast light always better than sunny light?
Not always. Overcast light is excellent for portraits and detailed textures because it minimizes harsh shadows. However, for landscapes where you want depth and dramatic separation between foreground and background elements, direct sunlight provides necessary contrast. Choose based on the mood you want to convey.
Can I use a shower curtain as a diffuser?
Yes, a plain white or frosted plastic shower curtain can work as a makeshift diffuser for indoor window light or small outdoor setups. It’s cheap and effective for scattering harsh beams. Just ensure it’s clean and free of heavy patterns that could project unwanted shapes onto your subject.
Why does my subject look flat in soft light?
Soft light reduces contrast, which can remove the sense of three-dimensionality. To fix this, use a reflector to reintroduce subtle shadows on one side of the face, or position your subject so they are turned slightly away from the light source, creating a gentle gradient across their features.
How do I handle mixed lighting conditions?
Mixed lighting occurs when part of the subject is in direct sun and part is in shade. This creates conflicting color temperatures and exposure levels. The best solution is to move the subject entirely into the shade or entirely into the sun. If you can’t move, use a diffuser to cover the sunlit portion or a reflector to boost the shaded portion, aiming for uniformity.
Does the time of day matter for soft light?
Time of day matters less for soft light than it does for golden hour. You can achieve soft light at noon by finding open shade or using a diffuser. In fact, midday sun is often the easiest to diffuse because it is the strongest source, giving you plenty of power to work with once softened.