You’ve probably been there. You spot a dewdrop on a leaf or the intricate texture of a spiderweb, but it’s raining outside, or maybe you just don’t want to fight the wind. Indoor macro photography is often dismissed as "studio work" reserved for people with $500 light boxes and robotic focus rails. But here’s the truth: some of the most compelling macro images are made at a kitchen table with nothing more than a window, a piece of black velvet, and a stack of books.
The challenge isn't the gear; it's the control. When you get that close to a subject-whether it's a circuit board, an insect specimen, or a drop of water-everything matters. A tiny shift in angle changes the reflection. A slight breeze from an open window moves your subject out of focus. This guide breaks down how to build a reliable indoor macro station using backgrounds, stands, and controlled light that won’t break the bank.
Why Indoor Macro Requires Different Tactics
Outdoor macro is about chasing nature. Indoor macro is about taming physics. When you shoot outdoors, you deal with unpredictable ambient light, moving subjects, and changing weather. Indoors, you have total authority over these variables, but you also lose the natural depth and context that outdoor environments provide. The biggest hurdle indoors is depth of field. At high magnification (1:1 or greater), your depth of field can be thinner than a sheet of paper. If you miss focus by a millimeter, the shot is gone.
To combat this, you need stability and precision. Handholding a camera at 5x magnification is nearly impossible without image stabilization kicking in weirdly or motion blur creeping in. This is why your setup needs to be rigid. We aren't talking about complex engineering; we’re talking about eliminating vibration and controlling where the light hits. By mastering three core components-background, support, and illumination-you turn your home into a precision lab.
Selecting the Right Backgrounds for Depth and Contrast
Your background does more than hide the clutter of your living room. It defines the mood and isolates the subject. In macro photography, the background is essentially negative space, and how you fill it determines whether your subject pops or gets lost.
Many beginners make the mistake of using busy wallpapers or textured tablecloths. Even if they are out of focus, high-contrast patterns create visual noise that distracts from the fine details of your macro subject. Instead, aim for uniformity. Here are three proven background types that work wonders indoors:
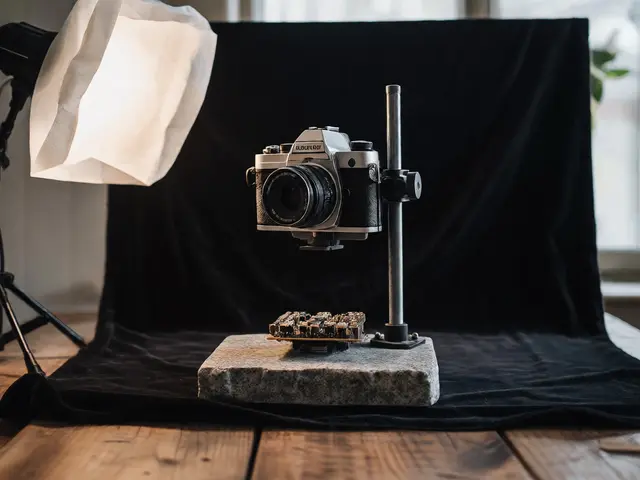
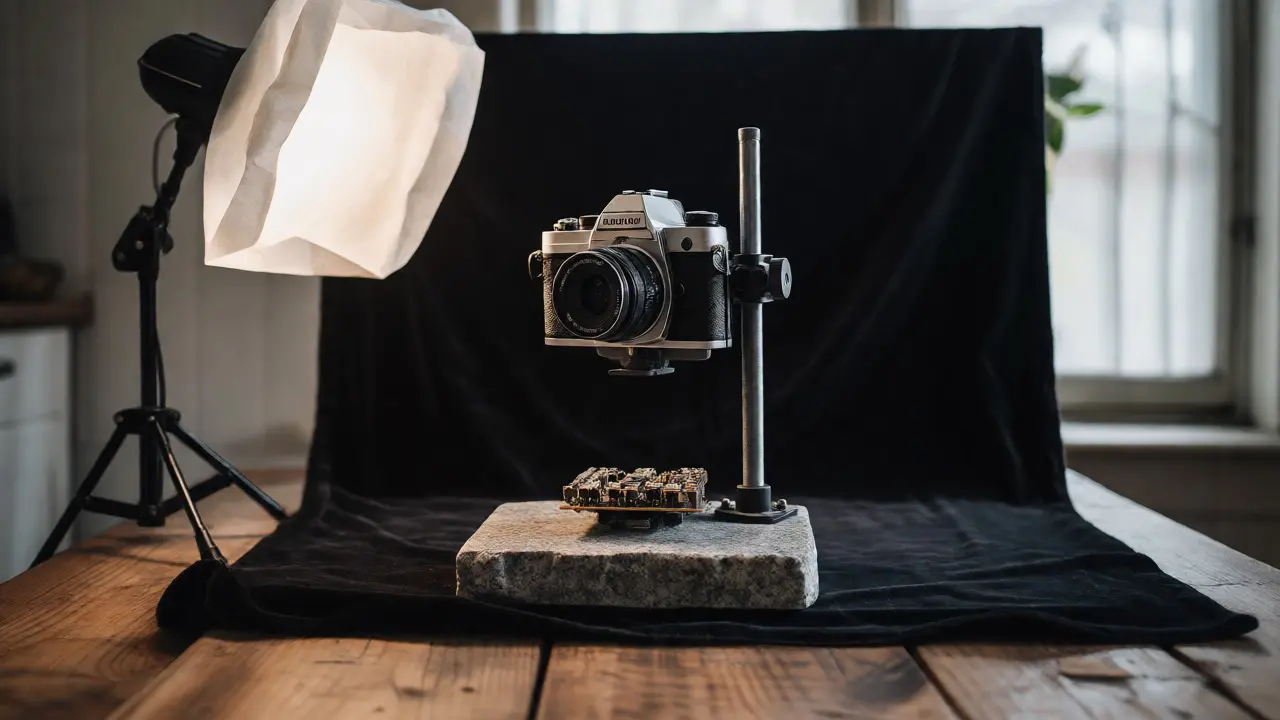
- Matte Black Velvet is the gold standard for absorbing light. It eliminates reflections almost entirely, making it perfect for shiny subjects like jewelry, insects with glossy exoskeletons, or metallic objects. Because it absorbs rather than reflects, it creates a deep, infinite void behind your subject.
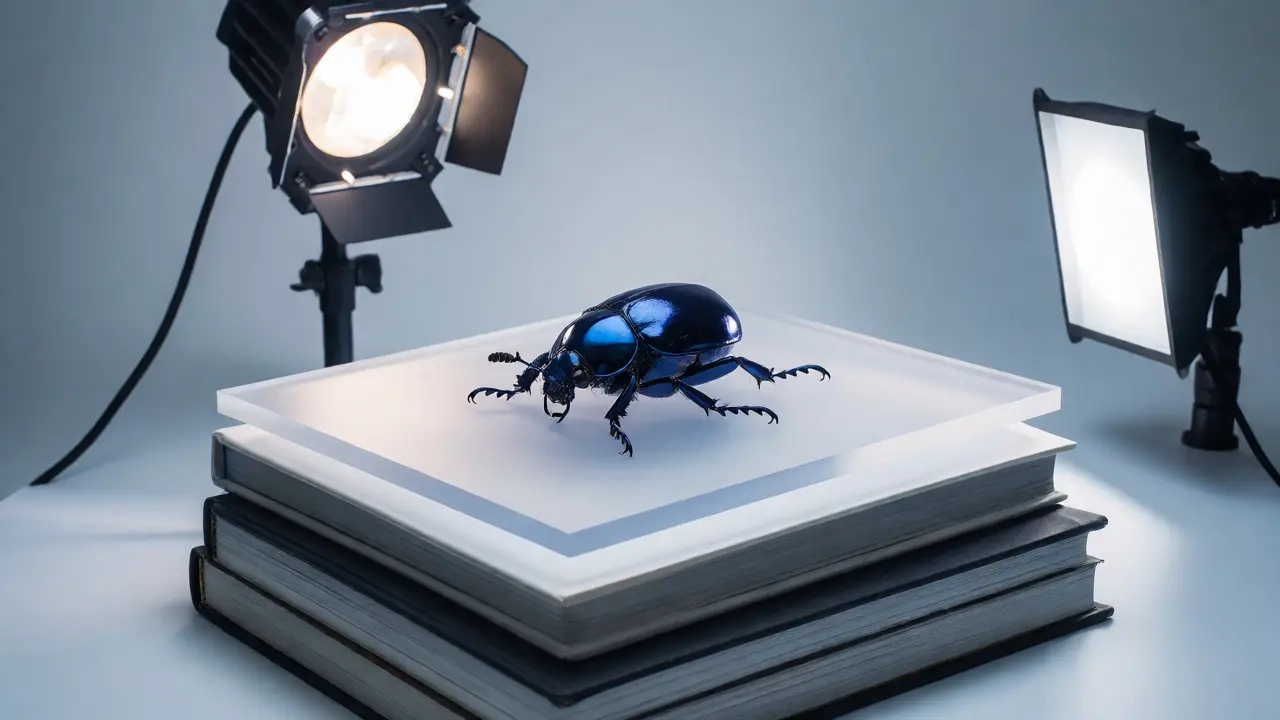
- White Acrylic Sheets are ideal for high-key product shots or scientific documentation. They reflect light back onto the subject, acting as a built-in fill light. However, beware of hotspots; if your main light is too strong, the white background will blow out to pure white, losing all detail.
- Frosted Glass or Plexiglass offers a middle ground. It diffuses light beautifully and can be used to create soft gradients. Placing a colored gel behind frosted glass allows you to change the background color instantly without altering your foreground lighting.
A pro tip: distance matters. Pull your subject away from the background. If your beetle is sitting directly on the velvet, you’ll see the texture of the fabric. Move the beetle ten inches forward, and that same velvet becomes a smooth, creamy blur due to the shallow depth of field. This separation is key to creating professional-looking isolation.
Stabilizing Your Rig: Stands That Actually Work
If your camera shakes, your photo fails. Period. Tripods are great, but traditional tripods are designed for standing height. For macro, you’re often shooting downward at a table or sideways at a small object. You need a system that allows for micro-adjustments.
Consider building a simple DIY copy stand. A heavy base (like a granite slab or a thick piece of MDF) prevents tipping. Attach a vertical rod (a threaded steel rod works well) to the base. Mount your camera to a sliding bracket that moves up and down the rod. This lets you adjust magnification by physically moving the camera closer or farther from the subject, rather than zooming, which maintains optical quality.
For those who prefer off-the-shelf solutions, look for macro focusing rails. These attach between your tripod head and camera, allowing you to slide the camera forward and backward in fractions of a millimeter. This is crucial when stacking focus or trying to nail the exact plane of focus on a flat object like a stamp or a coin.
| Support Type | Best For | Stability Level | Cost Estimate |
|---|---|---|---|
| Standard Tripod + Ball Head | General use, larger subjects | Moderate (prone to sagging) | $50 - $300 |
| DIY Copy Stand | Flat objects, top-down shots | High (rigid structure) | $30 - $80 (materials) |
| Macro Focusing Rail | Precision focus, stacking | Very High (with tripod) | $40 - $150 |
| C-Clamp & Arm System | Flexible positioning, lights/cameras | Variable (depends on clamp strength) | $20 - $60 per arm |
Don't underestimate the power of a C-clamp and a flexible arm. If you don't want to buy a dedicated stand, clamp a sturdy arm to your desk edge. Attach your camera to one end and your light to another. This modular approach lets you reconfigure your setup in seconds. Just ensure the clamp is tight enough to prevent drooping under the weight of your lens.
Mastering Controlled Light: The Heart of Macro
Light is where indoor macro shines. Outdoors, you wait for the sun. Indoors, you command it. The goal is soft, directional light that reveals texture without creating harsh shadows. Harsh shadows kill detail in macro because they obscure the very textures you’re trying to capture.
Start with continuous light sources if you’re new to this. LED panels are affordable and let you see exactly what the shadow pattern looks like before you take the shot. Position your primary light source at a 45-degree angle to the subject. This creates dimensionality. Then, add a second, weaker light or a reflector on the opposite side to lift the shadows. This is known as two-point lighting, and it’s the backbone of studio portraiture adapted for macro.
Diffusion is non-negotiable. A bare LED bulb creates hard, specular highlights that look like white blobs on shiny surfaces. Use diffusion material-white shower curtains, tracing paper, or dedicated softboxes-to spread the light. The larger the light source relative to the subject, the softer the light. Since your subject is tiny, even a small lampshade acts as a massive softbox.
What about flash? Speedlights offer higher power and shorter duration, freezing motion better than continuous LEDs. However, they require triggers and careful power management. For indoor macro, I recommend starting with continuous light. It removes the guesswork. Once you understand how light falls on your subject, you can switch to flash for sharper action shots or higher ISO-free images.
Putting It All Together: A Step-by-Step Workflow
Now that you have your background, stand, and light, how do you actually shoot? Follow this workflow to minimize frustration and maximize keeper rates.
- Set the Stage: Place your background on a stable surface. Ensure it’s clean. Dust is magnified 10x, so wipe down your acrylic or velvet regularly.
- Mount the Camera: Secure your camera to your stand or rail. Lock the tripod legs. Turn off Image Stabilization (IS) or Vibration Reduction (VR) when using a tripod, as it can sometimes introduce wobble when the camera is already stable.
- Position the Subject: Place your subject on the background. Adjust its angle to catch the light best. Remember, you can rotate the subject instead of moving the camera to change perspective.
- Light It Up: Turn on your continuous light. Adjust the angle until you see the texture pop. Add a reflector card (a piece of white foam board works) to bounce light into the shadows.
- Focus Manually: Autofocus struggles with low-contrast macro subjects. Switch to manual focus. Zoom in on your live view screen to 100% and tweak the focus ring until the critical point (e.g., the eye of an insect or the center of a flower) is sharp.
- Shoot and Check: Take a test shot. Review the histogram and zoom in on the image on your camera LCD. Did you miss focus? Adjust slightly and reshoot. Don't rely on chimping (checking every single shot); trust your process after a few tests.
Troubleshooting Common Indoor Macro Issues
Even with a perfect setup, things go wrong. Here are quick fixes for the most common headaches.
Problem: Everything is blurry. Solution: You likely have camera shake. Use a remote shutter release or your camera’s self-timer (2-second delay). Also, check your shutter speed. At high magnification, anything slower than 1/125th of a second might show movement, even on a tripod. Increase your ISO if necessary.
Problem: Colors look weird. Solution: Mixed lighting. If you have daylight coming through a window and warm indoor bulbs, your white balance will be confused. Close the blinds and rely solely on your artificial lights, or set your camera’s White Balance manually using a gray card.
Problem: Too much glare on shiny objects. Solution: Polarize your light. Place a polarizing filter on your light source and a corresponding circular polarizer on your lens. Rotate the lens filter until the glare disappears. This technique is magic for photographing wet surfaces, glass, or polished metal.
Final Thoughts on Building Your Macro Station
Indoor macro photography isn't about buying the most expensive gear; it's about understanding control. By choosing the right background to isolate your subject, using a rigid stand to eliminate vibration, and shaping light to reveal texture, you can produce stunning images from your dining room table. Start small. Experiment with household items. A black sock makes a great background. A stack of encyclopedias makes a great stand. A desk lamp with a tissue over it makes a great softbox. The constraints of indoor shooting force creativity, and that’s where the best art comes from.
Do I need a dedicated macro lens for indoor setups?
While a true macro lens (1:1 reproduction ratio) is ideal, you can achieve impressive results with extension tubes attached to a standard prime lens, or by using a reverse-mount adapter. These methods allow you to get closer to the subject without investing in a specialized lens immediately.
How do I avoid dust spots in my macro photos?
Dust is highly visible in macro photography. Clean your sensor regularly using a blower or professional cleaning kit. Additionally, keep your indoor environment clean by wiping down your background and shooting area before each session. Using a smaller aperture (f/11-f/16) can help hide minor dust spots, but it may introduce diffraction softness.
Is natural window light good for indoor macro?
Yes, window light is excellent for macro because it is naturally large and diffuse, creating soft shadows. However, it is inconsistent and changes throughout the day. To use it effectively, position your subject near the window and use a reflector on the opposite side to fill in shadows. Be mindful of color temperature shifts as clouds pass or the sun sets.
What is focus stacking and do I need it indoors?
Focus stacking involves taking multiple photos at different focal points and merging them in post-processing to increase depth of field. It is particularly useful indoors for static subjects like products or specimens where you want everything sharp from front to back. While not strictly necessary for artistic shots with shallow depth of field, it is a powerful tool for technical accuracy.
Can I use my smartphone for indoor macro?
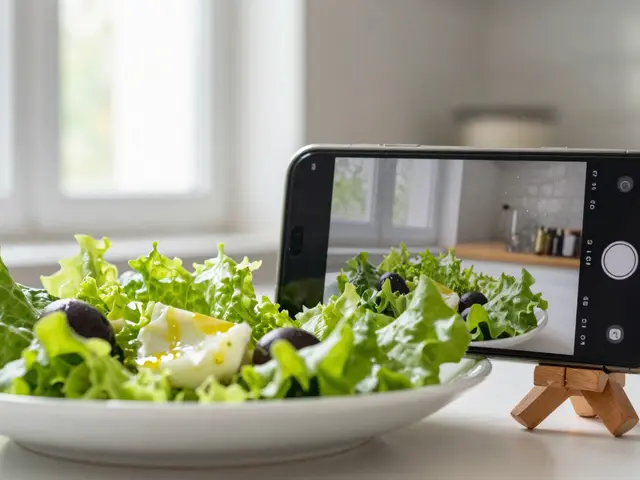
Absolutely. Many modern smartphones have dedicated macro modes or ultra-wide lenses that can focus very closely. Pair your phone with a small tripod or a stable surface and use external clip-on macro lenses for even greater magnification. Apps that allow manual focus and exposure control significantly improve results.