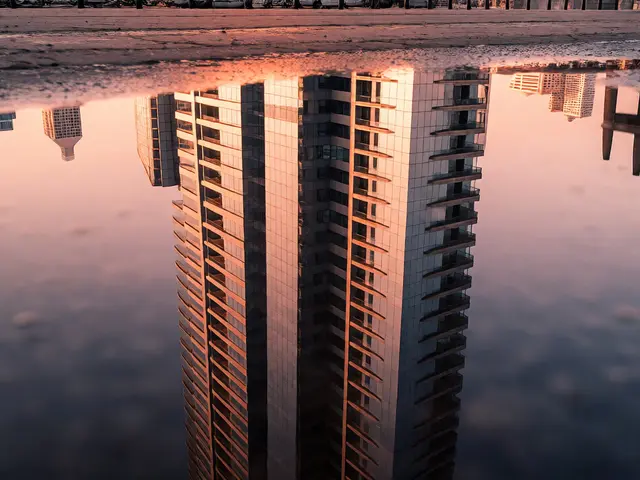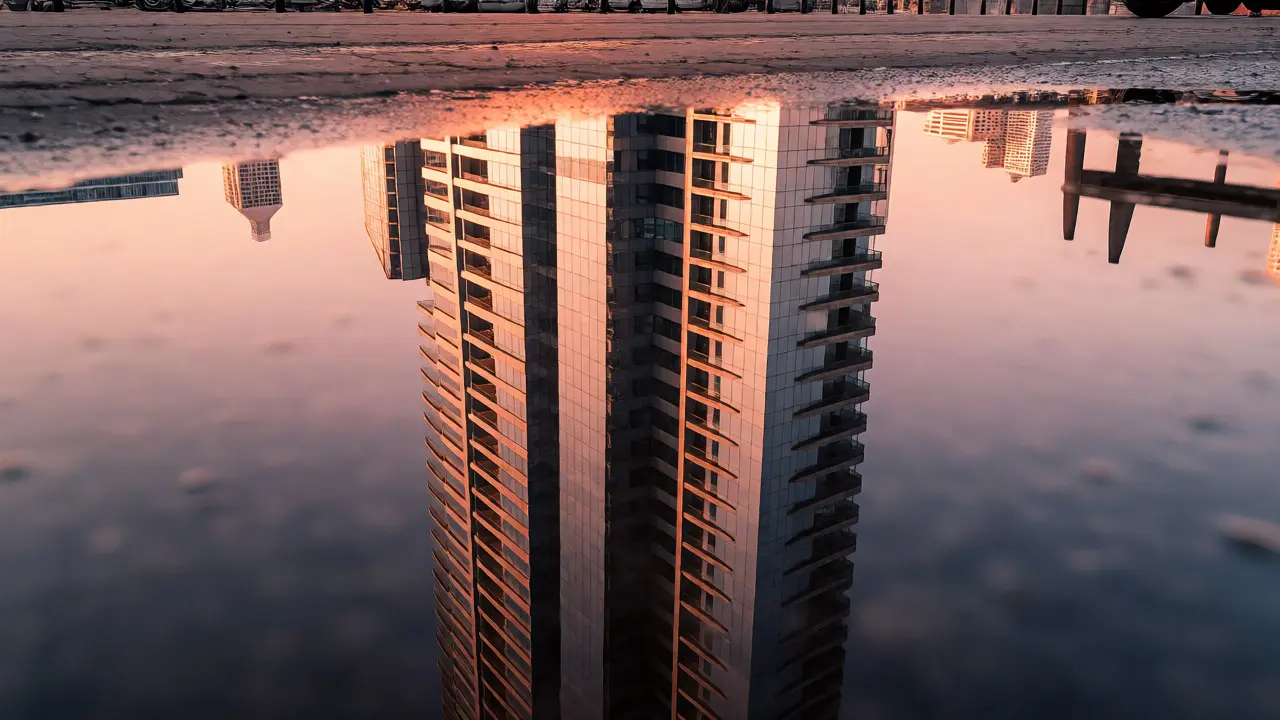
You’ve seen those shots where the world doubles on itself. A skyscraper mirrored perfectly in a rain puddle, or a face half-hidden behind a window pane. It looks magical, but it’s not magic-it’s physics meeting patience. Reflections in photography are one of the most powerful tools for adding symmetry and visual depth to your compositions. They turn flat images into three-dimensional experiences. But here’s the catch: getting them right is tricky. Too much reflection kills the subject; too little makes the shot feel empty. If you’re tired of flat, boring photos, this guide breaks down exactly how to use water and glass to create stunning, balanced images. We’ll cover the technical settings, the compositional rules, and the specific tricks that separate amateur snapshots from professional art.
Why Reflections Work: The Psychology of Symmetry
Human brains love patterns. When we see symmetry, our eyes relax. It feels ordered, calm, and aesthetically pleasing. In photography, symmetry creates a sense of balance that draws the viewer in. A perfect reflection splits the frame horizontally, creating two identical halves. This isn’t just pretty; it guides the eye. If the top half has a bright sun, the bottom half mirrors it, keeping the energy balanced across the entire image. But symmetry alone can be static. That’s where depth comes in. A reflection adds layers. You have the real object, the surface (like water), and the reflected image. This layering tricks the brain into perceiving more space than actually exists. It transforms a 2D photo into something that feels like you could step inside. Think of it as opening a door in your image rather than painting a wall on it.
Water: The Natural Mirror
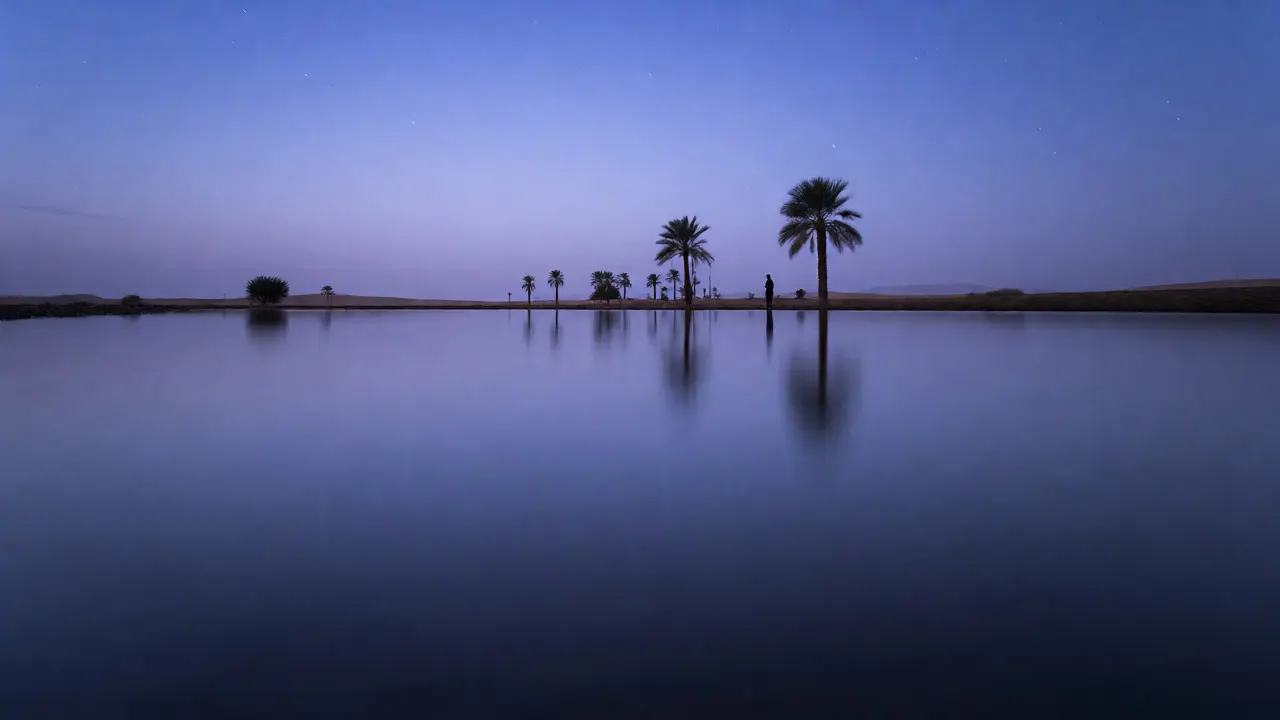
Water is the most accessible reflective surface you have. Lakes, oceans, puddles, even a spilled coffee cup-they all work. But they behave differently depending on their state. Still water acts like a mirror, offering crisp, high-contrast reflections. Moving water, like ripples or waves, distorts the image, creating abstract, painterly effects. To get clean reflections in water, timing is everything. Early morning or late evening often provides the calmest surfaces. Wind is your enemy here. Even a slight breeze can ruin a perfect mirror effect. If you’re shooting near a lake, wait for the wind to die down. Or, look for sheltered coves where the water remains glassy. Puddles are underrated gems for urban photographers. After a rainstorm, city streets become full of accidental mirrors. Get low. Seriously, get your camera almost touching the ground. This angle maximizes the size of the reflection relative to the subject. If you shoot from standing height, the reflection disappears quickly. From ground level, a small puddle becomes a vast ocean of light.
| Surface Type | Best For | Key Challenge | Pro Tip |
|---|---|---|---|
| Still Water | Symmetrical landscapes, architecture | Wind disturbance | Shoot at dawn/dusk for calm surfaces |
| Glass Windows | Portraits, street scenes, double exposures | Unwanted glare and internal reflections | Use a polarizer or shoot at an angle |
| Wet Pavement | Urban night shots, neon lights | Poor contrast in daylight | Best used after rain at night |
| Metallic Surfaces | Abstract textures, distorted portraits | Distortion control | Move around until distortion aligns with subject |
Glass: Seeing Through and Seeing Back
Glass is trickier than water because it does two things at once: it reflects and it transmits. This dual nature allows for complex compositions where you capture both what’s behind the glass and what’s reflected on its surface. This technique is often called "double exposure" in-camera, though no special equipment is needed. The biggest problem with glass is glare. Light bouncing off the front surface washes out the details behind it. To fix this, change your angle. Shooting straight-on maximizes reflection. Shooting at a 45-degree angle reduces reflection and increases transmission. Experiment with angles until you find the balance you want. Do you want more of the scene behind the window? Move closer to parallel. Want more of the reflection? Move toward perpendicular. Another trick involves using a black cloth or your hand to block stray light hitting the front of the glass. This darkens the reflection, making the background clearer. Alternatively, use a circular polarizer filter. Rotate it while looking through the viewfinder until the unwanted glare disappears. Note that polarizers don’t eliminate all reflections, especially from non-metallic surfaces, but they significantly reduce them.

Technical Settings for Sharp Reflections
Reflections demand precision. Because they often involve fine details and high contrast, any blur shows up immediately. Here’s how to nail your settings. First, focus manually if possible. Autofocus can struggle with reflections, trying to lock onto the surface instead of the reflected subject. Switch to manual focus and zoom in on your LCD screen to ensure sharpness on the reflection itself. If the reflection is soft, the whole image feels wrong. Second, manage your aperture. You generally want a deep depth of field so both the real subject and the reflection are sharp. An f/8 to f/11 aperture usually works well. However, if you’re going for an artistic, dreamy look, try a wider aperture like f/2.8. This will keep the main subject sharp while blurring the reflection slightly, creating separation between the two layers. Third, watch your exposure. Reflections can confuse your camera’s metering system. The bright sky reflected in water might trick your camera into underexposing the foreground. Use spot metering on the brightest part of the reflection, then adjust your exposure compensation if necessary. Bracketing your shots-taking multiple frames at different exposures-is a safe bet when lighting conditions are unpredictable.
Compositional Rules for Balanced Images
Just having a reflection doesn’t make a good photo. Composition matters. The rule of thirds still applies, but with a twist. Instead of placing your subject on the third line, consider centering it horizontally to emphasize symmetry. Vertical placement should follow the rule of thirds, but the horizon line (where the real meets the reflection) becomes a critical element. Avoid splitting the image exactly in half unless you want a very formal, static look. Often, shifting the horizon slightly above or below the center creates more dynamic tension. If the sky is interesting, give it more space. If the foreground texture is compelling, let it dominate. Look for leading lines within the reflection. Roads, fences, or shorelines that continue into the reflection guide the viewer’s eye deeper into the image. These lines reinforce the sense of depth. Without them, the reflection can feel like a disconnected copy-paste job.
Common Mistakes and How to Fix Them
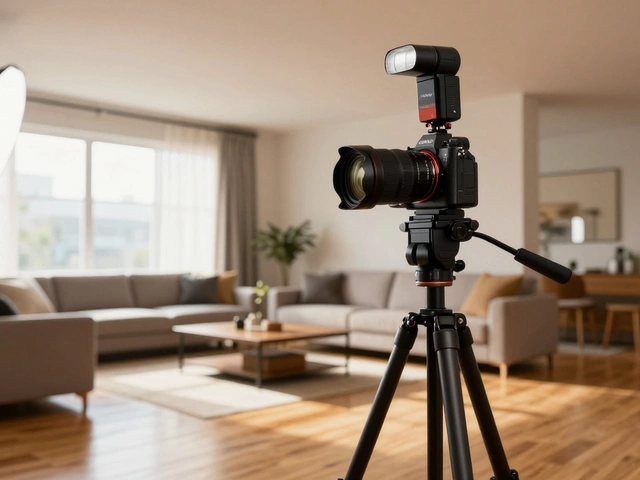
Even experienced photographers fall into these traps. First, ignoring the background. A beautiful reflection means nothing if there’s a trash can or a power line ruining the symmetry. Check the edges of your frame carefully. Sometimes moving a few feet left or right eliminates distractions entirely. Second, over-processing. It’s tempting to boost saturation and contrast to make reflections pop. But too much processing makes the image look fake. Keep edits natural. Enhance the clarity of the reflection, but don’t force colors that aren’t there. Subtlety wins. Third, forgetting about motion. If you’re shooting water, long exposures can smooth out ripples, creating a silky, ethereal reflection. Try a shutter speed of 1-2 seconds. This requires a tripod and possibly a neutral density filter to prevent overexposure during the day. The result is a serene, almost surreal quality that stands out from typical snapshot-style photos.
Practical Exercises to Improve Your Skills
Theory is great, but practice makes perfect. Here are three exercises to try this week: 1. **The Puddle Hunt:** Go out after a rainstorm. Find five different puddles. Shoot each one from a different angle. Compare the results. Which angle gave the best reflection? Why? 2. **The Window Portrait:** Find a large window. Have a friend stand outside. Shoot them through the glass, capturing both their face and the reflection of the room behind you. Adjust your angle until the reflection adds context without obscuring the face. 3. **The Long Exposure Lake:** Visit a body of water at dusk. Set up your tripod. Take one shot at 1/60 second and another at 2 seconds. Compare the texture of the water. Which mood do you prefer?
Frequently Asked Questions
Do I need a polarizer for reflection photography?
Not always, but it helps significantly with glass and wet surfaces. A circular polarizer allows you to control the amount of reflection by rotating the filter. For water, it can deepen blues and greens while reducing glare. For glass, it helps cut unwanted reflections to see through clearly. If you don't have one, changing your shooting angle is the free alternative.
How do I keep reflections sharp?
Focus manually on the reflection itself, not the surface. Use a narrow aperture (f/8-f/11) for greater depth of field. Ensure your camera is stable, preferably on a tripod, especially if using slower shutter speeds. Avoid wind, which causes ripples in water that blur the reflection.
Can I photograph reflections in moving water?
Yes, but the style changes. Moving water creates abstract, distorted reflections rather than clear mirrors. This can be artistically interesting. Use fast shutter speeds to freeze the ripples or slow shutter speeds (long exposure) to smooth them out into a milky texture. Both approaches offer creative possibilities distinct from still water.
What is the best time of day for reflection shots?
Golden hour (sunrise and sunset) is ideal because the light is soft and colorful, enhancing the reflection's beauty. Blue hour (just after sunset) offers deep blues and vibrant city lights reflecting in water. Midday light is harsher and creates strong contrasts, which can be dramatic but harder to balance. Overcast days provide even lighting, good for moody, low-contrast reflections.
How do I avoid my own reflection in glass?
Stand at an angle to the glass rather than directly facing it. Wear dark clothing to minimize visibility. You can also use a lens hood or a black card held near the lens to block stray light reflecting off the glass back into the lens. Some photographers use a hole in a black sheet of fabric to shoot through, blocking their body from the reflection.
Next Steps: Building Your Portfolio
Start small. Don’t try to master all techniques at once. Pick one surface-water or glass-and spend a week exploring it. Notice how light changes throughout the day. Notice how wind affects the surface. Notice how your position changes the composition. Once you’re comfortable, combine elements. Try shooting a glass building reflected in a puddle. Layer complexity gradually. Review your photos critically. Ask yourself: Does the reflection add value? Does it create balance? Or is it just clutter? Photography is about seeing differently. Reflections teach you to look twice-to see not just the object, but the world around it. Once you start seeing reflections everywhere, you’ll never take a flat photo again.