You’ve spent hours polishing that silver necklace or arranging those vintage earrings. You set up your camera, snap a few shots, and look at the screen. The result? A dull, flat mess where the diamonds look like grey glass and the gold looks like plastic. Sound familiar?
Here is the hard truth: jewelry photography isn’t about having the most expensive camera. It’s about controlling light on objects that are smaller than a coin and often made of reflective chaos. Metal reflects everything. Stones refract light in unpredictable ways. If you treat a ring like a pair of sneakers, you’ll fail. This guide breaks down exactly how to tame light for small valuables so your photos sell the dream, not just the item.
Why Standard Product Lighting Fails Jewelry
Most product photography tutorials teach you to use big softboxes to eliminate shadows. That works great for a matte shoebox. But jewelry? It’s different. Metals are specular reflectors-they act like tiny mirrors. If you shine a huge, uniform light source at a gold band, it disappears into a white blob. You need contrast to show shape, but you need diffusion to avoid harsh glare.
Think of it this way: when photographing a t-shirt, you want to see the fabric texture. When photographing a diamond, you want to see the fire (the colored flashes) and brilliance (the white light return). To get fire, you need point sources of light, not broad washes. To get brilliance, you need controlled reflections. This contradiction is why beginners struggle. You aren't just lighting an object; you're lighting the space around it because the object reflects its environment.
The Essential Gear: Beyond the Camera Body
You don’t need a $5,000 studio strobe kit to start. In fact, continuous LED lights are often easier for beginners because what you see is what you get. However, specific tools make or break these shots.
- A Macro Lens: You cannot crop your way to quality here. A dedicated macro lens (like the Canon EF 100mm f/2.8L or Sony FE 90mm f/2.8 Macro G) allows you to focus closely while keeping the background clean. If you’re using a smartphone, a clip-on macro lens helps, but watch out for distortion.
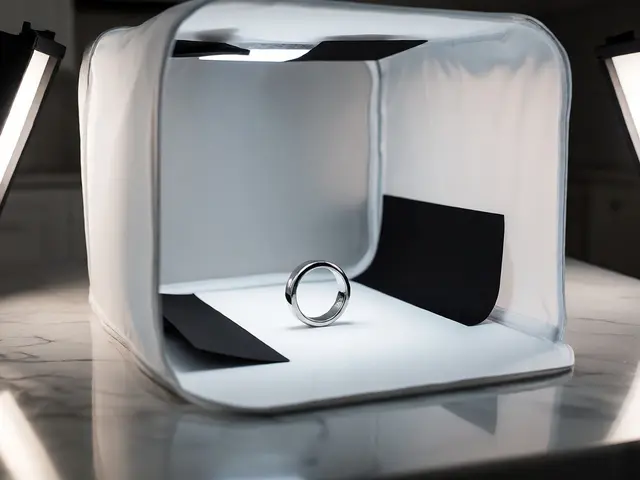
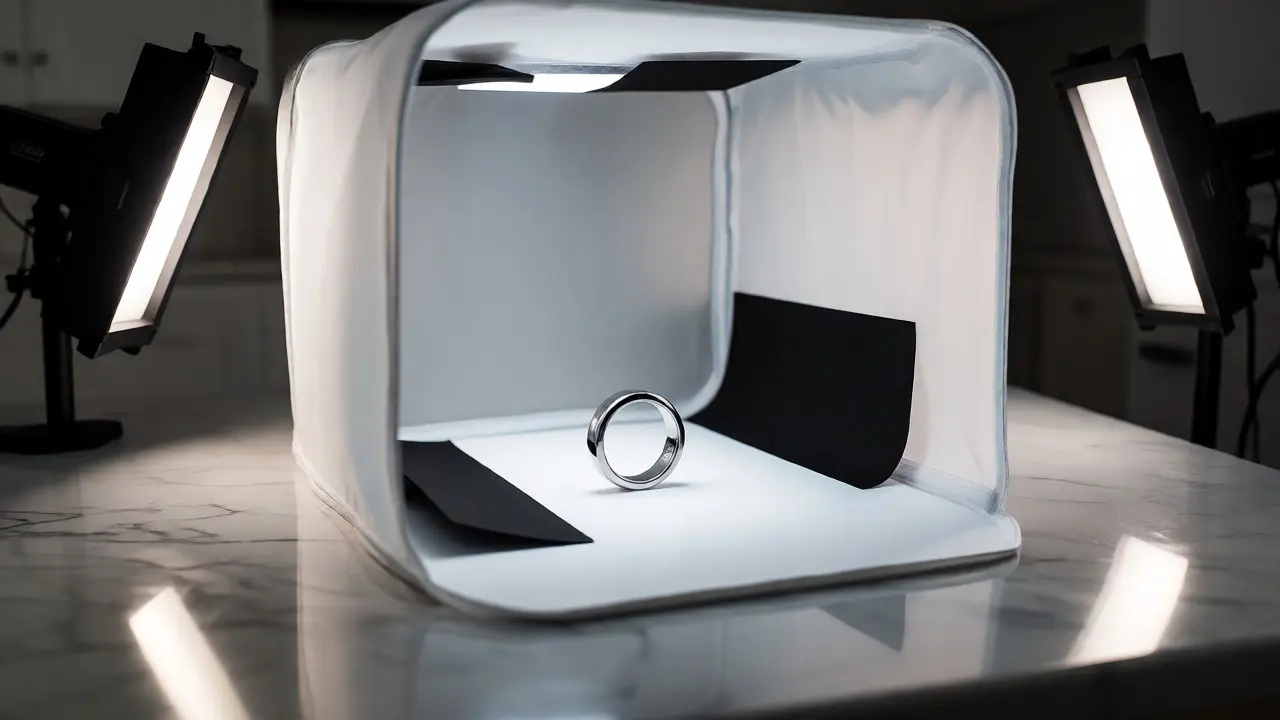
- Light Tents or Diffusion Boxes: These are translucent enclosures that surround your subject. They soften light from all sides, reducing harsh reflections on metal curves. For rings and necklaces, a small tabletop tent is invaluable.
- Black Cards and White Cards: These are your secret weapons. Black cards absorb light to create dark reflections in shiny metal (which defines edges), while white cards bounce light to fill shadows. You hold these manually or clamp them near the setup to sculpt the light.
- Clay or Museum Wax: Gravity is your enemy. A ring wants to fall over. A drop of museum wax holds it upright without leaving residue. Use it sparingly.
Setting Up Your Light Tent for Maximum Control
Let’s build a setup you can do on a kitchen table. Place your light tent on a stable surface. Inside, put your jewelry on a neutral background-white acrylic, black velvet, or a mirror tile depending on the vibe. Velvet absorbs light and makes gems pop; acrylic reflects it for a cleaner, modern look.
Position two continuous LED panels outside the tent, one on each side at roughly 45-degree angles. Do not shine them directly at the jewelry. Shine them through the diffusion material of the tent. This creates a soft, wrap-around glow. Now, here is the trick: place a strip of black cardstock inside the tent, parallel to the camera axis, just behind the jewelry. This creates a dark reflection along the top edge of the metal, giving it definition. Without this, a silver ring might blend into the white background.
| Material Type | Primary Challenge | Recommended Light Source | Modifier Strategy |
|---|---|---|---|
| Gold/Yellow Metals | Losing color saturation; looking orange/brown | Broad Softbox + Bare Bulb Accent | Use warm white balance; add small point light for sparkle |
| Silver/Platinum | Blending into white backgrounds; lack of depth | Side Lighting with Black Cards | High contrast; use black flags to define edges |
| Diamonds/Gems | Lack of "fire" (color flashes); looking dull | Small Point Sources (LED strips) | Multiply reflections; rotate stone slightly during capture |
| Pearls | Surface scratches visible; uneven luster | Large Diffused Front Light | Minimize directional light; ensure perfect cleanliness |
Mastering the Sparkle: How to Make Diamonds Sing
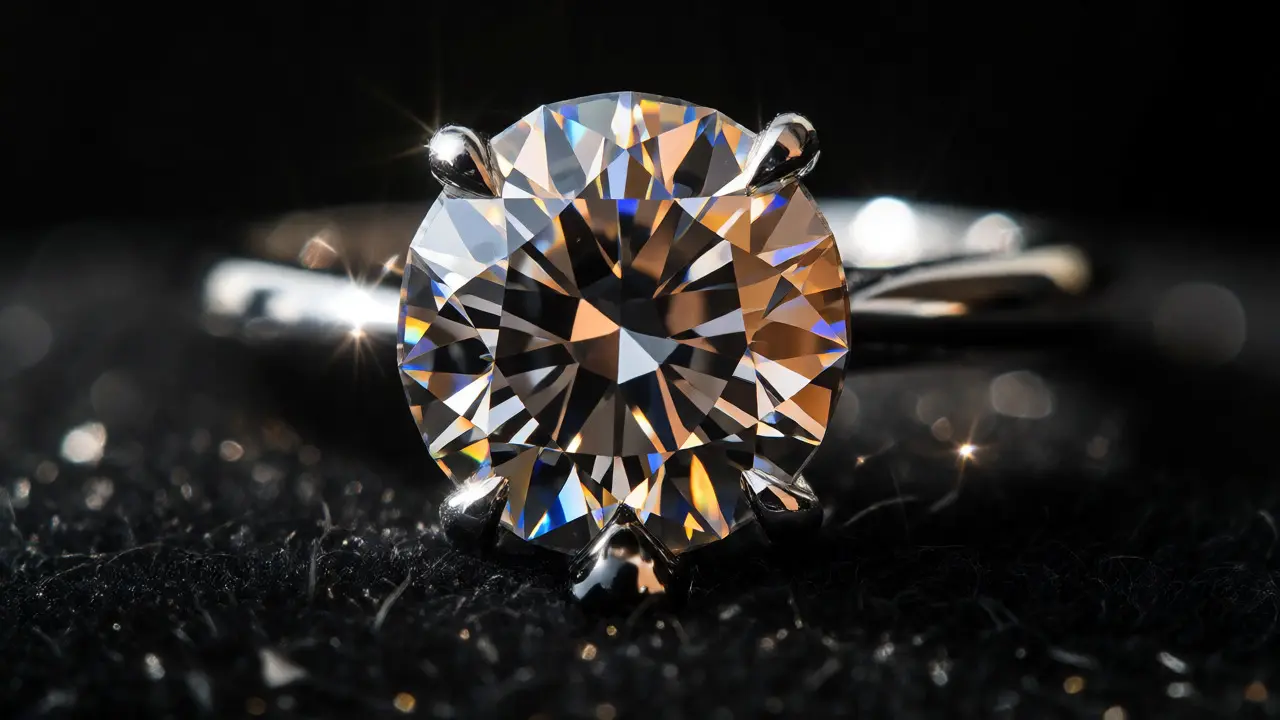
If your diamonds look flat, you have too much diffuse light. Diamonds work by refraction. They need distinct points of light to reflect internally before bouncing back to the lens. This is called "scintillation." To achieve this, stop trying to flood the scene with soft light.
Instead, introduce small, bright light sources. You can use a thin LED strip, a flashlight with a pinhole cover, or even the reflection of a window frame. Position these small sources so they reflect off the table facets of the stone. You might need to take multiple shots, moving the light source slightly between each one, then composite them in post-production if necessary. But often, a single well-placed pinpoint light is enough to trigger the rainbow effect.
Pro tip: Cleanliness is non-negotiable. A fingerprint on a diamond scatters light and kills sparkle. Use a microfiber cloth and compressed air to blow away dust before every shot. If you see smudges in the photo, no amount of editing will fix the loss of clarity.
Camera Settings for Crisp Details
When shooting small items, depth of field becomes razor-thin. At 1:1 magnification, your focus plane might be less than a millimeter thick. If you shoot at f/2.8, only the front prong of the ring will be sharp, and the rest will blur.
Set your aperture between f/11 and f/16. This increases depth of field, keeping more of the item in focus. However, diffraction starts to soften images at very high apertures, so test your lens. Most lenses hit their sweet spot around f/11 for macro work.
Use a tripod. Handholding a macro shot is nearly impossible. Even slight breathing movements cause blur. Set your camera to self-timer or use a remote shutter release to eliminate vibration. Keep ISO low (100-400) to minimize noise, which is very noticeable in smooth metal surfaces. Since you’re using a tripod, don’t worry about long exposure times-just ensure your subject doesn’t move.
Post-Processing: Enhancing What You Captured
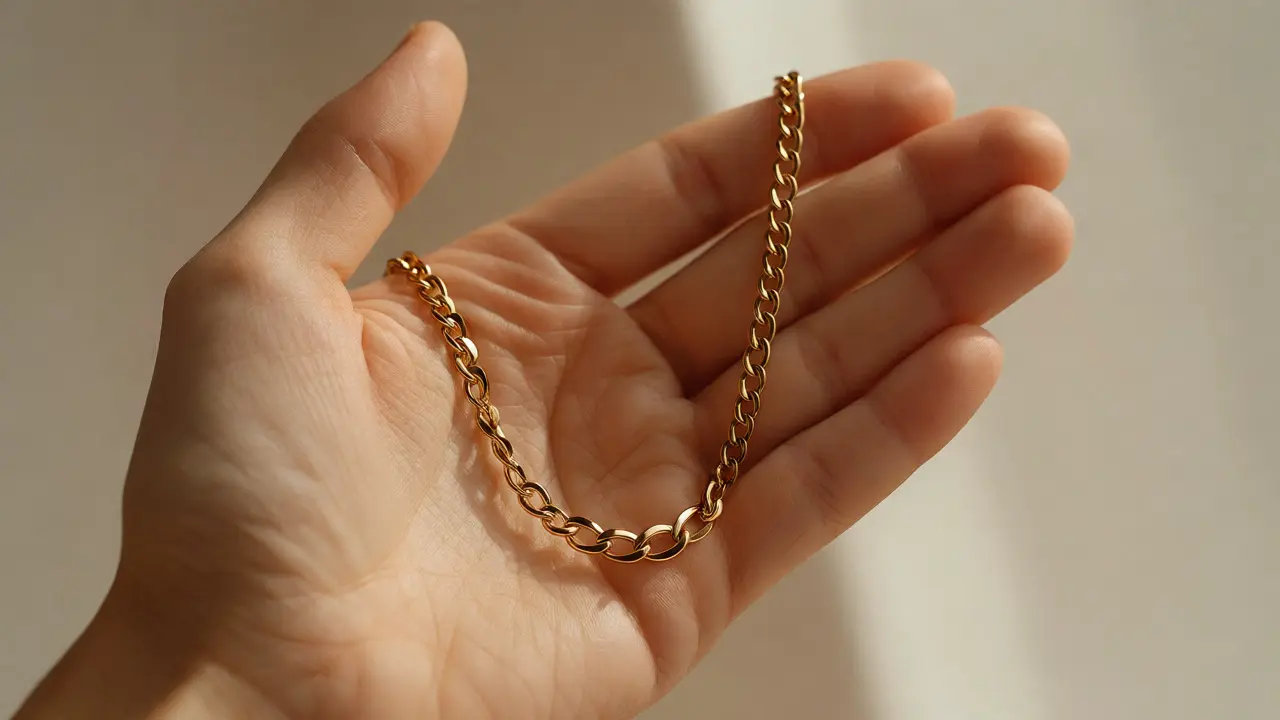
Editing jewelry photos is subtle. You aren’t trying to change the color drastically; you’re enhancing reality. Start by correcting white balance. Gold should look rich yellow, not greenish or reddish. Use a gray card reference in your test shots to nail this.
Increase local contrast rather than global contrast. Use adjustment brushes or masks to brighten the highlights in the gemstones and deepen the shadows in the metal crevices. This adds dimension. Be careful with sharpening. Over-sharpening metal creates ugly halos and emphasizes dust particles. Apply masking sharpening only to the edges of the jewelry, not the background or smooth surfaces.
If you have distracting reflections, remove them in Photoshop. Clone stamp tool works wonders for removing camera reflections in large flat stones. For complex reflections, consider taking a separate shot with a polarizing filter to reduce glare, then blending it in.
Common Mistakes to Avoid
- Ignoring the Background: A busy background distracts from small details. Keep it simple. Solid colors work best. If you must use textures, ensure they are out of focus and neutral.
- Forgetting Scale: Viewers need to understand size. Including a hand model wearing the ring helps, but ensure the nails are manicured and skin is clean. Alternatively, use common objects for scale comparison in lifestyle shots.
- Over-Cleaning with Chemicals: Some cleaners leave residues that fog up photos. Stick to mild soap and water for most metals, and dry thoroughly.
- Shooting Under Yellow Indoor Lights: Home bulbs cast inconsistent color temperatures. Always use calibrated daylight-balanced LEDs (5500K) for accurate color reproduction.
Next Steps for Better Results
Start small. Pick one item-a simple band ring or a pair of stud earrings-and spend an hour experimenting with black and white cards. Move them around until you see the metal gain depth. Once you master static items, try necklaces. Draping chains requires patience; use clay to secure ends and arrange links carefully. Remember, jewelry photography is slow. Rushing leads to blurry, dull results. Take your time, control your light, and let the sparkle speak for itself.
Do I need a macro lens for jewelry photography?
Yes, highly recommended. While extension tubes can help, a true macro lens provides better optical quality, allowing you to focus very close to the subject while maintaining sharpness across the frame. Smartphone macro modes are improving but often suffer from distortion and limited manual control.
How do I prevent my camera from reflecting in the jewelry?
Use a telephoto macro lens (e.g., 90mm or 100mm) to increase working distance, pushing the camera further away. Additionally, use a light tent or diffusion box to obscure the camera's silhouette, or edit out the reflection in post-production using clone stamp tools.
What is the best background for gold jewelry?
Neutral tones work best. White acrylic provides a clean, commercial look, while black velvet offers dramatic contrast that makes gold pop. Avoid colorful backgrounds that cast color casts onto the reflective metal surface.
Why do my diamonds look grey instead of sparkly?
This usually happens due to excessive diffuse lighting. Diamonds need point sources of light to create scintillation (sparkle). Add small, bright LED accents or position the stone to catch reflections from distinct light sources rather than a single large softbox.
Can I use natural window light for jewelry?
Yes, but it’s tricky. Window light changes rapidly and can be inconsistent. Use a north-facing window for softer, indirect light. Combine it with reflectors (white cards) to fill shadows and black cards to define edges. Monitor white balance closely as cloud cover shifts color temperature.