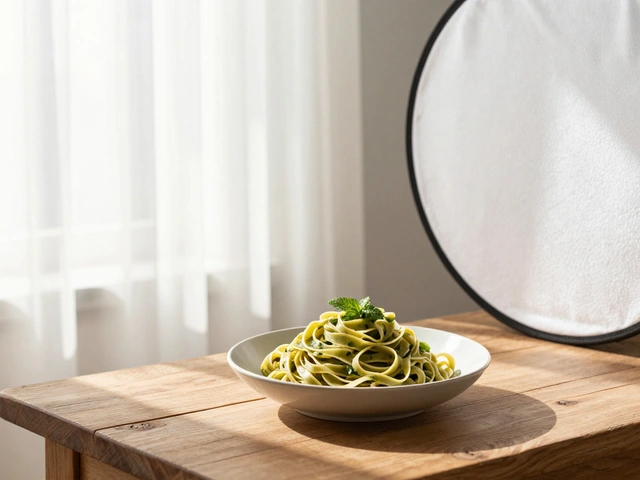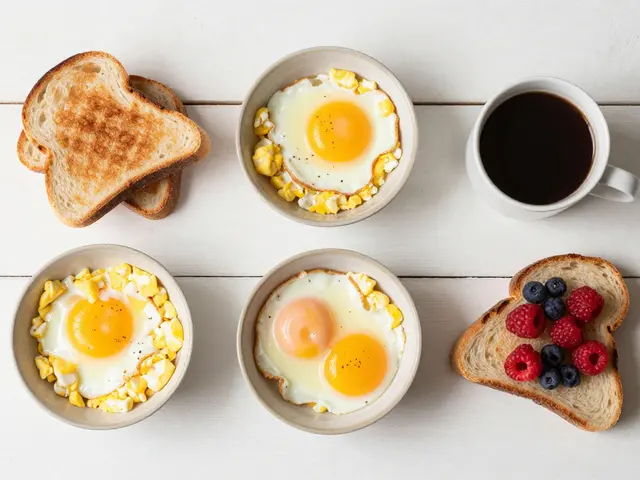
Ever stared at a restaurant menu or Instagram feed and wondered why some dishes look mouth-watering while others look like they belong in a science lab? The secret rarely lies in the food itself. It’s about how you see it. Food photography angles are the specific camera positions relative to the subject that dictate composition, depth, and appetite appeal. Whether you’re shooting for a brand, a blog, or just your own dinner table, choosing between an overhead shot, a 45-degree perspective, or an eye-level view changes the entire story of the image.
Why Camera Position Changes Everything
Before you grab your phone or DSLR, understand that light behaves differently depending on where you stand. An overhead shot flattens shadows, creating a graphic, design-like aesthetic. A 45-degree angle preserves dimension, making stacked foods look substantial. An eye-level view creates intimacy, mimicking how a human actually sees their meal. If you pick the wrong angle, even the best-lit dish can look flat or confusing. The goal isn’t just to capture the food; it’s to guide the viewer’s eye exactly where you want it to go.
The Overhead Shot: Flat Lay Mastery
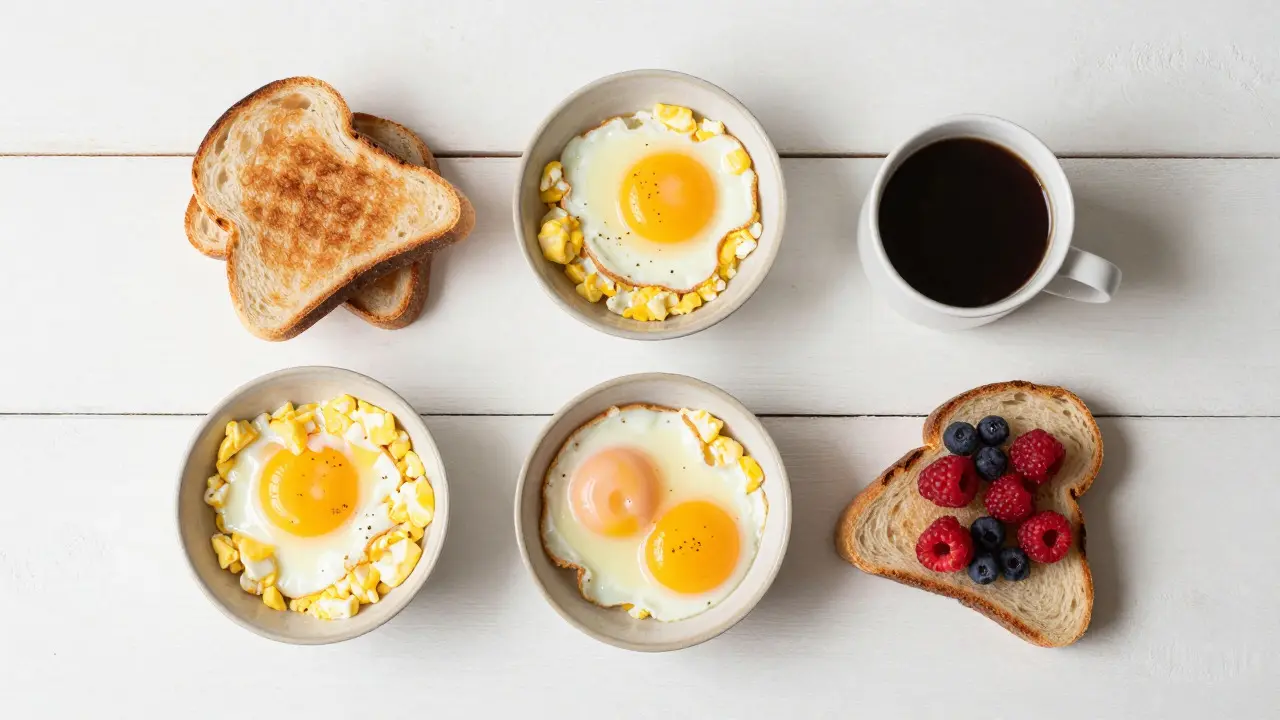
Overhead photography is a top-down view where the camera lens points directly perpendicular to the surface. This angle is perfect for showing patterns, layouts, and multiple components simultaneously. Think of a breakfast spread with eggs, toast, coffee, and fruit arranged neatly on a table. From above, these elements form a cohesive visual map. It eliminates background distractions, forcing the viewer to focus solely on the arrangement.
- Best for: Breakfast spreads, salads, pizzas, sushi platters, and ingredient prep shots.
- Lighting tip: Use soft, diffused light from the side to avoid harsh shadows falling across the frame. Natural window light works well here if positioned correctly.
- Common mistake: Placing the camera too low, resulting in distorted edges (keystone effect). Keep the lens perfectly parallel to the table surface.
This angle turns food into art. It’s less about "eating" and more about "appreciating." If your dish has a strong geometric structure or vibrant color contrast, lean into this perspective.
The 45-Degree Angle: The Versatile Workhorse
If you only learn one angle, make it the 45-degree view. Also known as the "three-quarter view," this position sits halfway between overhead and eye-level. It reveals both the top of the dish and its sides, giving you depth without losing context. This is the standard for most professional food advertising because it balances realism with stylization.
| Angle Type | Camera Position | Ideal For | Depth Perception | Shadow Behavior |
|---|---|---|---|---|
| Overhead (90°) | Directly above | Spreads, flat surfaces | None (flat) | Minimal, uniform |
| 45-Degree | Diagonal, mid-height | Burgers, bowls, layered dishes | Moderate to High | Defined, adds texture |
| Eye-Level (0-15°) | Horizontal, near surface | Tall drinks, cakes, steam | High (vertical) | Dramatic, long shadows |
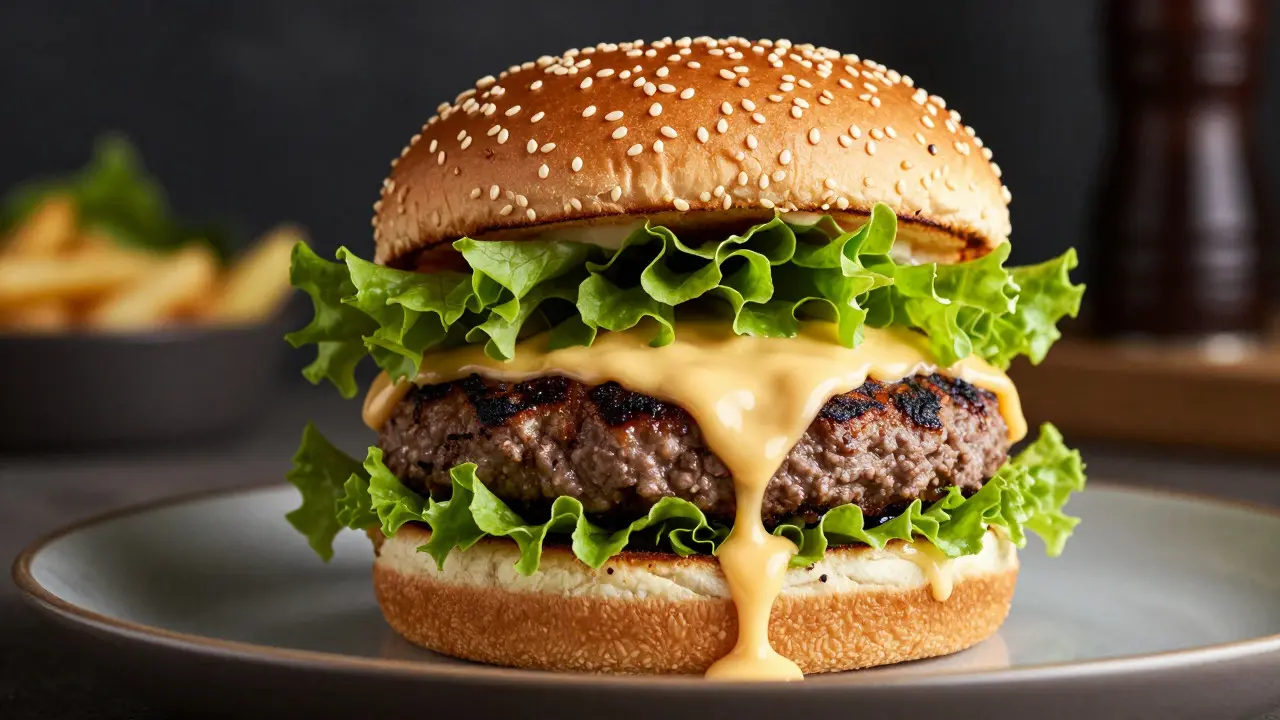
For a burger, the 45-degree angle shows the height of the patty, the lettuce frills, and the bun texture all at once. It feels dynamic but stable. When styling, pay attention to the front edge of the plate. This is what the viewer sees first. Ensure the garnish or sauce drip at the front is clean and intentional, as this area carries significant visual weight in this perspective.
Eye-Level Views: Intimacy and Scale
Eye-level photography is a horizontal shot taken from the same height as the subject's main focal point. This angle places the viewer in the seat of the diner. It’s powerful for tall objects like milkshakes, espresso cups, or multi-tiered cakes. Because the horizon line is visible, you can use backgrounds effectively-blurred restaurants, rustic wooden tables, or outdoor settings.
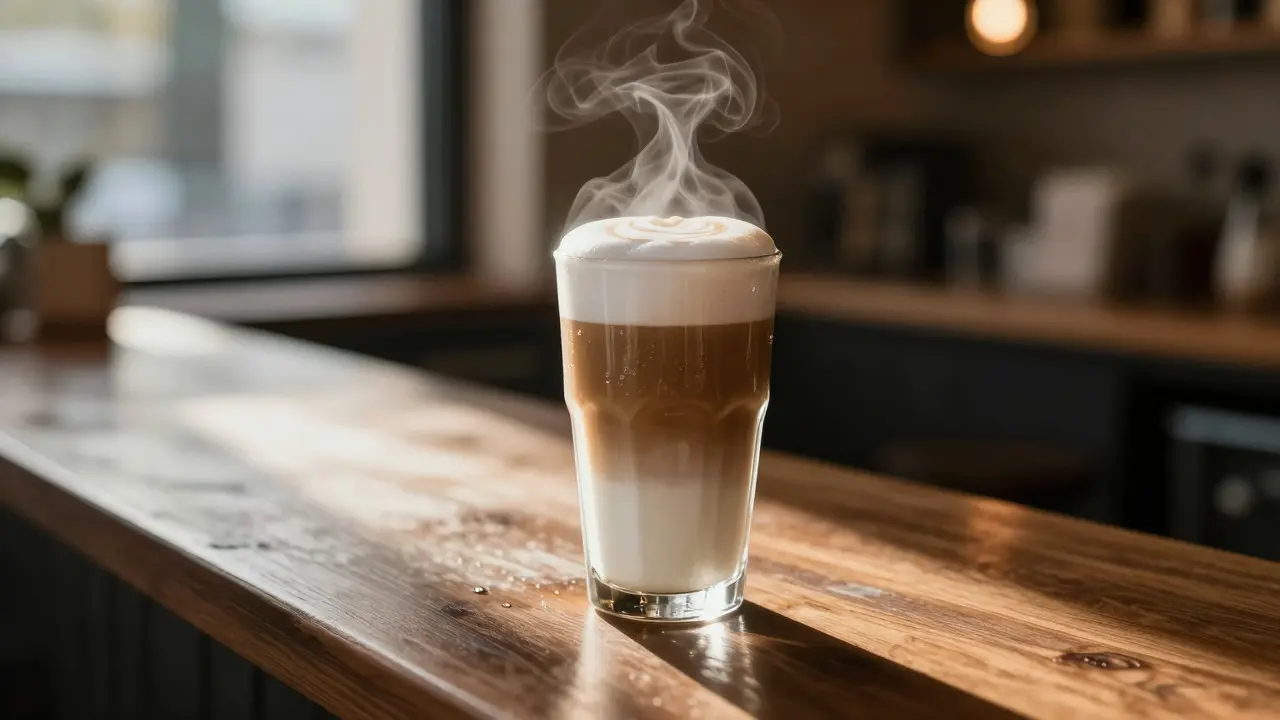
However, this angle is tricky. If you shoot a bowl of soup from eye level, you might miss the contents entirely, seeing only the rim. Conversely, shooting a latte from this height highlights the foam art and the steam rising from the cup. The key is matching the angle to the verticality of your subject. Tall things need low cameras; flat things need high cameras.
Matching Angle to Dish Structure
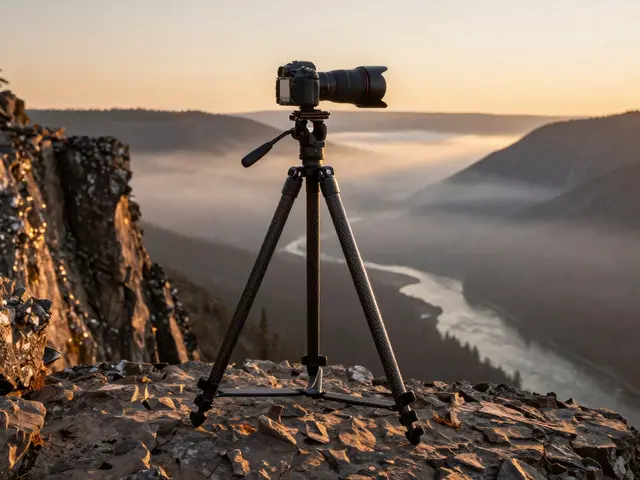
Your choice shouldn't be random. Look at the physical structure of the food before setting up your tripod.
- Flat & Wide: Choose Overhead. Pizzas, quiches, and stir-fries benefit from showing their full diameter and topping distribution.
- Stacked & Layered: Choose 45-Degree. Burgers, tacos, and lasagna slices need to show their internal layers and height.
- Tall & Vertical: Choose Eye-Level. Cocktails, ice cream cones, and soufflés require a low angle to emphasize their height and volume.
Lighting Adjustments per Angle
Light interacts with angle. In overhead shots, you want even illumination to avoid dark corners. A large softbox or a bright north-facing window is ideal. Shadows should be subtle, defining the edges of ingredients without obscuring them. In 45-degree shots, directional light creates texture. Side lighting (from the left or right) enhances the ridges of bread, the wrinkles of lettuce, and the gloss of sauces. Backlighting can make steam or liquids glow, adding atmosphere. For eye-level shots, backlighting is king. Shooting towards a window or using a flash behind the subject creates silhouettes and highlights transparency. This is crucial for beverages where you want to show carbonation bubbles or the clarity of a cocktail.
Common Pitfalls to Avoid
Even experienced stylists make mistakes. Here are three frequent errors:
- The Tilted Table: Always check your bubble level. A tilted table makes everything look unstable and amateurish. Use a spirit level app on your phone to verify the surface is flat.
- Ignoring the Background: At eye-level, the background takes up half the frame. A messy kitchen counter ruins the shot. Use a plain backdrop or blur it out with a wide aperture.
- Static Composition: Don't just center the dish. Use the rule of thirds. Place the focal point (like the main protein) in one of the four intersection points, not dead center.
Practical Workflow for Beginners
Ready to test this out? Follow this simple workflow for your next shoot:
- Prep the Food: Style the dish so it looks its best from multiple angles. Add garnishes that work from above and the side.
- Set the Light: Position your primary light source. Test the shadows on a white sheet of paper to ensure they aren't too harsh.
- Shoot the Matrix: Take 10 photos from overhead, 10 from 45 degrees, and 10 from eye-level. Don't edit yet. Just capture data.
- Select the Winner: Review the images on a computer screen. Which angle tells the best story? Usually, the 45-degree shot will be the most versatile for social media, while overhead works best for print layouts.
Frequently Asked Questions
What is the best angle for photographing a burger?
The 45-degree angle is generally the best for burgers. It showcases the height of the buns, the thickness of the patty, and the texture of the toppings simultaneously. An overhead shot would flatten the burger, making it look like a disc, while an eye-level shot might obscure the interior layers.
How do I prevent distortion in overhead shots?
Distortion occurs when the camera is not perfectly parallel to the table. To fix this, use a tripod with a ball head and a built-in bubble level. Alternatively, shoot in RAW format and correct the perspective in post-processing software like Lightroom or Photoshop. Keeping the camera higher above the table also minimizes keystone distortion.
Can I mix angles in a single photo series?
Yes, mixing angles is a common technique for storytelling. For example, use an overhead shot to show the full table setting, followed by a 45-degree close-up of the main dish, and finish with an eye-level detail shot of a garnish. This variety keeps the viewer engaged and provides different perspectives on the same meal.
Which angle works best for small plates like appetizers?
Small plates often benefit from a 45-degree angle or a slightly lower eye-level view. These angles help fill the frame, making the small portion appear more substantial. Overhead shots can sometimes make small plates look lost in a large empty space unless you add props to balance the composition.
Do I need a macro lens for food photography angles?
Not necessarily. A standard 50mm or 85mm prime lens works well for most angles. However, a macro lens allows you to get closer to the subject without losing focus, which is useful for extreme close-ups at eye-level. If you don't have a macro lens, a smartphone with good optical zoom can achieve similar results for detailed textures.