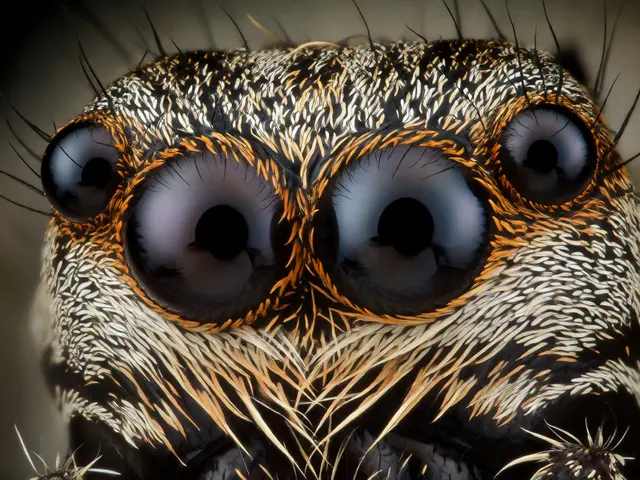
You spent three hours setting up your rail, capturing 150 shots of a spider’s eye, and praying the wind didn’t move. Then you open your stacking software, hit render, and get a blurry mess with weird white outlines around the legs. Sound familiar? Focus stacking is the only way to get that tack-sharp depth of field in macro work, but the software is where most people fail. It’s not just about clicking "merge." It’s about understanding how algorithms interpret pixel data, managing memory limits, and preventing artifacts that ruin the final image.
This guide breaks down the actual workflow used by professional macro shooters in 2026. We’ll look at why standard tools like Photoshop often struggle, when to switch to dedicated engines like Zerene Stacker or Helicon Focus, and how to tweak settings so your images look natural instead of digital.
Why Generic Tools Fail on Complex Textures
Most beginners start with Adobe Photoshop’s "Auto-Blend Layers" feature. For simple subjects, like a flat coin or a smooth leaf, it works fine. But macro photography is rarely simple. You’re dealing with high-contrast edges, translucent wings, and fine hairs against dark backgrounds. Photoshop uses a basic pyramid blending algorithm that doesn’t handle these edge cases well.
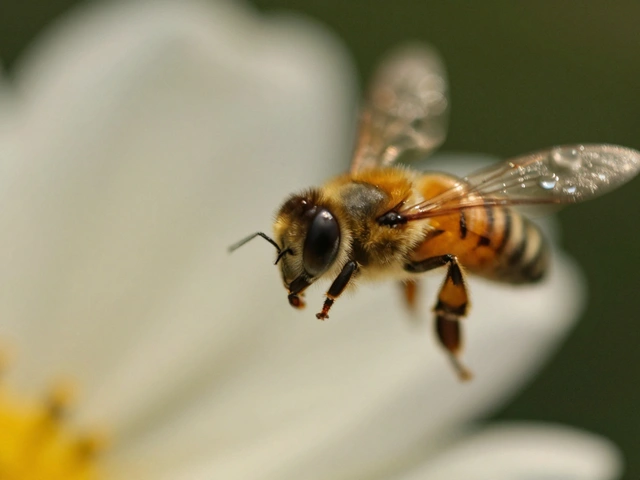
The result? Halos. Those glowing outlines appear because the software tries to average pixels from out-of-focus areas into sharp ones. If you’ve ever looked closely at a bee’s wing and seen a ghostly double image, that’s Photoshop failing to identify the correct focal plane. Dedicated stacking software uses more sophisticated methods, such as wavelet decomposition or gradient-based analysis, to decide which pixels stay and which go.
Here’s the reality check: if your subject has hair, fur, feathers, or transparent parts, generic tools will let you down. You need an engine designed specifically for micro-detail preservation.
Choosing Your Engine: Zerene vs. Helicon vs. CombineZP
The market for stacking software isn’t huge, but the differences matter. There are three main players, each with a distinct philosophy on how to merge images.
| Software | Best For | Algorithm Type | Learning Curve | Price Model (2026) |
|---|---|---|---|---|
| Zerene Stacker | Extreme detail, scientific accuracy, complex textures | PMax (Pyramid Max) & DMap | Moderate | $49 (One-time) |
| Helicon Focus | Speed, ease of use, artistic results | A, B, C Methods | Low | $175+ (Subscription/License) |
| CombineZP | Budget users, older hardware | Median Method | High | Free |
Zerene Stacker is the choice for purists. Its PMax method is incredibly precise, allowing you to manually paint over problem areas if the auto-detection fails. It’s slower but produces cleaner results on tricky subjects like insects with spiky legs. Helicon Focus is faster and more user-friendly. Its three methods (A, B, and C) offer quick toggles to see different interpretations of the stack. It’s great for portraits and softer subjects but can sometimes create a "waxy" look on hard surfaces if you aren’t careful with settings.
Don’t sleep on CombineZP. It’s free, old-school, and runs on ancient computers. The interface looks like Windows 98, but its median method is surprisingly effective for static subjects where alignment is perfect. Just be prepared for long render times.
The Critical Pre-Stacking Step: Alignment
Before you even think about merging layers, you must align your images. Even with a motorized rail, tiny vibrations or breathing can shift the camera between shots. This is called "focus breathing," where the lens changes focal length slightly as it focuses, causing magnification shifts.
If you skip alignment, you’ll get ghosting-double images of eyes or antennae. Most modern stacking software includes an automatic alignment tool, but it’s not magic. Here’s how to do it right:
- Crop first: Crop all images to the exact same aspect ratio before importing. Software struggles with varying frame sizes.
- Use reference points: In Zerene, you can set manual alignment points on stable features, like the center of an eye. Do this if auto-align fails.
- Check for rotation: If you shot handheld or with a shaky tripod, enable rotation correction. This rotates each frame slightly to match the previous one.
A pro tip: shoot in RAW. JPEGs have compression artifacts that confuse alignment algorithms. RAW files give the software clean data to work with, reducing the chance of misalignment.
Mastering Settings to Prevent Artifacts
Artifacts are the enemy. They include halos, ghosting, and unnatural color shifts. These happen when the software picks the wrong pixel from an out-of-focus layer. To prevent them, you need to understand two key parameters: Radius and Smoothing.
In Zerene Stacker, the "Radius" setting controls how large a blur kernel is used to detect focus. A larger radius is better for smooth subjects like flowers. A smaller radius is needed for fine details like insect hairs. Start small. If you see noise, increase it slightly. If you see halos, decrease it.
In Helicon Focus, the "Smoothing" slider does similar work. Too much smoothing creates a plastic look. Too little leaves noise. The sweet spot depends on your ISO. High ISO images have more noise, requiring more smoothing. Low ISO images should use minimal smoothing to preserve texture.
Another common issue is color fringing. This happens when chromatic aberration varies across focus planes. Fix this by applying lens corrections in Lightroom or Capture One *before* exporting to stacking software. Don’t rely on the stacker to fix optical flaws.
Workflow Optimization: From Capture to Render
Efficiency matters. Rendering a 300-image stack can take 20 minutes. Doing it wrong means starting over. Follow this optimized workflow to save time:
- Capture with consistent exposure: Use manual mode. Lock shutter speed, aperture, and ISO. Only change focus distance. If lighting changes, reshoot.
- Batch process in Lightroom/Capture One: Apply basic white balance and lens corrections to all images. Export as TIFFs or high-quality PNGs. Avoid JPEGs for intermediate steps.
- Import to Stacking Software: Load the sequence. Run auto-alignment. Review thumbnails for obvious misalignments.
- Test Render: Do a low-resolution test render (e.g., 25% scale). Check for halos and ghosting. Adjust settings now, not after the full render.
- Full Render: Run the final merge at full resolution.
- Post-Process: Open the merged file in Photoshop. You’ll likely need to clone out remaining artifacts. Use the Clone Stamp tool on a new layer to fix small errors.
Memory management is crucial. Stacking consumes RAM. If you have 16GB of RAM, avoid opening Chrome tabs while rendering. Close other apps. If you run out of memory, the software will crash or use slow disk swapping. For stacks over 100 images, consider upgrading to 32GB or 64GB RAM.
Dealing with Moving Subjects
What if your subject moves? Wind blowing a flower, a bug twitching an antenna? Traditional stacking assumes a static scene. If things move, you get ghosting or missing parts.
Zerene Stacker has a "Retouch" mode that lets you manually select which source image contributes to specific areas. You can paint over a moving petal and choose the sharpest version from a different frame. This is tedious but powerful.
Alternatively, try "focus bracketing" with fewer frames. Instead of 200 shots, take 50 wider-spaced shots. You lose some depth continuity, but you reduce the chance of motion blur affecting every single frame. Then, blend the best sections manually in Photoshop using layer masks.
Frequently Asked Questions
Can I stack photos taken with different lenses?
No, not directly. Focus stacking requires identical framing and magnification. If you change lenses, the perspective and field of view shift, making alignment impossible without heavy distortion correction. Always use the same lens and camera body for a single stack.
How many images do I need for a good stack?
It depends on your aperture and desired depth of field. At f/8, you might need 50-100 images for a 10mm deep subject. At f/16, diffraction softens the image, so you might need 200+ images to maintain sharpness. Rule of thumb: ensure adjacent images overlap by at least 50% in their sharp zones.
Why does my stacked image look noisy?
Stacking amplifies noise because it combines grain from multiple frames. Shoot at base ISO (usually 100 or 64) to minimize this. If you must use higher ISO, apply noise reduction in Lightroom before exporting to the stacking software. Some stackers also have built-in denoising options, but external processing is usually superior.
Is Photoshop enough for macro stacking?
For simple, high-contrast subjects with no fine details, yes. For anything with hair, transparency, or complex edges, no. Dedicated software like Zerene or Helicon offers better control over artifact prevention and handles memory more efficiently for large stacks.
How do I fix halos in post-production?
Open the stacked image in Photoshop. Create a new layer. Set the blend mode to "Darken" or "Multiply" depending on the halo color. Paint over the halo areas with a black brush. Alternatively, use the "Defringe" filter under Layer > Matting. Prevention via correct software settings is always better than cure.