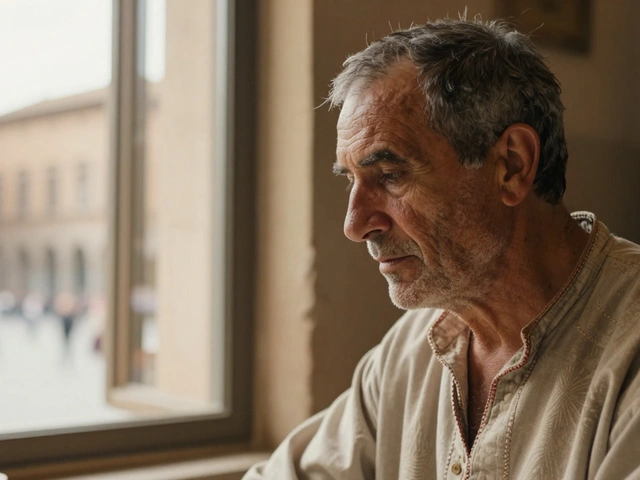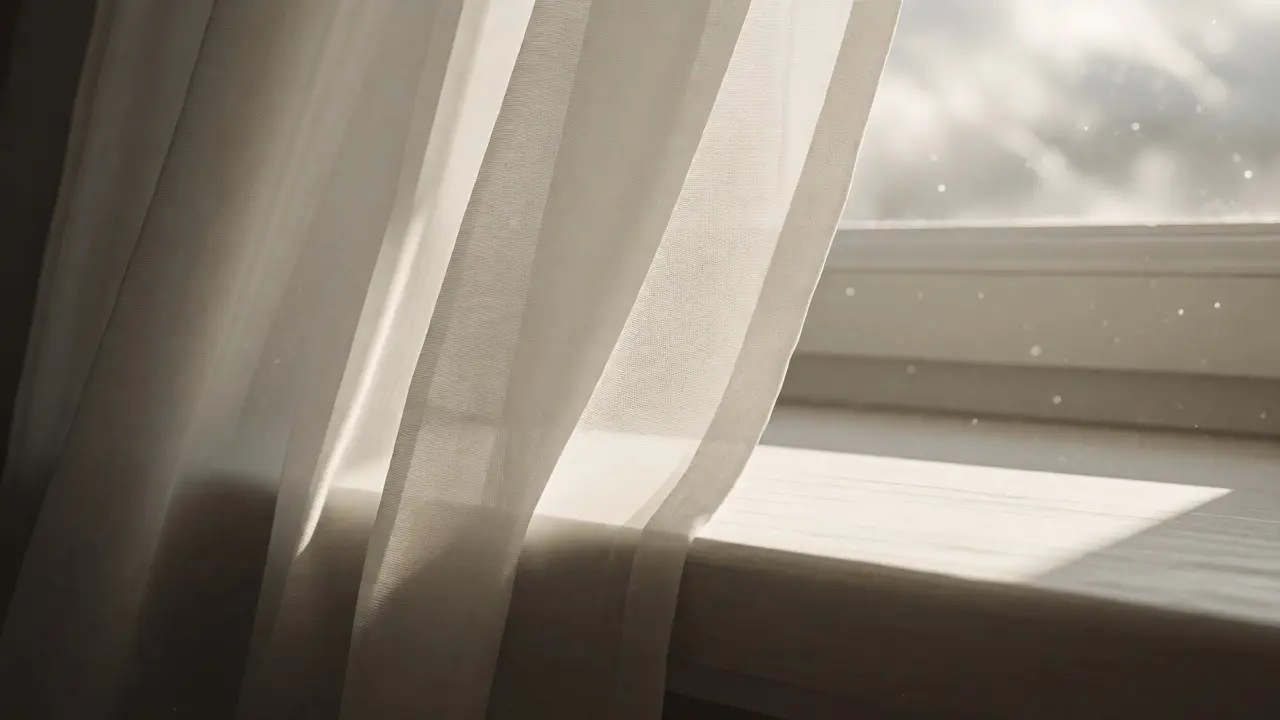
There is a specific kind of magic that happens when you pull back the curtain on a cloudy afternoon. The room doesn't just get brighter; it transforms. Shadows soften, skin tones smooth out, and colors pop with a vibrancy that your $200 speedlight simply cannot replicate without hours of tweaking. If you've ever felt frustrated by harsh shadows or muddy colors in your home studio setup, the answer isn't necessarily buying more gear. It's learning to see what's already there.
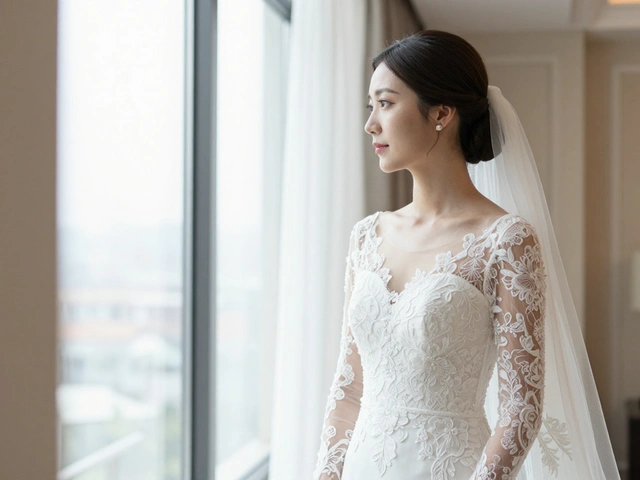
Window light is the practice of using sunlight entering through a window as the primary illumination source for indoor photography. It acts as a massive, free softbox that provides directional yet diffused lighting, ideal for portraits, food styling, and product shots. Unlike artificial lights, which require batteries, stands, and modifiers, window light is always available (weather permitting) and offers a quality of light that many photographers spend years trying to mimic with strobes. But here is the catch: most people use it wrong. They either shoot directly into the sun, creating squinty eyes and blown-out highlights, or they turn away from the window entirely, losing all directionality and depth.
Why Window Light Beats Artificial Sources
Let's be real about why we love this stuff. It’s not just because it’s free. It’s about the physics of diffusion. When sunlight hits the atmosphere, clouds, or sheer curtains, it scatters. This scattering process turns a small, intense point source (the sun) into a large, gentle source (the sky visible through the window). In photography terms, the larger the light source relative to the subject, the softer the shadows. A standard 5-foot umbrella is big, but a full-height window? That’s huge. This size difference creates gradients in shadow transitions that look organic and pleasing to the human eye.
Artificial continuous lights, like LED panels, often struggle with color accuracy unless you’re paying premium prices. You might end up with a greenish tint on white walls or unnatural skin tones that require heavy post-processing correction. Natural daylight, particularly during the "golden hour" or on overcast days, has a Color Temperature (CCT) that hovers around 5500K to 6500K. This aligns perfectly with our cameras' default white balance settings, meaning less time fixing colors in Lightroom and more time shooting.
Furthermore, window light teaches you discipline. Because you can’t dim a cloud or move the sun, you have to adjust your position, your lens aperture, and your ISO. This constraint forces you to understand exposure triangles better than any manual mode tutorial could. You learn to read the light, anticipate its changes, and work with it rather than against it.
The Geometry of Light: Positioning Your Subject
Where you place your subject relative to the window dictates the entire mood of the photo. Think of the window as a clock face. If the window is at 12 o'clock, where do you stand?
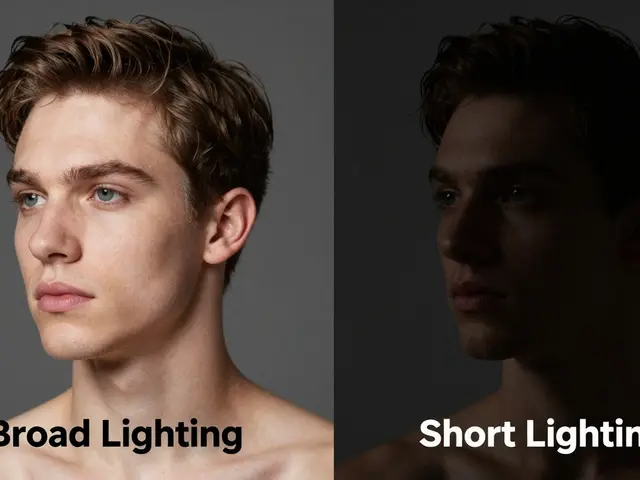
- Front Lighting (Subject facing the window): This is the safest bet for beginners. The light hits the subject evenly, minimizing shadows. It’s great for capturing detail and texture, such as in food photography or macro shots of products. However, it can sometimes look flat if the light is too diffuse. To add dimension, ask your subject to turn slightly so one side catches a bit more light than the other.
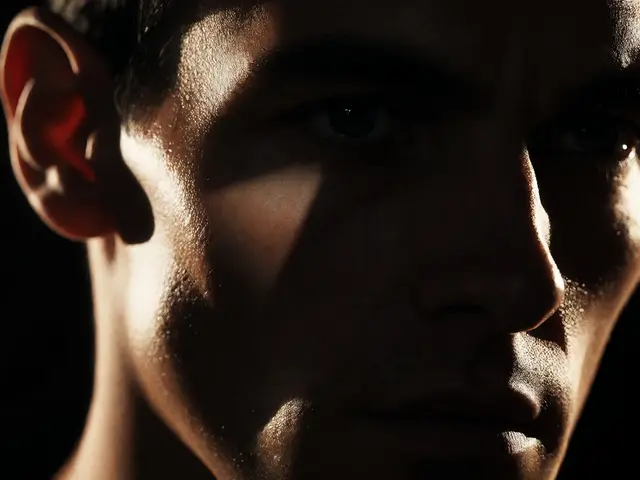
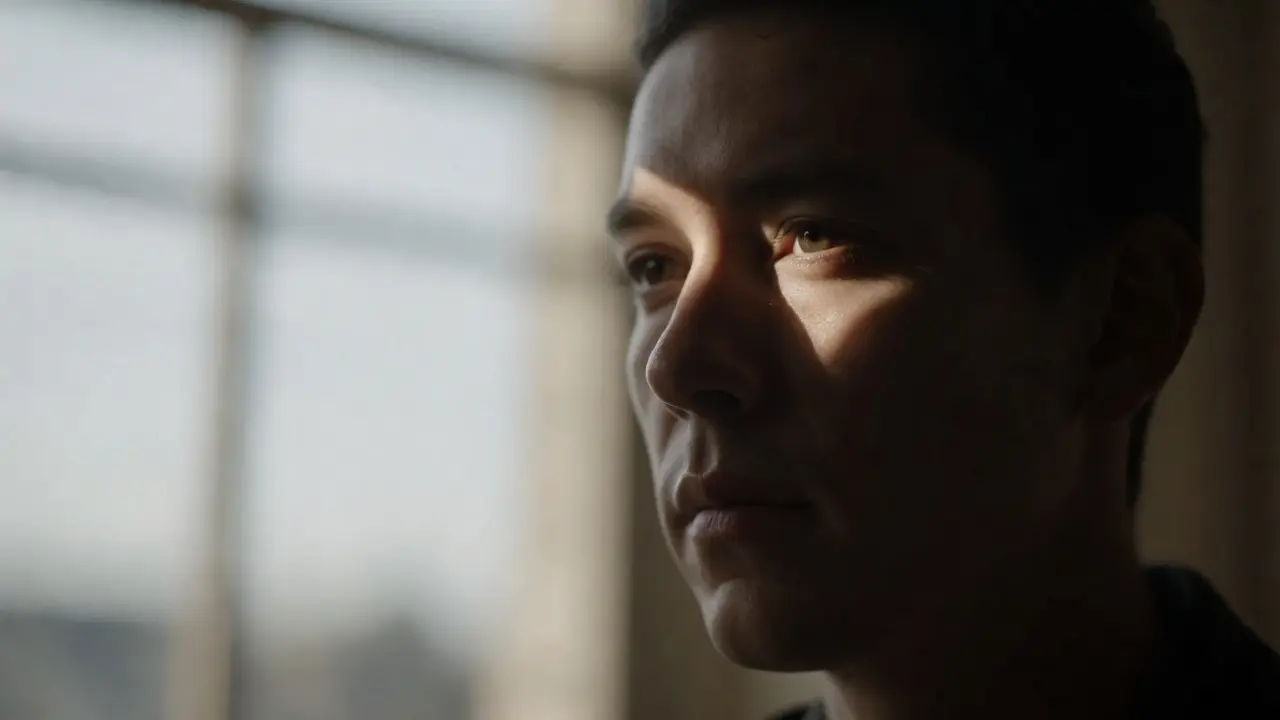
- Side Lighting (90-degree angle): Stand perpendicular to the window. This creates dramatic contrast, highlighting textures and facial structures. It’s fantastic for moody portraits or emphasizing the crust on a loaf of bread. The risk here is high contrast; if the sun is direct, half the face might be in deep shadow. Use a reflector on the shadow side to bounce some light back.
- Back Lighting (Subject between camera and window): This creates silhouettes or rim lighting. It separates the subject from the background beautifully. To expose the subject correctly, you’ll need to underexpose the background significantly or use spot metering on the subject’s face. This setup is tricky but yields ethereal, dreamlike results.
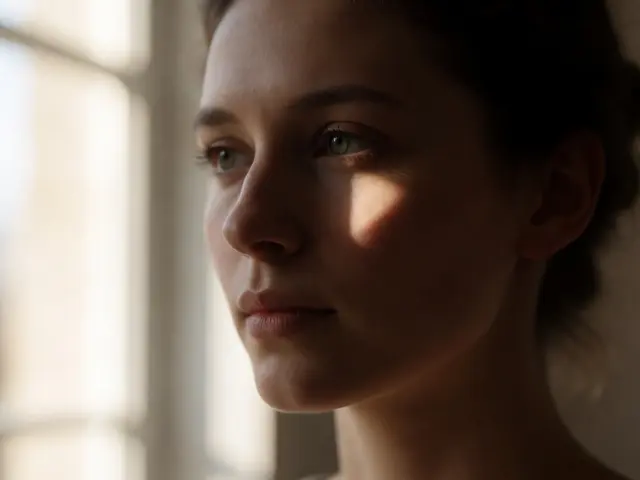
- 45-Degree Angle: Often called "Rembrandt lighting," this is the sweet spot for classic portraiture. Place the subject at a 45-degree angle to the window. The light falls across the face, leaving a small triangle of light under the opposite eye. It adds depth without being overly dramatic.
A common mistake is standing too close to the window. While it seems logical to seek maximum brightness, getting too close can result in uneven lighting-bright at the top, dark at the bottom-or harsh hotspots if the sun breaks through clouds. Step back. Let the light spread out. You want the falloff to be gradual, not abrupt.
Controlling the Quality: Diffusion and Reflection
Direct sunlight streaming through a clear pane is hard light. It creates sharp, defined shadows and can cause subjects to squint. Unless you are going for a high-contrast noir look, you usually want to tame this intensity. Enter diffusion.
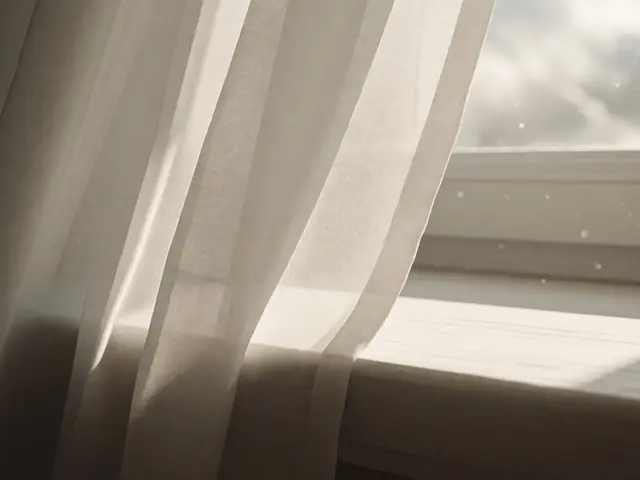
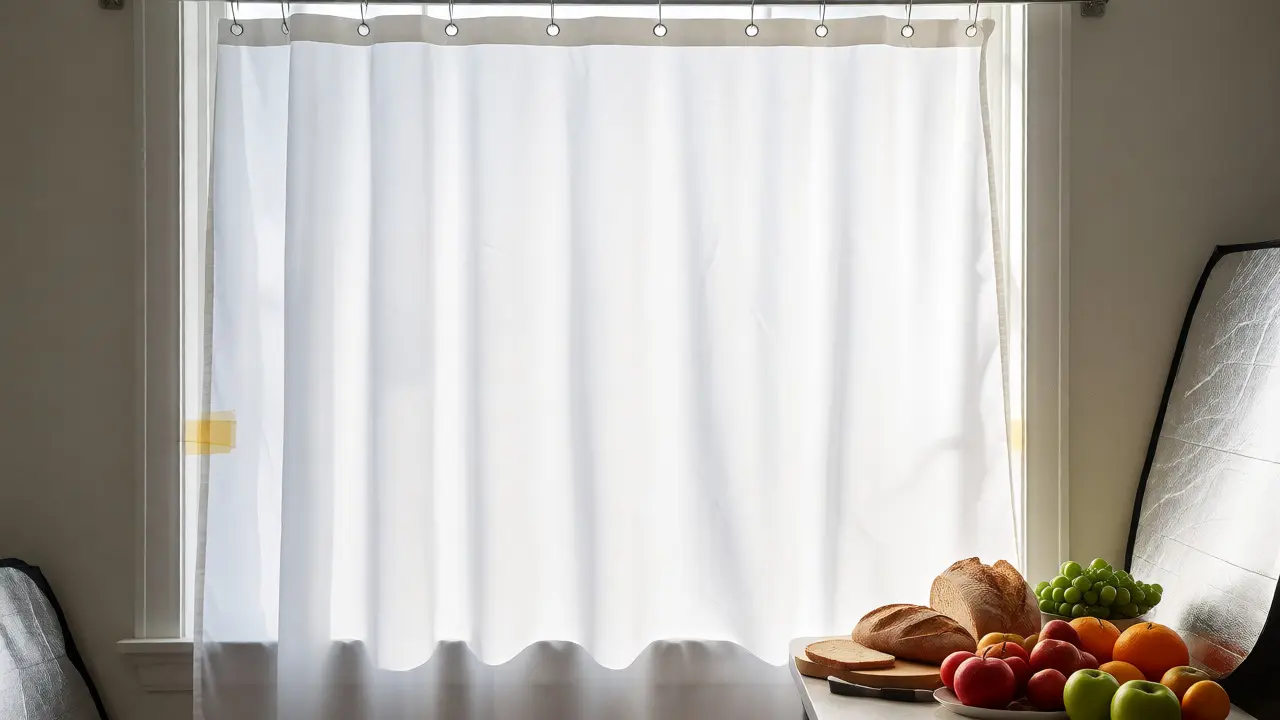
You don’t need expensive scrims. A simple white shower curtain from a hardware store works wonders. Tape it over the window frame. This spreads the light source even further, making it softer and wrapping around the subject more effectively. For smaller setups, a white bedsheet draped loosely over the window works too. Just ensure it’s clean and wrinkle-free, or those wrinkles will cast weird patterns on your subject.
| Modifier | Effect on Light | Best For | Cost |
|---|---|---|---|
| Clear Glass | Hard, directional, high contrast | Dramatic portraits, midday sun | $0 |
| Sheer Curtains | Moderate diffusion, retains some direction | General portraits, lifestyle shots | $10-$30 |
| White Shower Curtain | Soft, broad, low contrast | Food styling, beauty shots | $5-$15 |
| Black Flag (Cardboard) | Blocks light, increases contrast | Adding drama, controlling spill | $0 (DIY) |
| Silver Reflector | Adds fill light, maintains cool tone | Filling shadows without warming | $20-$50 |
On the flip side, sometimes you need to subtract light. If the side of the subject facing away from the window is too dark, you might think to add a reflector. But what if you want deeper shadows? Use a black card (a piece of matte black foam board or even a folded black t-shirt) on the shadow side. This absorbs stray light, preventing it from bouncing back and lifting the shadows. This technique, known as "negative fill," adds punch and definition to your images.
Time of Day and Weather Conditions
Not all window light is created equal. The time of day dramatically changes the character of the light. Early morning light is cool and crisp, often tinged with blue. Late afternoon light is warm and golden, casting long, soft rays. Midday sun is harsh and overhead, which can create unflattering raccoon-eye shadows under the brows unless you diffuse heavily.
Overcast days are arguably the best times for window photography. The clouds act as a giant natural softbox, providing uniform, shadowless light that pours into your room. This is perfect for capturing subtle details and true-to-life colors. If you live in a rainy climate like Portland, Oregon, you likely have access to this beautiful, consistent light year-round. Don’t wait for sunshine; embrace the gray.
Seasonal changes matter too. In winter, the sun sits lower in the sky, allowing light to penetrate deeper into rooms. This means you can shoot farther from the window while still getting good exposure. In summer, the sun is high, and light may only hit the floor near the window. Adjust your shooting distance accordingly.
Camera Settings for Natural Light
Working with natural light requires adapting your camera settings on the fly. Since the light changes constantly as clouds pass or the sun moves, auto-exposure can be your friend, but manual gives you control.
Start with Aperture Priority mode. Choose an aperture based on your depth-of-field needs. f/1.8 to f/2.8 is great for isolating subjects with creamy backgrounds. f/5.6 to f/8 ensures everything from front to back is sharp, useful for group shots or detailed products.
ISO is your safety net. Modern cameras handle noise well up to ISO 3200 or even 6400. Don’t be afraid to bump ISO if the light drops. Grain can add texture and mood, whereas motion blur ruins a shot. Keep your shutter speed above 1/125s for handheld shots to avoid camera shake, especially if your subject moves slightly.
White Balance is critical. Set it to "Daylight" or "Cloudy" depending on conditions. Avoid Auto White Balance if possible, as it may shift colors inconsistently between frames. Shoot in RAW format to retain maximum flexibility for adjusting temperature and tint in post-production.
Troubleshooting Common Issues
Problem: Mixed Color Temperatures. Your window provides daylight (cool), but your room lights are tungsten (warm). This creates orange walls and blue faces. Solution: Turn off all artificial lights. Rely solely on the window. If you need fill light, use a reflector, not a bulb.
Problem: Blown-Out Highlights. The view outside the window is bright white. Solution: Expose for the subject, not the background. Underexpose the image by 1-2 stops. The background will go dark or gray, but the subject will be properly lit. Alternatively, use a neutral density filter on the window itself to cut down the brightness.
Problem: Uneven Lighting. One side of the face is bright, the other is pitch black. Solution: Move closer to the window to increase the relative size of the light source, making it wrap around the face. Or, use a silver reflector on the shadow side to bounce light back into the dark areas.
Practical Exercises to Master Window Light
To truly internalize these concepts, try these three exercises this week:
- The Shadow Walk: Place a static object (like a vase) near a window. Take photos at different distances from the window. Observe how the shadow edges change from hard and distinct to soft and blurred as you move the object closer to the glass.
- The Reflector Test: Photograph a portrait using side light. Take one shot without a reflector. Then, take another with a white poster board held opposite the window. Compare the shadow density. Notice how much detail appears in the dark areas.
- The Time-Lapse Study: Set up a tripod and photograph the same scene every hour from sunrise to sunset. Watch how the color temperature shifts from cool blues to warm oranges and back again. This builds an intuitive sense of timing.
Window light is a tool of infinite variety. It challenges you to observe, adapt, and refine. Once you master the basics of positioning, diffusion, and exposure, you’ll find that your best work comes not from the most expensive gear, but from the simplest source: the sun shining through your living room window.
Is north-facing window light really better for photography?
In the Northern Hemisphere, yes. North-facing windows receive indirect, consistent light throughout the day because the sun never shines directly into them. This prevents sudden shifts in brightness and color temperature, making it ideal for controlled studio-style shoots. South-facing windows get direct sun, which changes rapidly and can be harsh.
How do I fix yellow or orange casts from indoor bulbs mixing with window light?
The easiest fix is to turn off all artificial lights and rely solely on the window. If you must use artificial light, replace bulbs with daylight-balanced LEDs (5000K-5500K). Alternatively, set your camera's white balance manually to match the dominant light source (usually the window) and correct minor color casts in post-processing software like Adobe Lightroom.
Can I use window light for video recording?
Absolutely. Window light is excellent for video because it is continuous and flicker-free, unlike some cheap LED panels. Just be aware that light levels change quickly if clouds pass. Use manual exposure settings on your camera to prevent automatic adjustments from causing distracting brightness fluctuations in your footage.
What is the best way to diffuse harsh midday sun through a window?
Use a large, translucent material. A white shower curtain taped over the window frame is a cheap and effective solution. It spreads the light source, reducing contrast and eliminating harsh shadows. For a more professional look, consider purchasing a collapsible scrim or diffusion panel specifically designed for photography.
How far should my subject be from the window?
It depends on the effect you want. Closer to the window (1-3 feet) provides brighter, more directional light with faster falloff (background goes dark quickly). Further away (5+ feet) provides softer, more even light with slower falloff (background remains brighter). Experiment to find the balance between subject illumination and background visibility.