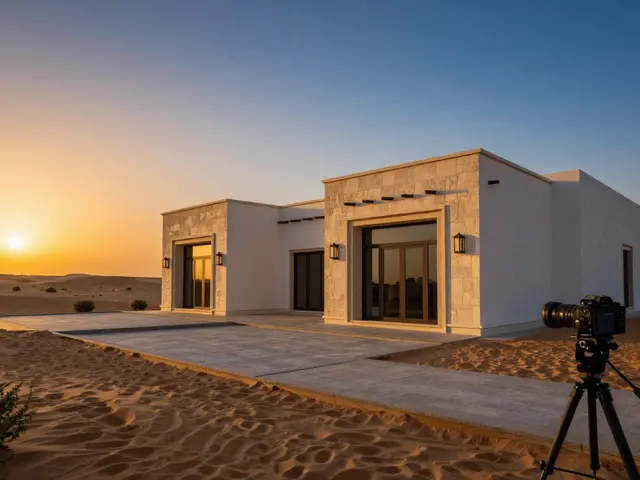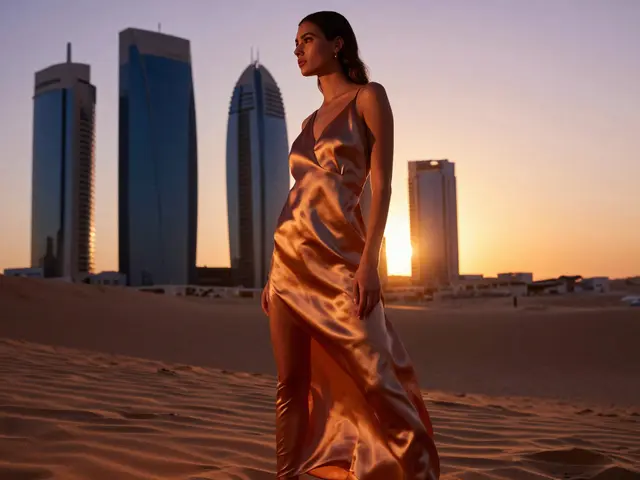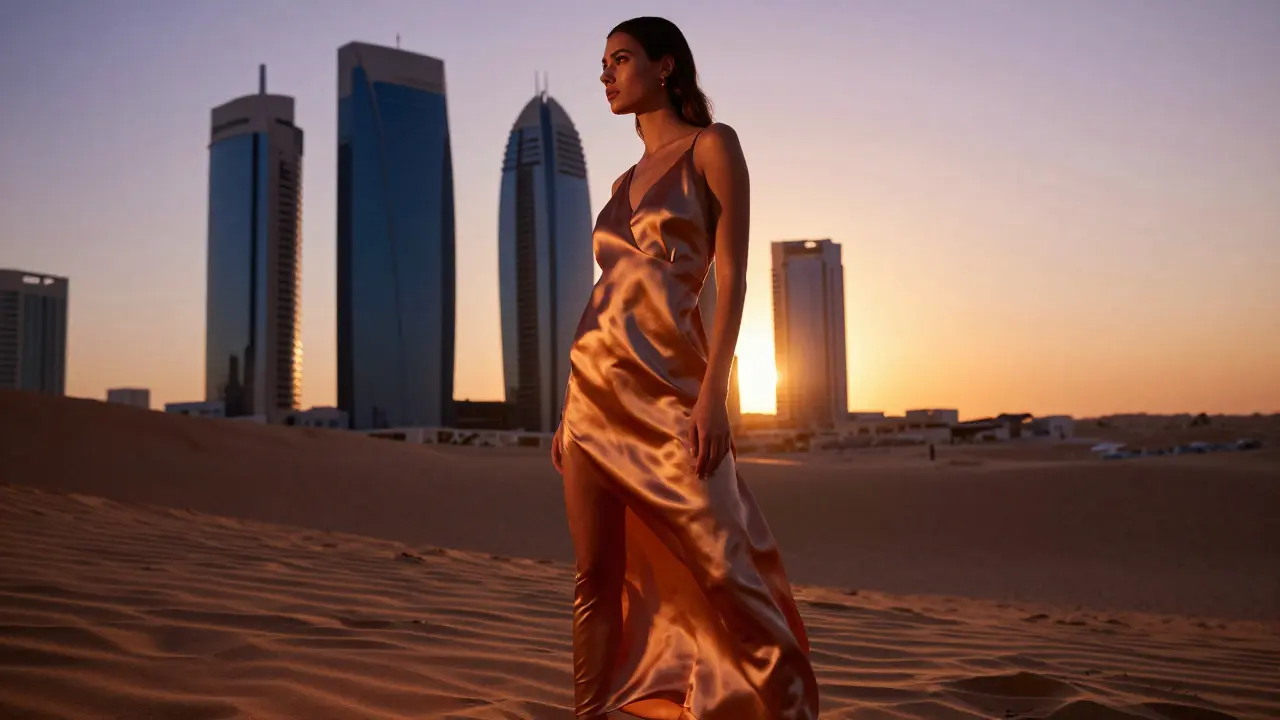
Standing in the wind with a silk scarf whipping around your face isn't just bad luck; it's part of the job. Outdoor fashion photography is a specialized genre that captures clothing and style in real-world environments, relying on natural elements like sunlight and weather to create mood and texture. Unlike studio shoots where every variable is controlled, working outside means you are negotiating with nature. The sun moves, the clouds shift, and the wind doesn't ask for permission. If you want your images to look effortless, you need to understand how these elements interact with fabric, skin, and movement.
Reading the Light Before You Shoot
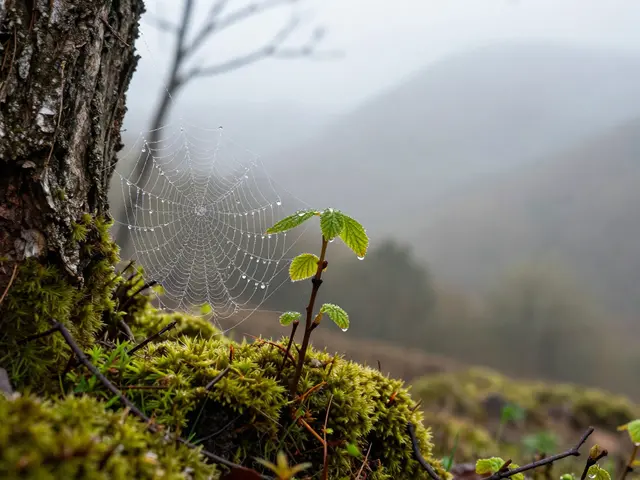
Light is the most critical tool in your kit, but it’s also the most unpredictable. Most photographers obsess over the "Golden Hour"-that soft, warm window shortly after sunrise or before sunset. It flatters everyone and makes colors pop without harsh shadows. But what happens when the sky is overcast? That flat, gray light can actually be a gift. It acts as a giant softbox, eliminating harsh contrasts and allowing you to see true color values in fabrics. If you’re shooting a monochrome palette or delicate pastels, an overcast day might save you from having to fight strong directional shadows.
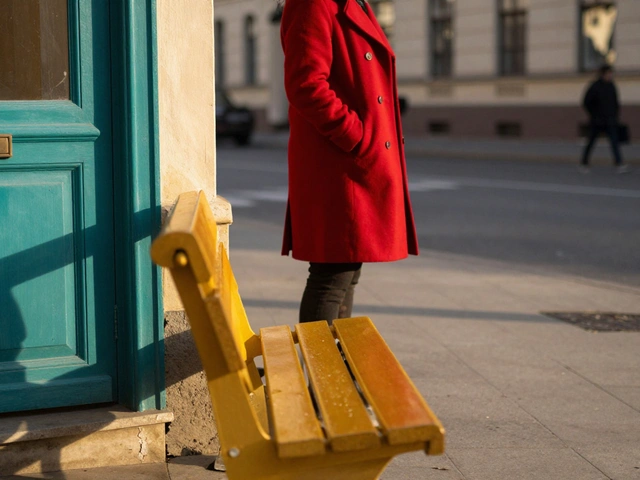
Conversely, midday sun is often avoided, but it has its place. High-contrast lighting creates drama. If you’re shooting streetwear or bold, graphic prints, the hard light can emphasize textures and edges. Just be careful with skin tones; unflattering shadows under the eyes or nose can ruin a portrait. Use reflectors or bounce cards to fill in those dark spots if you decide to shoot at noon. The key is to match the light quality to the mood of the collection. Soft light suits romance and elegance; hard light suits energy and edge.
Styling for the Elements
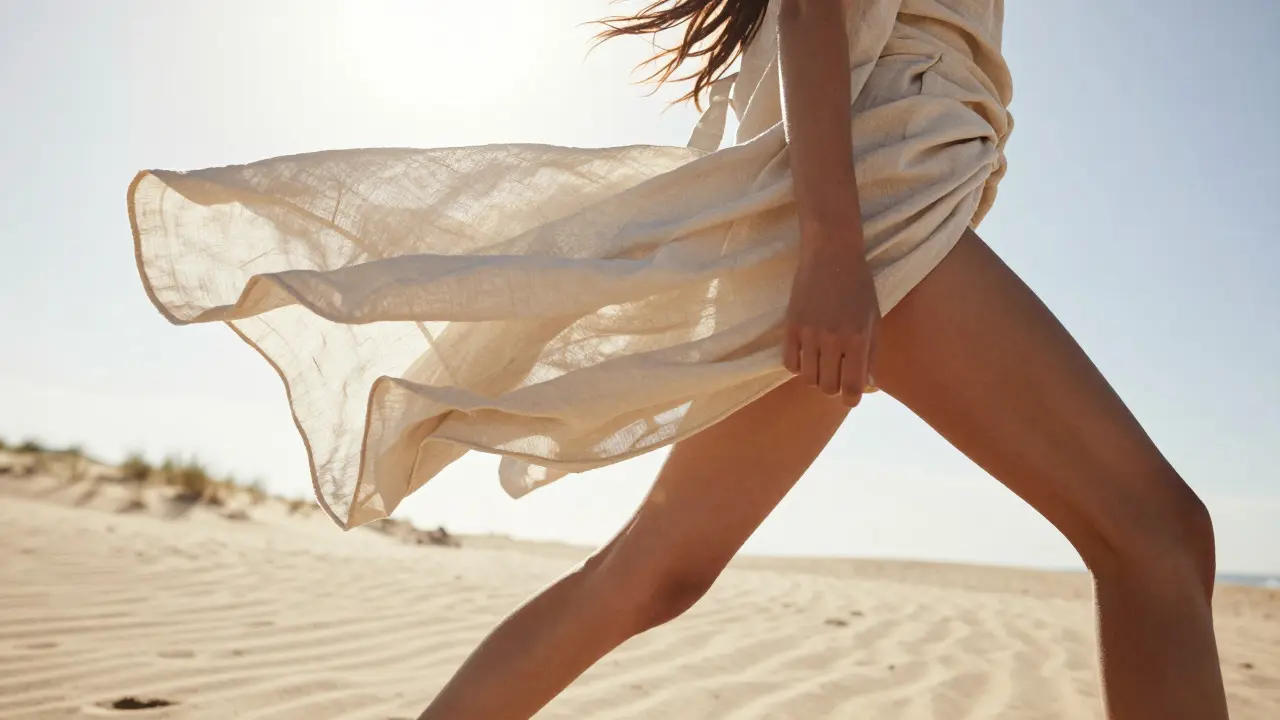
Fabric behaves differently outdoors than it does in a studio. A chiffon dress that hangs perfectly still indoors will dance wildly in a breeze. This movement can add life to an image, but it can also obscure the cut of the garment. As a stylist, you need to anticipate this. Heavy wools and structured coats hold their shape well in wind, making them safer bets for gusty days. Lightweight silks and linens require more control. You might need to use gaffer tape on hems or have an assistant ready to smooth out wrinkles between takes.
Consider the environment’s impact on accessories too. Delicate jewelry can get tangled in hair blown by the wind. Hats can fly off if not secured properly. Even makeup needs attention. Outdoor air dries out skin faster than indoor climate-controlled air. Models should hydrate well before the shoot, and setting sprays become essential to keep foundation from cracking or sliding in humidity. If you’re shooting near water, salt spray can damage lenses and irritate eyes, so bring protective gear for both model and equipment.
Managing Weather Variables
Weather isn’t just about rain or shine; it’s about temperature and humidity. Cold weather stiffens fabrics and makes models less expressive because they’re shivering. Warm weather causes sweating, which can melt makeup and make hair frizz. Plan your schedule around the time of day to minimize these issues. Early mornings are cooler and calmer, while late afternoons can be hotter and busier with pedestrians. Check the forecast not just for precipitation, but for wind speed and direction. A crosswind is easier to manage than a headwind, which pushes directly into the lens and disrupts hair and fabric constantly.
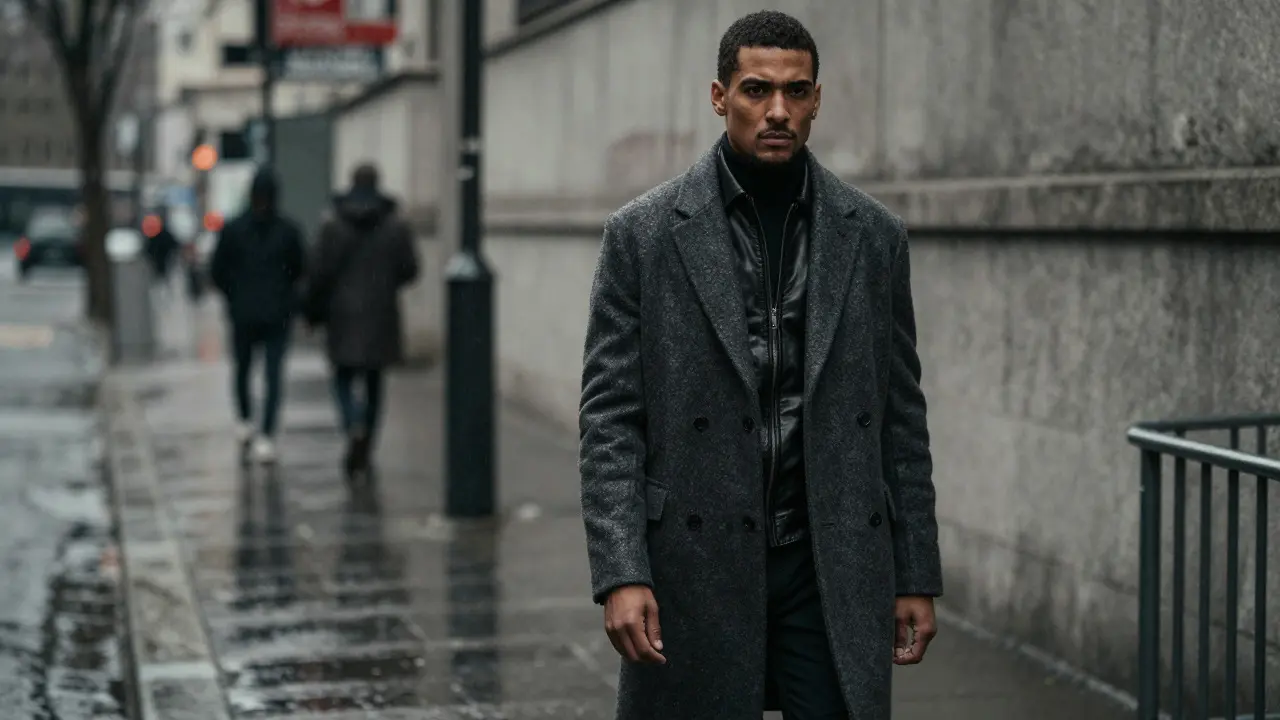
Rain adds another layer of complexity. While wet pavement offers great reflections, getting a model soaked is a logistical nightmare. Waterproofing cameras is non-negotiable. Use lens hoods to prevent droplets from hitting the glass. Stylistically, rain can add a moody, cinematic quality to shots. Darker palettes and leather jackets work well in drizzle. However, heavy downpour can obscure details and make post-production difficult due to water distortion on lenses. Sometimes, waiting for a break in the weather is worth more than forcing a shot in poor conditions.
Composition and Background Selection
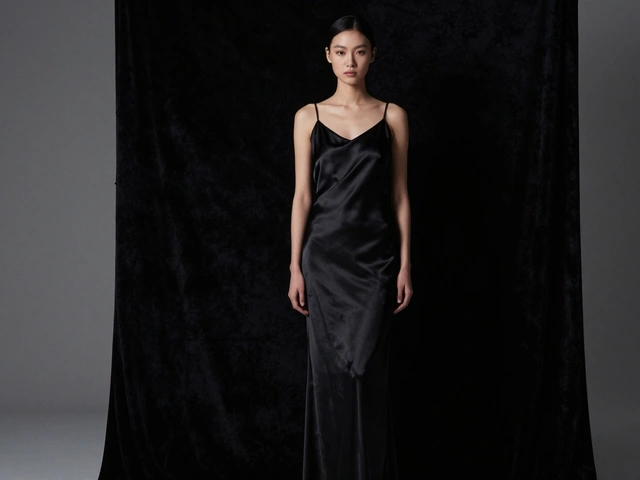
Outdoors, your background is part of the outfit. In a studio, you choose a seamless paper backdrop. Outside, you choose a location. Urban environments offer clean lines and geometric shapes that complement modern fashion. Concrete walls, metal railings, and glass buildings provide neutral backdrops that let the clothing stand out. Natural settings like forests or beaches introduce organic textures and colors that can clash with certain outfits. A bright floral dress might disappear against a busy garden, but it could pop against a stark white wall.
Pay attention to leading lines. Roads, fences, and paths can guide the viewer’s eye toward the model. Use depth of field to separate the subject from the background. A wide aperture blurs distracting elements behind the model, keeping focus on the face and the garment. However, don’t blur everything. Some environmental context helps tell the story. Showing a bit of the city skyline or the texture of a tree trunk grounds the image in reality. The goal is balance: enough context to set the scene, but not so much that it competes with the fashion.
Technical Settings for Dynamic Conditions
Because light changes rapidly outdoors, manual mode is usually the best choice. Auto-exposure can struggle with high contrast scenes, such as a bright sky behind a darker subject. Lock your exposure and adjust as needed. For moving subjects, especially if the wind is causing motion, increase your shutter speed. A minimum of 1/500th of a second is a good rule of thumb for freezing action. If you’re using a long lens to compress perspective, watch out for camera shake; image stabilization helps, but a sturdy tripod or monopod can save you from blurry frames.
White balance is another area where outdoor shooting differs from studio work. Tungsten lights inside buildings have a different color temperature than daylight. If you’re shooting near windows or mixed light sources, your white balance may shift between frames. Shoot in RAW format to allow for flexible correction in post-processing. This gives you the ability to tweak the color cast later without losing image quality. Also, keep an eye on your histogram. Highlights can blow out easily in bright sunlight, especially on white fabrics. Underexpose slightly if necessary to preserve detail in the brightest areas.
Working with Models Outdoors
Models are human, and outdoor conditions affect their performance. Wind makes posing harder because hair and clothes move unpredictably. Give clear, concise directions. Instead of saying "look confident," say "tilt your chin up and look left." Keep the session pace brisk to maintain energy and avoid fatigue. Breaks are crucial, especially in heat or cold. Hydration and snacks keep morale high. Build rapport with your model; trust leads to better expressions. When a model feels comfortable, their body language relaxes, resulting in more natural and engaging photos. Don’t be afraid to take candid moments between poses; often, the best shots happen when the model is laughing or adjusting their hair naturally.
Post-Production Considerations
Even with perfect lighting, outdoor shots often need cleanup. Remove distracting elements like trash cans, power lines, or other people in the background. Color grading should enhance the mood established during the shoot. If you shot in cool morning light, lean into blues and greens for a fresh feel. If you shot in warm evening light, boost oranges and yellows for warmth. Watch out for color casts caused by reflected light from nearby surfaces, like red brick or green foliage. Correct these carefully to ensure skin tones remain natural. Finally, check for dust spots on your sensor; they are more visible in bright skies and can ruin an otherwise perfect shot.
| Condition | Best For | Challenges | Tip |
|---|---|---|---|
| Golden Hour | Portraits, romantic styles | Short window, rapid change | Shoot early to catch the best light |
| Overcast | Pastels, detailed textures | Lack of contrast, flat look | Add contrast in post-production |
| Midday Sun | Streetwear, bold graphics | Harsh shadows, blown highlights | Use reflectors to fill shadows |
| Backlit | Dramatic silhouettes, rim light | Underexposed faces | Expose for the highlights, lift shadows |
Frequently Asked Questions
What is the best time of day for outdoor fashion photography?
The best times are typically the Golden Hours (shortly after sunrise and before sunset) for soft, flattering light. Overcast days are also excellent for even lighting. Midday sun can work for high-contrast looks but requires careful management of shadows.
How do I deal with wind during a shoot?
Choose heavier fabrics that hold their shape, secure loose items like hats with pins or clips, and use higher shutter speeds to freeze movement. Alternatively, embrace the wind as a creative element to add dynamism to the image.
Do I need special equipment for outdoor shoots?
While standard camera gear works, having reflectors, a portable backdrop, and lens hoods is highly recommended. Waterproof covers for cameras and lenses are essential if there’s any chance of rain or dust.
How important is location scouting?
Location scouting is critical. It allows you to identify potential backgrounds, check for permits, assess light patterns at specific times, and spot any distractions that might interfere with the shoot. Visiting the site beforehand saves time and stress on the day.
Can I shoot fashion in the rain?
Yes, rain can create moody, atmospheric images. Ensure your equipment is protected, use waterproof styling choices, and be prepared for longer setup times. Wet surfaces provide great reflections, but be mindful of safety for the model and crew.