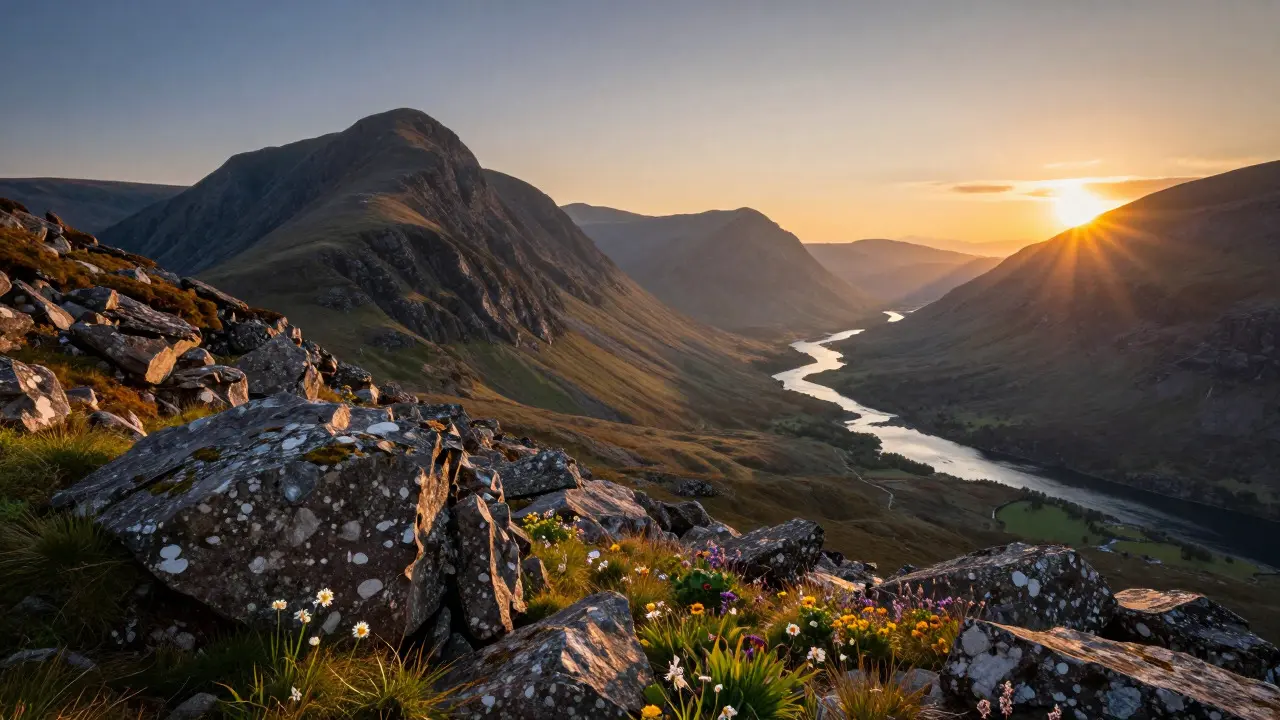
Most people think taking great landscape photos is about owning the most expensive gear. It isn't. It's about knowing when to stand still, how to read the light, and what to leave out of the frame. When you travel to iconic spots like Yosemite or the Scottish Highlands, the pressure to capture "the shot" can be paralyzing. But the best images often come from a different angle, a slower shutter speed, or simply waiting twenty minutes for the clouds to break.
This guide cuts through the noise. We will look at practical techniques that turn a standard tourist snapshot into a compelling visual story. Whether you are using a full-frame DSLR or a high-end smartphone, these principles apply. The goal is not just to document where you have been, but to show how it felt to be there.
Key Takeaways
- Lighting matters more than resolution: Shoot during the "golden hours" (sunrise/sunset) or in overcast conditions for soft, even light.
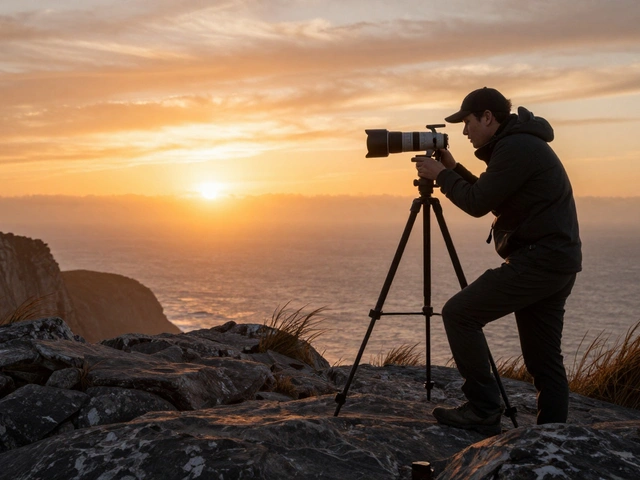
- Use a tripod for low-light shots: Essential for long exposures and sharpness in dim conditions.
- Apply the rule of thirds: Place key elements along grid lines rather than dead center for dynamic compositions.
- Include a foreground element: Rocks, flowers, or water in the immediate foreground add depth and scale.
- Edit with intention: Post-processing enhances mood but should not distort reality beyond recognition.
Understanding Light: The Core of Landscape Imagery
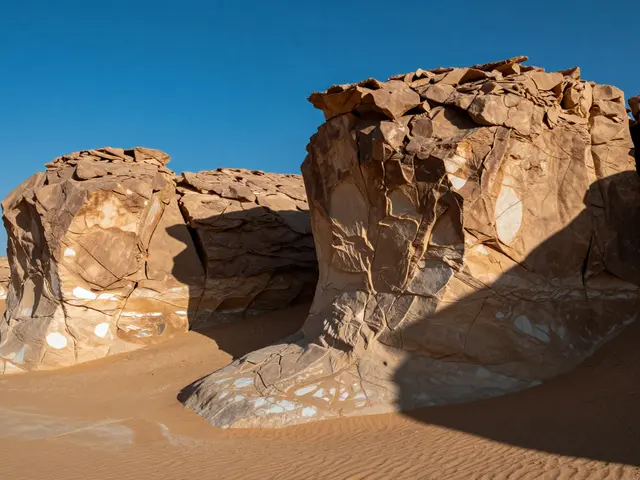
Light is the paint you use in Landscape Photography is a genre of photography that captures natural scenery such as mountains, valleys, trees, rivers, and forests. Its primary goal is to represent the beauty of the natural world. Unlike portraits, where you control the subject's pose, here you wait for nature to perform. Midday sun creates harsh shadows and blown-out highlights, making colors look flat. This is why pros avoid shooting between 10 AM and 2 PM unless they want that specific harsh look.
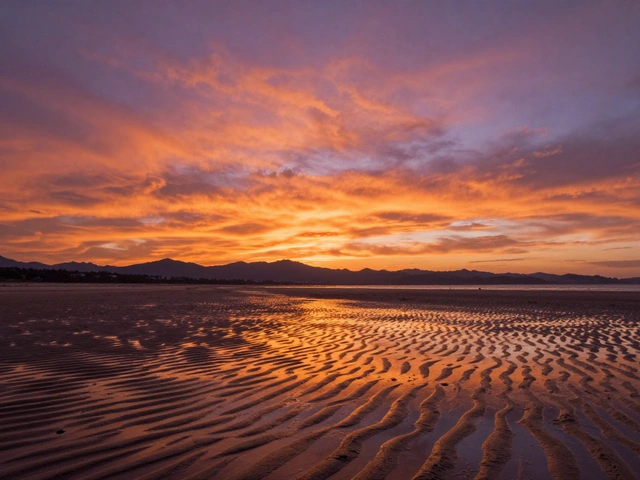
The magic happens at the edges of the day. During the Golden Hour is the period shortly after sunrise or before sunset when daylight is warmer and softer. This light wraps around objects, reducing contrast and adding a warm hue that flatters almost any terrain. If you miss this window, don't despair. Overcast days act as a giant softbox, diffusing sunlight evenly. This is perfect for green forests or misty mornings because it reveals details that bright sun would hide in shadow.
Clouds are your best friend. A clear blue sky can make a landscape photo feel empty. Cumulus clouds catch the light, creating drama and texture. If the sky is boring, consider tilting your camera down to focus more on the land, or use a polarizing filter to deepen the blue and pop the white clouds.
Composition Strategies That Add Depth
A common mistake in travel photography is taking pictures that look like postcards: flat, centered, and static. To fix this, you need to create layers. Think of your image as having three distinct planes: foreground, midground, and background.
- Foreground: This is closest to the lens. Look for interesting rocks, wildflowers, or ripples in water. This anchors the viewer in the scene.
- Midground: This provides context. A winding river, a row of trees, or a mountain range sits here.
- Background: The distant horizon or sky. This sets the scale and atmosphere.
If you only shoot the background, the photo feels two-dimensional. By including a strong foreground element, you guide the eye into the image. For example, instead of just photographing Mount Fuji, position yourself so that a cherry blossom branch frames the left side of the shot. The flower adds color and proximity, while the mountain provides grandeur.
Also, lean heavily on the Rule of Thirds is a compositional guideline that divides an image into nine equal parts by two horizontal and two vertical lines. Placing the horizon on the top or bottom third line, rather than the middle, creates tension and interest. If the sky is dramatic, put the horizon on the lower third. If the land is textured and detailed, put the horizon on the upper third.
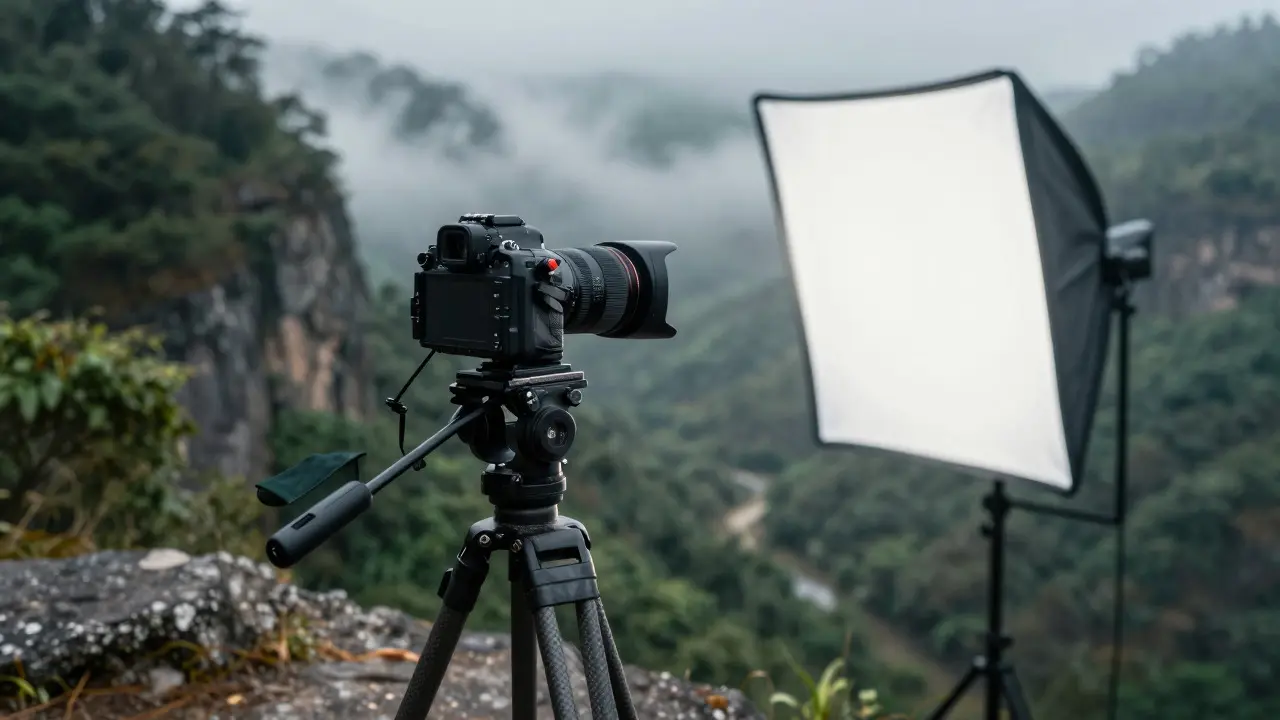
Camera Settings and Gear Essentials
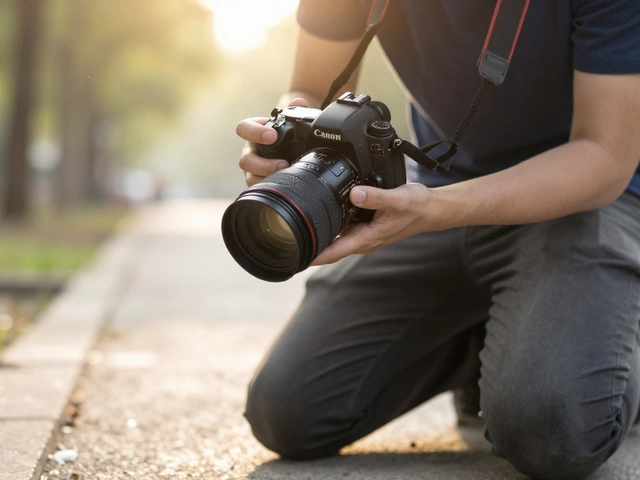
You do not need a $5,000 camera to take professional-looking landscape photos. However, understanding your settings is non-negotiable. Most modern cameras allow you to switch from Auto to Manual mode. For landscapes, start with Aperture Priority (A or Av) if you are new, or fully Manual if you are comfortable.
Here is a baseline setup for daytime landscapes:
- Aperture: f/8 to f/11. This range ensures that both the foreground and background are in sharp focus. Avoid f/16 or higher, as diffraction can soften the entire image.
- ISO: Keep it as low as possible (ISO 100 or 200). Low ISO reduces digital noise, which is crucial for large prints.
- Shutter Speed: Let the camera decide based on aperture and ISO. If the light is bright, you might get 1/250th of a second. If it's dusk, it could drop to 1/4th of a second.
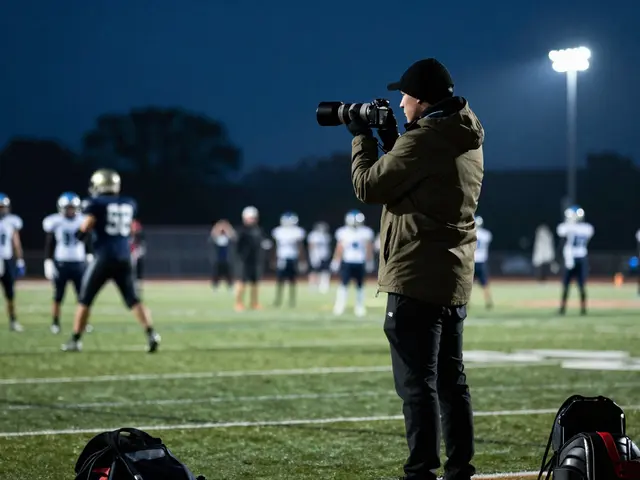
Lens choice also matters significantly. Wide-angle lenses (14mm to 24mm on full-frame cameras) exaggerate perspective, making mountains look larger and closer. This is the standard tool for sweeping vistas. However, don't ignore telephoto lenses. A 70-200mm lens can compress distance, stacking mountains on top of each other for a dramatic, layered effect. It’s a technique many beginners overlook because they assume "wide" is always better.
Handling Common Travel Challenges
Travel rarely goes according to plan. Weather changes, crowds appear, and light fades faster than expected. How you handle these moments defines your portfolio.
Crowds are a major issue at iconic destinations. You have two options: go early or stay late. Arriving 90 minutes before sunrise allows you to set up without fighting for space. Alternatively, use a longer exposure to erase moving people entirely. With a tripod and a shutter speed of 30 seconds, walking tourists become invisible ghosts, leaving only the architecture or landscape behind.
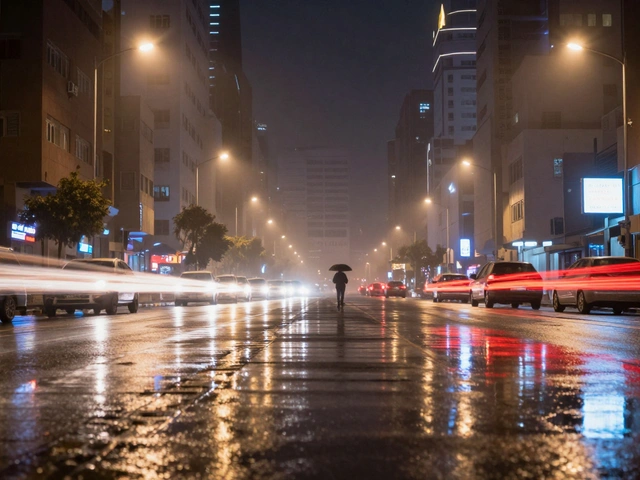
Weather is unpredictable. Rain can ruin a trip, or it can save it. Wet rocks reflect light, adding contrast and detail. Fog creates mystery and isolates subjects. Don't pack away your camera just because it's drizzling; bring a rain cover or a simple plastic bag with a hole cut for the lens. Dust and moisture are enemies, but a good photo is worth a little risk if you are prepared.
Battery life is another silent killer. Cold weather drains batteries quickly. Always carry two spare batteries. Also, format your memory cards in-camera before every trip. Nothing ruins a vacation like discovering a corrupted card after returning home.
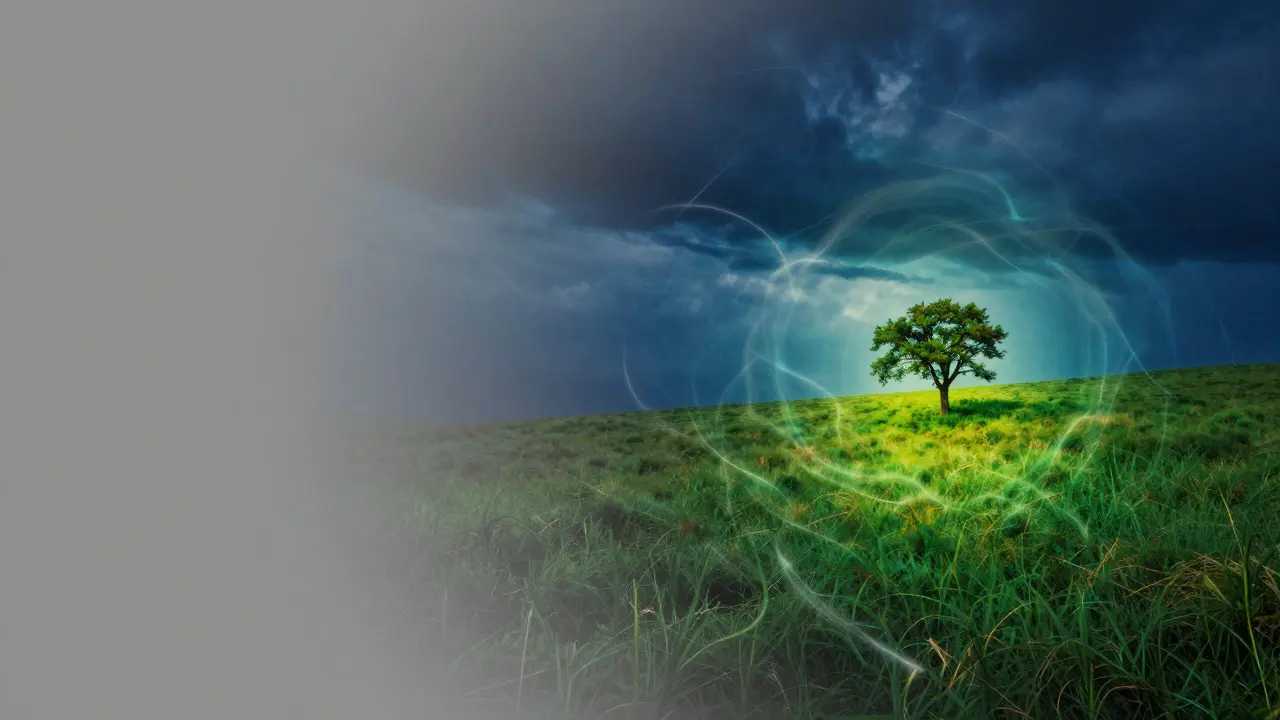
Post-Processing: Enhancing, Not Faking
Raw files are unprocessed data. They look flat and gray straight out of the camera. Editing is where you inject mood and clarity. Software like Adobe Lightroom or Capture One is industry standard, but mobile apps like Snapseed offer powerful tools for on-the-go editing.
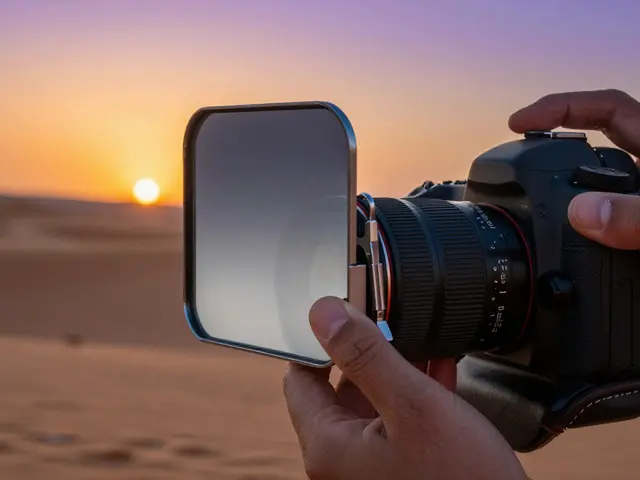
Start with global adjustments. Correct the white balance to match the actual time of day. Adjust exposure and contrast to restore detail in shadows and highlights. Then, move to local adjustments. Use gradient filters to darken the sky slightly, making clouds pop. Use radial filters to brighten a specific subject, like a lone tree in a field.
Avoid over-saturating colors. Nature has its own palette. Pushing greens too far makes them look artificial. Instead, tweak the vibrance slider, which affects less saturated pixels more than already colorful ones. This keeps skin tones and natural hues realistic.
| Mode | Best For | Control Level | Learning Curve |
|---|---|---|---|
| Auto | Snapshots, quick checks | None | Low |
| Aperture Priority (Av/A) | Daytime landscapes, ensuring depth of field | Medium | Low |
| Manual (M) | Long exposures, precise control | High | High |
Building a Consistent Style
Great photographers have a recognizable signature. Maybe you prefer moody, dark skies. Maybe you love vibrant, sunny colors. Identify what draws you to certain images and replicate those choices intentionally. Review your gallery regularly. Delete the weak shots. Keep only the ones that make you stop and look. This curation process trains your eye to see potential before you even press the shutter button.
Finally, tell a story. A single mountain peak is beautiful, but a hiker standing small against that peak tells a story about scale and human connection. Look for leading lines, like a road or river, that draw the viewer toward the main subject. These visual cues guide the eye naturally through the frame, keeping the viewer engaged until they reach the focal point.
Frequently Asked Questions
What is the best time of day for landscape photography?
The best times are the "golden hours": the first hour after sunrise and the last hour before sunset. During these periods, the light is soft, warm, and directional, which minimizes harsh shadows and enhances colors. Blue hour, just before sunrise and after sunset, is also excellent for moody, cool-toned images.
Do I need a tripod for landscape photography?
Yes, a tripod is highly recommended. It stabilizes the camera for slow shutter speeds, allowing for sharper images in low light and enabling creative effects like motion blur in water. It also helps maintain consistent framing when comparing shots.
Which lens is best for landscape photography?
Wide-angle lenses (typically 14mm to 35mm on full-frame cameras) are the standard for landscapes. They capture expansive views and exaggerate depth. However, telephoto lenses (70mm to 200mm) are useful for compressing layers and isolating specific details within a vast scene.
Should I shoot in RAW or JPEG?
Shoot in RAW whenever possible. RAW files contain all the data captured by the sensor, giving you maximum flexibility in post-processing. You can recover highlights, adjust white balance, and fine-tune exposure without significant quality loss. JPEGs are compressed and limit your editing options.
How do I deal with crowds at popular tourist spots?
Arrive very early or stay very late to beat the crowds. Alternatively, use a long exposure (slow shutter speed) with a tripod to blur or erase moving people from the frame. Finding unique angles that other tourists ignore is also effective.