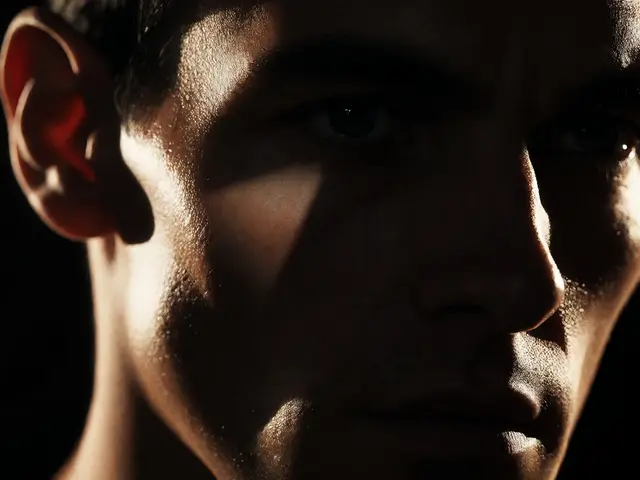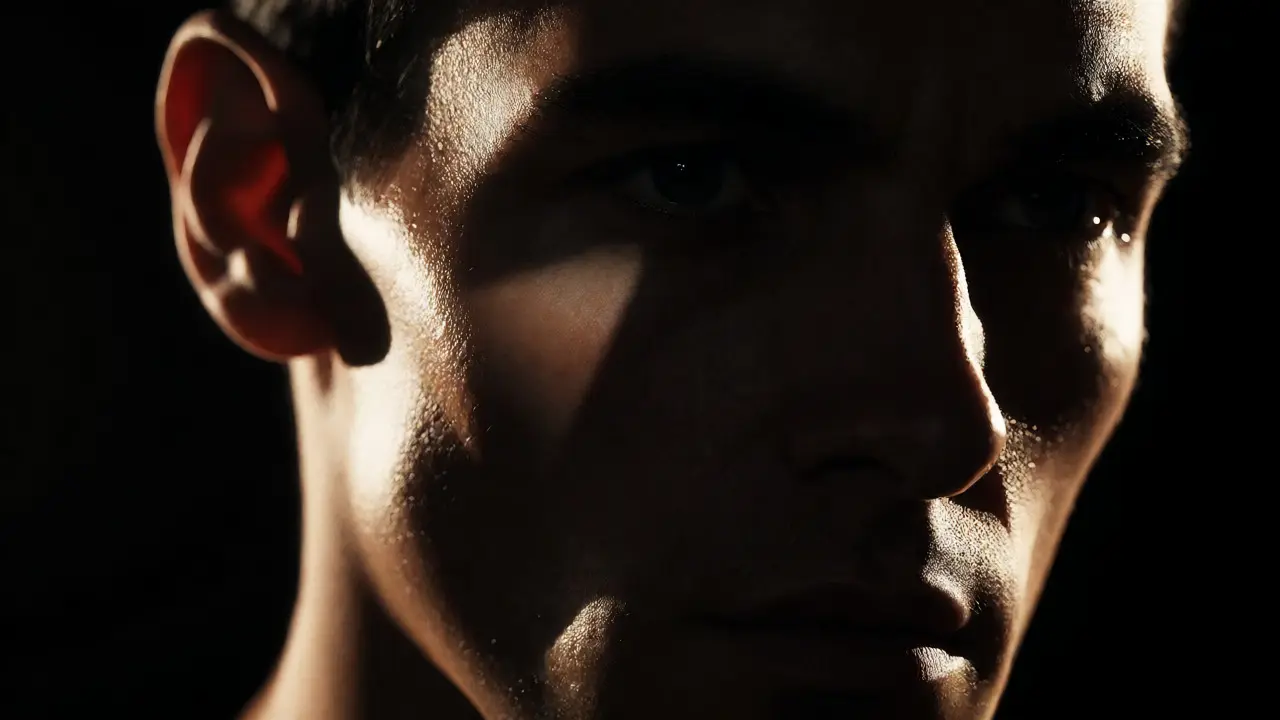
You’ve probably seen those photos where the face looks like it’s been carved out of marble. The skin texture is visible, the eyes are deep-set pools of darkness, and the edges of the subject pop against the background with razor-sharp precision. That isn’t an accident or a filter applied in post-production. It’s hard light, a type of illumination produced by a small, distant, or unmodified light source that creates sharp, well-defined shadows. While many photographers shy away from it because it’s unforgiving, using it correctly can turn a flat, boring shot into a cinematic masterpiece.
Most beginners are taught to diffuse everything. They buy softboxes, umbrellas, and scrims to make their subjects look "flattering." But flattering doesn’t always mean interesting. If you want drama, mood, and intensity, you need to embrace the harshness. This guide breaks down exactly how to harness hard light, why it works, and how to avoid the common pitfalls that make portraits look messy rather than moody.
What Exactly Is Hard Light?
To understand hard light, you have to understand its opposite: soft light. Soft light comes from a large source relative to the subject-like a cloudy sky or a giant umbrella close to your model’s face. The light wraps around the subject, filling in shadows and smoothing out skin textures.
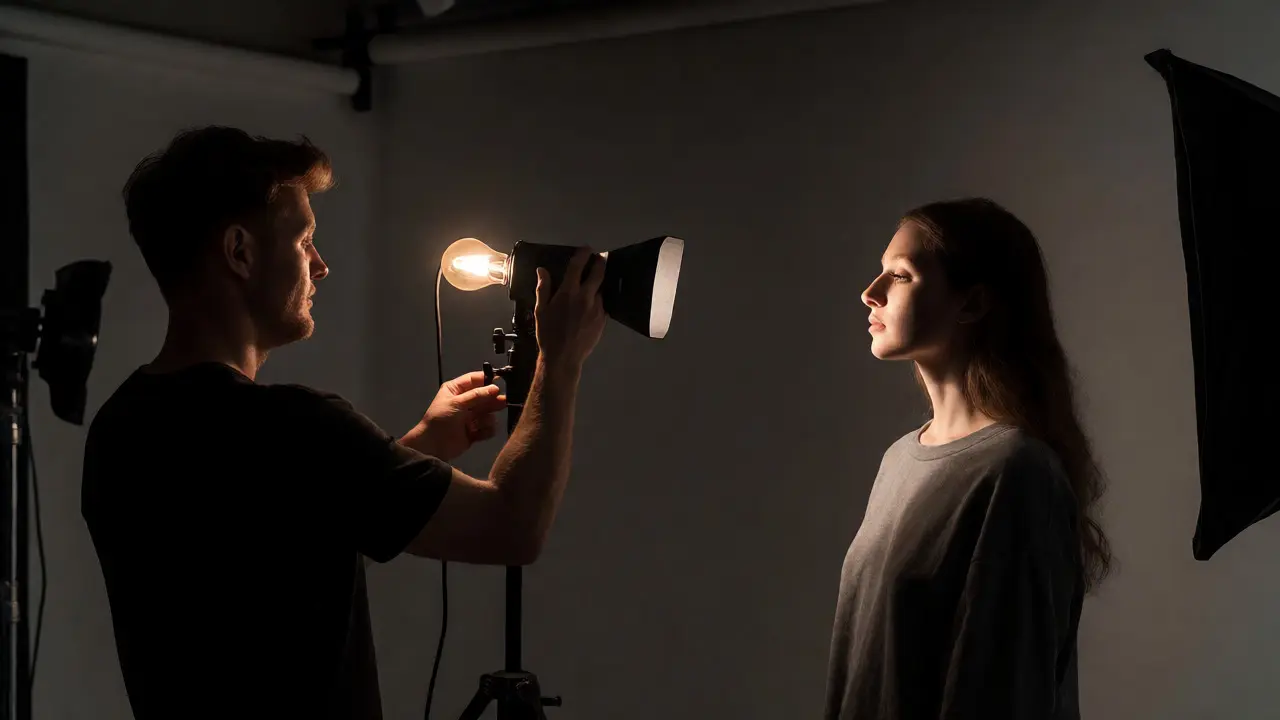
Hard light is defined by the ratio of the light source size to the distance between the source and the subject. The smaller the source or the farther away it is, the harder the light becomes. Think of the sun at noon on a clear day. It’s technically huge, but because it’s 93 million miles away, it acts as a tiny point source. That’s why midday sun casts those stark, black shadows under your nose and chin. In a studio, this means using a bare bulb, a snoot, or a small reflector placed several feet away from your subject.
| Feature | Hard Light | Soft Light |
|---|---|---|
| Shadow Edge | Sharp, abrupt transition | Fuzzy, gradual transition |
| Source Size | Small (e.g., bare bulb) | Large (e.g., octabox) |
| Distance | Farther away | Closer to subject |
| Skin Texture | Emphasizes pores and wrinkles | Smoothes imperfections |
| Mood | Dramatic, intense, noir | Gentle, romantic, clean |
Why Choose Hard Light for Drama?
Human faces are three-dimensional. When you use soft light, you flatten that dimensionality. Hard light restores it. By creating high contrast between illuminated areas and shadowed areas, you guide the viewer’s eye exactly where you want it. If you’re shooting a character study, a musician, or a corporate headshot that needs authority, hard light communicates strength and seriousness.
Consider film noir. Directors like Billy Wilder didn’t use softboxes to create tension; they used single, harsh sources to cast long, jagged shadows across walls and faces. This technique isolates the subject from the environment, making them feel vulnerable or powerful depending on the angle. In modern commercial photography, brands selling luxury watches or rugged outdoor gear often use hard light to highlight metal reflections and fabric textures that would disappear under diffuse illumination.
The Physics of Shadow Creation
Shadows aren’t just dark spots; they are information. A soft shadow tells the brain, "This object is round and gentle." A hard shadow tells the brain, "This object has distinct edges and depth." When you position a small light source, you restrict the angles from which light hits the subject. Areas blocked from this direct path fall into complete darkness almost instantly.
This binary nature of hard light-lit or not lit-is what makes it so effective for graphic compositions. You don’t need complex lighting setups. Often, one strong key light is enough. However, because there is no gradient, any stray hair or flyaway will cast a distinct shadow. This requires meticulous grooming and styling before you even press the shutter. There is nowhere to hide.
Practical Techniques for Controlling Hard Light
You don’t need expensive gear to start experimenting. Here are three proven methods to get crisp shadows without blowing out your highlights.
- The Bare Bulb Method: Remove all diffusers from your flash or continuous light. Move the light further away from your subject (at least 6-8 feet). This increases the throw of the light and reduces spill, giving you control over where the shadow falls. Use a flag or black card on the side opposite the light to deepen the shadows further.
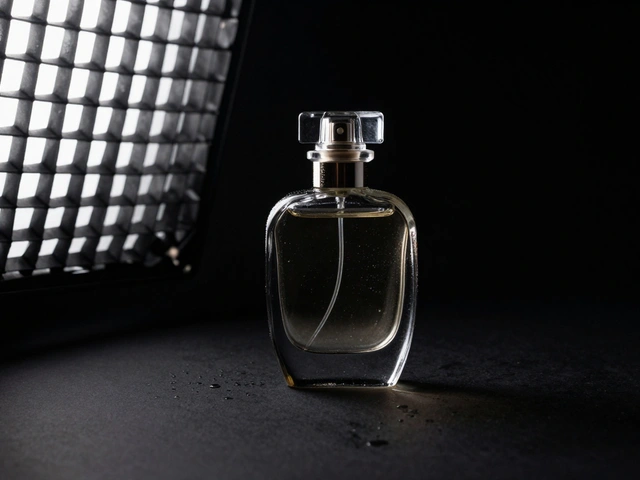
- Snoots and Grids: Attach a snoot (a tube) or a grid to your light modifier. These accessories restrict the beam angle, turning a broad wash of light into a focused spotlight. This is perfect for isolating a specific feature, like the eyes or the jawline, while letting the rest of the scene fall into darkness.
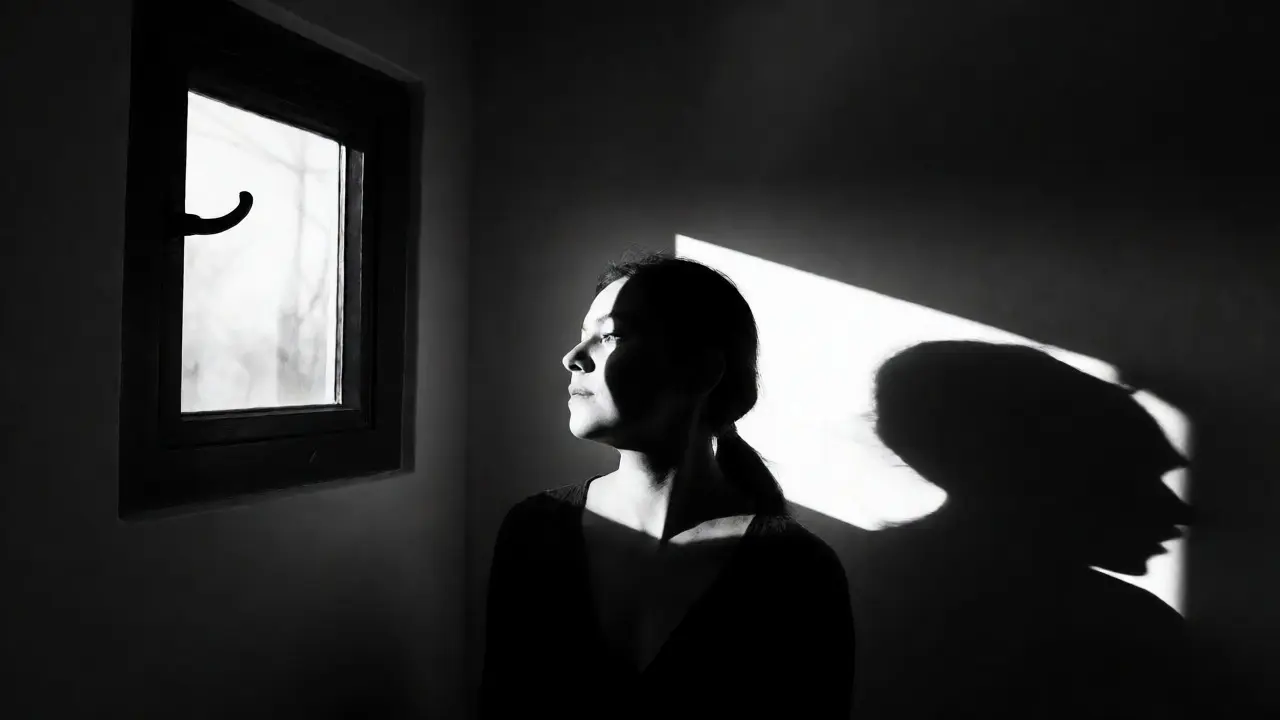
- Natural Window Light: You don’t need a studio. On a sunny day, find a room with a small window. Position your subject so only direct sunlight hits part of their face. The wall next to the window acts as a natural flag, preventing bounce light from softening the shadows. This is free and incredibly effective for moody portraits.
Common Pitfalls and How to Fix Them
The biggest mistake people make with hard light is thinking more is better. Over-lighting kills drama. If you fill every shadow with a reflector or a second light, you’re back to soft lighting. Resist the urge to fix everything. Let the shadows exist.
Another issue is color temperature mismatch. If your hard light is tungsten (warm/orange) and your ambient light is daylight (cool/blue), the colors will clash unless you gel your lights. Consistency matters. Also, watch out for specular highlights on oily skin. Hard light amplifies shine. A quick wipe with blotting paper or a matte powder before the shoot can save you hours of retouching.
Finally, be careful with lens flare. Because hard light sources are bright points, pointing your camera near them can cause internal reflections. Use a lens hood religiously. If you’re shooting outdoors, shade the lens with your hand if necessary.
Post-Processing Tips for Maximum Impact
Your work isn’t done when you lower the shutter. Editing plays a crucial role in defining the final mood. With hard light, you have two main choices in post-production: enhance the contrast or balance the exposure.
If you want to keep the gritty, raw feel, increase the clarity and dehaze sliders slightly. This emphasizes the texture created by the hard light. Don’t be afraid of crushed blacks. In fact, lifting the shadows too much removes the drama. Conversely, if the image feels too harsh, gently raise the shadows slider just enough to reveal detail without losing the sense of depth. Remember, the goal is storytelling, not technical perfection.
Black and white conversion is also a powerful tool. Removing color distractions allows the viewer to focus entirely on the shape and form created by the light. Many classic dramatic portraits were originally shot in color but look far more potent in monochrome. Try converting a few of your hard-light shots to grayscale and see how the impact changes.
When Not to Use Hard Light
While versatile, hard light isn’t universal. Avoid it for newborn photography, wedding candids where guests might squint, or product shots of glossy liquids where you want a smooth, liquid appearance. It’s also risky for older subjects who may be self-conscious about skin texture, unless you explicitly discuss the artistic intent beforehand. Context is key. Match the lighting quality to the message you want to convey.
Is hard light always bad for portraits?
No, hard light is not inherently bad. It is simply less forgiving. It reveals skin texture and imperfections, which can be undesirable for beauty shots but excellent for character-driven portraits. Used intentionally, it adds depth and emotion that soft light cannot achieve.
How do I soften hard light if it's too harsh?
To soften hard light, you must increase the apparent size of the light source relative to the subject. You can move the light closer, add a diffuser panel, or bounce the light off a large white surface like a wall or ceiling. Each method spreads the light rays, reducing the sharpness of shadow edges.
Can I use hard light indoors?
Yes, absolutely. Indoor hard light can come from a bare flash, a small LED panel, or direct sunlight through a window. The key is controlling the direction and ensuring no ambient light fills in the shadows unintentionally. Using black flags helps maintain contrast in indoor environments.
What equipment do I need to start with hard light?
You need very little. A speedlight or continuous light without a modifier, a tripod, and a black card or foam board to act as a flag. For more control, a snoot or grid attachment is helpful but not strictly necessary to begin experimenting with crisp shadows.
Why does my subject squint in hard light?
Squinting happens when the light is too bright or directed directly into the eyes. To prevent this, ask your subject to look away from the light source, then turn their head toward the camera just before you shoot. Alternatively, use a modeling lamp with lower brightness or have them close their eyes until the moment of capture.