It’s 9 PM. The guests are dancing, the lights are dimmed to a warm amber, and you’re trying to capture the joy of the first dance without turning your photos into grainy noise or harsh, flat snapshots. Low-light wedding photography is where technical skill meets artistic intuition. You aren’t just taking pictures; you’re managing three critical variables-ISO, aperture, and flash power-to create images that feel natural, not like they were taken in a studio with a speedlight slapped onto the camera.
The goal isn’t to avoid darkness. It’s to use it. Ambient light gives context and mood. Flash gives clarity and separation. When you balance them correctly, you get photos that look like expensive cinema stills rather than amateur party shots. Let’s break down exactly how to handle this triangle of exposure so you can stop guessing and start creating.
Understanding the Exposure Triangle in Dim Settings
In bright daylight, you have plenty of latitude. In a dimly lit ballroom, every decision matters more. The exposure triangle consists of shutter speed, aperture, and ISO. However, when using flash, we add a fourth layer: flash power. This changes how we think about exposure.
Ambient Light is the existing light in the room, which controls the background brightness and motion blur. It dictates your shutter speed and aperture. If you want a dark, moody background, you underexpose the ambient light. If you want a bright, airy feel, you expose for the room. This is separate from your subject's lighting.
Flash Output is the artificial light source that illuminates the subject independently of the ambient light. By adjusting flash power, you change how bright the person in front of the lens appears relative to the background. This independence is what allows for creative blending.
Here is the core rule: Shutter speed and aperture control the background. Flash power controls the subject. ISO affects both, but usually acts as a safety net for sensor noise management.
Setting Your Base: ISO and Noise Management
Many photographers fear high ISO. They keep it at 100 or 400 and wonder why their photos are blurry or noisy. In low-light weddings, ISO is your friend. Modern sensors handle high ISO remarkably well. A photo at ISO 6400 that is sharp and properly exposed beats a photo at ISO 400 that is blurry from too slow a shutter speed.
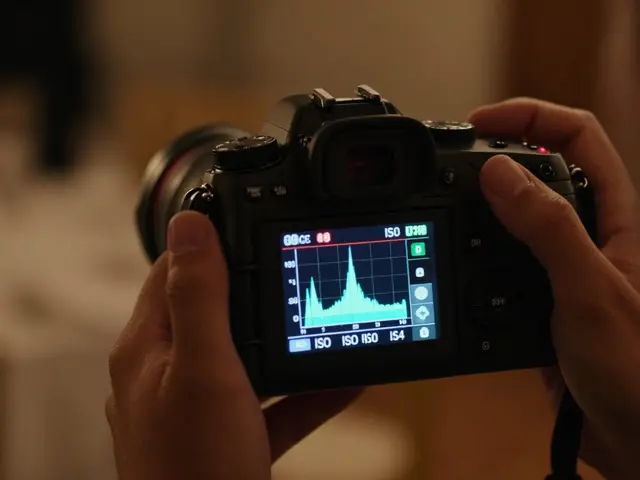
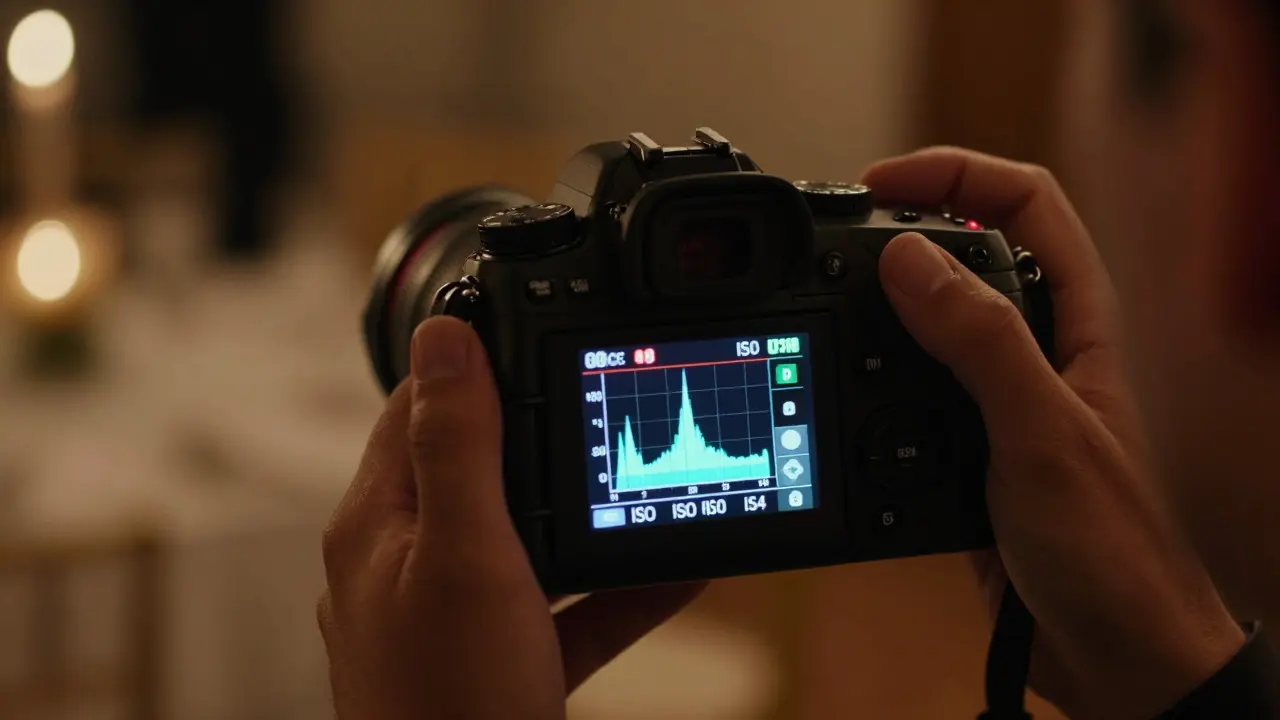
Start with a baseline ISO of 1600 or 3200 for most indoor venues. Check your histogram. If you need to go higher, do it. Don’t be afraid of ISO 6400 or even 12800 if the alternative is missing the moment. Noise can be reduced in post-production; missed moments cannot.
However, there is a limit. Pushing ISO too far introduces color shifts and loss of detail. Aim for the lowest ISO that allows a shutter speed fast enough to freeze action (usually 1/125s or faster) while maintaining a usable aperture. If you are shooting portraits, 1/60s might suffice. For dancing couples, aim for 1/200s or faster.
Aperture: Depth of Field vs. Light Gathering
Aperture controls depth of field-the area of the image that is in focus. In wedding photography, you often want a shallow depth of field to isolate the couple from the busy background. This means using wide apertures like f/1.8, f/2.8, or f/4.
But wide apertures let in more ambient light. If your background is already bright, opening up to f/1.8 might blow out the room. Conversely, if the room is pitch black, f/1.8 helps pull in enough ambient light to show the venue’s decor without needing excessive flash power.
Use aperture creatively:
- f/1.8 - f/2.8: Great for isolating subjects in very dark rooms. Creates strong bokeh.
- f/4 - f/5.6: Balanced choice for group shots where you need more people in focus.
- f/8+: Rarely used in low-light unless you are doing specific environmental shots with long exposures (not common for live events).
Remember, changing aperture affects both your subject (via flash) and your background (via ambient). If you open up your aperture, your background gets brighter. You may need to lower your flash power to compensate for the increased ambient light hitting the sensor.
Flash Power and Distance: The Inverse Square Law
This is where most beginners struggle. Flash follows the inverse square law. This means that if you double the distance between the flash and the subject, the light intensity drops to one-quarter. If you halve the distance, the light intensity quadruples.
Practical implication: Moving from 10 feet to 5 feet makes the subject four times brighter. Moving from 10 feet to 20 feet makes the subject four times darker. This non-linear relationship requires constant adjustment.
To manage this:
- Keep your flash close to the subject when possible.
- If you move further away, increase flash power significantly.
- If you move closer, decrease flash power to avoid overexposing the face.
Most modern cameras offer TTL (Through-The-Lens) metering, which automatically adjusts flash power based on distance. While convenient, TTL can be inconsistent in mixed lighting conditions. Manual flash mode gives you full control and consistency across multiple shots, which is crucial for professional deliverables.
Balancing Ambient and Flash: The Ratio Game
The magic happens when you decide how much ambient light versus flash you want. This is known as the flash-to-ambient ratio.
Scenario 1: Dark Background, Bright Subject (Cinematic Look)
- Set shutter speed to sync speed (usually 1/125s or 1/160s).
- Set aperture to your desired depth of field (e.g., f/2.8).
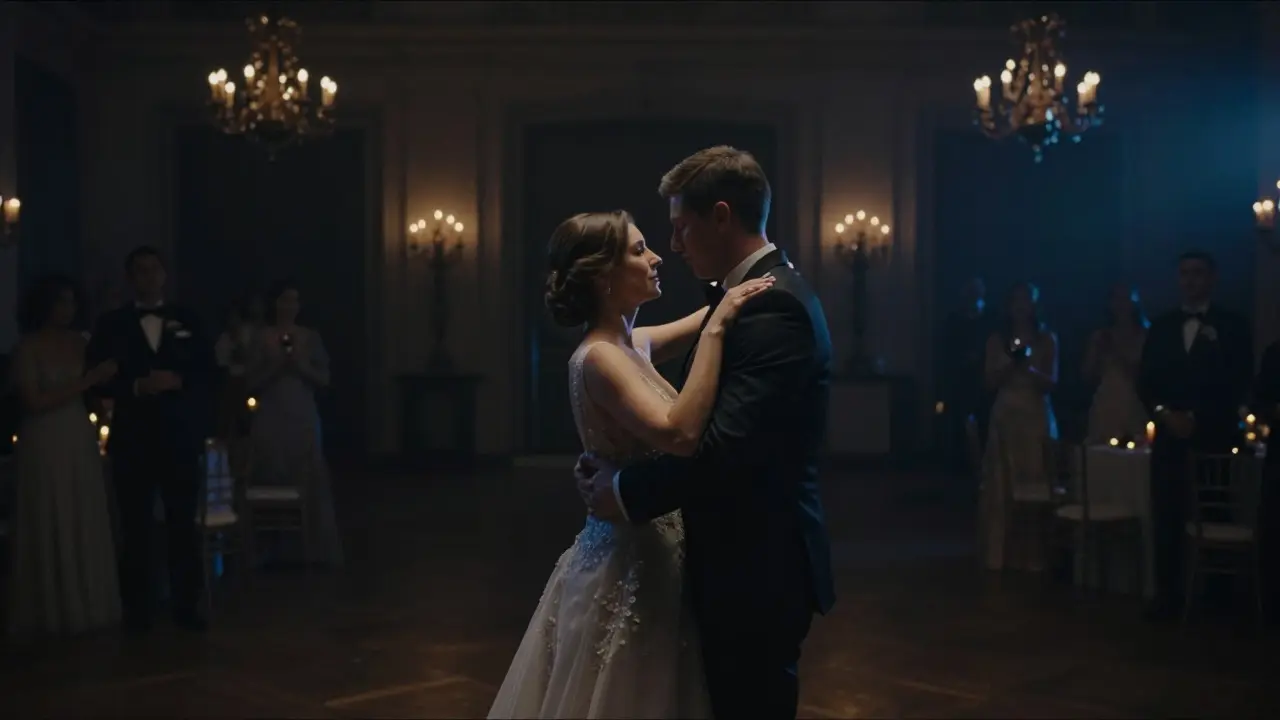
- Underexpose the ambient light by 1-2 stops. This makes the background dark and moody.
- Adjust flash power to correctly expose the subject’s face.
Scenario 2: Bright Background, Natural Blend (Airy Look)
- Expose for the ambient light first. Set shutter and aperture so the background looks natural.
- Add flash power until the subject is slightly brighter than the background (about 1/3 to 1 stop brighter).
- This creates a subtle pop without looking like a studio shot.
Scenario 3: Group Shots with Mixed Lighting
- Use a wider aperture (f/4-f/5.6) to ensure everyone is in focus.
- Increase flash power to reach the back row.
- Consider using a bounce technique to soften the light and reduce harsh shadows.
| Strategy | Ambient Exposure | Flash Power | Best For |
|---|---|---|---|
| Cinematic/Dark | Underexposed (-1 to -2 stops) | High (to expose subject) | Dances, dramatic portraits |
| Natural/Airy | Correctly Exposed | Low/Medium (+1/3 stop) | First dance, candid moments |
| Group/Event | Correctly Exposed | High (for distance) | Speeches, large groups |
Practical Workflow: Step-by-Step Setup
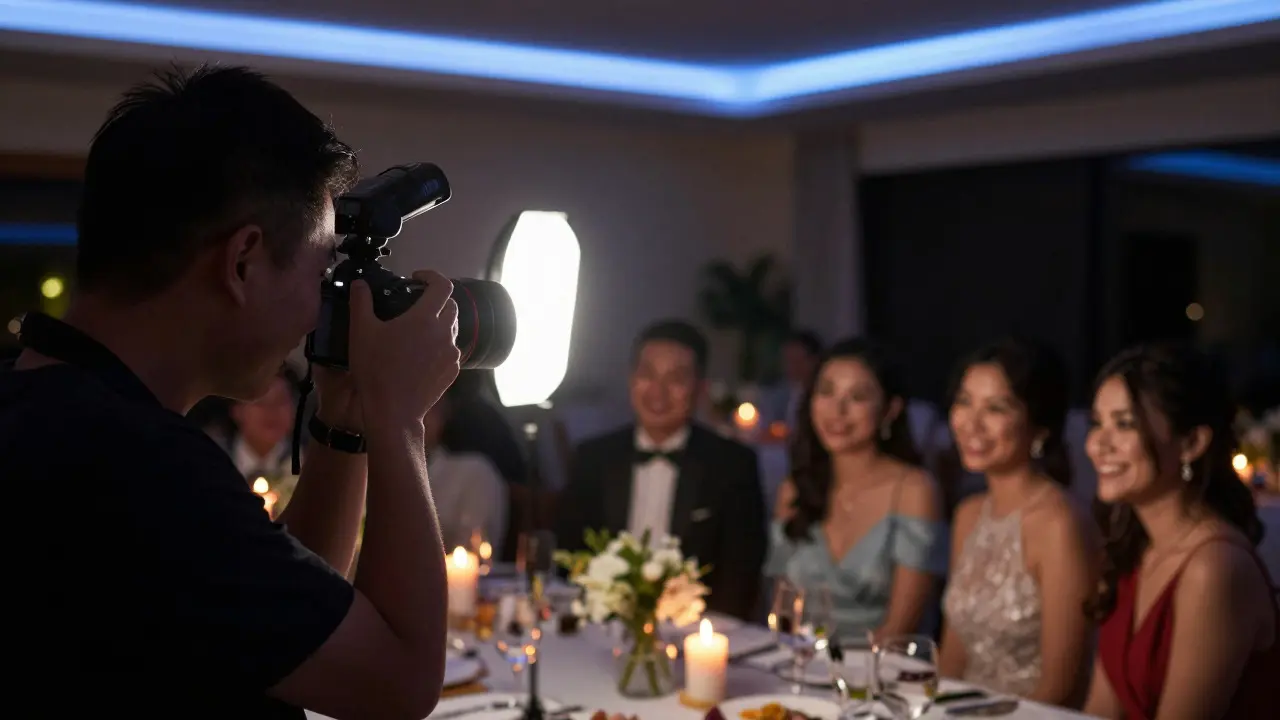
Don’t guess during the event. Prepare before you walk into the venue. Here is a reliable workflow:
- Scout the Venue: Check the color temperature of the ambient light. Is it warm (candlelight) or cool (LEDs)? This affects white balance.
- Set Camera Mode: Use Manual Mode. Set ISO to 3200. Set Shutter Speed to 1/125s (your sync speed). Set Aperture to f/2.8.
- Test Shoot: Take a test photo of a person standing in the middle of the room. Check the histogram.
- Adjust Ambient: If the background is too bright, increase shutter speed (if possible) or decrease aperture. If too dark, open aperture or raise ISO.
- Adjust Flash: Turn on flash. Set to Manual mode. Start at 1/16 power. Take another shot. Adjust power until the subject is correctly exposed relative to your desired background level.
- Lock It In: Once you find a setting that works for a specific distance, note it. Use it as a reference for similar situations.
Pro Tip: Keep your flash head tilted slightly upward or use a bounce card to soften the light. Direct flash creates harsh shadows under the eyes and nose. Bounced light looks more natural and flattering.
Common Pitfalls and How to Avoid Them
Even experienced photographers make mistakes in low light. Here are the most common ones:
- Red Eye: Caused by direct flash reflecting off the retina. Avoid by bouncing light or tilting the flash head.
- Overexposed Faces: Happens when flash power is too high for the distance. Remember the inverse square law. Move closer? Lower power.
- Dark Backgrounds When You Want Brightness: You forgot to adjust aperture or ISO to let in more ambient light.
- Color Casts: Mixing warm ambient light with cool flash. Use a gel on your flash to match the ambient color temperature, or correct in post.
- Motion Blur: Shutter speed too slow. Even with flash, if the subject moves before or after the flash fires, they will be blurry. Increase shutter speed if possible.
Always check your images on the rear LCD screen immediately. Zoom in to check for noise and focus. What looks fine on a small screen might be problematic when printed.
Post-Production Considerations
Getting it right in-camera is ideal, but post-production is your safety net. When editing low-light flash photos:
- Noise Reduction: Apply luminance noise reduction carefully. Too much removes detail. Use selective masking to protect edges.
- White Balance: Fine-tune the white balance to ensure skin tones look natural. Flash often renders skin cooler than ambient light.
- Highlight Recovery: If faces are slightly overexposed, bring down highlights. Watch for banding in smooth gradients.
- Vignetting: Add a slight vignette to draw attention to the subject and hide imperfections at the corners.
Consistency is key. Develop a preset for your typical low-light flash shots. Save it as a default profile for your wedding albums. This saves time and ensures a cohesive look across hundreds of images.
What is the best ISO for low-light wedding photography?
There is no single "best" ISO. It depends on your shutter speed and aperture needs. Generally, ISO 1600-6400 is the sweet spot for most modern cameras. Prioritize a fast enough shutter speed to freeze motion over keeping ISO low. Sharp, noisy images beat blurry, clean ones.
Should I use TTL or Manual flash for weddings?
Manual flash offers more consistency and control, especially in varying distances and lighting conditions. TTL is convenient for quick adjustments but can fluctuate. Many professionals use Manual for portraits and group shots, and TTL for rapid-fire candids where speed is critical.
How do I prevent red eye in flash photography?
Avoid direct flash aimed straight at the subject’s eyes. Use an off-camera flash, bounce the light off a ceiling or wall, or tilt the flash head upward. Reducing flash power also helps, though it’s less effective than changing the angle.
Why is my background too dark even with flash?
Flash only illuminates the subject, not the background. To brighten the background, you need to let in more ambient light. Open your aperture wider (lower f-number), increase ISO, or slow down your shutter speed (if within sync limits).
What aperture should I use for group shots in low light?
For groups, you need deeper depth of field to keep everyone in focus. Use f/4 to f/5.6. This lets in less ambient light, so you may need to increase flash power to reach the back rows. Ensure your flash is powerful enough or positioned closer to the group.