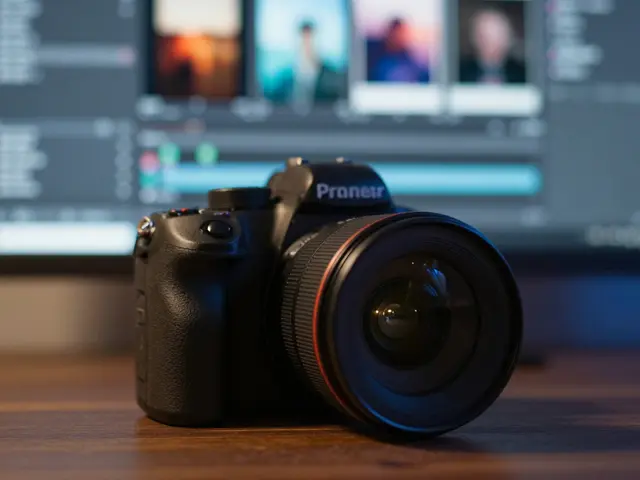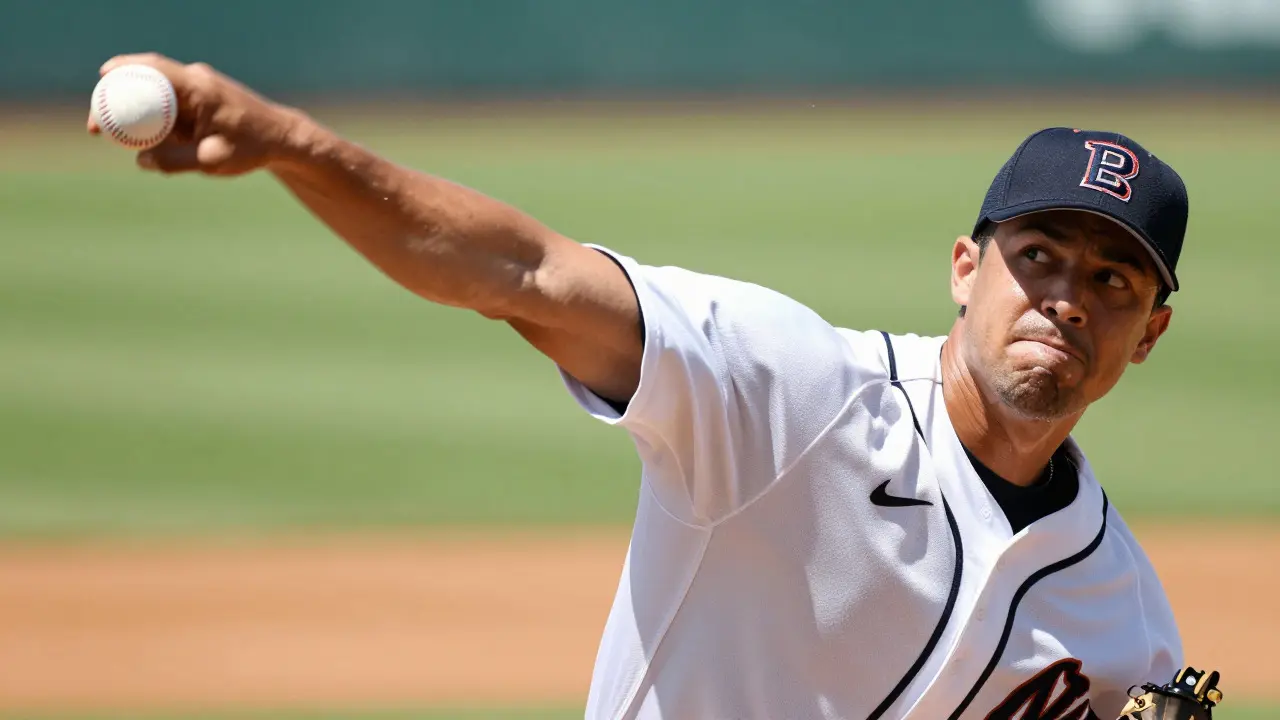
Missing the pitch because your background is a blur? Or maybe you captured the batter swinging, but his face looks like a smeared ghost. Baseball photography is tricky because it combines two fast-moving subjects-the ball and the player-with complex geometry. If you want crisp images that tell a story, you need to stop guessing and start understanding the physics of the game. This guide breaks down exactly how to set your shutter speed and where to stand so you can capture the action without the frustration.
Why Standard Action Settings Fail in Baseball
Most photographers treat baseball like soccer or basketball. They set their camera to a generic "sports mode" or use a fixed high shutter speed for everything. This is a mistake. In baseball, the relative speed of the subject changes drastically depending on what you are shooting. A pitcher throwing a fastball moves at roughly 90 mph (145 km/h), while a fielder running to catch a fly ball might only be moving at 20 mph (32 km/h). Using the same settings for both will result in either over-sharpened noise or motion blur where it doesn't belong.
The core problem is that you aren't just freezing time; you are managing motion vectors. When you shoot a close-up of a batter's eyes, you want the head sharp but perhaps some slight motion in the hands to convey energy. When you shoot a wide shot of the infield, you want everything frozen. Understanding this distinction is the first step to better photos.
Dialing In the Perfect Shutter Speed
There is no single "correct" shutter speed for baseball. Instead, think in ranges based on the specific action. Here is a practical breakdown:
- Freezing the Pitch: To freeze a baseball in mid-air near the plate, you typically need between 1/1000s and 1/2000s. At 1/500s, the ball will often appear as a small oval or streak. If you want that dramatic "frozen in time" look where the stitches on the ball are visible, go faster. Note that if you are using a telephoto lens (70-200mm or longer), you need to be on the higher end of this range because lens shake becomes more pronounced.
- Catching and Fielding: For ground balls or line drives being caught, 1/800s to 1/1000s is usually sufficient. The player's movement is slower than the ball's initial velocity once it leaves the bat, and the distance from the camera is greater.
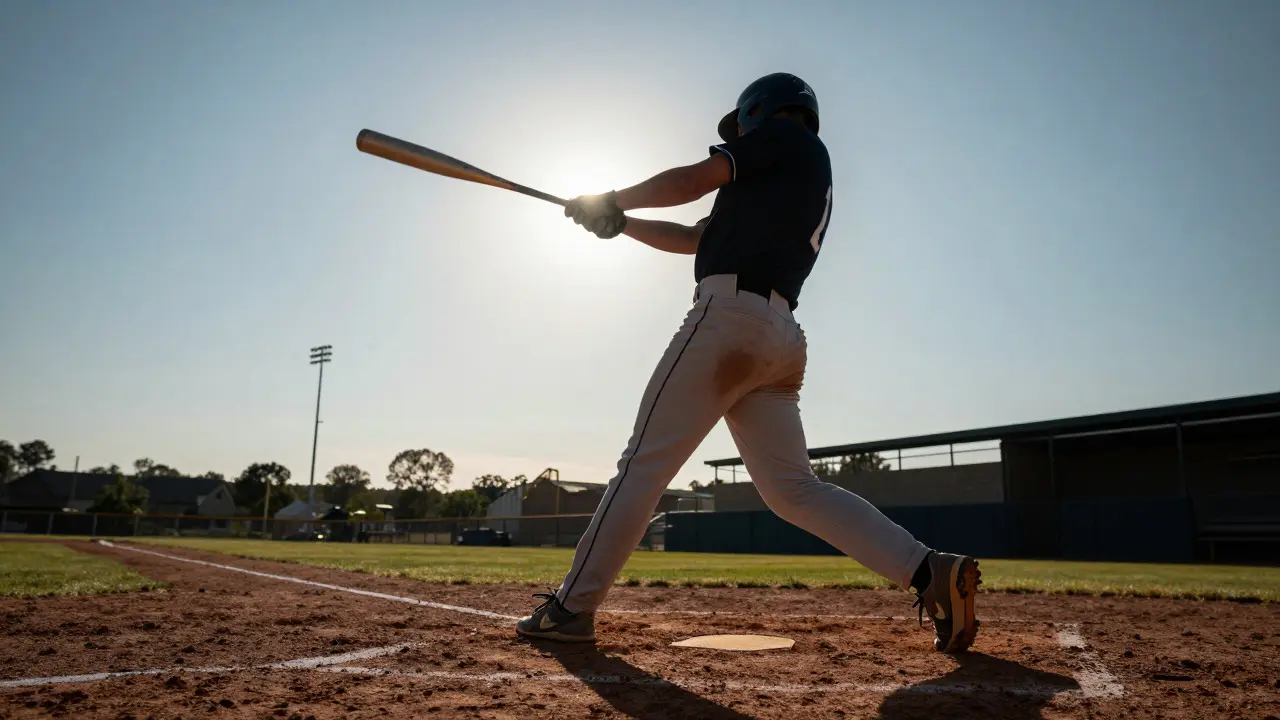
- Panning Shots: This is where you break the rules. Panning involves tracking the subject with your camera. For a batter swinging or a runner sprinting, try 1/60s to 1/125s. The goal here is a sharp subject with a blurred background. If the background isn't blurring enough, slow down. If the subject is blurry, speed up.
- Wide Angle Team Shots: If you are shooting the whole diamond from the stands, 1/250s to 1/500s is fine. The players are far away, so their apparent speed across the frame is lower.
| Action Type | Shutter Speed Range | Goal |
|---|---|---|
| Freezing the Ball | 1/1000s - 1/2000s | Sharp ball, sharp player |
| Fielding/Catching | 1/800s - 1/1000s | Freeze player movement |
| Panning (Batter/Runner) | 1/60s - 1/125s | Sharp subject, blurred background |
| Wide Diamond View | 1/250s - 1/500s | General scene clarity |
Positioning: Where to Stand Matters More Than Your Gear
You can have the fastest camera in the world, but if you are standing in the wrong spot, your photos will lack depth and context. Positioning determines your perspective, your lighting, and your ability to isolate the subject from the cluttered background.
The Bullpen and On-Deck Circle
If you are shooting pitchers, position yourself slightly behind and to the side of the pitching rubber, looking toward home plate. This angle captures the windup, the release point, and the follow-through in a single vertical composition. Avoid shooting directly from behind the pitcher unless you want a flat, two-dimensional image. A slight offset adds dimensionality.
The Batter’s Box
For batters, get low. Crouch down or lie on the grass if possible. Shooting from chest height makes the batter look small against the sky. Shooting from knee height puts you at eye level with the swing, making the action feel more intimate and powerful. Watch out for the umpire’s legs blocking your view; adjust your lateral position by one or two feet to find a clear lane.
The Outfield Fences
Standing near the outfield fence is risky but rewarding. You are close to the action when a ball is hit deep. However, the background is often the crowd or the stadium wall, which can be distracting. Use a long focal length (200mm+) to compress the distance and blur the background. Also, be mindful of the light. If the sun is behind the outfield wall, you’ll be shooting into backlight, requiring careful exposure compensation.
Lens Choice and Focal Length Strategy
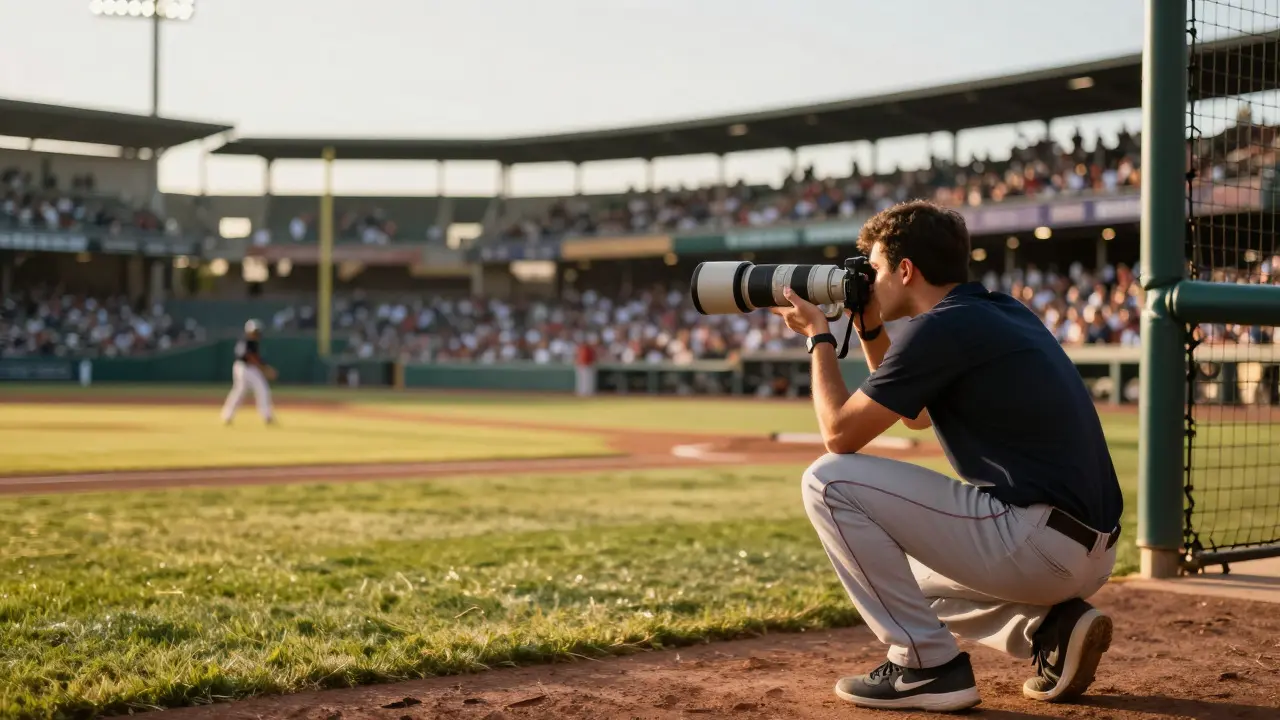
Your choice of lens dictates your shutter speed requirements. A wider lens (like 24-70mm) requires you to be closer to the action, meaning you need faster shutter speeds to freeze motion because the subject appears larger in the frame. A telephoto lens (70-200mm or 100-400mm) allows you to shoot from further back, effectively slowing down the apparent motion of the subject. This gives you more latitude with your shutter speed settings.
For most amateur and pro baseball photographers, a 70-200mm f/2.8 lens is the workhorse. It offers a good balance of reach and aperture. If you are shooting from the bleachers, a 100-400mm zoom is essential to fill the frame. Remember, the rule of thumb for handheld stability is that your minimum shutter speed should be the reciprocal of your focal length. So, at 200mm, aim for at least 1/200s to avoid camera shake, even before considering the subject's motion.
Lighting Considerations: Day vs. Night Games
Day games are easier because natural light allows for faster shutter speeds without cranking up your ISO too much. However, shadows under the stands or behind the dugouts can create harsh contrast. Use a reflector if you are close to the field, or simply bracket your shots.
Night games are a different beast. Stadium lights are bright, but they are directional. You need to manage your ISO carefully. Most modern cameras handle ISO 3200-6400 well, but noise starts to become an issue above 12800. Keep your aperture wide open (f/2.8 or f/4) to let in as much light as possible. This forces you to rely on your shutter speed to freeze the action, which is why night games often require even faster shutter speeds than day games if you want clean files.
Common Mistakes to Avoid
Even experienced photographers make these errors. Check your own habits against this list:
- Chasing the Ball Too Much: Sometimes the best photo is the reaction, not the hit. The catcher’s face after a foul tip or the coach’s shout can be more compelling than the ball itself. Don’t forget to shoot the people.
- Ignoring Depth of Field: At f/2.8 and 200mm, your depth of field is razor-thin. If you focus on the batter’s helmet, his shoulders might be soft. Focus on the eyes or the chest, and ensure your plane of focus aligns with the key part of the action.
- Static Composition: Baseball is dynamic. Try to include elements of the environment-the dirt of the infield, the texture of the grass, the crowd-to give context to the isolated action.
- Overlooking White Balance: Stadium lights vary in color temperature. Set your white balance manually or use a gray card if you are serious about consistent color across a series of shots.
Practical Workflow for Game Day
Before you step onto the field, do this checklist:
- Charge two batteries and format two memory cards.
- Set your camera to Manual Mode (M) or Aperture Priority (A/Av).
- Pre-set your shutter speed based on the expected lighting conditions.
- Bring a microfiber cloth for dust on the lens.
- Arrive early to scout positions and test your angles.
During the game, stay flexible. If the sun moves, adjust your exposure. If the rain starts, protect your gear but keep shooting-wet fields create beautiful reflections. The best baseball photos often happen in imperfect conditions.
What is the best shutter speed to freeze a baseball?
To freeze a baseball in mid-air, you generally need a shutter speed between 1/1000s and 1/2000s. Slower speeds will result in motion blur, turning the ball into a streak rather than a distinct object.
Where is the best position to photograph a batter?
The best position is low, near the batter’s box, at knee height. This angle provides a powerful perspective and helps separate the batter from the background. Avoid standing directly behind the umpire to prevent obstruction.
Should I use Auto Focus or Manual Focus for baseball?
Use Auto Focus (AF) with Continuous Servo (AI-Servo or AF-C) for moving subjects. Modern cameras track fast-moving objects well. Only switch to Manual Focus if the subject is stationary, such as a player waiting in the on-deck circle.
What lens is recommended for baseball photography?
A 70-200mm f/2.8 lens is ideal for close-ups and medium shots. If you are shooting from the stands or outfield, a 100-400mm zoom lens provides the necessary reach to fill the frame with the action.
How do I handle lighting in night games?
For night games, use a wide aperture (f/2.8-f/4) and increase your ISO to 3200-6400. Maintain a fast shutter speed (1/1000s or faster) to freeze action, accepting some noise in exchange for sharpness.