There is nothing quite like the chaos of a mosh pit or the hush of a ballroom when the lights dim. But for the photographer, that darkness is a problem. You want to freeze the singer mid-jump or capture the guitarist's intense expression, but your camera wants to blur everything into a smear of color and noise. Low light on stage is the single biggest hurdle in concert photography, yet it is also what makes the genre so visually distinct. If you can master the interplay between artificial stage lights and ambient darkness, you stop taking pictures of people standing in front of colored lights and start capturing the energy of the performance.
The core challenge isn't just "making it brighter." It is about managing three competing variables: exposure, motion blur, and image noise. Stage lighting is inconsistent. It flickers, changes color instantly, and often hits the subject from the side or back. Your camera’s sensor is trying to process all this data in fractions of a second. To get a clean shot, you need to take control away from the auto-settings and make deliberate choices based on what the performer is doing at that exact moment.
Understanding the Exposure Triangle on Stage
In daylight photography, you have plenty of light to work with. On stage, you are fighting for every photon. The standard advice of "use a fast lens" is only half the story. A fast lens (one with a wide maximum aperture like f/1.4 or f/1.8) lets more light hit the sensor, which allows you to use a faster shutter speed. However, depth of field becomes incredibly shallow at these apertures. If you miss focus by even an inch, your subject will be soft. This forces you to balance aperture against the need for sharpness.
Shutter speed is where most beginners fail. They set their camera to 1/60s because they think it's fast enough, but a jumping drummer or a swaying lead vocalist needs much more. For static shots, 1/125s is a safe baseline. For active movement, you need 1/250s or faster. If you drop below 1/125s, hand-holding errors become visible, and any slight movement from the artist creates ghosting. This is why professional concert photographers rarely shoot slower than 1/200s, regardless of how dark the room gets.
ISO is the variable you manipulate to compensate for the lack of light. In the past, high ISO meant ugly grain. Today, sensors handle high ISO remarkably well. Shooting at ISO 3200 or even 6400 is perfectly acceptable if it means you can keep your shutter speed high. A slightly noisy image at ISO 6400 is infinitely better than a blurry image at ISO 400. Modern cameras allow you to push ISO higher without losing critical detail in the highlights, which is crucial when dealing with bright stage spotlights.
Camera Settings That Actually Work
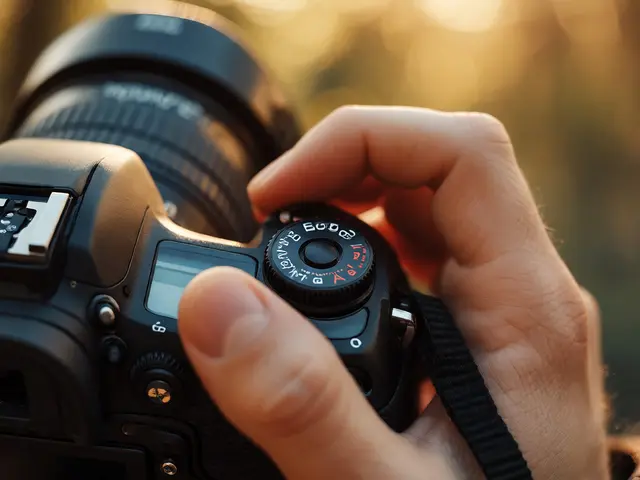
Forget Auto mode. It confuses the camera when the background is dark and the subject is lit by a single spotlight. Switch to Manual Mode (M) or Shutter Priority (S/Tv). Here is a practical starting point that works for 90% of live music scenarios:
- Aperture: Set to the widest opening your lens allows (e.g., f/1.8 or f/2.8). If you are using a prime lens, this is fixed. If using a zoom, open it up fully.
- Shutter Speed: Start at 1/250s. If the band is playing a slow ballad, you might drop to 1/160s. If they are thrashing metal, go to 1/500s.
- ISO: Set to Auto-ISO. Tell your camera to adjust ISO between 800 and 6400 (or higher) to maintain the shutter speed you selected. This frees you up to watch the stage instead of checking your histogram.
- White Balance: Use Auto White Balance (AWB). Stage lights change color rapidly (red to blue to white). Trying to manually set Kelvin values will result in inconsistent colors across your photos. Let the camera adapt, then correct in post-processing if needed.
Focusing is another critical area. Continuous Autofocus (AF-C or AI Servo) is essential. Single-shot AF locks onto the first thing it sees and refuses to update, leading to missed focus as the performer moves. Use a large central focus point or zone focusing. Many pros disable face detection during concerts because it can lock onto a backup dancer in the shadows rather than the lead singer under the spotlight. Stick to manual focus points and track the subject yourself.
Lens Selection and Focal Lengths
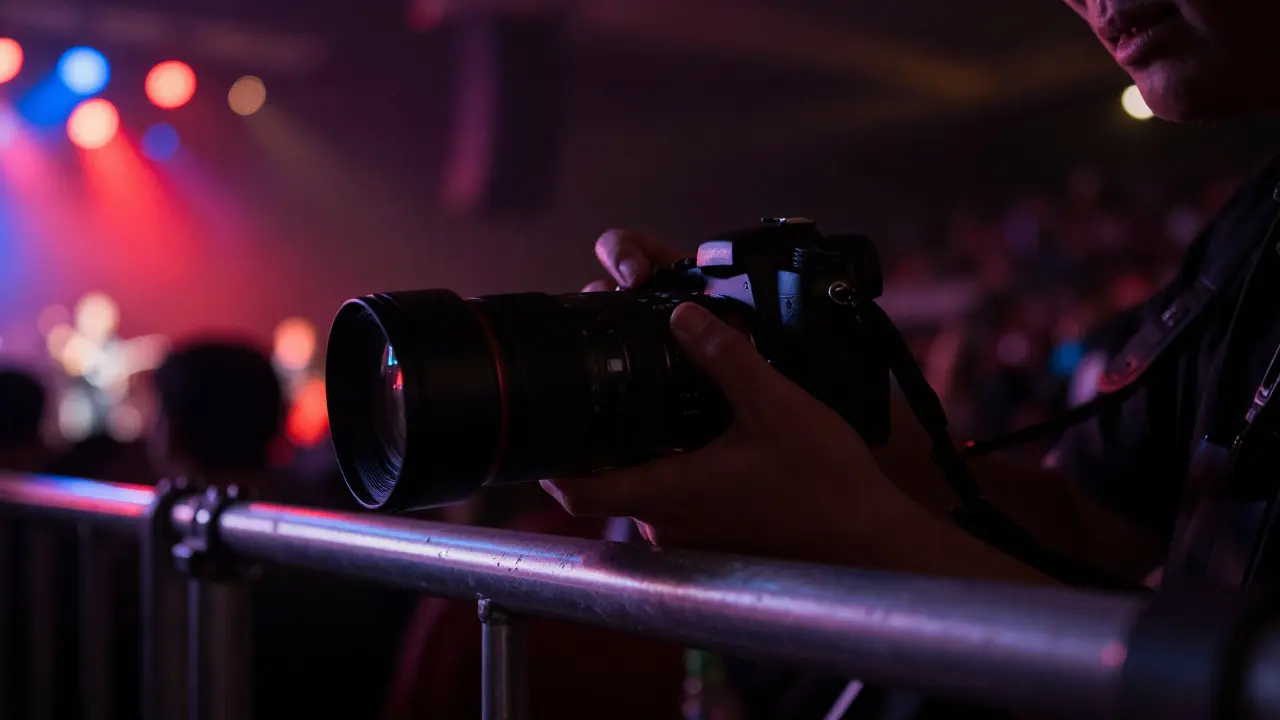
Your choice of lens dictates how close you can get and how much context you include. Most concert venues restrict how close you can stand to the stage, often requiring you to stay behind a barrier or in the balcony. This makes focal length a matter of survival.
| Focal Length | Typical Aperture | Best For | Limitation |
|---|---|---|---|
| 35mm - 50mm | f/1.4 - f/1.8 | Close-up portraits, intimate moments | Requires proximity to stage; limited reach |
| 70-200mm | f/2.8 | The industry standard; balances reach and light | Bulkier; heavier to hold for long periods |
| 100-400mm | f/4.5-5.6 | Balcony shooting, distant stages | Slower aperture requires higher ISO; heavier |
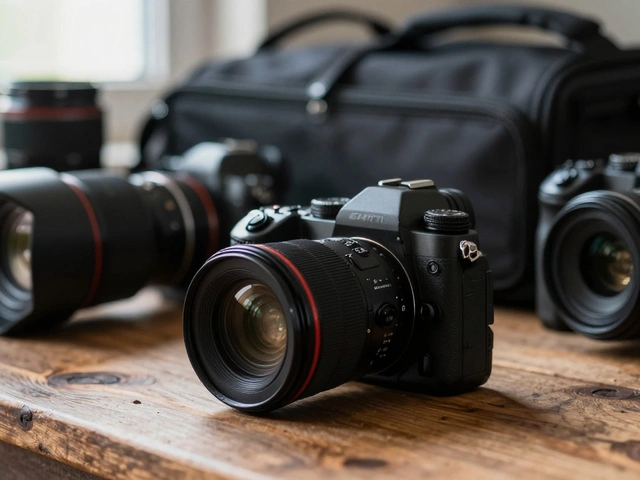
The 70-200mm f/2.8 lens is the backbone of concert photography. It offers a versatile range that covers both wide group shots and tight facial expressions. The f/2.8 aperture is bright enough to handle most stage lighting conditions without pushing ISO to extreme levels. If you are stuck in the very back row or balcony, a 100-400mm lens is necessary, but be prepared to shoot at ISO 3200+ consistently. Prime lenses like the 50mm f/1.4 offer superior optical quality and let in massive amounts of light, but they require you to physically move to frame your shot, which is impossible if you are locked behind a barricade.
Navigating Stage Lighting Conditions
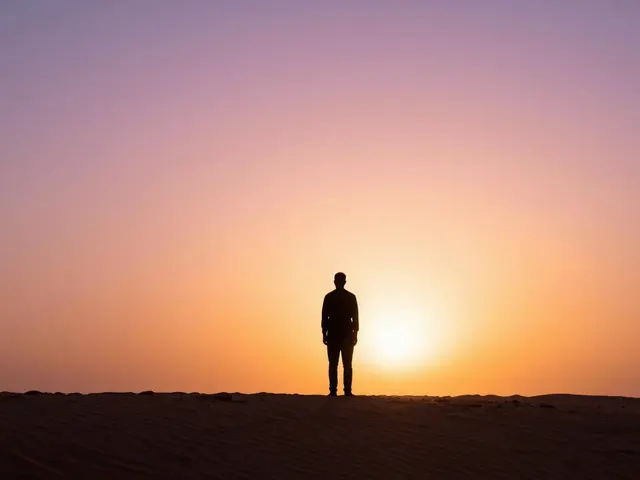
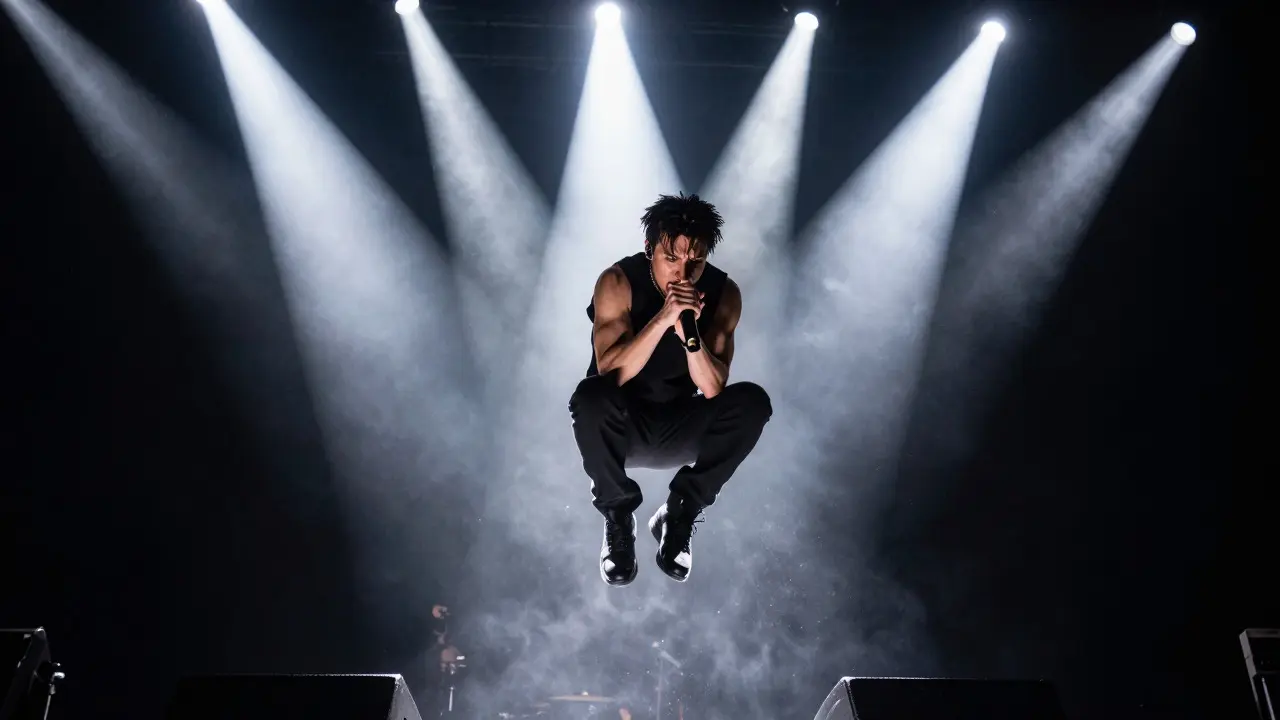
Stage lights are not sunlight. They are directional, colored, and often strobing. Backlighting is the most common scenario, where the main light source is behind the performer. This creates a silhouette effect. To combat this, you have two options: expose for the highlights (keeping the face dark but preserving the rim light) or use a flash. Flash is controversial in concerts. Some bands hate it because it distracts the audience; others love it because it adds punch. If you use flash, use it at a low power setting (1/16 or 1/32) to fill in shadows without washing out the mood. Always check with the sound engineer before firing off a flash.
Color temperature shifts are constant. One minute the stage is bathed in cool blue LED light, the next it is warm amber. Your camera’s metering system can be fooled by these drastic changes. Trust your eye over the histogram. If the stage looks too dark to you, bump the ISO. If the faces look blown out, close down the aperture slightly or increase shutter speed. Post-processing software like Adobe Lightroom or Capture One makes it easy to adjust white balance globally later, so don’t obsess over getting it perfect in-camera.
Composition and Storytelling
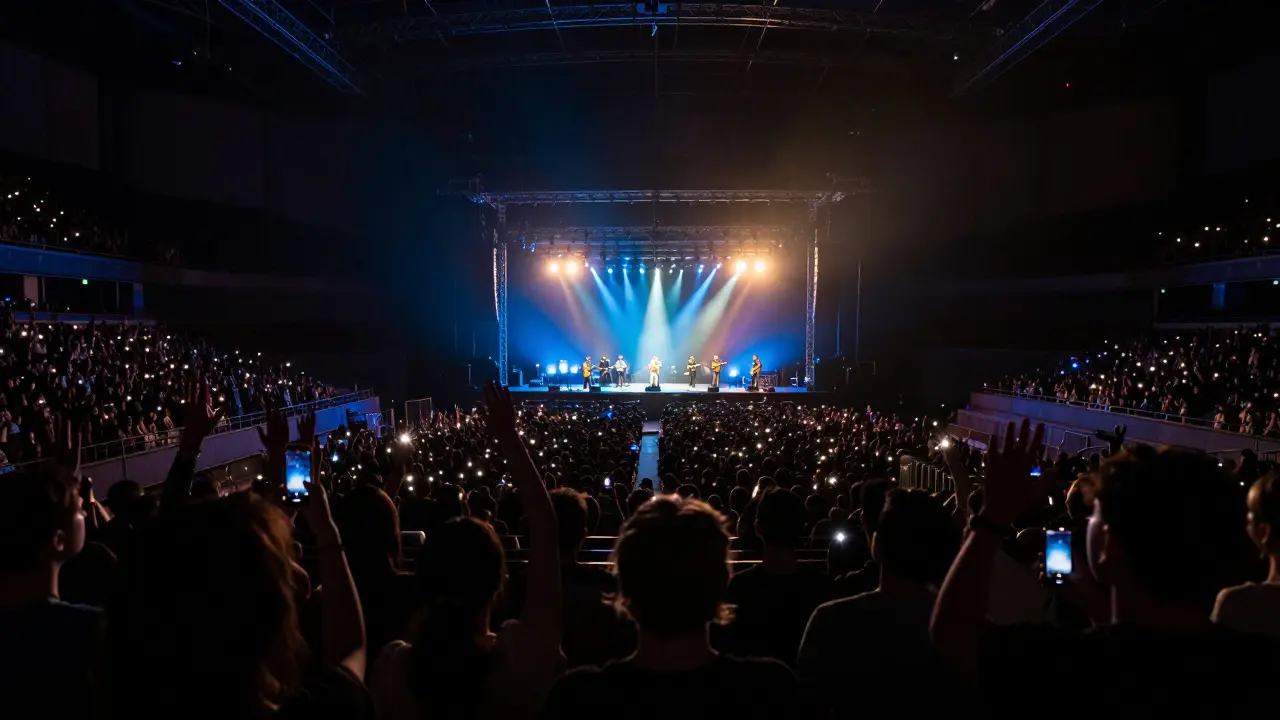
Taking a sharp photo is only half the job. You need to tell a story. Don’t just shoot head-and-shoulders portraits of the lead singer. Look for interactions. Capture the drummer hitting a cymbal with intensity. Shoot the bassist leaning into the amp. Include the audience’s reaction-hands in the air, phones glowing in the dark. These contextual shots provide the narrative arc that a solo portrait lacks.
Use the rule of thirds, but break it when appropriate. Center-framing a soloist during a quiet vocal moment can create a sense of intimacy and isolation. Leading lines from stage equipment or cables can guide the viewer’s eye toward the subject. Watch for negative space-the empty areas of the stage-and use them to emphasize the scale of the performance. A tiny figure against a vast, dark background with a single spotlight can be more powerful than a crowded frame.
Post-Processing Workflow
Raw files are non-negotiable for concert photography. JPEG compression struggles with high ISO noise and dynamic range. Shooting in RAW gives you the flexibility to recover details in the shadows and tame the highlights in the spotlights. When editing, start by correcting white balance. Then, apply noise reduction. Be careful not to over-smooth, which turns skin into plastic. Keep some texture. Adjust contrast selectively to make the subjects pop from the dark background. Finally, crop tightly if necessary to remove distracting elements from the edges of the frame.
Frequently Asked Questions
What is the best camera for concert photography?
Any modern mirrorless or DSLR with good high-ISO performance will work. Cameras like the Sony A7 series, Canon R5/R6, or Nikon Z6/Z7 are popular choices because they handle noise well at ISO 3200-6400. The body matters less than your lens and technique.
Should I use a tripod for concert photography?
Generally, no. Tripods are bulky, slow to adjust, and can block other people’s views. Hand-holding with a fast shutter speed is the standard practice. Only use a monopod or tripod if you are shooting from a fixed position in the balcony for a long period and need stability for longer exposures.
How do I avoid red-eye in concert photos?
Red-eye is rare in concerts because stage lights are usually not directly in front of the eyes. However, if you use an on-camera flash, red-eye can occur. Using an external flash bounced off a wall or ceiling helps, though this is difficult in dark venues. More often, 'red eyes' are actually reflections of red stage lights, which can be corrected in post-processing.
Is it okay to use flash at a concert?
It depends on the venue and the band. Some prohibit it entirely. Others allow it but discourage it. Always ask the sound engineer. If allowed, use a low-power flash to fill shadows rather than as the main light source. Sync your flash to the rear curtain sync if possible to reduce harsh shadows.
What is the ideal shutter speed for freezing motion on stage?
For most performers, 1/250s is the minimum safe speed. For fast movements like drumming or jumping, aim for 1/500s or faster. Slower speeds risk motion blur, which can sometimes be artistic but is usually unwanted in professional concert photography.