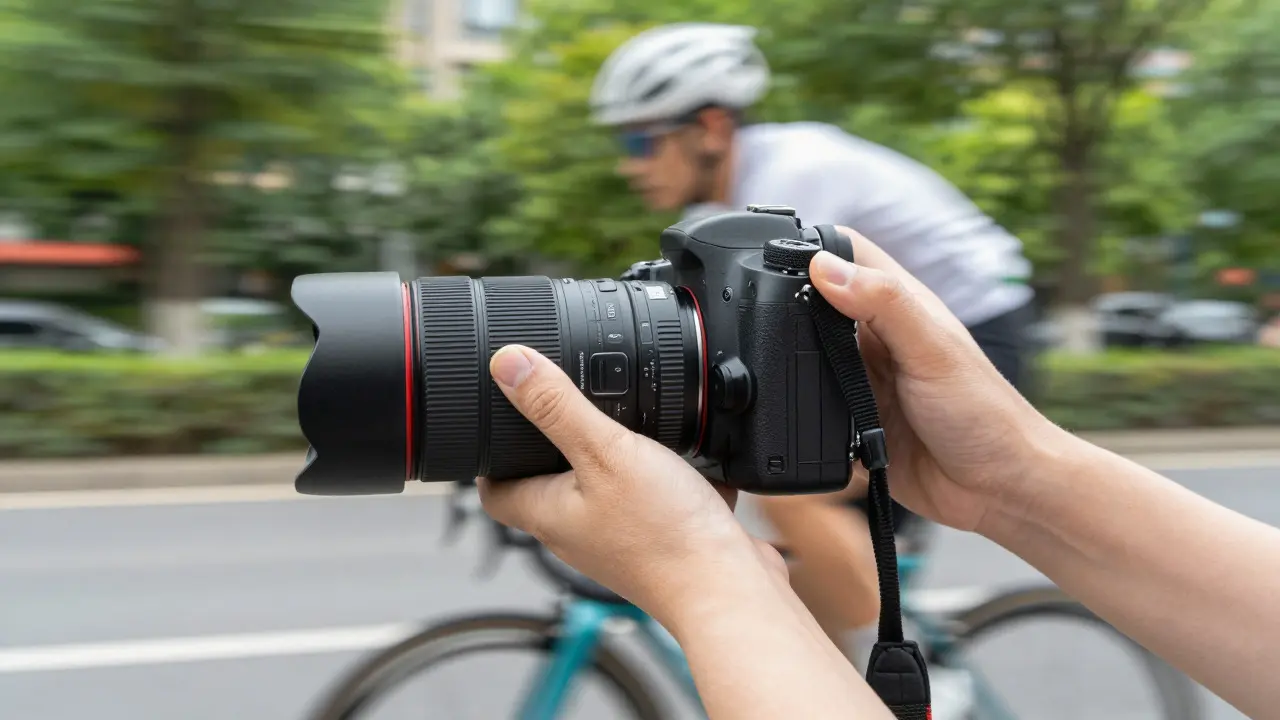
There is a specific moment when a subject moves so fast that your camera can't keep up. Instead of freezing the action, you let it stretch. This is where Motion Blur becomes a creative tool rather than a technical failure. Unlike static portraits or landscape shots, capturing movement requires you to control time itself using Shutter Speed. When done correctly, these effects convey speed, energy, and emotion that a sharp, frozen image simply cannot match.
Most photographers fear blur because they are trained to seek sharpness. But in sports, street photography, and wildlife, blur tells the story. It shows the trajectory of a baseball pitch, the flow of water in a waterfall, or the frantic energy of a city crowd. The difference between a mistake and a masterpiece often comes down to one variable: how you move your body relative to the subject.
Understanding the Core Mechanics of Movement Effects
To master these techniques, you need to understand how your camera records light over time. When you press the shutter button, the sensor is exposed for a specific duration. If a subject stays still during this window, it appears sharp. If it moves, it leaves a trail of light across the sensor pixels. This trail is what we call motion blur. However, not all blur is created equal. There are two distinct types you need to differentiate immediately:
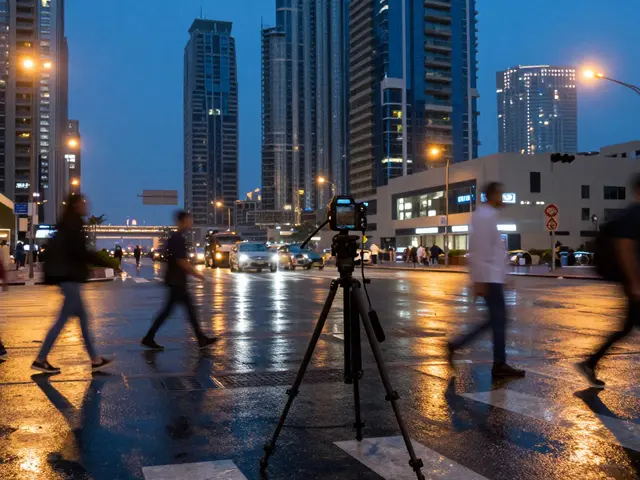
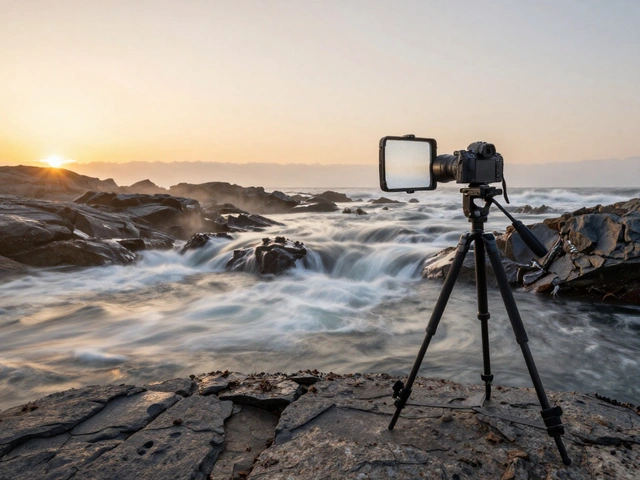
- Static Motion Blur: The camera is on a tripod or held perfectly still. The subject moves, creating a streak against a stationary background. This works well for waterfalls, rain, or traffic lights at night.
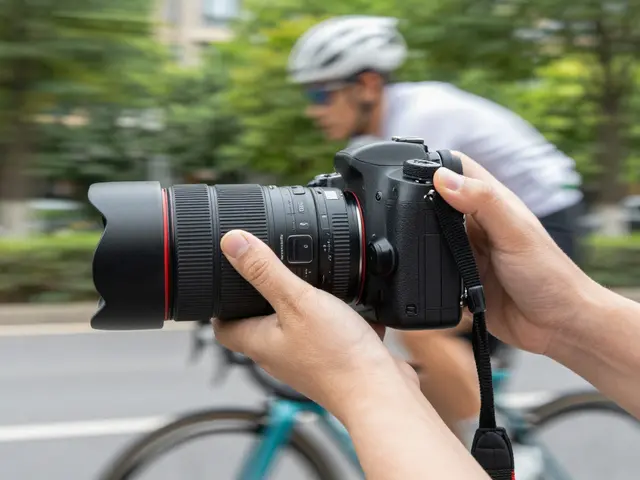
- Action Panning (Subject Tracking): The camera moves with the subject. The subject remains relatively sharp, while the background blurs into horizontal streaks. This is the technique used to make a race car look like it's flying past you.
The key to both is understanding that ISO and Aperture must be adjusted to allow for slower shutter speeds. You are intentionally underexposing the scene slightly to give the shutter more time to stay open, which allows the movement to register on the sensor.
Setting Up Your Camera for Intentional Blur
Before you start shooting, you need to configure your camera settings. Most modern cameras have an "Action" or "Sports" mode, but manual control is far superior for achieving artistic results. Here is the baseline setup for most daytime scenarios:
- Switch to Shutter Priority Mode (Tv or S): This lets you set the exact shutter speed while the camera calculates the aperture. Alternatively, use Manual Mode if you want full control over depth of field.
- Select a Slow Shutter Speed: Start with 1/30th of a second for moderate movement (like a walking person) and go as slow as 1/8th or even 1/4th of a second for high-speed subjects (like cars or cyclists).
- Set ISO to Auto or Low: Keep ISO low (100-400) to maximize dynamic range and minimize noise. Since you are letting in less light due to the controlled exposure, auto-ISO helps prevent blown highlights.
- Choose Aperture for Depth of Field: For action panning, a wider aperture (f/5.6 to f/8) helps isolate the subject from the background, making the blur effect more pronounced without losing too much detail on the subject.
If you are shooting in low light, such as city streets at night, you might need to push your ISO higher. In these cases, the ambient light creates natural light trails from headlights and taillights, adding another layer of visual interest to your composition.
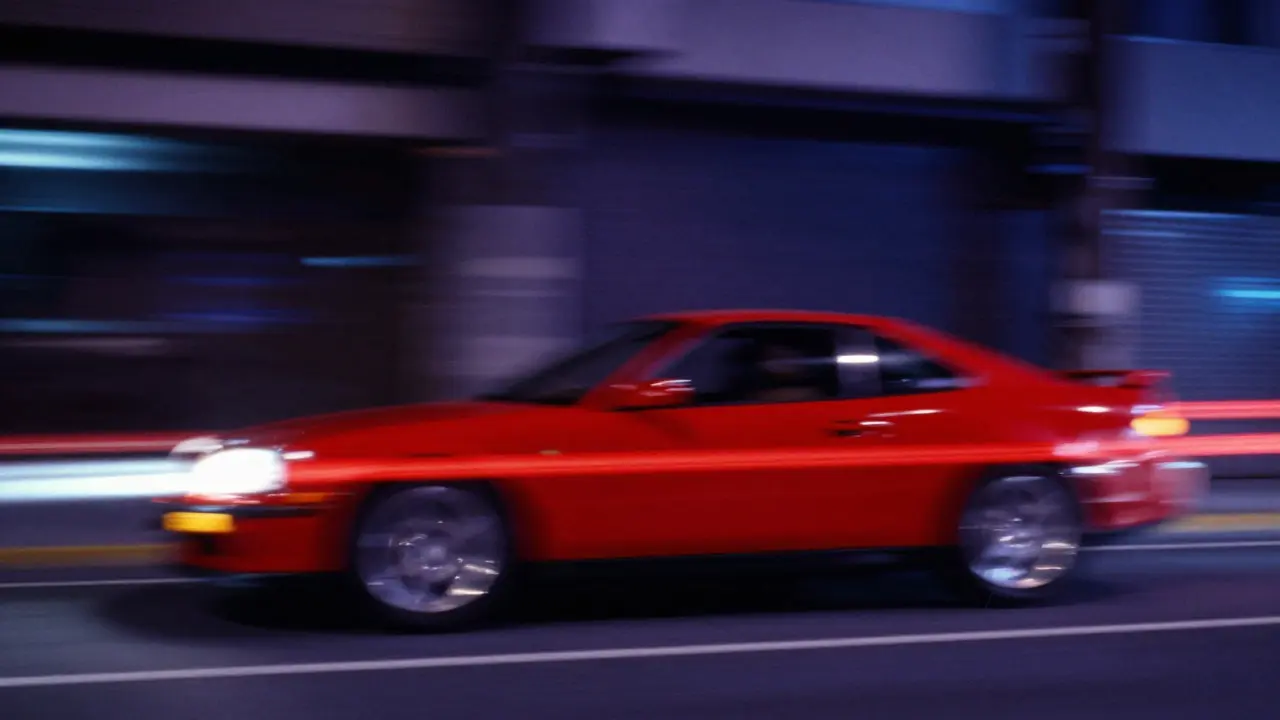
The Art of Action Panning: Technique and Timing
Action panning is deceptively simple to explain but difficult to execute. The goal is to keep the subject centered in your frame while moving your camera horizontally along with them. Think of it like watching a runner through a window; your eyes track the runner, but the window frame stays fixed. In photography, you are the eyes, and the background is the window frame.
Here is the step-by-step process for a successful pan:
- Start Early: Begin your pan before the subject enters your primary focus zone. If you wait until they are in front of you, you will jerk the camera and lose smoothness.
- Track Smoothly: Move your upper body, not just your wrists. Pivot from the hips to create a wide, fluid arc. Jerky wrist movements result in uneven blur.
- Press the Shutter Mid-Movement: Do not stop your motion to press the button. Press the shutter release while you are already panning. Stopping causes the subject to become blurry relative to the background.
- Continue After Release: Keep panning for a split second after the shutter closes. This ensures the final frames of the exposure remain consistent with the initial ones.
Practice this with a stationary object first. Hold your camera at arm's length and pan slowly left to right. Notice how your body feels. Now, try tracking a friend walking across the room. Once you feel comfortable with the rhythm, move to faster subjects. The muscle memory developed here is crucial. You want the panning motion to feel automatic, allowing your brain to focus on timing the shutter release.
Choosing Subjects and Backgrounds for Maximum Impact
Not every subject works well with motion blur. You need contrast between the moving element and the stationary environment. A bright red bicycle against a dark green park background will pop out of the blur. Conversely, a gray car against a gray asphalt road will disappear into the streaks.
Consider these elements when composing your shot:
- Background Texture: Busy backgrounds like brick walls, foliage, or urban signage create better streaks than plain white walls or clear skies. The texture provides visual data for the eye to interpret as speed.
- Color Contrast: High contrast between the subject and background makes the subject stand out. Use complementary colors if possible.
- Leading Lines: Incorporate roads, tracks, or rivers that guide the viewer's eye toward the subject. These lines reinforce the direction of movement.
- Simplicity: While texture helps, avoid cluttered backgrounds that distract from the main action. Isolate the subject using a longer focal length (70-200mm) to compress the perspective and separate the subject from the background.
For example, photographing a cyclist on a tree-lined street is ideal. The trees provide vertical texture that blurs horizontally, creating a strong sense of forward motion. The cyclist's bright jersey contrasts with the darker greens and browns of the forest. This combination ensures the viewer's attention stays locked on the rider, not the blurred surroundings.
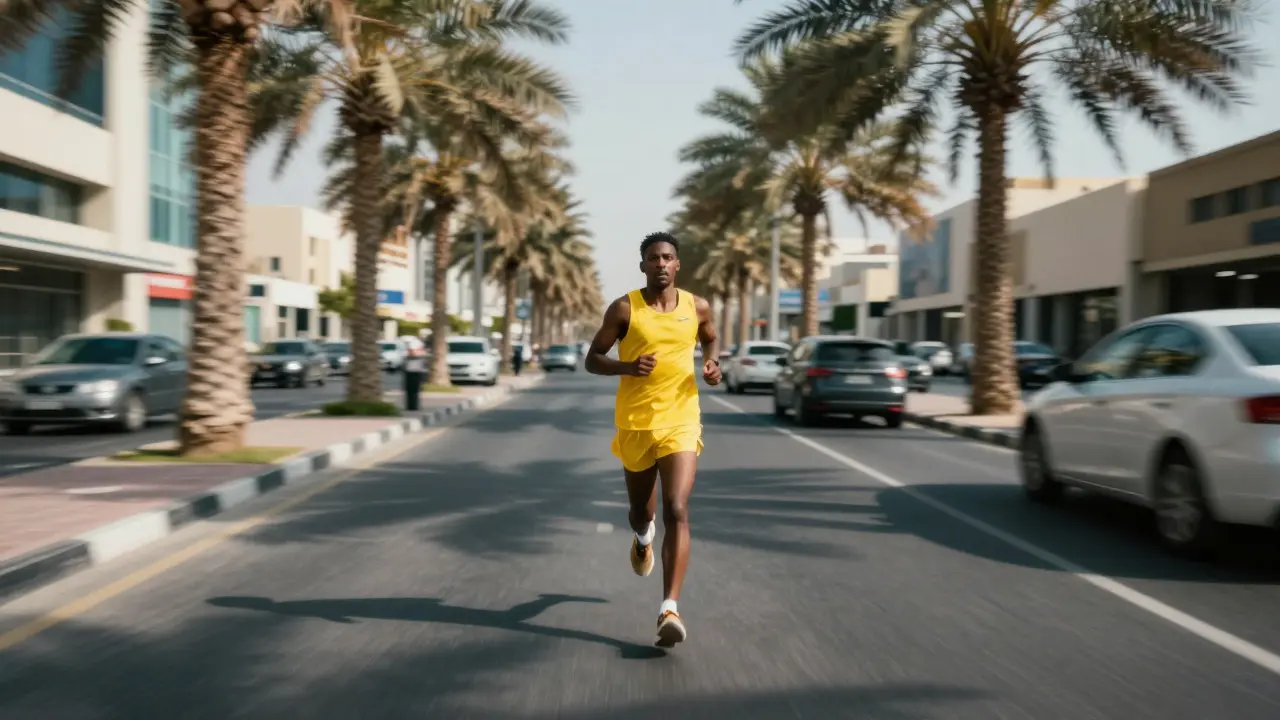
Troubleshooting Common Issues in Motion Photography
Even experienced photographers struggle with consistency. Here are the most common problems and how to fix them:
| Problem | Cause | Solution |
|---|---|---|
| Subject is blurry | Pan stopped before shutter closed | Continue panning smoothly after pressing the shutter button |
| Background is too sharp | Shutter speed too fast | Decrease shutter speed (e.g., from 1/60s to 1/30s) |
| Jagged, uneven blur | Jerky wrist movements | Pivot from the hips and shoulders, not just the arms |
| Overexposed highlights | Too much light entering sensor | Use a smaller aperture (higher f-number) or lower ISO |
Another frequent issue is focusing lag. Autofocus systems can struggle with fast-moving subjects, especially if they change direction abruptly. To mitigate this, use Continuous AF (AF-C) mode and select a single point AF area directly on the subject's eye or chest. Pre-focus on the path where the subject will appear, then switch to manual focus if the lighting is dim and the autofocus is hunting.
Finally, watch your battery life. Shooting bursts of images to capture the perfect moment drains power quickly. Carry extra batteries or ensure your camera has efficient power-saving modes enabled when not actively shooting.
Post-Processing Tips to Enhance the Effect
While getting the shot right in-camera is essential, post-processing can refine the final image. You don't need complex software; basic adjustments in Lightroom or Capture One will do the trick.
- Contrast Adjustment: Increase global contrast slightly to make the sharp subject stand out more against the blurred background.
- Clarity and Dehaze: Add a small amount of clarity to the subject only. Use a mask to apply this effect exclusively to the person or vehicle, keeping the background soft.
- Crop for Composition: Tighten the crop to remove distracting edges. Focus on the direction of movement, leaving more space in front of the subject than behind it.
- Sharpening: Apply minimal sharpening to the subject. Over-sharpening can introduce artifacts that clash with the smooth blur of the background.
Avoid heavy vignetting or dramatic color grading unless it fits the mood. The goal is to emphasize the movement, not to create a stylized art piece that distracts from the action. Let the blur speak for itself.
What is the best shutter speed for action panning?
There is no single best speed, as it depends on the subject's velocity. For cars, start around 1/30th to 1/60th of a second. For runners or cyclists, 1/60th to 1/125th may be appropriate. Always experiment and adjust based on how much blur you want in the background.
Do I need a tripod for motion blur photos?
No, a tripod is actually counterproductive for action panning. You need to move the camera freely to track the subject. Tripods are useful for static motion blur, such as photographing waterfalls or long-exposure cityscapes, where the camera must remain completely still.
How can I keep the subject sharp while blurring the background?
The key is consistent panning speed. Match your camera's movement exactly to the subject's speed. If you pan too fast, the subject will blur backward. If you pan too slow, it will blur forward. Practice with slower subjects first to develop this synchronization.
Is motion blur effective in black and white photography?
Yes, very effectively. Black and white removes color distractions, forcing the viewer to focus on form, texture, and motion. The contrast between the sharp subject and the blurred background often appears more dramatic in monochrome.
What lens focal length is recommended for panning?
A telephoto lens (70-200mm or longer) is ideal. It compresses the perspective, making the background appear closer and more textured, which enhances the blur effect. Wide-angle lenses can work but require faster shutter speeds to maintain similar levels of background blur.