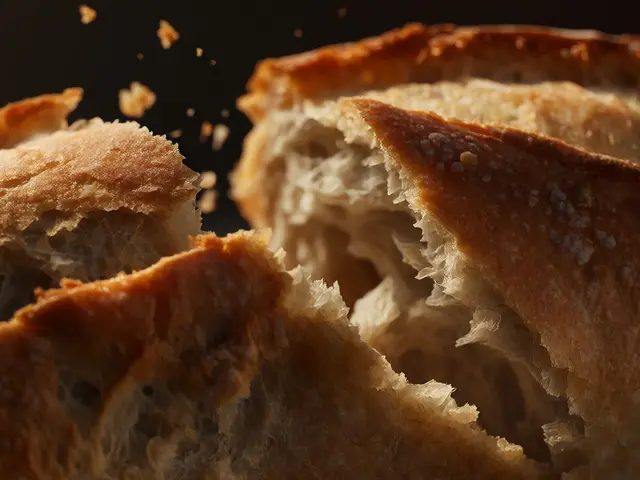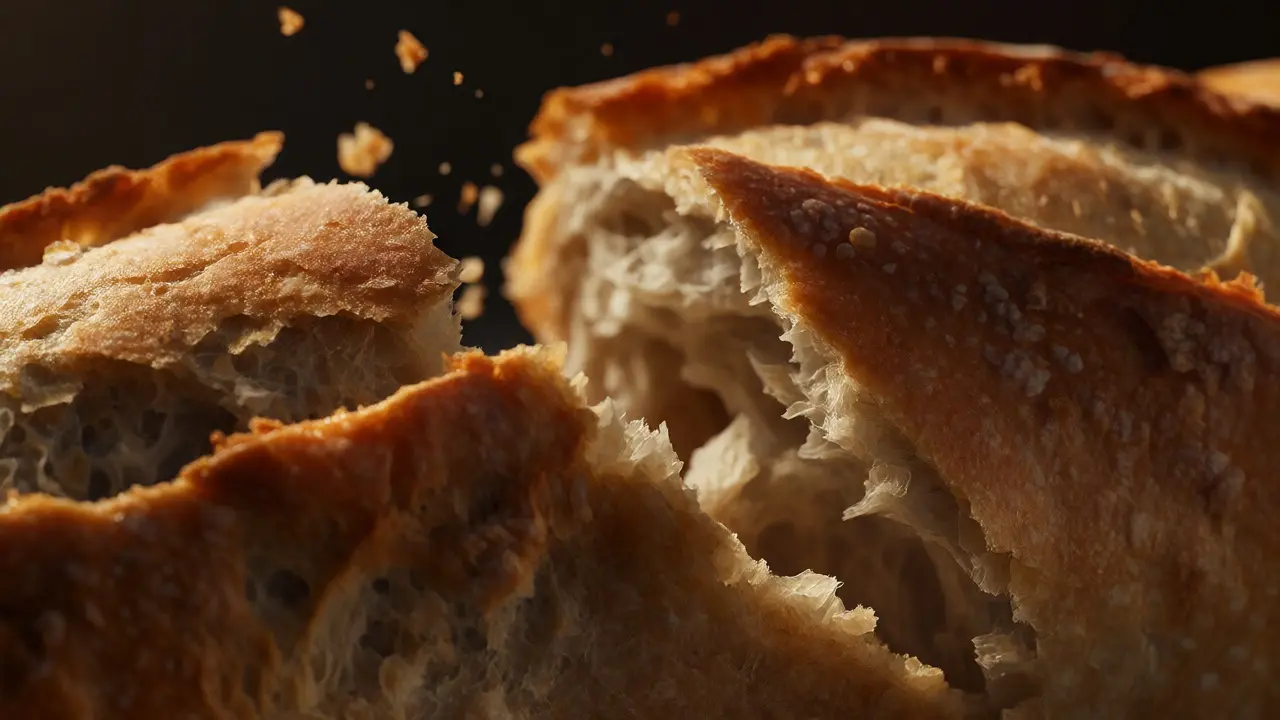
You know that feeling when you bite into a fresh baguette? The crust shatters, crumbs fly, and your mouth waters before the bread even hits your tongue. Now look at your last food photo. Does it make people hungry? Or does it look like cardboard? The difference isn't always about the recipe or the lighting setup-it's about texture. Most photographers struggle to translate tactile sensations like crunchiness, juiciness, and creaminess into a static 2D image. If your photos feel flat, it’s likely because you’re ignoring the micro-details that tell the brain what the food feels like.
This guide breaks down exactly how to capture three specific textural states: dry crispness, wet moisture, and fine detail. We’ll skip the generic advice about "good lighting" and get straight to the techniques that make a steak sizzle visually and a salad glisten without looking oily.
Why Texture Drives Appetite
Human brains process visual cues for texture almost instantly. When you see a glossy surface, your brain anticipates flavor release. When you see rough, fractured edges, you anticipate resistance and crunch. This is why blurry backgrounds are popular-they remove context-but sharp foregrounds are non-negotiable for appetite appeal. If the subject is soft-focus, the viewer cannot assess freshness or quality. A wilted leaf looks different from a crisp one only if you can see the cellular structure of the stem.
To fix this, you need to treat light as a sculpting tool rather than just an illumination source. Flat, frontal lighting kills shadows, and shadows are where texture lives. Without side-lighting or backlighting, a crispy potato chip looks identical to a stale one. Your goal is to create contrast within the subject itself, not just between the subject and the background.
Capturing Dry Crispness and Crunch
Dry textures-think fried chicken, crackers, toasted nuts, or pastry crusts-rely on high-frequency detail. These surfaces scatter light in many directions, creating a matte appearance with tiny highlights. To capture this, you need hard, directional light. Softboxes are great for portraits, but they often flatten food. Try using a bare bulb or a small reflector positioned to the side (around 45 degrees) to cast short, defined shadows across the surface irregularities.
- Use Side Lighting: Position your light source low and to the side. This rakes light across the surface, emphasizing every bump and crumb.
- Increase Contrast: In post-production, boost clarity and dehaze slightly. This enhances local contrast, making edges pop.
- Freeze Motion: If you’re photographing crumbs falling or steam rising, use a fast shutter speed (1/200s or faster). Blurry motion suggests chaos, not crispness.
A common mistake is over-processing. If you push the clarity slider too far, the food starts to look gritty or dirty. Aim for subtlety. You want the viewer to feel the snap of the crust, not the grit of sand. For fried items, ensure the oil has cooled slightly before shooting; hot oil reflects light differently than warm oil, and you lose that golden, crunchy definition if it’s still bubbling.
Rendering Moisture and Juiciness
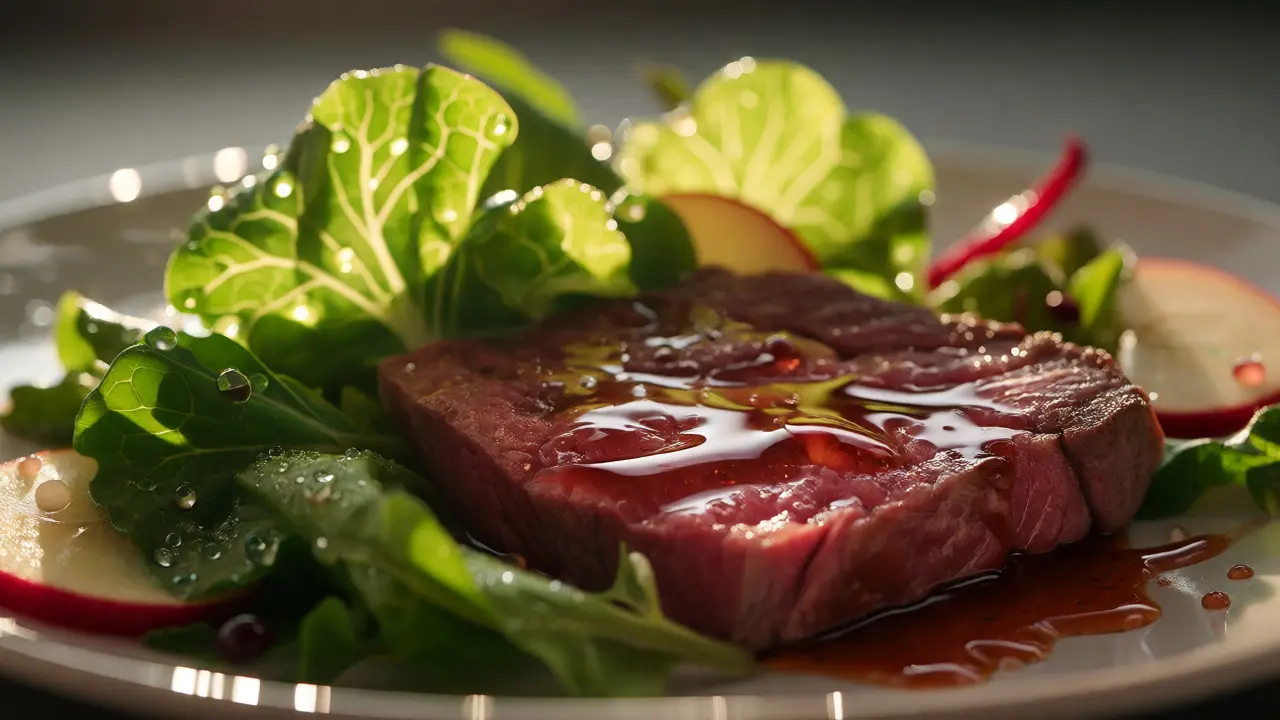
Wet foods present the opposite challenge. Water droplets, glazes, syrups, and juicy meats require specular highlights-those bright white spots that indicate a smooth, reflective surface. Unlike dry textures, moisture needs softer, broader light sources to avoid harsh glare, but it still requires directionality to show volume. Backlighting is your best friend here. Placing a light behind the subject allows light to pass through translucent elements like fruit slices or broth, while rim lighting defines the edges of droplets.
| Texture Type | Primary Light Direction | Modifier Recommendation | Key Visual Cue |
|---|---|---|---|
| Dry/Crispy | Side (45°) | Bare bulb or grid | Defined shadows, matte finish |
| Moist/Juicy | Back/Side-Back | Large softbox or scrim | Specular highlights, translucency |
| Creamy/Smooth | Front-Side | Diffused panel | Gradual tonal transitions |
To enhance moisture artificially, mix equal parts water and glycerin in a spray bottle. Plain water evaporates quickly under studio lights, leaving the food looking dry. Glycerin stays put longer, keeping those droplets round and shiny. Spray lightly-overdoing it makes the food look slimy rather than fresh. For sauces, brush them on thickly. Thin layers disappear under bright lights; thick layers catch the light and show viscosity.
Focusing on Fine Details and Macro Shots
When you get close to food, depth of field becomes razor-thin. At macro distances, focusing on the center of a cookie might leave the edges blurred. This is technically accurate but often fails to convey the full texture. Use focus stacking if you need every crumb sharp, but be careful: hyper-sharp images can feel clinical. Sometimes, selective focus is more appetizing. Let the background blur out completely so the eye locks onto the most textured part of the dish-the sear marks on a burger or the seeds on a tomato slice.
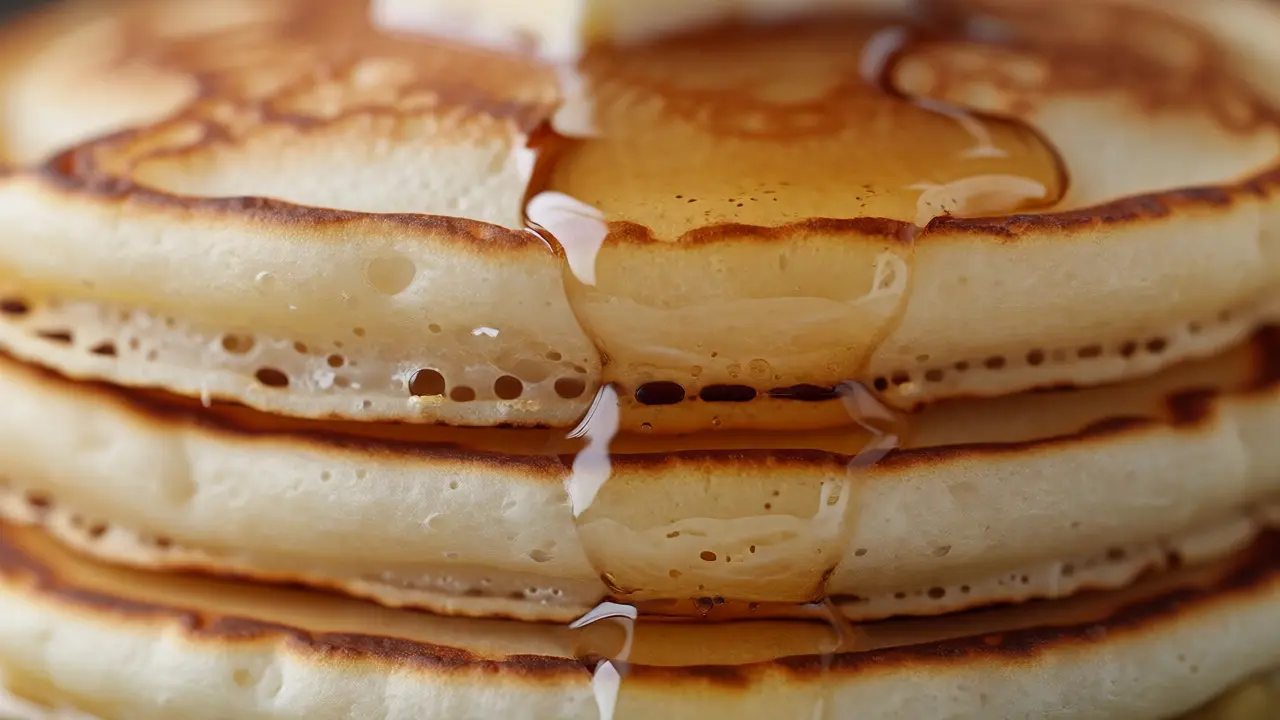
Stabilization is critical here. Handheld macro shots are prone to micro-jitters that ruin detail. Use a tripod, but don’t lock yourself into rigid compositions. Adjust the height until the angle reveals the topography of the food. Shooting straight down (flat lay) hides vertical texture; shooting at eye level reveals layers. Experiment with both. For stacked pancakes, shoot from the side to show the fluffiness between layers. For a bowl of soup, shoot slightly above to show the surface tension of the broth.
Practical Workflow for Texture Enhancement
Don’t rely solely on camera settings. Pre-shoot preparation determines success more than post-editing. Here’s a quick checklist to run through before you hit the shutter button:
- Clean the Lens: Fingerprints or smudges create haze that reduces contrast, making textures look muddy.
- Check Reflections: Ensure no unwanted reflections appear on glass or metal props. They distract from the food’s natural sheen.
- Test the Angle: Move the camera slightly up or down. A few inches can change whether a sauce looks thick or watery.
- Review Histogram: Ensure you aren’t clipping highlights on shiny surfaces. Recovering blown-out specular highlights is nearly impossible.
If you’re working with natural light, wait for cloud cover. Direct sunlight creates hard, unflattering shadows that can obscure subtle textures. Overcast days act as a giant softbox, providing even illumination that lets you control contrast with reflectors. If you must shoot indoors near a window, diffuse the light with a sheer curtain to soften the edge transition.
Troubleshooting Common Texture Issues
Sometimes, despite your best efforts, the photo doesn’t match reality. Here’s how to diagnose the problem:
- The food looks flat: You likely have symmetrical lighting. Add a flag or black card on one side to deepen shadows and restore dimension.
- The food looks oily: Reduce the amount of gloss applied, or move the light source higher to reduce direct reflection angles.
- The food looks stale: Check for condensation on cold items or wilting on greens. Refresh garnishes immediately before the shot.
Remember, texture is subjective. What looks appetizing to you might differ from your audience. Test your images on mobile devices first. Most viewers will see your work on small screens, where fine details vanish. If the texture reads clearly on a phone screen, you’ve succeeded. If it looks like a blob, zoom out and simplify the composition.
How do I keep food moist during long photo shoots?
Use a glycerin-water mix instead of plain water to simulate moisture. Additionally, rehydrate dried-out ingredients with a damp paper towel wrapped around them for a few minutes before reshooting. For hot dishes, replace them entirely after 10-15 minutes, as heat changes texture rapidly.
What is the best aperture for showing texture?
There is no single best aperture. For macro shots, f/8 to f/11 often provides enough depth of field to keep key textures sharp while blurring distractions. For wider scenes, f/5.6 may suffice. Always check the focus point closely on your monitor; if critical details are soft, stop down further.
Why does my crispy food look soft in photos?
This usually happens due to soft, frontal lighting that eliminates shadows. Switch to side or back lighting to create micro-contrast. Also, ensure your lens is clean and focused precisely on the surface, not slightly in front or behind it.
Do I need special lenses for food texture?
A macro lens (90mm-105mm) is ideal for extreme close-ups, allowing you to fill the frame with texture. However, a standard 50mm prime lens works well for general food styling if you move physically closer. Avoid wide-angle lenses for close-ups, as they distort proportions and exaggerate perspective oddly.
How do I photograph steam effectively?
Steam is invisible against light backgrounds. Use a dark backdrop and backlight the subject. You can also generate steam using cotton balls soaked in hot water placed behind the dish, hidden from view. Keep the shutter speed moderate (1/125s) to capture movement without freezing it into unnatural shapes.