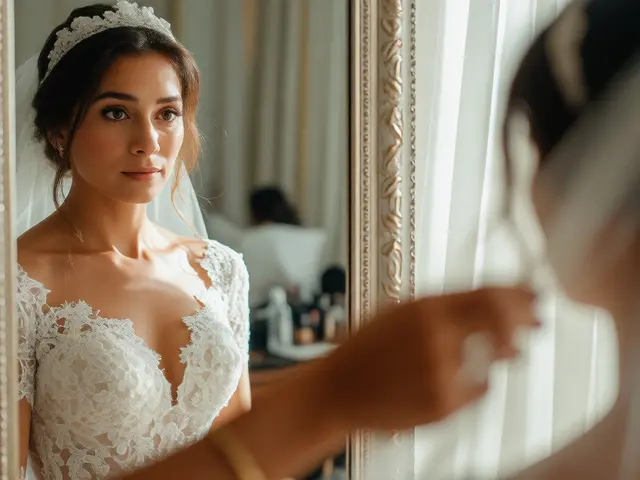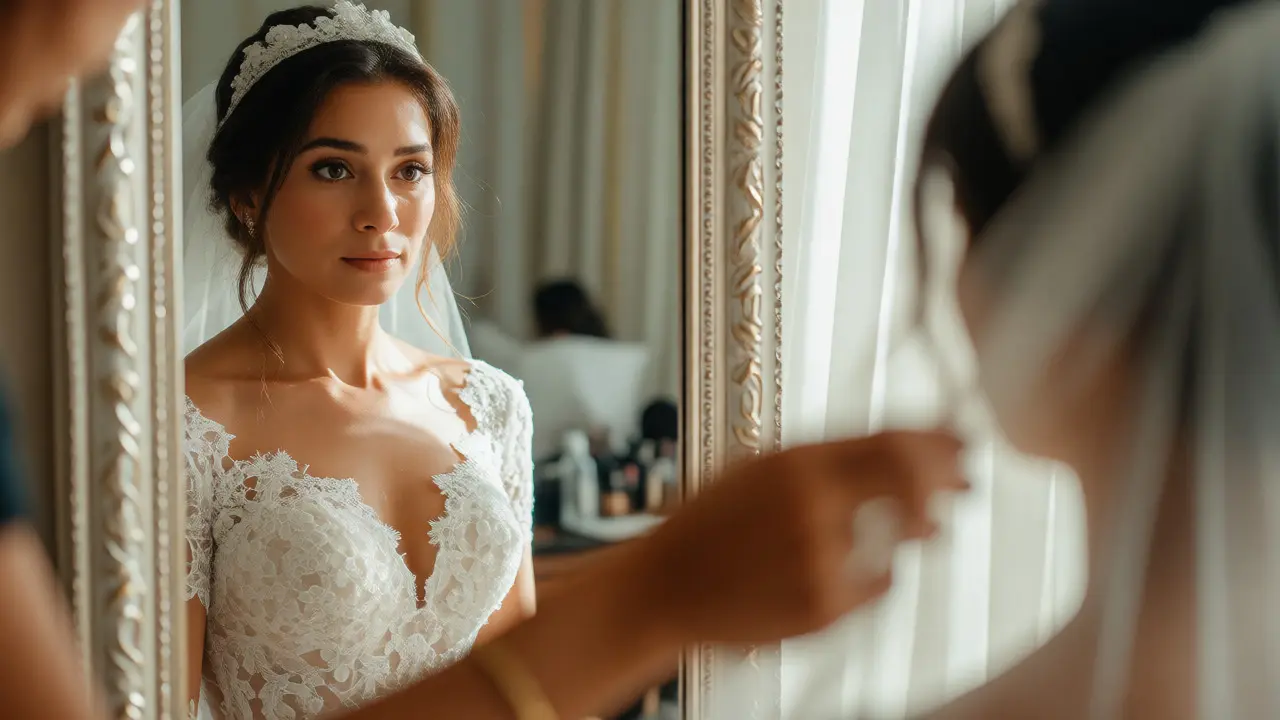
You know that feeling when the bride looks in the mirror for the first time? It’s not just a photo op; it’s a memory anchor. But if your lighting is flat or your timing is off, you lose the magic. Most photographers treat "getting ready" as filler content. They shoot random shots of shoes and rings while the makeup artist works. Big mistake. This is where the story starts. You need to capture the nerves, the laughter, and the quiet focus before the chaos of the ceremony hits.
Why Light Direction Matters More Than Exposure
Forget about perfect white balance for a second. Think about direction. If you shoot straight-on with flash, everyone looks like a mugshot. Flat light kills texture. You want side-lighting. It sculpts the face, highlights the fabric of the dress, and adds depth to the room. When you’re shooting in a hotel room or a rented Airbnb, find the biggest window. Position yourself so the light hits the subject from the side or slightly behind. This creates separation from the background. If the window is too harsh, use a sheer curtain to diffuse it. A $10 shower liner from a hardware store does the job better than expensive diffusion panels sometimes.
What if there are no windows? Or it’s raining sideways outside? Then you rely on practical lights. Lamps, string lights, even the glow from a TV screen can add warmth. Don’t fight the mixed color temperatures; embrace them. A warm lamp next to cool daylight from a door creates visual interest. Just make sure your camera settings don’t turn skin tones green. Shoot in RAW so you can fix minor color casts later without losing quality.
Capturing the Unposed: The Art of Anticipation
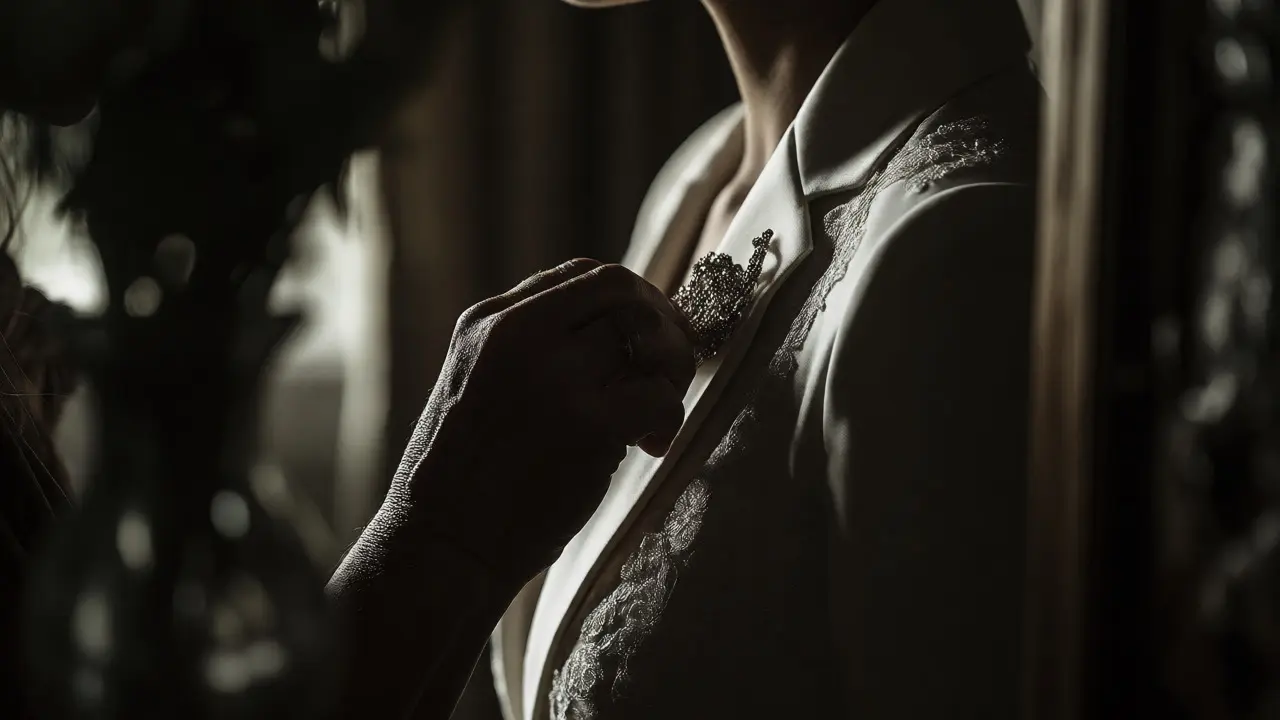
People freeze when they know you’re watching. They stiffen up. To get genuine reactions, you have to be invisible. Use a longer lens, maybe an 85mm or 70-200mm, so you can stand back. Let them forget you’re there. Watch the hands. Hands tell stories. The way a mother adjusts a veil, the trembling hand holding a champagne glass, the father tying his tie with intense concentration. These details carry more emotional weight than a wide shot of the whole group standing around.
A common trap is waiting for the "perfect" moment. It rarely happens. Instead, shoot constantly during transitions. The moment the makeup artist steps back to check their work? That’s gold. The instant the bridesmaids laugh at a bad joke? Click. Keep your shutter speed high enough to freeze motion but low enough to let in light. ISO 800 to 1600 is often necessary indoors. Modern cameras handle noise well. Grainy photos feel real. Clean, sterile images feel staged.
Lighting Scenarios and Solutions
Every venue presents unique challenges. Here is how to handle the most common ones without dragging in heavy studio gear.
| Scenario | Challenge | Quick Fix | Pro Tip |
|---|---|---|---|
| Bright Window | Overexposed background, dark subject | Underexpose by 1 stop; expose for skin tone | Use reflector card to bounce light onto shadow side |
| Dim Room | Noise, lack of detail | Open aperture (f/1.8 - f/2.8); raise ISO | Turn on all lamps for warmer ambiance |
| Mixed Lighting | Weird color casts (green/orange) | Shoot RAW; adjust White Balance in post | Embrace contrast between warm bulbs and cool daylight |
| Small Bathroom Mirror | Reflections, cluttered background | Angle camera to avoid photographer reflection | Tidy counter before shooting; hide toothbrushes |
Composition Tricks for Tight Spaces
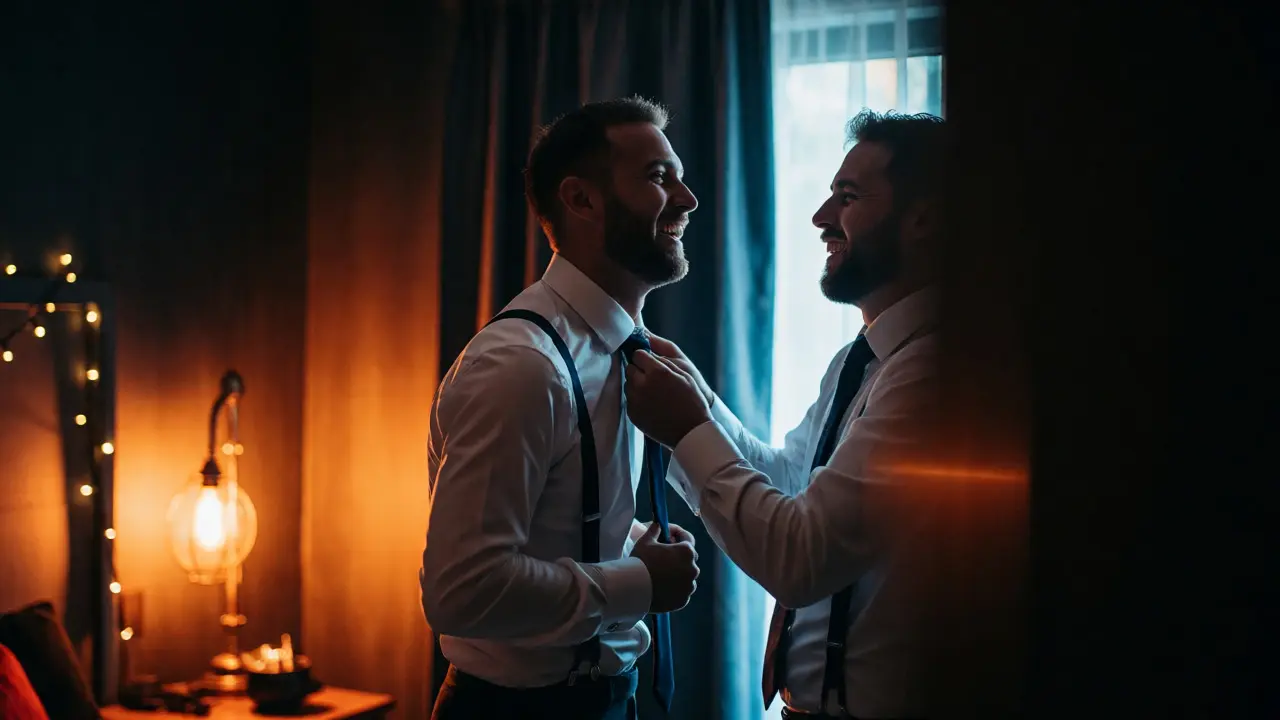
Preparation rooms are often small. You might be shooting in a bathroom no bigger than a closet. Wide-angle lenses distort faces if you get too close. Stick to prime lenses like a 35mm or 50mm. They give a natural perspective. Frame tightly. Crop out the messy pile of clothes on the bed. Focus on the interaction between two people. A tight crop of a groom helping his best man button his jacket tells a story of friendship. A wide shot showing five people looking at phones shows nothing interesting.
Use foreground elements to create depth. Shoot through a doorway. Include a plant or a vase in the lower corner of the frame. This adds layers to the image. It makes a flat 2D photo feel three-dimensional. Also, pay attention to eye lines. If someone is looking down at their phone, catch that moment. If they are looking at themselves in the mirror, capture the reflection. Reflections double the storytelling potential. You see the action and the reaction simultaneously.
The Groom’s Side: Often Overlooked
Most photographers spend 90% of their prep time with the bride. The groom gets ten minutes of rushed coverage. That’s a missed opportunity. Men prepare differently. There’s less fuss, more camaraderie. Capture the jokes, the whiskey glasses, the cufflinks being pinned. These moments are raw and funny. Use natural light here too, but don’t be afraid to use a fast prime lens in darker corners. A 50mm f/1.4 lens is your best friend in a dimly lit bar or hotel suite. It isolates the subject beautifully against a blurred background.
Ask the groomsmen to do something together. Not posing, but doing. Tying ties, checking watches, pouring drinks. Action creates natural expressions. Standing still leads to awkward smiles. Movement leads to life. Keep moving yourself. Change angles constantly. Get low, look up. Get high, look down. Varying perspectives keeps the series dynamic. You don’t want every shot to look like it was taken from the same spot.
Post-Processing: Enhancing, Not Creating
Don’t over-edit these photos. The goal is documentary realism. Slightly increase contrast to bring out textures in fabrics and hair. Add a subtle grain to mimic film aesthetics. Avoid heavy saturation. Skin tones should look healthy, not orange. If you used mixed lighting, correct the color temperature globally, then tweak specific areas if needed. For example, if a yellow lamp made half the face orange, desaturate the orange channel slightly in those shadows.
Consistency matters. Your prep photos should match the tone of the rest of the wedding album. If you shoot moody and dark, keep it consistent. If you shoot bright and airy, stick to that style. Mixing styles confuses the viewer. Create a preset specifically for indoor prep shots. Adjust exposure, contrast, and color grading once, apply it to all similar images, then fine-tune individual files. This saves hours in editing.
Checklist for a Smooth Prep Session
- Scout the location: Know where the windows are and which way they face.
- Communicate with vendors: Tell the makeup artist when you need space for shots.
- Clear the clutter: Remove trash bags, food wrappers, and stray cables.
- Charge batteries: You’ll shoot hundreds of frames; don’t run out mid-moment.
- Backup immediately: Swap cards after each location change.
Do I need external flash for wedding prep photos?
Not necessarily. Natural light is usually preferred for its softness and authenticity. However, if the room is very dark, a small speedlight bounced off a ceiling or wall can help. Direct flash often flattens features and looks harsh. Try to maximize available light first by opening curtains and turning on lamps.
How early should I arrive for getting ready shots?
Arrive at least one hour before the planned start of photography. This gives you time to scout the location, test lighting conditions, and establish rapport with the couple and their team. Rushing into a session leads to missed opportunities and stressed subjects.
What is the best lens for small preparation rooms?
A 35mm or 50mm prime lens is ideal. These focal lengths provide a natural field of view without significant distortion, allowing you to capture both environmental context and intimate details. Avoid ultra-wide lenses unless you are intentionally creating artistic distortion, as they can stretch facial features unflatteringly.
How do I handle mixed lighting sources?
Shoot in RAW format to retain maximum flexibility. Set your white balance manually to match the dominant light source, or use auto-white balance and correct it in post-processing. Embracing mixed lighting can add mood and atmosphere, so don’t always try to eliminate it completely.
Should I pose the couple during prep?
Minimal posing is best. Guide them gently-ask them to hug, whisper, or look at each other-but let them interact naturally. Heavy posing disrupts the candid nature of preparation moments. The goal is to document reality, not stage a scene.