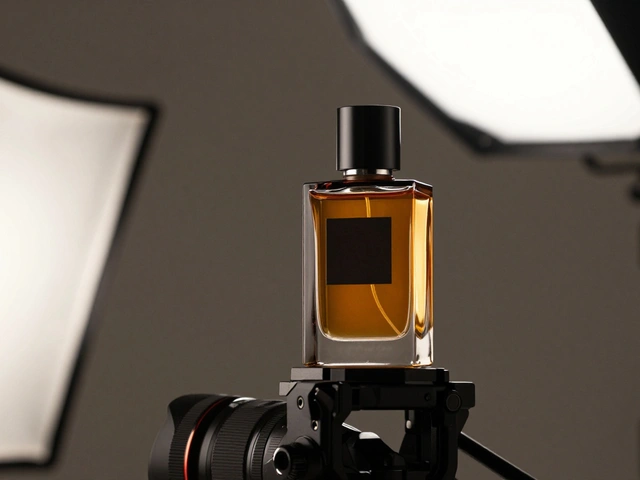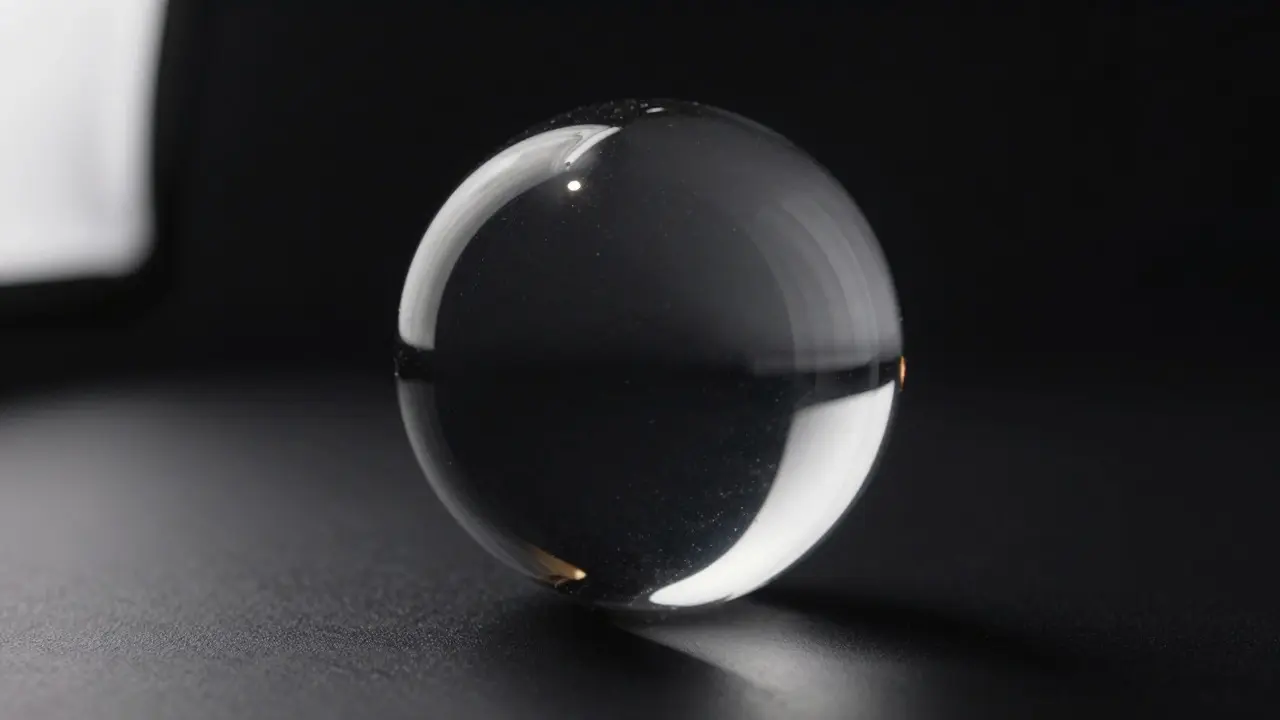
Shooting a chrome car or a glass bottle is often where photographers hit a wall. The subject looks flat, dirty, or just plain wrong, even when the exposure seems correct. The culprit isn't usually your camera settings; it's how you handle specular highlights. These bright reflections are not just flaws to be avoided-they are the primary tool for defining shape and texture on non-diffuse materials.
If you struggle with shiny objects, you likely treat them like matte subjects. You aim for even illumination, but shiny surfaces don't absorb light; they bounce it back. To capture the true character of metal, glass, or plastic, you need to stop thinking about lighting the object and start thinking about lighting its reflection. This shift in perspective changes everything about your setup.
Understanding the Physics of Reflections
Specular highlights are intense points of reflected light that appear on smooth, glossy surfaces. Unlike diffuse light, which scatters in many directions, specular reflection follows the law of reflection: the angle of incidence equals the angle of reflection. This means if you want a highlight to appear at a specific spot on a curved surface, you must place the light source at the exact mirror-opposite position relative to the camera lens.
This physics dictates two main types of reflections you'll encounter:
- Direct Reflections: Light from a source bounces directly into the lens. This creates sharp, bright spots.
- Ambient Reflections: Light bouncing off walls, ceilings, or other objects enters the frame. This fills in shadows and defines the environment around the subject.
On a matte surface, ambient light softens the image. On a shiny surface, ambient light can muddy the details. That's why controlling the environment is just as important as positioning your key lights.
The Role of Softboxes and Diffusion
You might assume that large, soft light sources are always better. For portraits, yes. For shiny products, not necessarily. A massive softbox creates a broad, elongated highlight. If that highlight stretches across the entire face of a perfume bottle, it can obscure the label or make the liquid look opaque.
Instead, consider using smaller, more controlled light sources. A strip box (a long, narrow softbox) is ideal for cylindrical objects like bottles or cans. It creates a vertical line of light that emphasizes height and curvature without washing out the front. Conversely, a small snoot or bare bulb can create pinpoint highlights that accentuate edges and corners, giving the subject a three-dimensional feel.
| Light Shape | Resulting Highlight | Best Use Case |
|---|---|---|
| Large Octabox | Broad, soft oval | Filling background, subtle definition |
| Strip Box | Narrow vertical line | Cylinders, bottles, cans |
| Snoot/Bare Bulb | Sharp point | Edge accents, dramatic contrast |
| Grid + Softbox | Controlled, focused beam | Illuminating specific zones without spill |
Controlling the Environment with Black Cards
Here’s a counter-intuitive tip: sometimes you need darkness to make a shiny object pop. If a black car looks gray and washed out, it’s because it’s reflecting the white studio walls or ceiling. By placing black cards or black paper behind and beside the subject, you force the surface to reflect dark tones. This creates deep, rich blacks that define the curves of the bodywork.
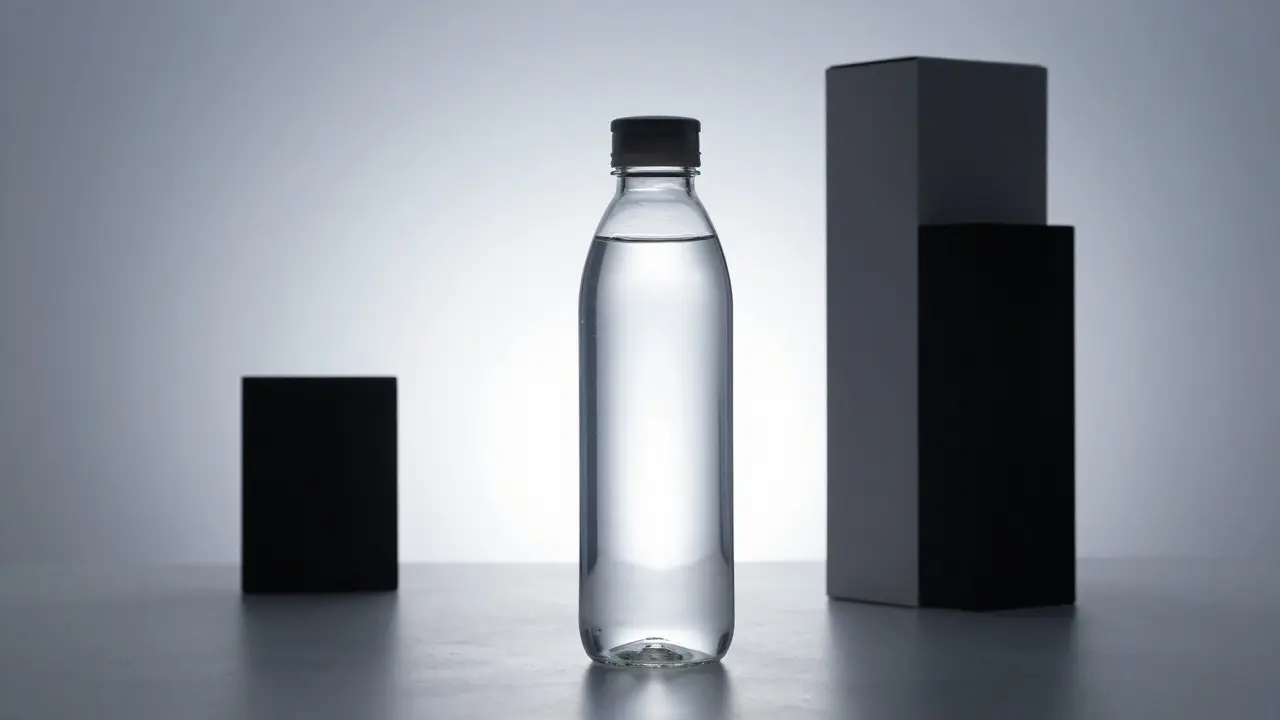
Similarly, if a glass bottle lacks clarity, use white cards to reflect light through the glass. This technique, known as backlighting or rim lighting, helps separate the subject from the background and reveals the internal structure of transparent materials. You aren't just adding light; you are sculpting the reflection itself.
Polarization and Its Limits
Many photographers reach for a circular polarizer filter to kill glare. While effective for outdoor shooting on wet pavement or leaves, polarization has limited utility in a controlled studio for shiny products. Polarizers work by blocking light waves vibrating at a specific angle. However, they also reduce the intensity of all light, forcing you to increase ISO or open up your aperture, which can introduce noise or shallow depth of field.
More importantly, polarization doesn't change the shape of the highlight; it just dims it. If your highlight is poorly placed, polarizing won't fix it-it will just make the whole image darker. Instead, rely on physical modifiers like flags, grids, and cards to manage reflections. Save the polarizer for location shoots where you can't control the ambient light.
Practical Setup for Common Scenarios
Let’s apply these principles to two common scenarios: a metallic watch and a clear water bottle.
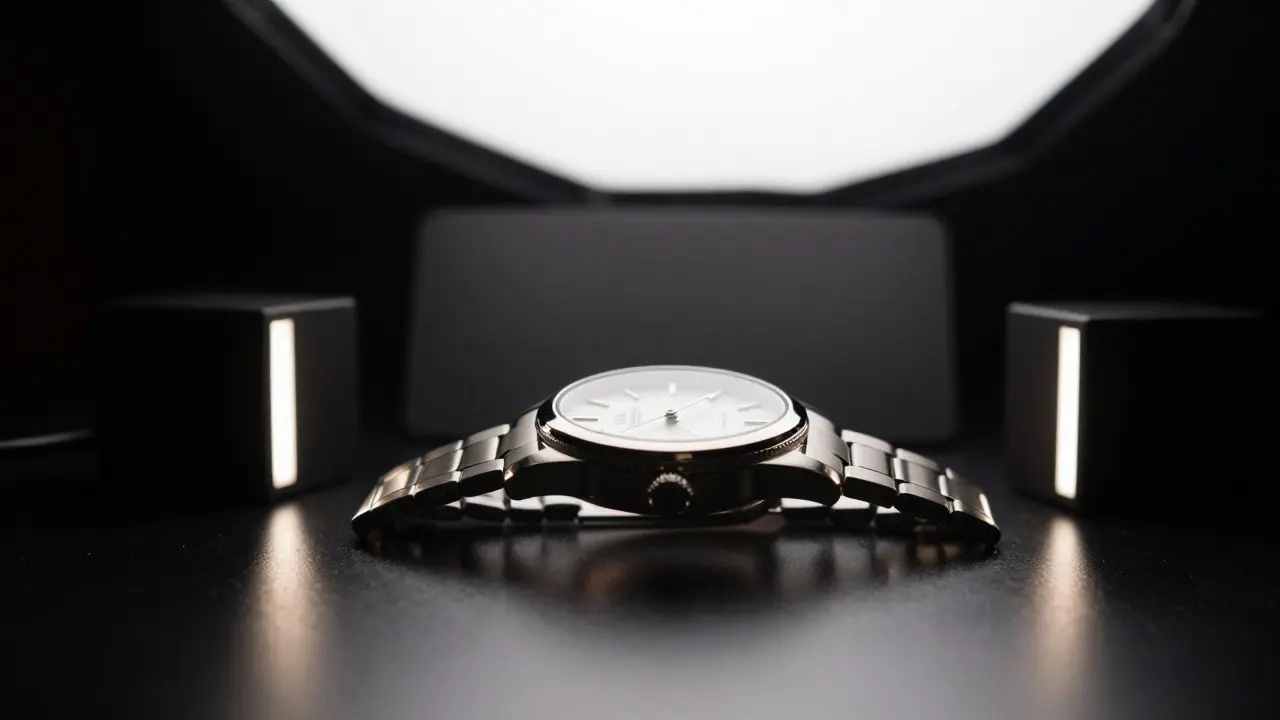
Scenario 1: The Metallic Watch Bracelets and cases have complex, multi-faceted surfaces. Start with a large overhead softbox to provide general fill. Then, add two small strip boxes on either side, angled slightly inward. These create vertical highlights along the lugs and case sides. Finally, use a black card behind the watch to ensure the dial remains legible and the metal contrasts sharply against the dark background. Avoid direct flash from the front, as it will create a single, harsh blob of light that hides the craftsmanship.
Scenario 2: The Clear Water Bottle Glass and clear plastic require light to pass through them. Place a large white backdrop behind the bottle and illuminate it with a dedicated light source (backlight). This makes the water visible and gives the glass a glowing edge. For the front, use a strip box to create a clean vertical highlight on the side. Be careful with the label; if it’s printed on the glass, ensure the backlight doesn’t blow out the text. Adjust the distance between the backlight and the bottle to control the intensity of the glow.
Common Mistakes to Avoid
Even experienced photographers fall into these traps:
- Over-diffusing: Using too much diffusion softens the highlights until they disappear, making the subject look matte rather than shiny.
- Ignoring the Background: The background reflects onto the subject. A messy or bright background will appear on your shiny product. Keep the set clean and controlled.
- Moving the Camera Too Much: Since reflections are angle-dependent, moving the camera even an inch can shift the highlight dramatically. Lock down your tripod and focus before adjusting lights.
- Forgetting the Floor: The floor reflects onto the bottom of the subject. Use a black or white sweep depending on whether you want a dark base or a bright, seamless transition.
Next Steps for Your Next Shoot
To master this skill, practice with simple geometric shapes first. A silver ball bearing is perfect for testing light shapes. Try different distances and angles, and observe how the highlight moves. Once you understand how a single light behaves, add a second light to see how they interact. Don’t rush to complex products. Build your intuition for reflection geometry step by step.
Remember, lighting shiny subjects is less about brightness and more about placement. You are painting with light, but the canvas is the reflection itself. Get the geometry right, and the rest falls into place.
Why does my shiny product look flat?
Flatness usually occurs when the light source is too close to the camera axis or when the highlight is too broad. Move your lights further away from the camera angle or use smaller, more focused light sources to create distinct, directional highlights that define the curve.
Can I use a polarizer in the studio?
Yes, but it's rarely necessary. Polarizers reduce overall light intensity and only affect reflections at specific angles. In a controlled studio, it's better to use black cards or flags to block unwanted reflections physically, giving you more precise control over the highlight shape.
What is the best light modifier for bottles?
A strip box is generally the best choice for cylindrical objects like bottles. It creates a long, thin highlight that runs vertically down the side, emphasizing the cylinder's shape without covering the entire front face.
How do I remove dust from a shiny surface before shooting?
Use a microfiber cloth and compressed air. Handle the object by its edges to avoid leaving fingerprints. Even tiny smudges become huge, distracting blobs of light when illuminated by a studio strobe. Clean the surface immediately before the shoot, as static attracts dust quickly.
Does the color of the light matter for shiny objects?
The color temperature of the light source matters less than its shape and position. However, if you are mixing natural light with artificial light, ensure they match in color temperature to avoid color casts in the reflections. White balance is critical for accurate color rendering on metallic surfaces.