Ever taken a photo that looks exactly how you saw it in your mind’s eye? Or maybe one that’s pitch black, blown out white, or blurry when it should be sharp? The difference usually comes down to understanding the exposure triangle. It’s not magic; it’s physics. But for many new photographers, it feels like solving a math equation while holding a camera steady. Let’s break it down so you can stop guessing and start controlling your images.
What Is the Exposure Triangle?
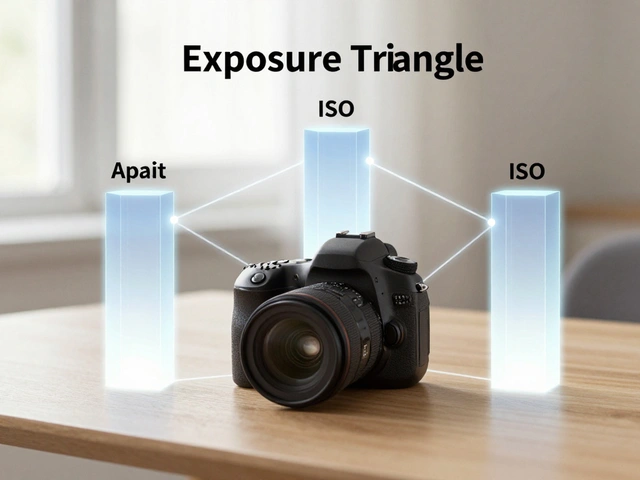
The Exposure Triangle is a conceptual model in photography that describes the three settings-aperture, shutter speed, and ISO-that work together to determine the brightness of an image. Think of it as a balance scale. If you change one side (make it lighter or darker), you have to adjust another side to keep the picture balanced, unless you intentionally want a different look.
Most modern cameras have an automatic mode that does this balancing for you. But once you move into Aperture Priority, Shutter Priority, or Manual Mode, you take control. That’s where the real creative power lies. You decide what matters most: the background blur, the motion freeze, or the noise level.
Aperture: Controlling Light and Depth of Field
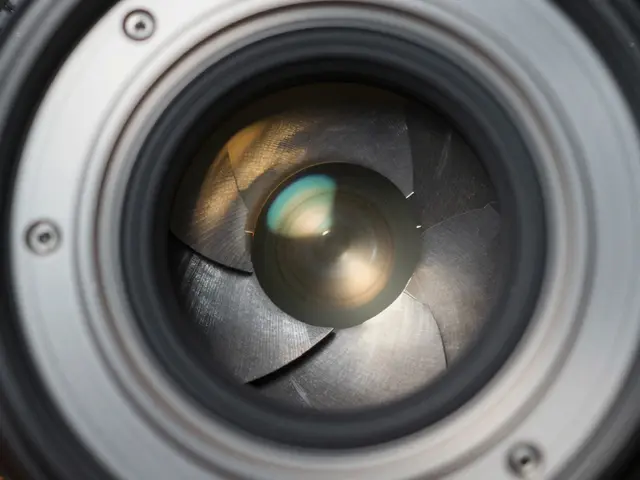
Aperture is the opening in the lens through which light passes, measured in f-stops such as f/1.8, f/8, or f/16. This might sound technical, but here’s the simple rule: a lower number (like f/1.8) means a wider opening, letting in more light. A higher number (like f/16) means a narrower opening, letting in less light.
But aperture does more than just control brightness. It controls depth of field-the range of distance that appears sharp in your photo.
- Wide Aperture (f/1.4 - f/2.8): Creates a shallow depth of field. The subject is sharp, but the background melts into a creamy blur (bokeh). Great for portraits.
- Narrow Aperture (f/8 - f/16): Creates a deep depth of field. Both the foreground and background are sharp. Ideal for landscapes or group shots.
If you’re shooting a portrait in low light, you might open up to f/2.0 to get enough light. But if you’re shooting a wedding group at noon, you might close down to f/5.6 to ensure everyone from front to back is in focus.
Shutter Speed: Freezing or Blurring Motion
Shutter Speed is the amount of time the camera’s sensor is exposed to light, typically measured in fractions of a second (e.g., 1/100s) or whole seconds. A fast shutter speed (like 1/1000s) freezes action instantly. A slow shutter speed (like 1/10s or even 30s) allows motion to blur across the frame.
This setting dictates how movement looks in your photos.
- Fast Shutter (1/500s+): Perfect for sports, wildlife, or kids running around. It stops the motion dead in its tracks.
- Slow Shutter (1/30s or slower): Used for artistic effects like silky waterfalls, light trails from cars, or intentional motion blur to convey speed.
There’s a catch, though. Hand-holding a camera with a slow shutter speed often leads to camera shake. As a general rule of thumb, try not to go slower than the reciprocal of your focal length. If you’re using a 50mm lens, aim for at least 1/50s. For a 200mm telephoto, stay above 1/200s unless you’re on a tripod.

ISO: Sensitivity to Light
ISO is the sensitivity of the camera’s sensor to light, with values ranging from 100 (low sensitivity) to 12,800 or higher (high sensitivity). In the past, film photographers had to buy different rolls of film for different lighting conditions. Now, you just dial it in.
Low ISO (100-400) produces the cleanest, sharpest images with the least digital noise (those grainy speckles). High ISO (3200+) allows you to shoot in dark environments without slowing down your shutter speed, but it introduces noise.
Here’s the strategy: Keep your ISO as low as possible. Only raise it when you need to either speed up your shutter to freeze motion or keep your aperture reasonable for depth of field. Modern cameras handle high ISO surprisingly well, but it’s still the last lever you should pull.
How They Work Together: Practical Scenarios
Understanding each part is easy. Seeing them interact is where the skill grows. Let’s look at two common scenarios.
Scenario 1: A Bright Daytime Landscape
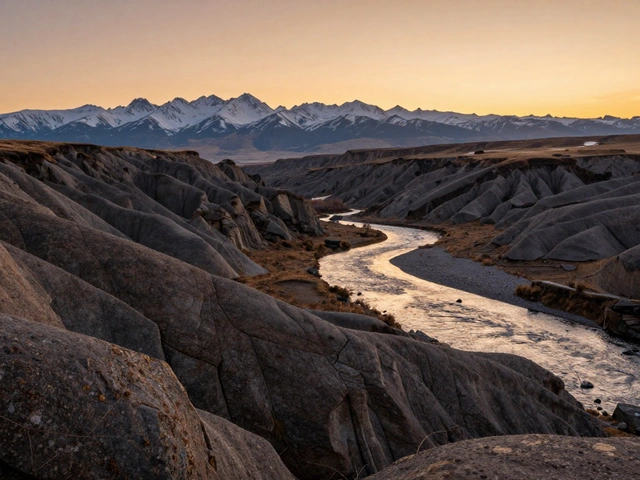
You’re standing in a sunlit field. Your camera suggests f/11, 1/250s, ISO 100. This gives you a deep depth of field (everything sharp) and a fast enough shutter to avoid hand-shake. If you wanted a longer exposure to make the clouds streak, you’d need a neutral density filter because the light is too strong for a slow shutter at ISO 100.
Scenario 2: An Indoor Sports Event
You’re shooting basketball under arena lights. You need to freeze the players moving quickly. You set your shutter speed to 1/500s. You want the player isolated from the crowd, so you set aperture to f/2.8. But the light is dim. At f/2.8 and 1/500s, you need a lot of sensitivity. You bump your ISO to 3200. The image will have some noise, but it’s sharp and properly exposed. If you lowered the ISO to 400, the photo would be black. If you slowed the shutter to 1/60s, the player would be a blur.
| Setting | Portrait (Indoor) | Landscape (Daylight) | Sports (Indoor) |
|---|---|---|---|
| Aperture | f/1.8 - f/2.8 | f/8 - f/11 | f/2.8 - f/4 |
| Shutter Speed | 1/60s - 1/125s | 1/125s - 1/500s | 1/500s - 1/1000s |
| ISO | 800 - 3200 | 100 - 200 | 1600 - 6400 |
| Primary Goal | Blurry background | Sharp foreground/background | Freeze motion |
Common Mistakes to Avoid
Even experienced photographers trip over these issues. Watch out for them:
- Ignoring Camera Shake: Using a shutter speed slower than your hands can handle without a stabilizer. Check your histogram and zoom in on test shots.
- Overusing High ISO: Cranking ISO to 6400 when you could have opened the aperture instead. Noise reduction in post-processing is rarely as good as starting with a clean file.
- Chasing the Wrong Aperture: Using f/16 for everything. While it gives maximum depth of field, very small apertures can cause diffraction, making the entire image slightly softer. f/8 is often the sweet spot for sharpness in many lenses.
- Forgetting White Balance: While not part of the exposure triangle, incorrect white balance can make a correctly exposed photo look wrong. Use Auto WB for beginners, but learn to set Kelvin manually for consistent color.
Practical Tips for Mastering the Triangle
How do you actually get better? Practice deliberately. Here’s a simple exercise you can do this weekend:
- Start in Aperture Priority (A or Av mode). Pick a subject. Shoot it at f/2.8, then f/5.6, then f/11. Notice how the background changes.
- Switch to Shutter Priority (S or Tv mode). Find something moving-a fan, a pet, traffic. Shoot at 1/60s, 1/250s, and 1/1000s. See how the motion freezes or blurs.
- Go Manual. Set your aperture and shutter speed based on what you want, then adjust ISO until the histogram looks right. Trust the meter, but verify with the histogram.
Remember, there is no single "correct" exposure. There are only exposures that achieve your creative intent. The exposure triangle is your toolkit for getting there.
Frequently Asked Questions
What is the best aperture for portraits?
Generally, f/1.8 to f/2.8 is ideal for portraits. These wide apertures create a shallow depth of field, blurring the background and making the subject stand out. However, if you are shooting a group, you may need to close down to f/4 or f/5.6 to ensure everyone is in focus.
How high can I push my ISO before quality drops?
It depends on your specific camera model. Most modern mid-range cameras produce usable images up to ISO 3200 or 6400. High-end models can go even higher. The key is to check your files at 100% zoom on a computer. If the noise is distracting and ruins detail, lower your ISO and add light or slow your shutter instead.
Which setting should I change first when adjusting exposure?
Usually, start with Aperture or Shutter Speed, depending on your creative goal. If you care about depth of field, lock in your Aperture. If you care about freezing motion, lock in your Shutter Speed. Then, adjust ISO to correct the exposure. Save ISO for last because it affects image quality (noise) rather than creative composition.
Does aperture affect the sharpness of the lens?
Yes. Most lenses are not sharpest at their widest aperture (e.g., f/1.4) due to optical imperfections. They typically reach peak sharpness a few stops down, often around f/5.6 to f/8. At very narrow apertitudes (f/16 or smaller), diffraction can also soften the image. So, f/8 is often considered the 'sweet spot' for overall sharpness.
Can I use the exposure triangle with video?
Yes, but with a caveat. In video, shutter speed is usually locked to half your frame rate (e.g., for 30fps video, use 1/60s shutter) to maintain natural motion blur. This means you rely heavily on Aperture and ISO to control exposure. This is why video shooters often use ND filters to allow for wider apertures in bright light without overexposing.