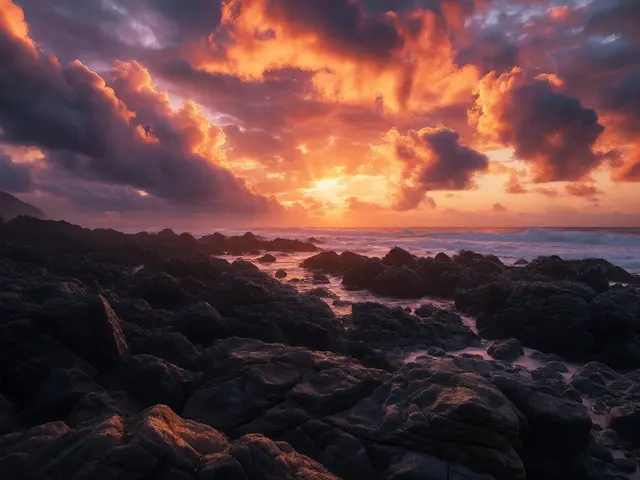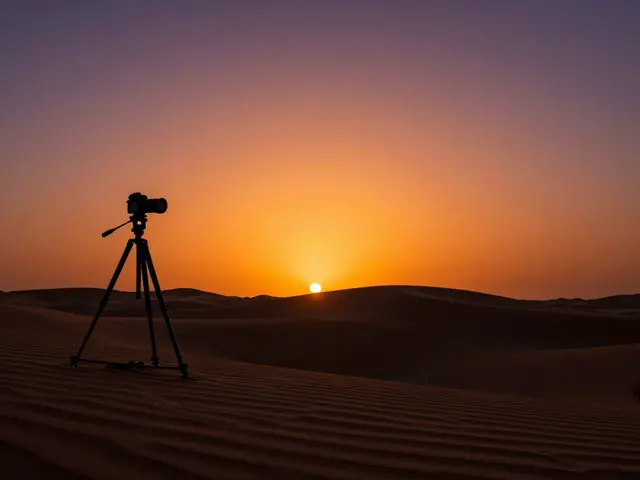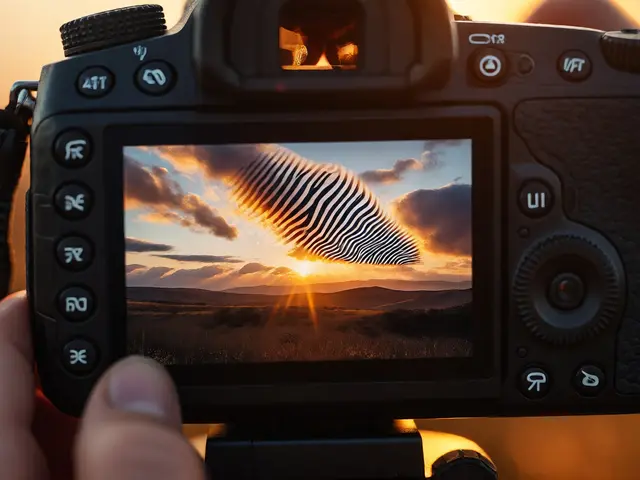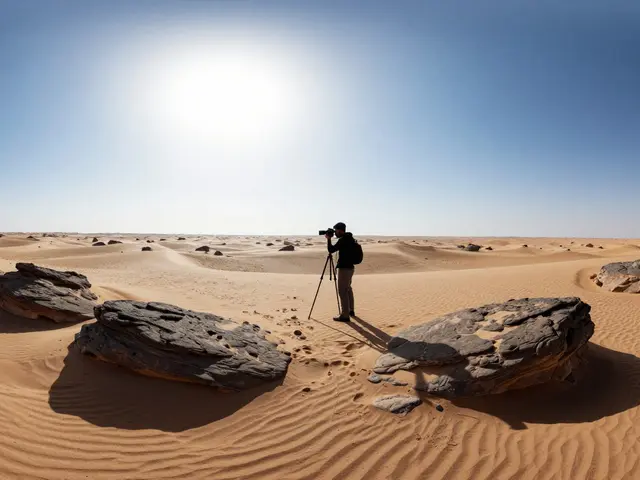
Golden hour is a lie. Or at least, that’s what your camera histogram looks like when you try to capture the exact moment the sun dips below the horizon. You see a blazing orange sky in your eye, but the sensor sees a blown-out white blob where the clouds should be and a pitch-black foreground where the landscape lives. This is the classic sunset and sunrise exposure dilemma: how do you keep the vibrant colors of the sky without losing detail in the shadows?
The good news is that modern sensors have gotten better, but physics still rules. The difference between the brightest part of the sky and the darkest shadow can span 12 to 15 stops of light. Your camera, even a high-end mirrorless body, usually handles about 13-14 stops comfortably before noise or banding ruins the file. So, if you just point and shoot, you’re fighting a battle you’re likely to lose. But with a few specific techniques, you can bridge that gap and keep those rich, warm tones intact.
Why Standard Metering Fails at Golden Hour
Your camera’s built-in meter is designed to average everything out to middle gray. In a normal scene, this works fine. But at Sunrise is a time of day characterized by low-angle sunlight that creates long shadows and intense color saturation in the atmosphere. The problem arises because the sky is significantly brighter than the land. If you expose for the sky, the ground goes black. If you expose for the ground, the sky blows out.
This isn’t a flaw in your gear; it’s a limitation of Dynamic Range is the ratio between the lightest and darkest parts of an image that can be captured simultaneously. When the contrast exceeds what your sensor can hold, you have to make a choice. Most beginners pick the wrong one. They protect the highlights because they know blown-out skies are hard to fix, leaving them with muddy, underexposed landscapes. Or they protect the shadows, resulting in a washed-out, pale sky that lacks punch.
The Zone System: Exposing for the Shadows
Here is the golden rule for preserving color: expose for the shadows, not the highlights. Why? Because digital sensors handle overexposure poorly (clipping data) but handle underexposure much better (just adding noise). Noise can be reduced in post-processing. Clipped highlights cannot be recovered.
However, there is a catch. If you expose too far into the shadows, you introduce so much noise that you ruin the smooth gradients of the sky. This is where the concept of Color Depth is the number of bits used to represent the color information in each pixel, determining the smoothness of tonal transitions comes into play. A 14-bit RAW file gives you more room to pull up shadows without introducing harsh banding compared to an 8-bit JPEG.
To execute this, switch your camera to Manual mode. Set your aperture to f/8 or f/11 for maximum sharpness across the frame. Lock your ISO at the base level (usually 100). Now, adjust your shutter speed until your histogram shows the graph leaning slightly to the right, but not touching the edge. This technique is often called "Exposing to the Right" (ETTR), but in this context, it’s more about finding the sweet spot where the shadows retain detail without crushing the blacks.
Handling the Sky: Gradient Filters vs. Bracketing
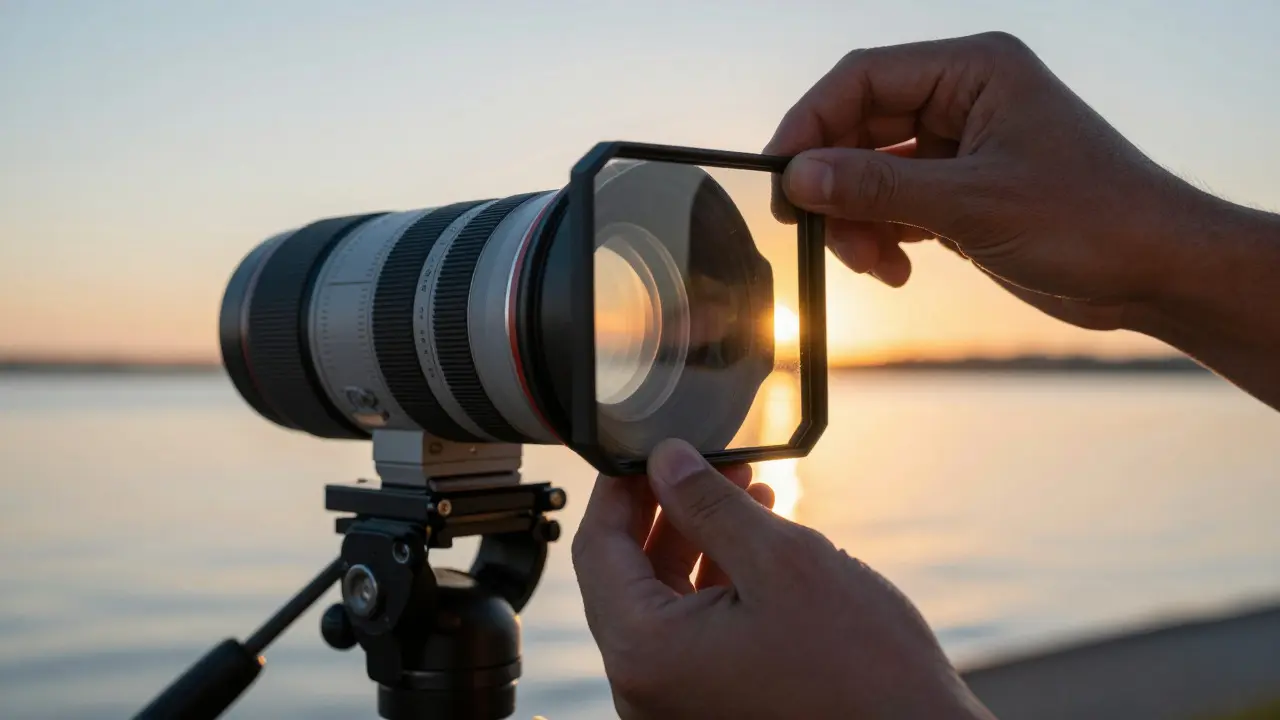
If the contrast is extreme-say, the sun is still visible on the horizon-you need tools to manage the light physically or digitally. You have two main options: Graduated Neutral Density Filters are optical filters that darken only the upper portion of the lens view, balancing exposure between bright skies and darker landscapes or bracketed exposures.
Physical filters are great for real-time visualization. You look through the viewfinder, and the scene looks balanced. But they require practice to align the gradient line with the horizon. If the horizon is uneven, the filter can leave a weird halo or a hard line across the middle of your photo. Digital bracketing, on the other hand, is foolproof. You take three shots: one exposed for the sky, one for the middle, and one for the shadows. Then, you blend them in software.
| Technique | Pros | Cons | Best For |
|---|---|---|---|
| Single Shot (Expose for Shadows) | Fast, no post-processing needed | May lose highlight detail if contrast is high | Moderate contrast scenes |
| Graduated ND Filter | In-camera solution, natural look | Requires alignment skill, expensive glass | Flat horizons, quick shoots |
| Bracketed Exposures (HDR) | Captures full dynamic range | Requires tripod, moving subjects blur | High contrast, static landscapes |
Preserving Color: White Balance and Temperature
Exposure is only half the battle. The other half is color. At Sunset is the period after sundown when the sun is below the horizon, creating indirect lighting with cooler tones and deep blues, the color temperature shifts dramatically. It starts around 3000K (warm orange) and drops to 4000K+ (cool blue) within minutes. If you set your white balance to Auto, your camera will try to neutralize these colors, making the sky look flat and gray instead of fiery red or deep purple.
To preserve the true colors, lock your white balance manually. Set it to Daylight (around 5500K) or even Cloudy (around 6500K) to keep the warmth. Alternatively, use Custom White Balance by taking a test shot of a neutral gray card or a white cloud. This ensures that the colors you see are the colors you get, without the camera trying to "correct" the mood of the scene.
Also, watch out for chromatic aberration. Long lenses at wide apertures can create colored fringes around high-contrast edges, like tree branches against the bright sky. While this is a lens issue, proper exposure helps mitigate it by ensuring the sensor isn't struggling with extreme light differences.
Post-Processing: Bringing Out the Details
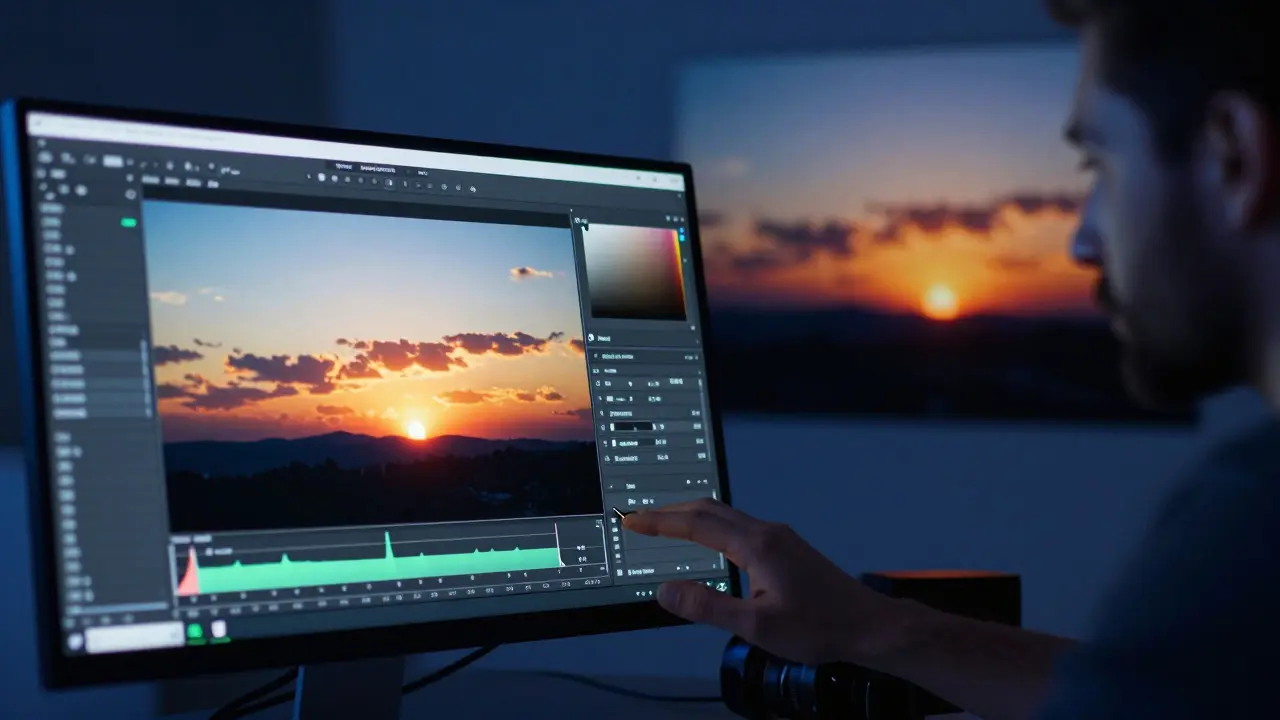
No matter how good your in-camera technique is, post-processing is where you truly preserve dynamic range. Start with a RAW file. Use the Highlights slider to bring back detail in the sky. Don’t drag it all the way down; aim for a value where the clouds regain texture without looking unnatural. Then, use the Shadows slider to lift the dark areas. Be careful here-if you push it too far, you’ll get color noise, especially in the greens and blues.
Use the Tone Curve to fine-tune the midtones. A gentle S-curve adds contrast without crushing the blacks or blowing the whites. Finally, apply selective adjustments. Use radial filters to brighten the center of the image where the sun was, and linear filters to deepen the sky above the horizon. This mimics the effect of a graduated filter but with infinite precision.
Common Mistakes to Avoid
- Chasing the Sun: Waiting for the sun to disappear completely often means missing the best colors. The most vibrant hues happen in the last 15 minutes before sunset and the first 15 minutes after sunrise.
- Ignoring the Foreground: A beautiful sky with a black hole in the bottom third of the frame is unbalanced. Ensure your foreground has interesting elements that benefit from the available light.
- Using JPEG Only: JPEGs have limited dynamic range. Always shoot in RAW to give yourself the flexibility to recover details later.
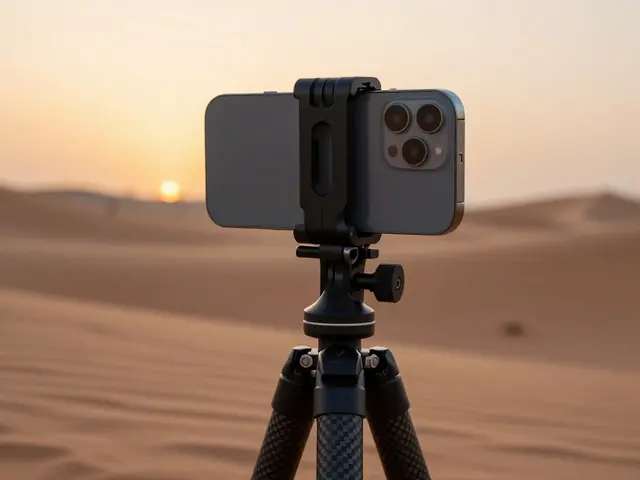
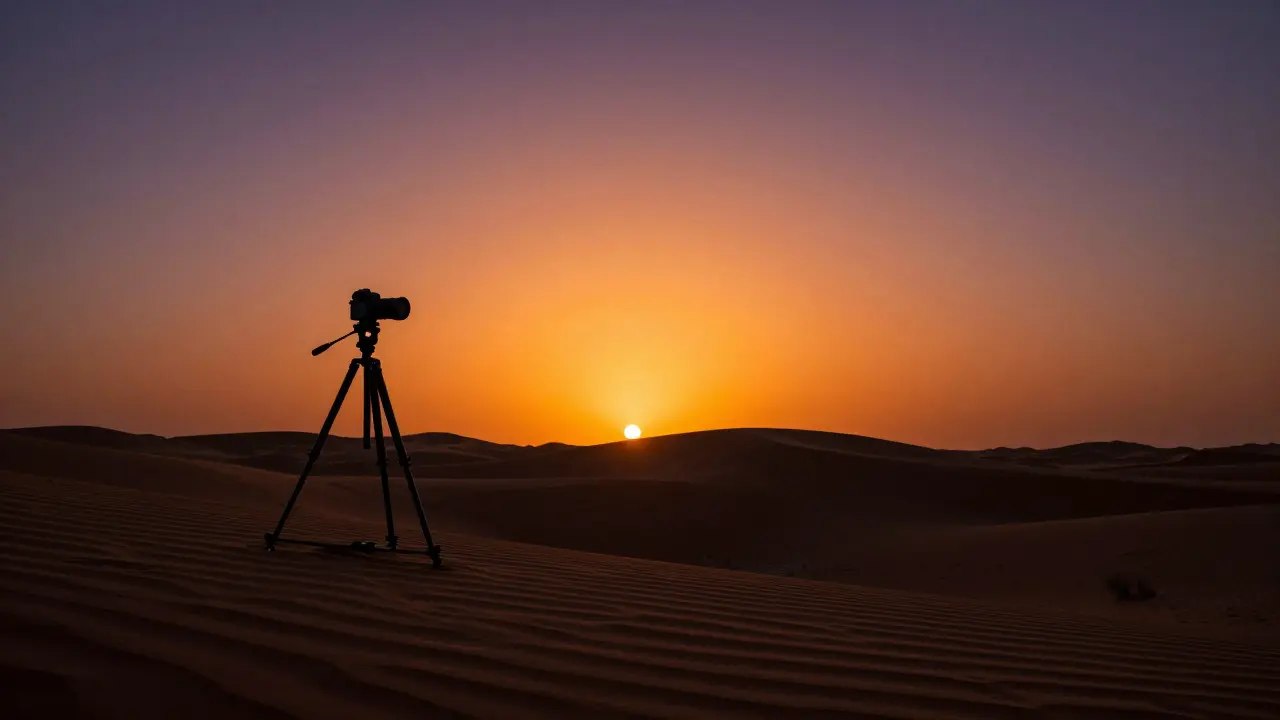
- Shooting Without a Tripod: As the light fades, you’ll need slower shutter speeds. Handheld shots will blur. A sturdy tripod is non-negotiable for sharp results.
Frequently Asked Questions
What is the best aperture for sunset photography?
f/8 to f/11 is generally the sweet spot. It provides enough depth of field to keep both the foreground and background sharp while avoiding diffraction issues that occur at very small apertures like f/22.
Should I use HDR for every sunset shot?
No. Only use HDR when the dynamic range exceeds your sensor's capabilities. If the scene is relatively balanced, a single well-exposed shot is cleaner and less prone to artifacts like ghosting or halos.
How do I prevent color banding in the sky?
Shoot in RAW format, avoid over-saturating colors in post-processing, and add a subtle amount of noise or grain to break up smooth gradients. Modern cameras with higher bit-depth sensors also resist banding better.
Is it better to expose for the sky or the ground?
Expose for the ground (shadows) and recover the sky in post-processing. It is easier to lift shadows than to recover clipped highlights. However, if the sky is the main subject, you may need to bracket to save both.
What ISO should I use for sunrise photos?
Start with your base ISO (usually 100). Only increase it if you need a faster shutter speed to freeze motion or if you are shooting handheld. Higher ISOs introduce noise, which can degrade the quality of the sky’s gradients.