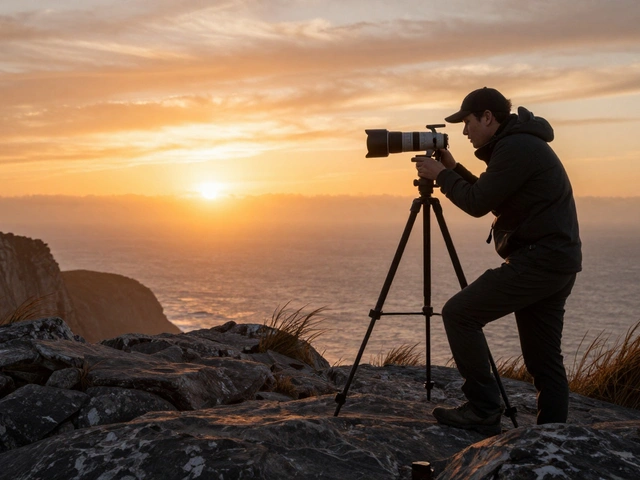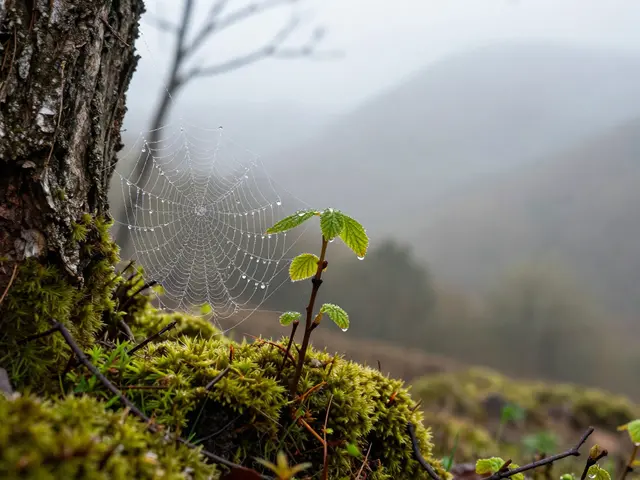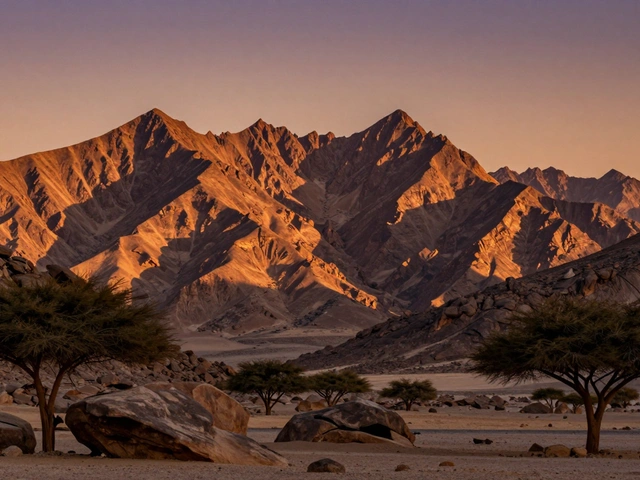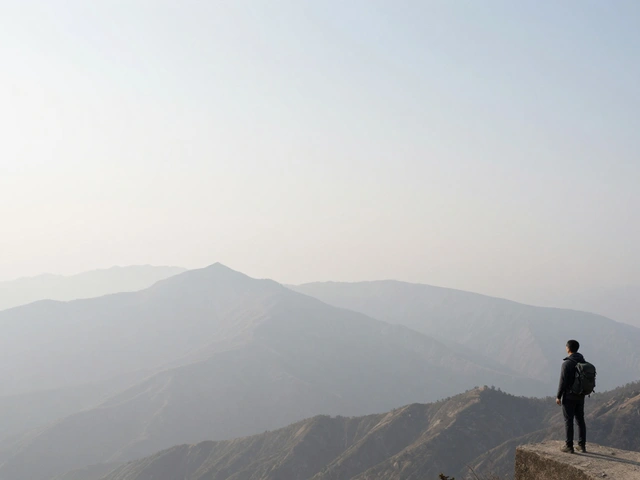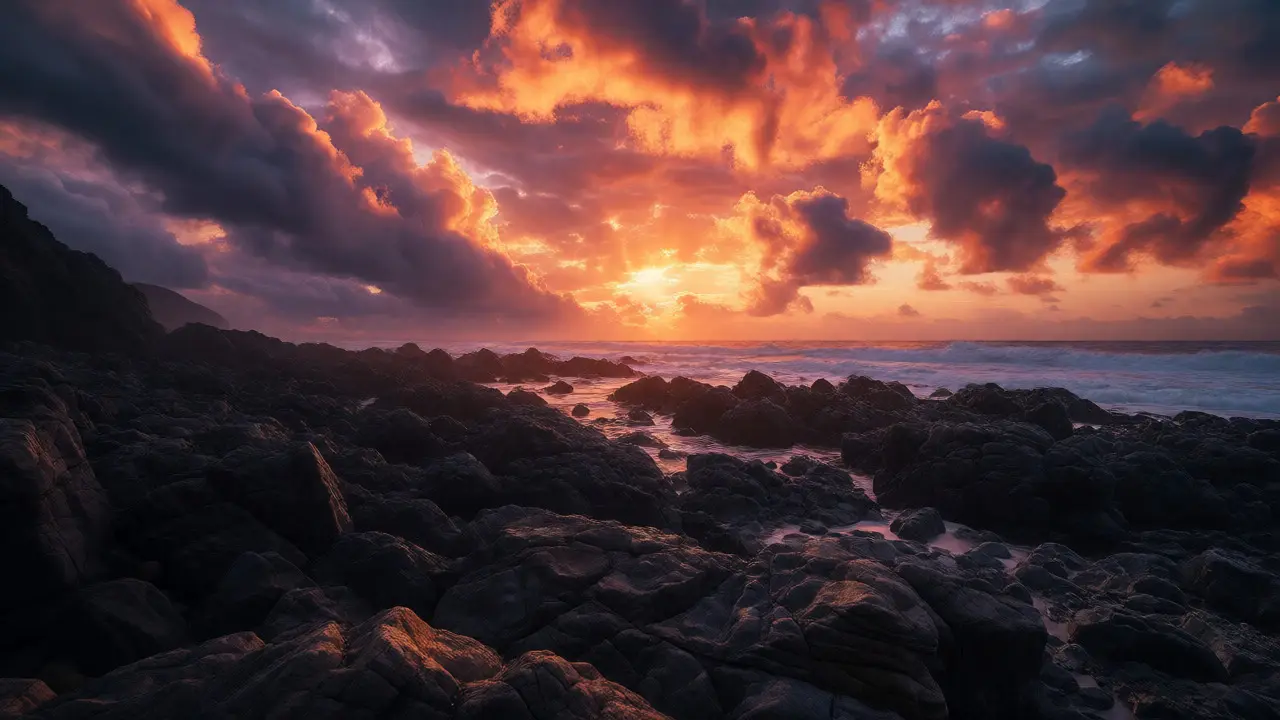
You know that feeling. You’re standing on a ridge in the Oregon coast, the sun is setting behind you, and the sky is this blazing canvas of orange and purple. But when you look down at the rocks or the forest floor, it’s basically black. Your camera sensor just can’t handle the gap between those two extremes. If you expose for the sky, the foreground turns into mud. If you expose for the land, the clouds blow out to pure white. This is where Graduated Neutral Density (GND) filters save your shot.
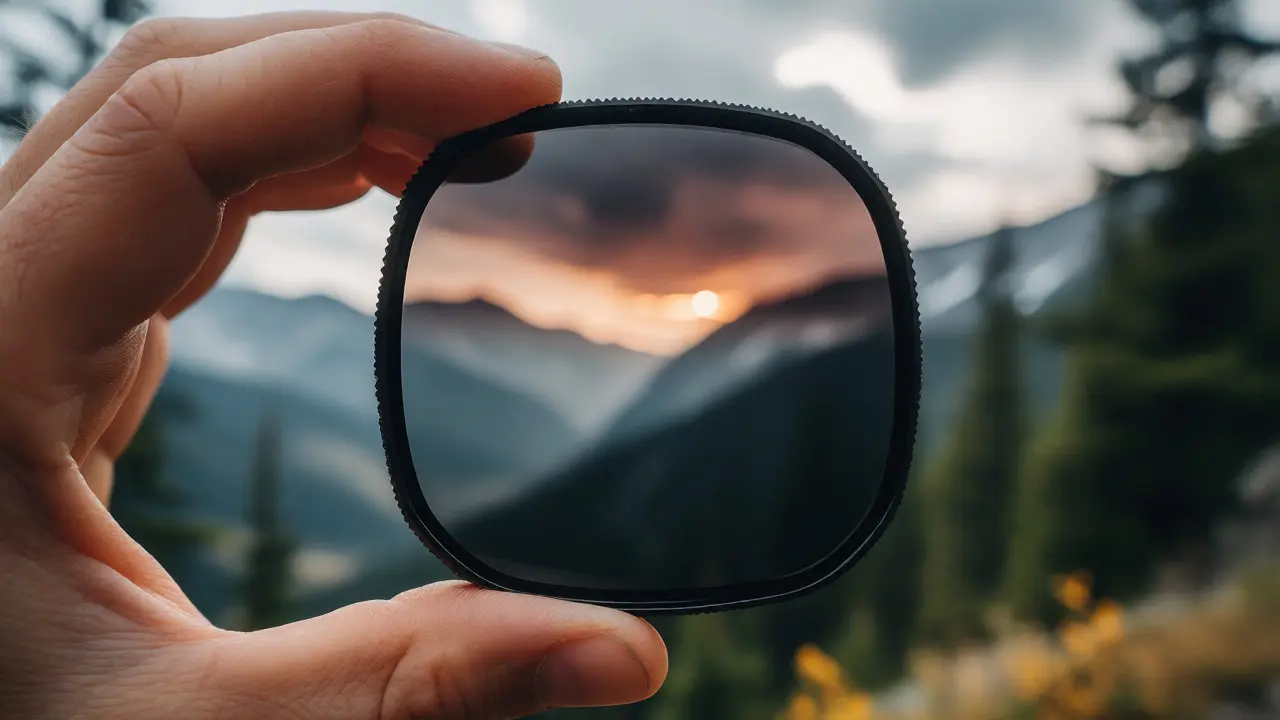
A GND filter is exactly what it sounds like: a piece of glass that gets darker from one side to the other. It doesn’t change color; it just cuts light. By placing the dark part over the bright sky, you balance the exposure across the whole frame. No more HDR stacking nightmares if you don’t want them. No more crushed shadows. Just a clean, single-exposure image that looks how your eyes saw it.
Why Your Camera Needs Help With Dynamic Range
Modern cameras are incredible. A Sony A7IV or a Canon R5 can capture about 14 stops of dynamic range. That sounds like a lot until you realize a high-contrast sunset scene can easily span 16 to 18 stops. The human eye adapts constantly, scanning the bright sky and then the dark ground, stitching together a perfect view in our brains. Cameras take a static snapshot. They have to pick a side.
When you shoot raw files, you get some latitude to pull details back in post-production. But there’s a limit. Push shadows too far, and noise explodes. Lift highlights too much, and colors desaturate. A GND filter does the heavy lifting optically, before the light even hits the sensor. This preserves data quality and keeps your file clean.
Hard vs. Soft Graduations: Choosing the Right Transition
Not all gradients are created equal. The "hardness" of the transition line determines where you use the filter.
- Hard GND: The transition from clear to dark happens abruptly, usually within a few millimeters. Use these when you have a straight, unbroken horizon line. Think ocean scenes, flat deserts, or city skylines. If you put a hard filter on a mountain range with jagged peaks, you’ll see weird dark patches sticking up into the sky.
- Soft GND: The transition fades gradually over several inches. This is your go-to for uneven horizons. Mountains, forests, buildings with spires-anything that breaks the horizontal line needs a soft gradient. The gradual fade blends seamlessly with the irregular shapes, so you won’t see a harsh line cutting through a tree top.
There’s also the Reverse GND. These are darkest at the horizon line and fade upward. They’re specifically designed for sunrise and sunset shots where the brightest part of the sky is right at the horizon, not up in the clouds. Standard GNDs assume the sky gets brighter as you go up; Reverse GNDs correct for the opposite scenario.
Decoding Stop Strengths: How Much Light Do You Need to Block?
GND filters come in different densities, measured in stops. One stop halves the light. Two stops quarter it. Here’s a quick cheat sheet based on real-world conditions:
| Filter Type | Stops Blocked | Best For |
|---|---|---|
| 0.3 (Light) | 1 Stop | Overcast days, mild contrast, early morning haze. |
| 0.6 (Medium) | 2 Stops | The workhorse. Most daytime landscapes, cloudy skies with breaks. |
| 0.9 (Strong) | 3 Stops | Bright sunny days with deep blue skies, snow scenes. |
| 1.2+ (Extreme) | 4+ Stops | Desert sunrises, extreme backlighting, very bright horizons. |
In Portland, where I live, we rarely need anything stronger than a 0.6. Our weather is often moody and diffused. But if you’re shooting the Grand Canyon at noon, a 0.9 or even a stacked combination might be necessary. Start with a 0.6 Hard and a 0.6 Soft. Those two cover 80% of landscape scenarios.
The Square Filter System vs. Circular Screw-Ons
This is the biggest decision you’ll make regarding gear. Should you buy circular filters that screw onto your lens, or square ones that slide into a holder?
Circular GNDs are convenient. They’re cheap, easy to carry, and attach instantly. But they have a fatal flaw: fixed positioning. The gradient line is stuck in the middle of the circle. If your horizon isn’t perfectly centered in the frame, you’re stuck. You either tilt the camera (losing vertical lines) or crop heavily later. Plus, wide-angle lenses often show vignetting with thick circular filters.
Square filter systems, like those from Lee or NiSi, offer total control. You slide the filter up or down to align the transition exactly with your horizon. You can rotate it slightly to match a tilted horizon. You can stack multiple filters. Yes, they require a holder and step-up rings, which adds weight and cost. But for serious landscape work, the ability to position the gradient precisely is non-negotiable.
Common Pitfalls and How to Avoid Them
Even with the best gear, mistakes happen. Here are the most frequent issues photographers face with GNDs.
- Color Cast: Cheap filters often add a magenta or green tint to the image. Always check your histogram and white balance. High-quality multi-coated glass minimizes this, but it’s worth testing your specific brand.
- Vignetting: On ultra-wide lenses (like a 16mm), a standard filter holder can intrude into the corners. Look for slim holders and wide-angle adapters. Also, avoid using a polarizer and a GND simultaneously on very wide angles unless your system supports it.
- Dirty Glass: Smudges on a GND are amplified because the dark part hides the dirt while the clear part shows it. Carry a microfiber cloth and clean the filter every time you mount it. A fingerprint on the clear half ruins the sharpness of your foreground.
- Misaligned Horizon: If the transition line cuts through a mountain peak, the peak will look unnaturally dark. Double-check the alignment through the viewfinder. Move the filter up or down until the dark area covers only the sky.
Alternatives: When Not to Use a GND
Are GNDs obsolete now? Some argue that bracketing and HDR software have replaced them. And yes, modern AI-driven tools in Lightroom and Photoshop are powerful. But they aren’t perfect.
Use GNDs when:
- You want a natural, single-exposure look without ghosting artifacts.
- You’re shooting moving elements like waves or clouds, where bracketing causes blur.
- You prefer working optically rather than digitally.
Skip GNDs when:
- The foreground has complex reflections (like water mirroring the sky). A GND darkens the reflection too, which might look unnatural if the reflection should be bright.
- You’re shooting at night. The light levels are too low for practical optical filtering.
- Your subject has trees or objects breaking the horizon significantly. While soft GNDs help, sometimes manual masking in post is cleaner.
Practical Workflow: Setting Up Your Shot
Here’s a step-by-step process to integrate GNDs into your routine without slowing down.
- Compose Without the Filter: Frame your shot and focus manually. Autofocus can struggle with dark filters.
- Set Exposure for the Foreground: Meter for the darkest part of your scene (the land). Set your aperture and ISO first. Adjust shutter speed to get a proper exposure for the ground.
- Attach the Holder: Mount the square filter holder to your lens adapter ring.
- Insert the GND: Slide the filter in. Align the transition line with the horizon. Look through the viewfinder to ensure no dark bands cut through important subjects.
- Check Histogram: Take a test shot. Check the histogram. The highlights should no longer be clipped. If they still are, switch to a stronger filter or adjust settings.
- Shoot: Release the shutter. Remove the filter immediately after to protect it.
This workflow takes an extra minute per shot. Is it worth it? If you value pristine shadow detail and natural highlight rolloff, absolutely.
Final Thoughts on Gear Investment
You don’t need to buy the entire $500 filter kit on day one. Start with a good square holder and two filters: a 0.6 Hard and a 0.6 Soft. Learn how they affect your images. Notice the difference in color fidelity compared to digital correction. Once you master these, you might find yourself needing a Reverse GND for coastal sunsets or a stronger 0.9 for desert trips.
Photography is about controlling light. GND filters give you direct, physical control over one of the most challenging aspects of outdoor shooting. They bridge the gap between what your eyes see and what your camera records. Give them a try on your next hike. You might never delete your old HDR presets again, but you’ll appreciate the simplicity of getting it right in-camera.
Can I simulate a graduated ND filter in post-production?
Yes, you can use a radial gradient mask in Lightroom or Photoshop to darken the sky. However, this affects the entire area uniformly, including any clouds or birds that fall within the gradient. A physical GND filter allows for more nuanced control, especially when dealing with complex horizons or moving elements, and it preserves the original data captured by the sensor without introducing potential banding or noise from heavy local adjustments.
Do I need a UV filter under my GND filter?
It’s generally recommended to remove the UV filter when using a square GND system. Stacking multiple pieces of glass increases the risk of internal reflections, ghosting, and vignetting, especially with wide-angle lenses. Instead, rely on the protective nature of the filter holder and keep your lens cap on when not shooting. If you must leave a UV filter on for protection, choose a slim, high-quality multi-coated version to minimize interference.
What is the difference between a GND and a polarizing filter?
A GND filter reduces brightness evenly across the top portion of the frame to balance exposure between sky and ground. It does not affect color saturation or glare. A polarizing filter (CPL) reduces reflections from non-metallic surfaces like water and glass, and it deepens blue skies by scattering less light. They serve different purposes but can be used together. Often, photographers use a CPL to manage reflections and a GND to manage exposure contrast.
Which brand makes the best graduated ND filters?
Top-tier brands include Lee Filters, Formatt-Hitech, and NiSi. Lee is known for exceptional color neutrality and durability. NiSi offers excellent value with their Nano IR coatings, which reduce infrared contamination (a common issue causing magenta casts in shadows). Formatt-Hitech provides solid mid-range options. The "best" depends on your budget and whether you prioritize absolute color accuracy or cost-effectiveness. For most hobbyists, NiSi provides the best performance-per-dollar ratio.
How do I clean a graduated ND filter?
Use a dedicated air blower to remove dust particles first, preventing scratches during wiping. Then, use a high-quality microfiber cloth designed for optics. Apply gentle pressure in circular motions. Avoid household tissues or shirts, as they can scratch the coating. If the filter is greasy, use a small amount of lens cleaning solution on the cloth, never directly on the glass. Store filters in individual padded slots in a case to prevent contact with each other.