Ever taken a photo where the background is a creamy blur but your subject looks sharp? Or maybe you’ve struggled to get enough light in a dim room without making everything look grainy. That’s aperture at work. It’s one of the three pillars of exposure, alongside shutter speed and ISO, but it does something unique: it controls how much of your image is in focus.
If you’re shooting on Auto mode, your camera handles this for you. But once you switch to Aperture Priority (Av or A) or Manual mode, you take control. Understanding how f-stops affect light and depth of field turns you from someone who just points and shoots into a photographer who makes intentional choices.
What Is Aperture and Why Does It Matter?
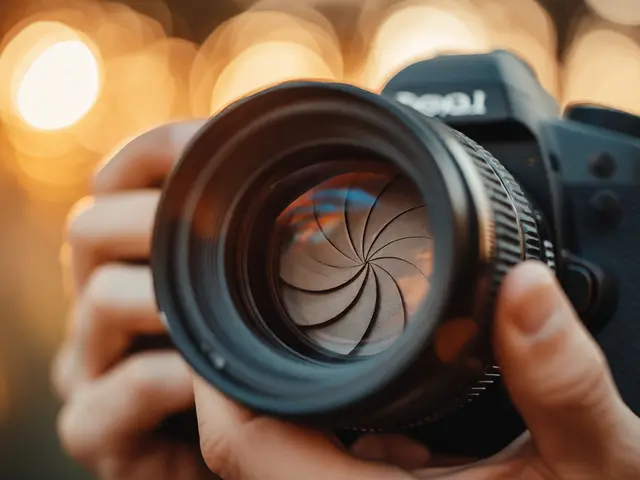
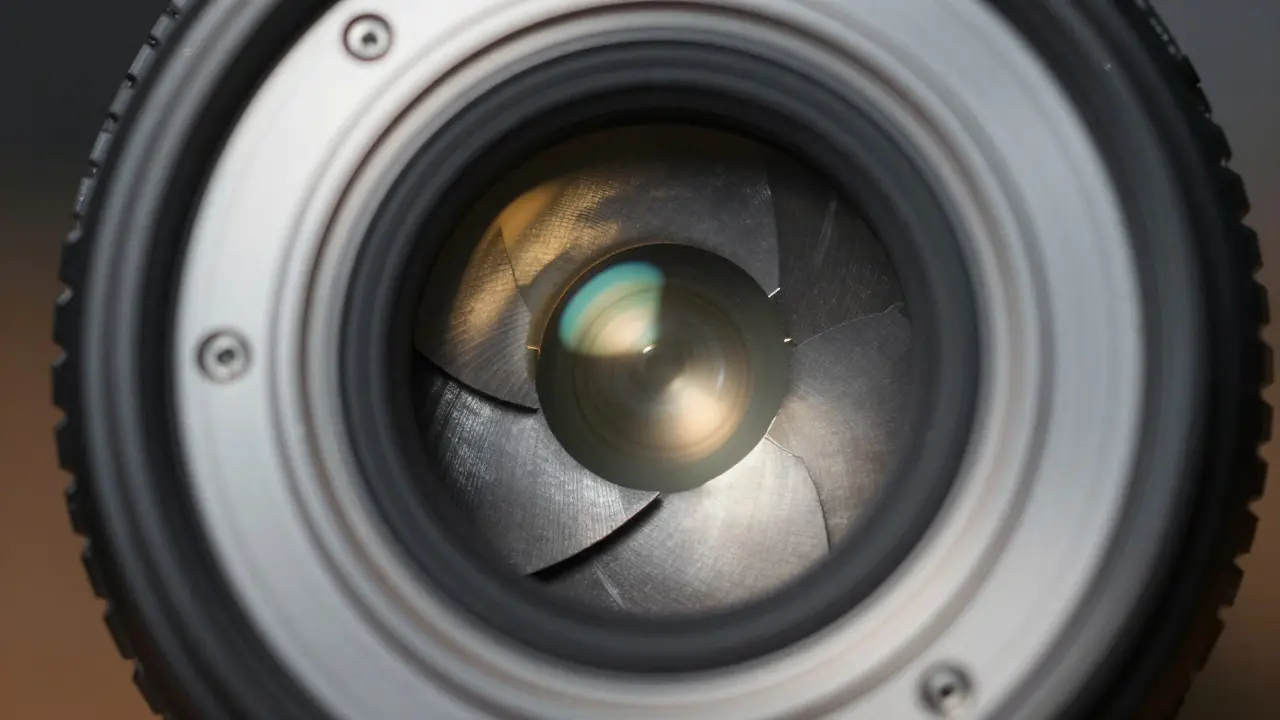
Aperture is the opening in a lens that controls how much light passes through to the camera sensor. Think of it like the pupil of your eye. When it’s dark outside, your pupils dilate (get bigger) to let in more light. When it’s bright, they constrict (get smaller). Your camera lens works exactly the same way.
The size of this opening is measured in f-stops. This is where it gets counter-intuitive. A low f-number means a large opening. A high f-number means a small opening. For example, an aperture of f/1.8 is wide open, letting in tons of light. An aperture of f/16 is narrow, restricting light significantly.
Why use f-stops instead of just saying "wide" or "narrow"? Because f-stops are standardized. Whether you’re using a cheap kit lens or a $3,000 prime, f/2.8 always lets in the same amount of light relative to the focal length. This consistency allows photographers to compare settings across different gear easily.
How f-stops Control Depth of Field
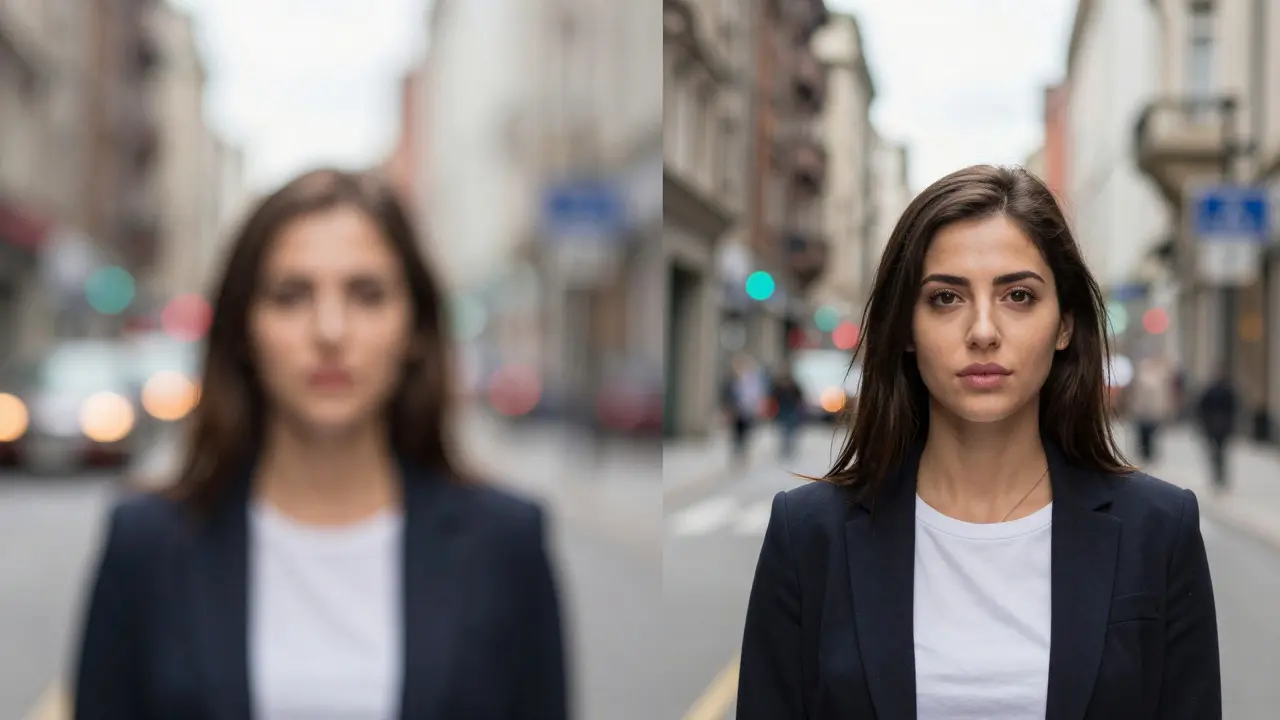
Depth of field (DOF) refers to the zone of sharpness in your photo. Is only your subject sharp while the background melts away? Or is everything from the foreground to the horizon crisp? Aperture is the primary tool for controlling this.
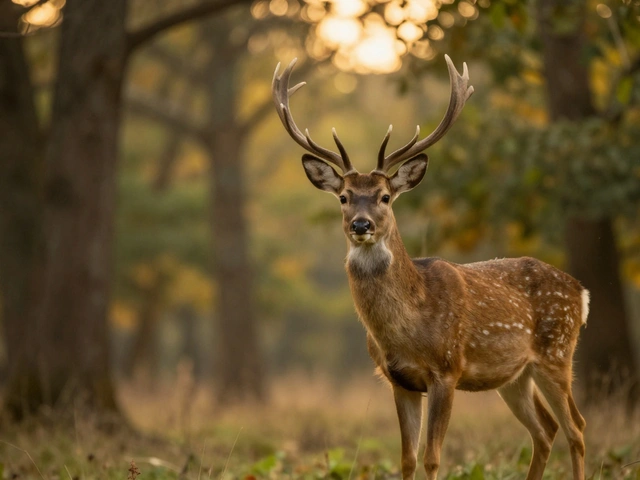
- Wide Apertures (Low f-numbers): f/1.4, f/1.8, f/2.8 create a shallow depth of field. The background blurs out (bokeh), isolating your subject. Great for portraits and macro shots.
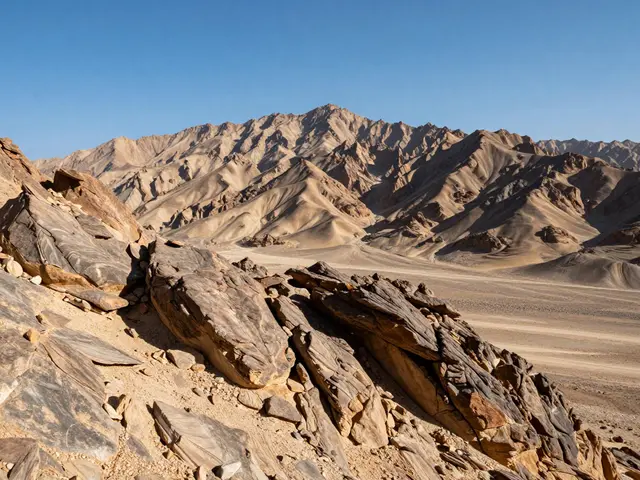
- Narrow Apertures (High f-numbers): f/11, f/16, f/22 create a deep depth of field. More of the scene stays in focus. Ideal for landscapes and architecture.
Let’s say you’re photographing a friend at a coffee shop. If you shoot at f/1.8, the wall behind them will be a soft wash of color. They pop out immediately. Switch to f/8, and suddenly the menu board and other tables become visible and sharp. The subject doesn’t stand out as much because the environment competes for attention.
However, DOF isn’t controlled by aperture alone. Focal length and distance to the subject play huge roles too. A 50mm lens at f/2.8 gives you less blur than an 85mm lens at f/2.8. And standing closer to your subject increases the blur effect regardless of the f-stop. But aperture remains the most accessible variable you can change instantly on the fly.
The Relationship Between Aperture and Exposure
Every time you change the aperture by one full stop, you either double or halve the amount of light hitting the sensor. This is crucial for balancing your exposure.
| F-Stop | Light Intensity | Typical Use Case |
|---|---|---|
| f/1.4 - f/2.8 | Maximum Light | Portraits, Low Light, Sports |
| f/4 - f/5.6 | Moderate Light | Group Photos, Street Photography |
| f/8 - f/11 | Reduced Light | Landscapes, Product Shots |
| f/16 - f/22 | Minimum Light | Long Exposures, Star Trails |
If you open up from f/8 to f/5.6, you let in twice as much light. To keep your exposure balanced, you must either increase your shutter speed (make it faster) or lower your ISO. Conversely, if you close down to f/16, you need a slower shutter speed or higher ISO to maintain the same brightness.
This interplay is known as the Exposure Triangle, which links aperture, shutter speed, and ISO to determine final image brightness. You can’t change one leg of the triangle without affecting the others unless you’re willing to accept a brighter or darker image.
Choosing the Right Aperture for Different Scenarios
There is no single "correct" aperture. It depends entirely on what story you want to tell with your photo. Here is how professionals typically approach different genres:
Portraits
Shoot wide open, usually between f/1.4 and f/2.8. The goal is separation. You want the viewer’s eye to go straight to the eyes, not the messy background. Be careful, though: at very wide apertures like f/1.4, even slight movements can throw focus off the eye. Many portrait shooters prefer f/2.8 or f/4 for a safer margin of error while still keeping nice background blur.
Landscapes
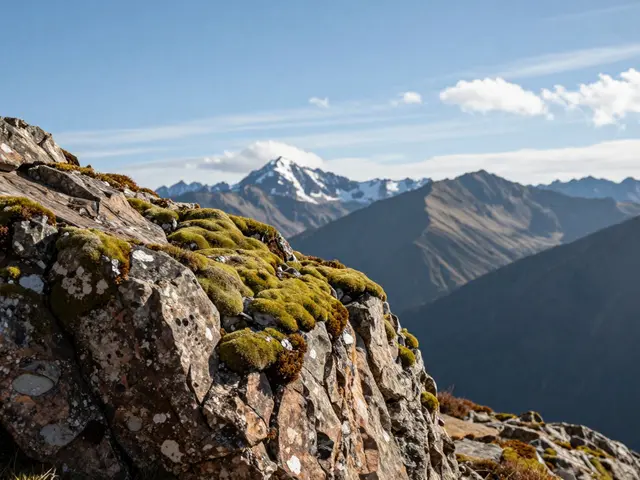
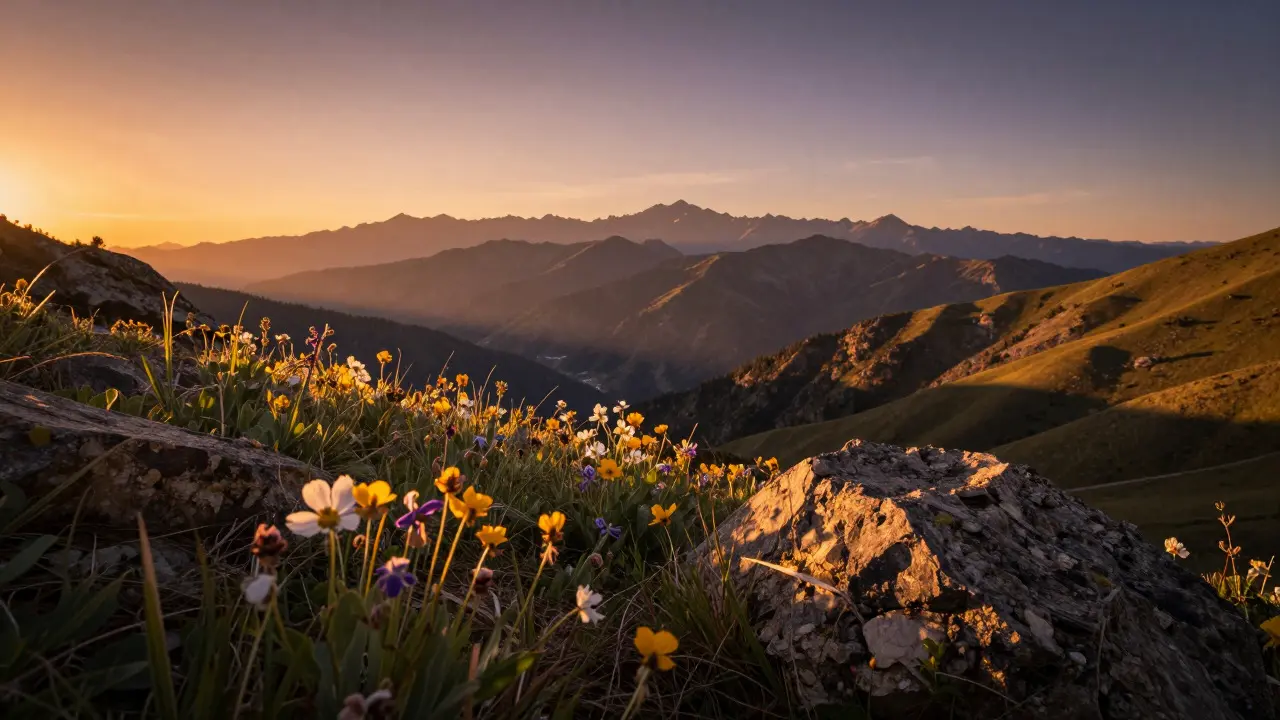
Go narrow, typically f/8 to f/11. You want the flowers in the foreground and the mountains in the background to be equally sharp. f/11 is often considered the sweet spot for landscape lenses because it balances sharpness with minimal optical distortion. Avoid going past f/16 if possible, as diffraction can start to soften the image slightly due to light bending around the aperture blades.
Street Photography
This is tricky. You often don’t have time to adjust settings. Many street shooters stick to f/5.6 or f/8. This provides a decent depth of field so you don’t miss focus if you misjudge the distance, but it’s narrow enough to provide some context blur. It’s a compromise that prioritizes reliability over maximum aesthetic effect.
Sports and Action
You need fast shutter speeds to freeze motion. Since you’re locked into a fast shutter (like 1/1000s), you need lots of light. Therefore, you shoot wide open, often at f/2.8 or wider. Depth of field isn’t a priority here; capturing the decisive moment is.
Common Mistakes Beginners Make with Aperture
Even after understanding the theory, practical application trips people up. Here are the most frequent pitfalls:
- Ignoring Lens Quality: Not all f/1.8 lenses are created equal. Cheap lenses might be soft (unsharp) when shot wide open. Sometimes stopping down to f/2.8 or f/4 yields a sharper image. Test your specific gear.
- Forgetting the Background Distance: Blurring the background isn’t just about the f-stop. If your subject is standing right next to the wall, even f/1.4 won’t blur it much. Move your subject further away from the background to maximize the bokeh effect.
- Overusing High Apertures: Shooting everything at f/1.4 can make photos look unnatural. If the background is distracting, blur it. If the background adds context (like a cityscape or family gathering), consider stopping down to f/5.6 or f/8 to include it.
- Confusing Aperture with Zoom: Aperture has nothing to do with zooming in. Zoom changes focal length. Aperture changes the hole size. Don’t mix them up when troubleshooting why your background isn’t blurry enough-you likely need a longer focal length, not just a wider aperture.
Practical Tips for Mastering Aperture
Want to level up your skills quickly? Try these exercises during your next photo walk:
- The Portrait Challenge: Find a friend. Shoot them at f/1.8, f/4, and f/11. Compare the images side-by-side. Notice how the background detail changes dramatically.
- The Landscape Sweep: Set up a tripod. Take a series of photos of a scenic view starting at f/4 and ending at f/22. Check the sharpness of the foreground rocks versus the distant trees. You’ll see where the sweet spot lies for your specific lens.
- Manual Mode Practice: Turn off Auto. Pick a subject. Change the aperture manually and adjust the shutter speed to compensate. Do this five times. Feel the relationship between the two dials. Once it clicks, you’ll never go back to Auto.
Remember, mastering aperture isn’t about memorizing numbers. It’s about understanding cause and effect. Open the hole, get more light and less focus range. Close the hole, get less light and more focus range. Everything else flows from that simple principle.
Frequently Asked Questions
What is the best aperture for beginners?
Start with f/5.6 or f/8. These mid-range apertures provide a good balance of depth of field and light, reducing the risk of missing focus while still allowing for creative control. As you gain confidence, experiment with wider and narrower settings.
Does a higher f-stop mean more or less light?
A higher f-stop number (like f/16) means less light enters the camera. A lower f-stop number (like f/2.8) means more light enters. Remember: big number = small hole = less light.
Can I use aperture priority mode for all types of photography?
Yes, Aperture Priority (Av/A) is versatile. You set the aperture to control depth of field, and the camera automatically selects the appropriate shutter speed. It’s ideal for portraits, landscapes, and general shooting. However, for fast action where you need to guarantee a specific shutter speed, Manual or Shutter Priority modes are better.
Why is my background not blurry even at f/1.8?
Three factors affect background blur: aperture, focal length, and distance. If your subject is too close to the background, the blur will be minimal. Also, using a wide-angle lens (like 18mm) produces less blur than a telephoto lens (like 85mm). Move your subject away from the background and try a longer focal length to enhance the effect.
What is diffraction and how does it affect my photos?
Diffraction is the bending of light waves as they pass through a very small aperture. At extremely narrow apertures (f/16, f/22, etc.), this bending causes slight softening of the entire image. While necessary for deep depth of field in landscapes, it’s generally best to avoid closing down past f/11 unless absolutely necessary to maintain maximum sharpness.