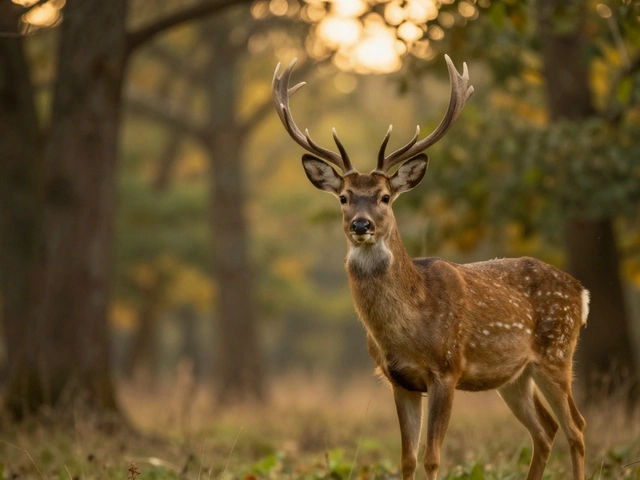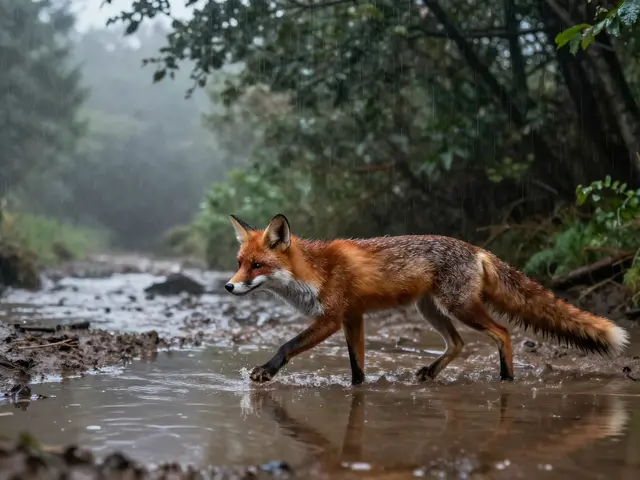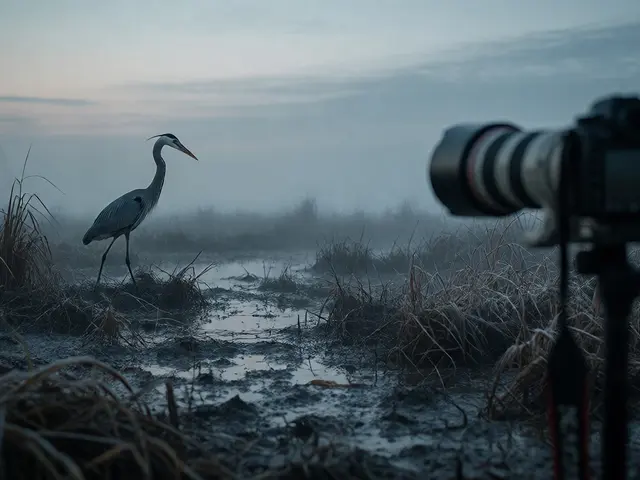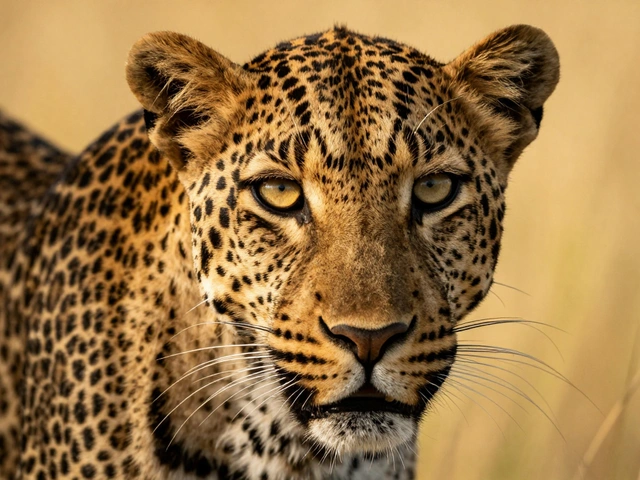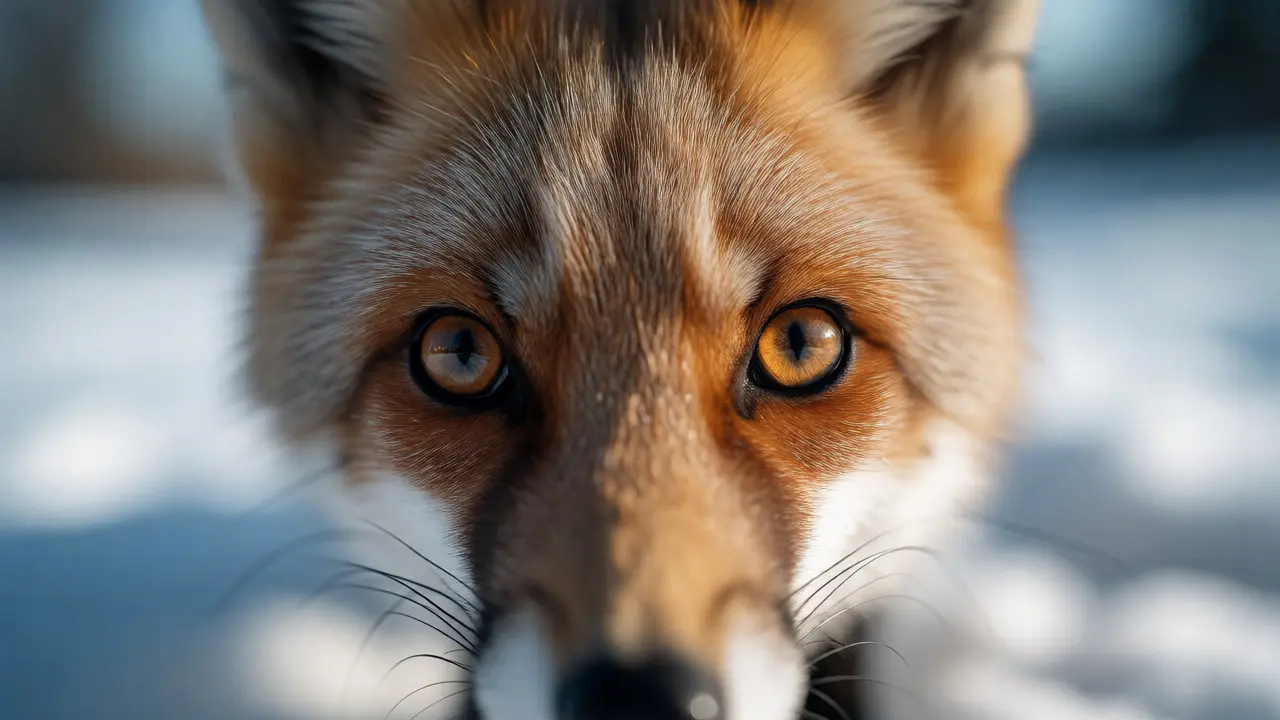
You know that feeling when you look at a photo and something just clicks? Usually, it’s because the subject is looking right back at you. In wildlife photography, this isn't just luck-it's technique. Most amateur shots of animals fail not because the lighting was bad or the animal was blurry, but because there was no connection. The eyes are the only part of an animal that truly conveys emotion, intent, or personality. If you miss the eye, you miss the story.
Getting sharp eyes on a moving deer or a sleeping bear requires more than just pointing your lens. It demands understanding behavior, mastering your gear, and knowing exactly where to place your focus point. This guide breaks down how to consistently nail those piercing gazes that turn a simple snapshot into a compelling portrait.
Why Eyes Are the Anchor of Every Portrait
Humans are hardwired to seek out faces. When we see an animal with visible eyes, our brains instantly try to interpret its mood. Is it alert? Scared? Curious? Without eye contact, an animal is just another shape in the landscape. With it, the animal becomes a character.
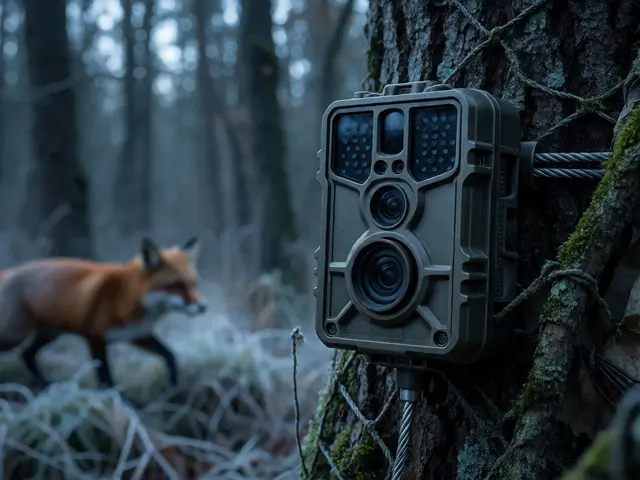
Think about the difference between a side profile of a fox running through grass and a front-facing shot where the fox locks onto your lens. The first is a record of motion; the second is a moment of interaction. Even if the animal is looking slightly off-camera, as long as the eyes are sharp and directed toward something meaningful (like prey or a threat), the image retains tension. But direct engagement? That creates intimacy.
From a technical standpoint, eyes are also the hardest thing to keep sharp. They are small, often wet and reflective, and they move independently of the head. A millimeter of misfocus can render an entire frame useless. This makes them both the most valuable asset and the biggest risk in your workflow.
Mastering Focus Modes for Moving Subjects
If you’re shooting birds in flight or lions on the prowl, static focus won’t cut it. You need your camera to track the eye specifically. Modern mirrorless cameras have revolutionized this with Eye-Autofocus (Eye-AF). Brands like Sony, Canon, and Nikon now include dedicated "Animal Eye AF" modes that lock onto the iris rather than the general face area.
Here’s how to set up your system for success:
- Select Single-Point AF: Don’t let the camera guess. Choose a single focus point and place it directly over the animal’s eye. If the animal turns its head, you must physically move the point or reframe.
- Use Back-Button Focus: Separate focusing from shutter release. This allows you to track the eye continuously while waiting for the perfect expression, without accidentally refocusing when you half-press the shutter.
- Enable Eye-Detection: If your camera supports it, turn on Animal Eye AF. Test it beforehand in controlled conditions to ensure it doesn’t grab onto a nose or ear instead of the eye.
A common mistake is relying on continuous autofocus (AF-C) across the whole frame. While helpful, it can hunt if the background is cluttered. By combining AF-C with a specific eye-detection algorithm, you give the camera clear instructions: "Ignore the leaves; find the pupil."
Positioning and Angles That Invite Connection
Where you stand determines whether you get a glance or a stare. Animals rarely look up at humans unless they feel threatened or curious. To get natural eye contact, you need to meet them at their level.
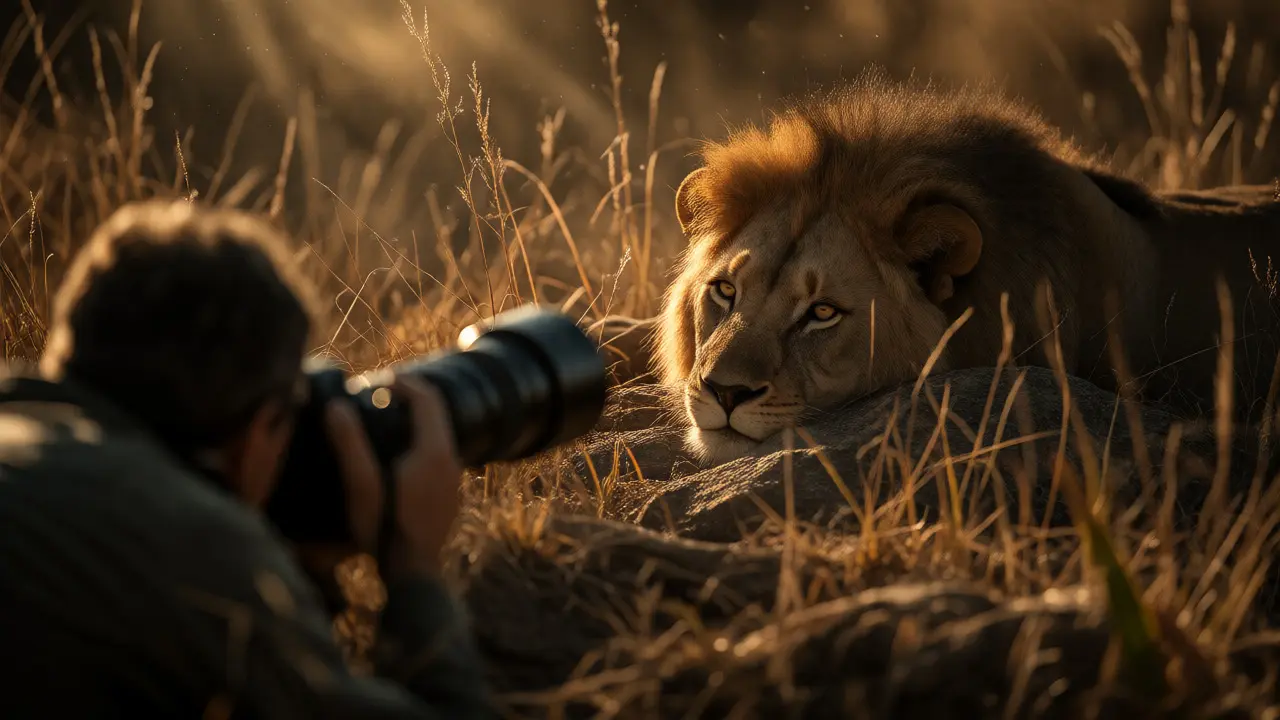
Shooting from above creates a sense of dominance or detachment. Shooting from below can make the animal look imposing or heroic. But shooting eye-to-eye creates equality. It invites the viewer into the animal’s space. This often means getting low-literally lying in the mud, snow, or tall grass. It’s uncomfortable, but the payoff is a perspective that feels intimate rather than observational.
Consider the angle of approach. Approaching head-on can trigger a fight-or-flight response in many species. A slight offset-approaching from the side or at a 45-degree angle-often feels less aggressive. This allows the animal to acknowledge you without immediately fleeing. Patience is key here. Sit still. Let the animal notice you. Wait for the moment curiosity overrides caution.
Lighting: Catchlights and Depth
Eyes need light to pop. A dark, flat eye looks dead. You want catchlights-the reflection of the light source in the eye-to bring life to the iris. In outdoor wildlife photography, you can’t control the sun, but you can position yourself relative to it.
Front lighting is safest for eye clarity. It illuminates the face evenly and minimizes shadows under the brow ridge, which can hide the eyes in deep-set species like owls or bears. However, front light can flatten textures. Side lighting adds drama but risks shadowing one eye completely. Backlighting creates rim light around the fur but leaves the face in shadow unless you use fill flash or expose for the shadows.
| Lighting Condition | Effect on Eyes | Best For |
|---|---|---|
| Front Light (Sun behind photographer) | Bright, even illumination; clear catchlights | Detailed portraits, birds with colorful irises |
| Side Light (Sun at 90 degrees) | High contrast; one eye may be shadowed | Dramatic mood, textured fur/feathers |
| Back Light (Sun in front of photographer) | Rim light; eyes may be dark without fill | Silhouettes, atmospheric scenes |
| Open Shade | Soft, diffused light; consistent exposure | Forest dwellers, shy animals |
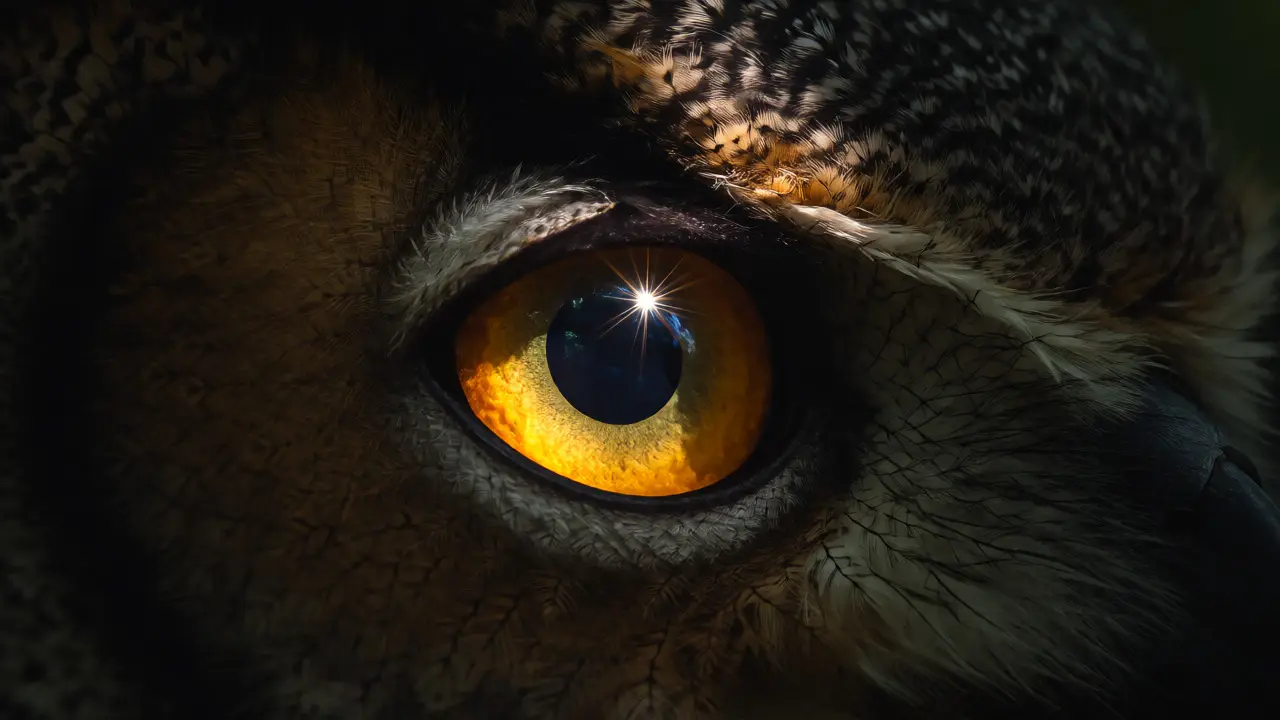
If you’re shooting in heavy forest cover, look for dappled light. Sometimes a single beam of sunlight hitting an owl’s eye can transform a boring shot into a masterpiece. Use spot metering to expose for the bright eye, letting the rest of the scene fall into shadow if necessary.
Behavioral Cues: Predicting the Gaze
You can’t force an animal to look at you, but you can predict when they might. Most mammals and birds scan their environment regularly. They pause, look left, look right, then look forward. Your job is to anticipate that forward glance.
Watch the ears. In deer and rabbits, ears rotate toward sounds. If the ears swivel toward you, the head will likely follow shortly after. In cats, dilated pupils indicate interest or hunting mode. In birds, head tilts often precede a direct stare.
Use bait or calls sparingly. A bird call can bring a hidden creature into view, but overuse makes animals wary. Better yet, learn the routine. Squirrels return to specific trees at certain times. Eagles scan specific perches. Once you know the pattern, you can pre-focus on the spot where the eye will appear.
Post-Processing: Enhancing the Spark
Even with perfect capture, some cleanup helps. In software like Adobe Lightroom or Capture One, zoom in to 100% and check eye sharpness. If the eye is soft, you might need to discard the shot-no amount of sharpening fixes missed focus.
If the eye is sharp but dull, boost the local contrast. Increase the clarity or texture slider slightly on the eye area using a radial mask. Dodge and burn techniques work wonders here: brighten the catchlight and the lower eyelid, darken the upper lid to add depth. Be subtle. Over-editing makes eyes look unnatural or alien-like.
Cropping is also powerful. If the animal is small in the frame, crop tightly around the face. Remove distracting elements near the eyes. Ensure the eye remains the brightest or highest-contrast part of the image. Our eyes naturally go to the brightest point, so make sure that’s where you want the viewer to land.
Frequently Asked Questions
What focal length is best for wildlife portraits?
For engaging portraits that maintain eye contact without disturbing the animal, a telephoto lens between 300mm and 600mm is ideal. Longer lenses compress the background, isolating the subject and making the eyes stand out against a clean backdrop. Shorter lenses require you to get closer, which can break the animal's comfort zone and cause it to look away or flee.
How do I handle animals with very dark eyes?
Animals like black bears or panthers have eyes that blend into their fur. To make them pop, ensure there is a catchlight (reflection) in the eye. Shoot during golden hour or use a reflector if possible. In post-processing, increase the brightness and contrast specifically within the eye area using masking tools. Avoid raising the global exposure too much, as this can wash out the fur texture.
Is it better to shoot in burst mode for eye contact?
Yes, especially for fast-moving subjects. Burst mode increases your chances of catching the exact moment the eye is open and focused. However, don't spam the shutter. Aim for short bursts of 3-5 frames when you anticipate the gaze. This preserves buffer memory and makes culling faster later. Always review the sequence to pick the sharpest frame.
Does eye contact always mean the animal is looking at me?
Not necessarily. An animal might be looking past you at a potential threat, food source, or another animal. The key is that the direction of the gaze creates narrative tension. If they look at you, it implies interaction. If they look off-camera, it implies context. Both can be powerful, provided the eyes are sharp and the direction makes sense within the frame.
How does weather affect eye visibility in photos?
Rain and snow can obscure eyes with water droplets or ice crystals. Wind can blow fur or feathers across the face. On windy days, wait for lulls in gusts. In rain, wipe your lens frequently and consider using a rain cover. Interestingly, wet fur can enhance color saturation, making the iris appear more vibrant once the eye itself is clear of obstructions.