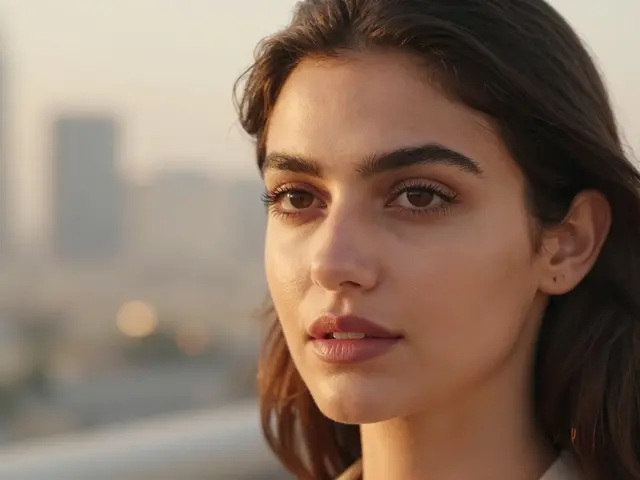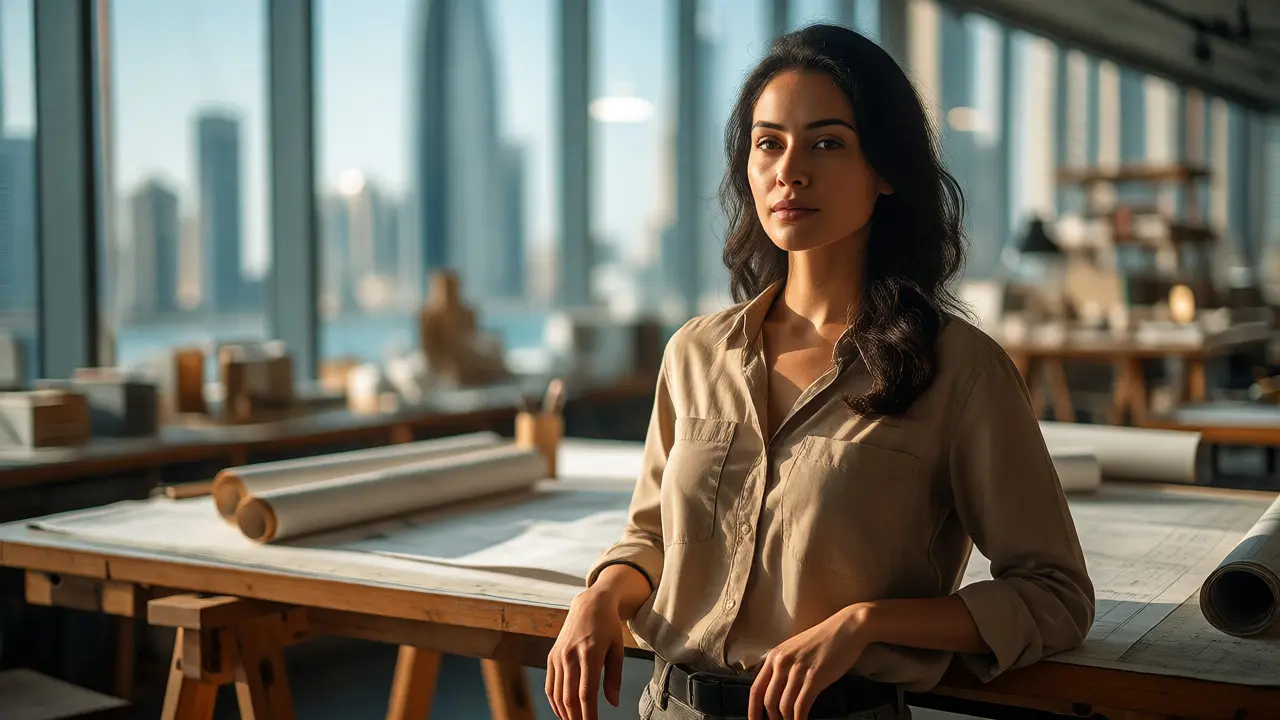
You’ve probably seen them. The photo where a lawyer isn’t just staring at a gray wall, but standing in their office with case files blurred in the background. Or the chef not in a sterile studio, but leaning against a stainless steel counter with steam rising behind them. These are environmental headshots, and they do something a standard corporate portrait can’t: they tell you who this person is before they even speak.
If you’re a photographer trying to break away from the "mugshot" look, or a professional tired of looking like everyone else on LinkedIn, understanding how to use context is your biggest lever. It’s not just about adding props; it’s about visual storytelling. Let’s figure out how to nail these shots without making the subject look like they’re posing for a stock photo catalog.
Why Context Beats Plain Backgrounds
A plain background removes distractions, sure. But it also removes information. When you strip away the environment, you force the viewer to rely entirely on facial expression and lighting to convey personality. That’s hard work. Environmental portraits let the setting do some of that heavy lifting.
Think about a graphic designer. A white background says nothing about their creativity. But placing them in front of a wall of color swatches, or holding a stylus near a tablet, instantly signals "creative professional." The brain processes visual cues faster than text. By integrating the workspace into the frame, you create an immediate connection between the person and their craft.
This approach works because it adds layers. You have the subject (the face), the action (what they are doing or holding), and the environment (where they are). When these three elements align, the image feels authentic rather than staged. It reduces the "imposter syndrome" many professionals feel when their polished photo doesn’t match their actual day-to-day reality.
Choosing the Right Location and Props
The biggest mistake people make is choosing a location that looks cool but means nothing. Just because there’s a brick wall in Portland doesn’t mean it belongs in every shot. The background must be relevant to the subject’s profession or personal brand.
Here is a quick guide to matching contexts:
- Tech & Startups: Use open-plan offices, whiteboards with diagrams, or server rooms. Avoid cluttered desks unless you can clear off the coffee cups.
- Creative Arts: Studios, galleries, or spaces with natural light and texture. Paint splatters, musical instruments, or books work well here.
- Corporate & Finance: Boardrooms, glass-walled offices, or city skylines visible through windows. Clean lines and structured environments reinforce reliability.
- Healthcare & Wellness: Clinics, gardens, or bright, airy spaces. Plants and soft colors evoke calm and care.
Props should be tools of the trade, not random accessories. If you shoot a writer, show them with a notebook or laptop. If you shoot a carpenter, show them with a saw or wood shavings. The rule of thumb: if the object wouldn’t be there during a normal workday, don’t include it.
Mastering Depth of Field
This is where technical skill meets art. You want the subject sharp, but the background recognizable. If the background is too blurry, it’s just bokeh-pretty, but useless for storytelling. If it’s too sharp, it competes with the face.
You need a middle ground. Usually, an aperture between f/4 and f/5.6 gives you enough separation while keeping environmental details legible. Focus strictly on the eyes. Then, check the background. Can you read the sign on the wall? Can you see the texture of the fabric? If yes, you’re in the zone.
Distance matters too. Have your subject stand a few feet away from the background. This helps compress the perspective and creates a more pleasing blur without needing extreme apertures. It keeps the scene feeling spacious rather than cramped.

Lighting for Authenticity
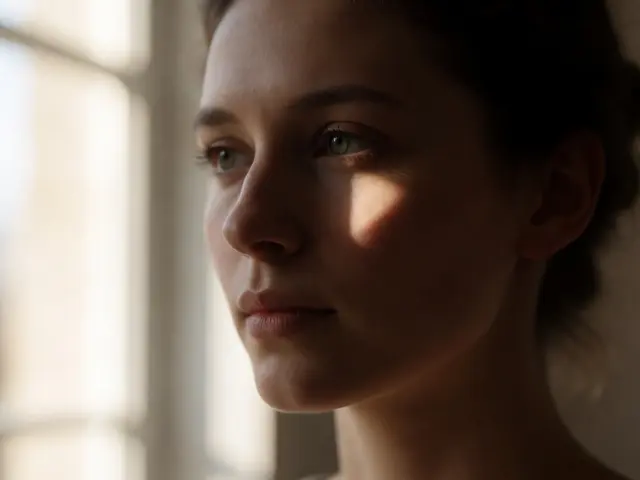
Natural light is often the best friend of environmental portraits because it matches the vibe of the location. Window light is soft and flattering. But relying solely on ambient light can be risky if the room is dark or the sun moves.
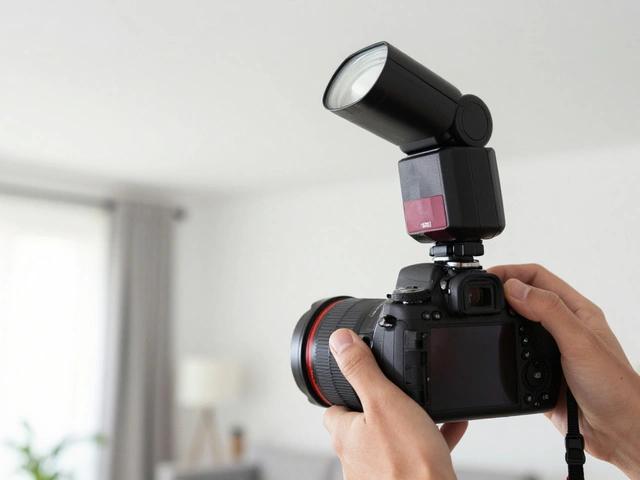
Use reflectors to bounce light back onto the face. This fills in shadows under the eyes and chin without killing the mood. If you need artificial light, keep it subtle. A small LED panel or a speedlight bounced off a ceiling can lift the subject without overpowering the natural atmosphere. The goal is to make the lighting look like it wasn’t there at all.
| Light Source | Best For | Pro Tip |
|---|---|---|
| Natural Window Light | Indoor offices, studios | Position subject at 45-degree angle to window |
| Reflector | Filling shadows | Use silver for contrast, white for softness |
| Bounced Flash | Dark interiors | Aim at ceiling or wall, never directly at subject |
| Continuous LED | Video hybrids | Match color temperature to room lights (3200K-5600K) |
Posing and Interaction
Static poses kill the vibe. In an environmental shot, the subject should interact with their space. Don’t just say "look at me." Say, "pretend you’re explaining this concept to a colleague," or "walk toward the door as if you’re heading to a meeting."
Action-based posing relaxes muscles. When someone is moving or touching a prop, their hands have somewhere to go. This eliminates those awkward "what do I do with my hands?" moments. It also captures genuine micro-expressions. A smile looks different when someone is laughing at a joke they just made versus smiling on command.
Keep instructions simple. Complex choreography leads to stiff results. One clear action per shot is plenty. Capture ten frames of that one action. Chances are, one will be perfect.

Post-Processing Balance
Editing environmental portraits requires restraint. You don’t want to over-edit the skin so much that it looks plastic, especially when surrounded by realistic textures like wood grain or concrete. Match the editing style to the environment.
For a gritty industrial setting, higher contrast and desaturated tones might work. For a bright medical office, keep colors clean and vibrant. Always check the histogram. Ensure highlights aren’t blown out in the background windows, which can distract from the face.
Dodging and burning can help guide the eye. Slightly darken corners or busy background areas to draw attention back to the subject. But be subtle. If viewers notice the edits, you’ve gone too far.
What is the main difference between a traditional headshot and an environmental headshot?
A traditional headshot focuses solely on the face against a neutral background, emphasizing expression and grooming. An environmental headshot includes the subject's workplace or relevant surroundings to provide context about their profession, personality, or brand.
How do I choose the right background for my industry?
Choose a background that visually represents your daily work or core values. Tech professionals might use modern offices or screens; creatives might use studios or art supplies; executives might use boardrooms or city views. The key is relevance and cleanliness.
What camera settings work best for environmental portraits?
Start with an aperture between f/4 and f/5.6 to balance subject sharpness with background detail. Keep ISO low to reduce noise, and adjust shutter speed to ensure proper exposure. Focus precisely on the eyes.
Can I take environmental headshots outdoors?
Yes, outdoor environmental portraits work well if the location relates to your brand. For example, a real estate agent might stand outside a listing, or a fitness coach in a park. Watch for harsh midday sun and use shade or reflectors to manage lighting.
How many photos should I expect from an environmental headshot session?
Typically, photographers deliver 10-20 edited images from a session. This allows variety in poses and backgrounds while ensuring quality over quantity. Discuss specific needs with your photographer beforehand.
Next Steps for Your Shoot
Ready to book or shoot? Do a site scout first. Visit the location at the same time of day you plan to shoot. Check for reflections, clutter, and light direction. Bring a lens cloth and a spare battery. Nothing ruins a flow state like a dirty lens or dead power.
If you’re hiring a photographer, send them reference images. Show them what you like and what you hate. Communication saves hours of retouching later. And remember, the best environmental headshots feel effortless. If you’re having fun, the camera sees it.