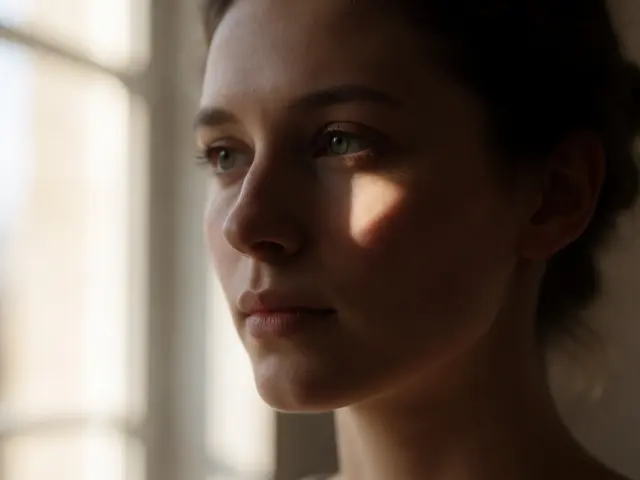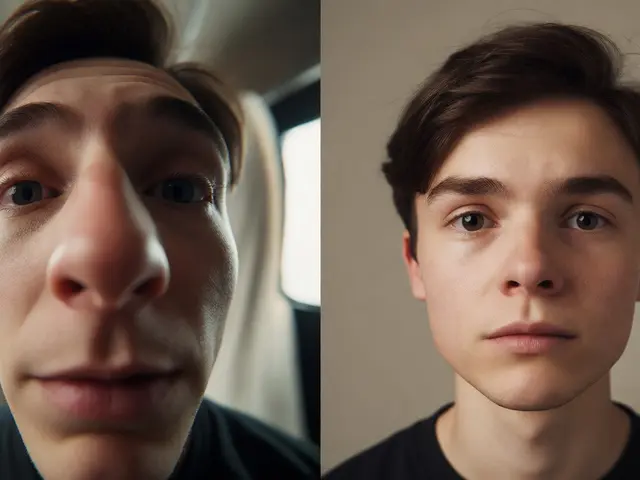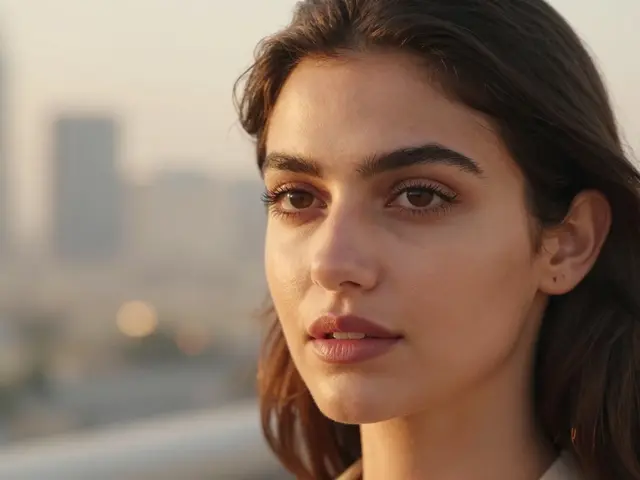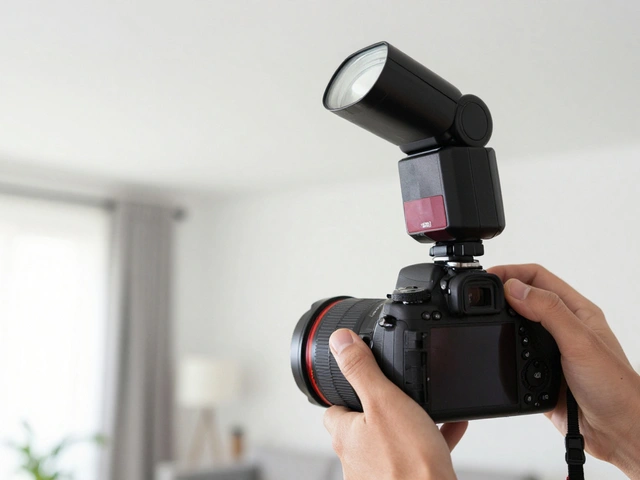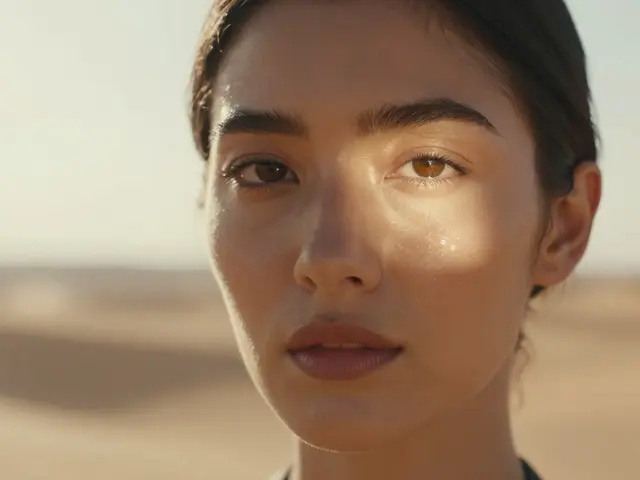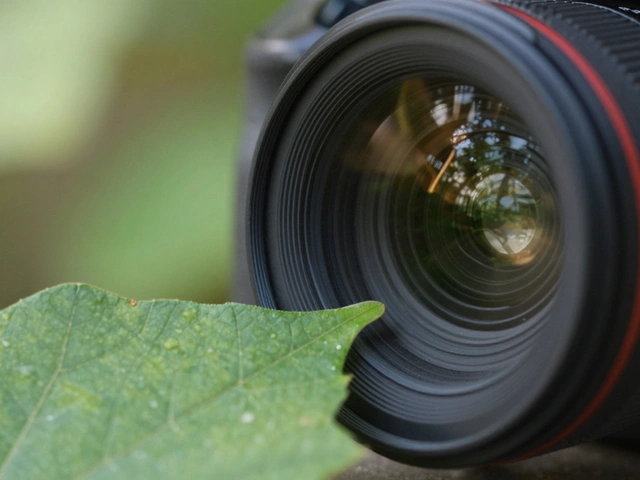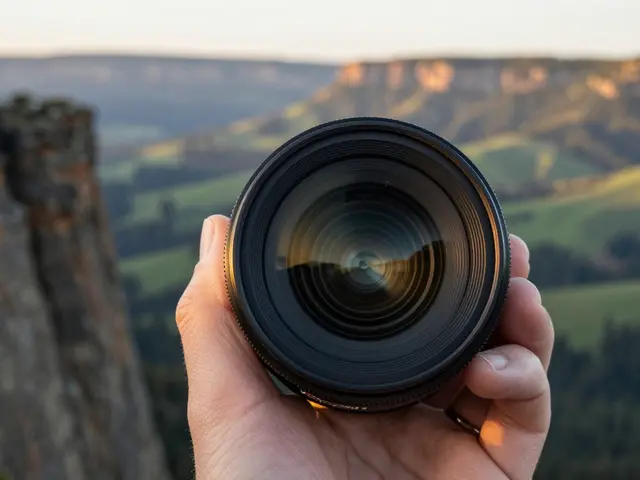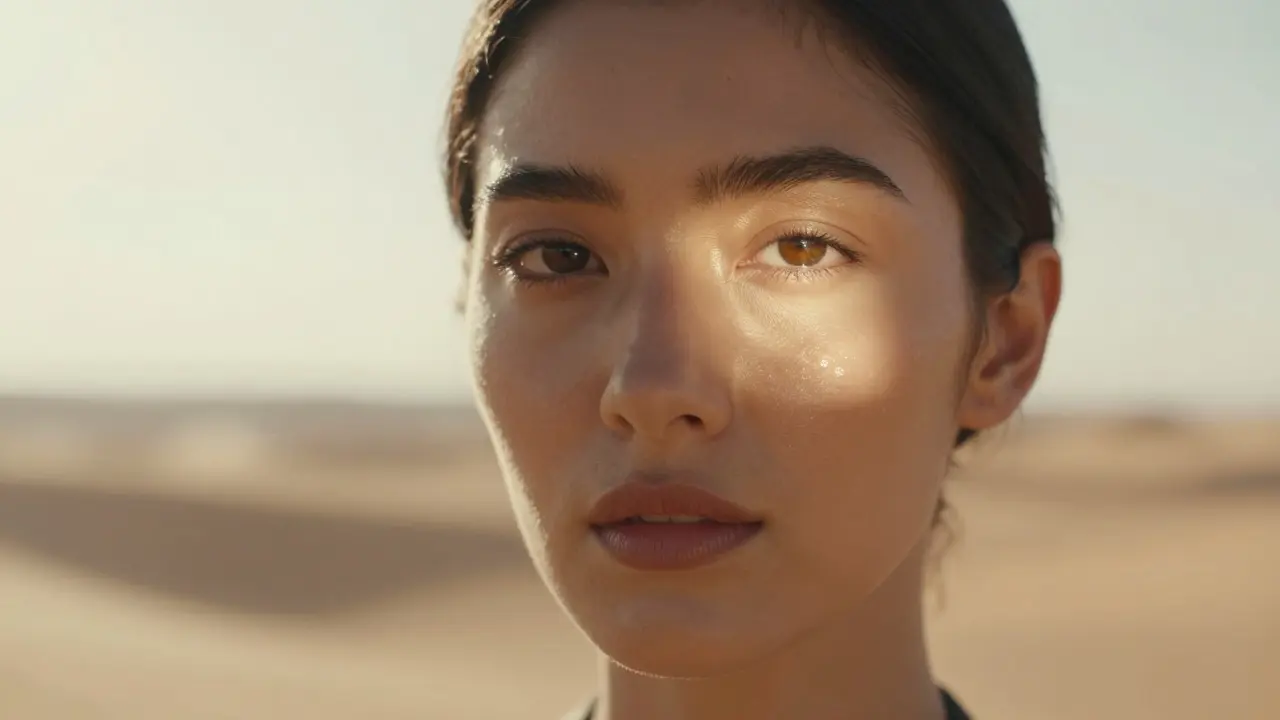
There is a specific look in classic cinema that modern digital sensors struggle to replicate naturally. It’s the way light wraps around highlights without blowing out, creating a dreamy, ethereal quality that makes subjects look softer and more cinematic. This is where diffusion filters come into play. Unlike standard neutral density or polarizing filters, these tools manipulate how light scatters across the sensor, effectively smoothing skin textures and adding a gentle glow to bright areas.
If you are shooting portraits, especially in harsh midday sun or with strong backlighting, diffusion filters can be the difference between a flat, clinical image and one that feels alive and emotive. They don’t just hide flaws; they change the character of the light itself. But choosing the right strength and understanding how they interact with your specific gear is crucial. Too much diffusion, and you lose critical detail. Too little, and you might not notice any difference at all.
How Diffusion Filters Actually Work
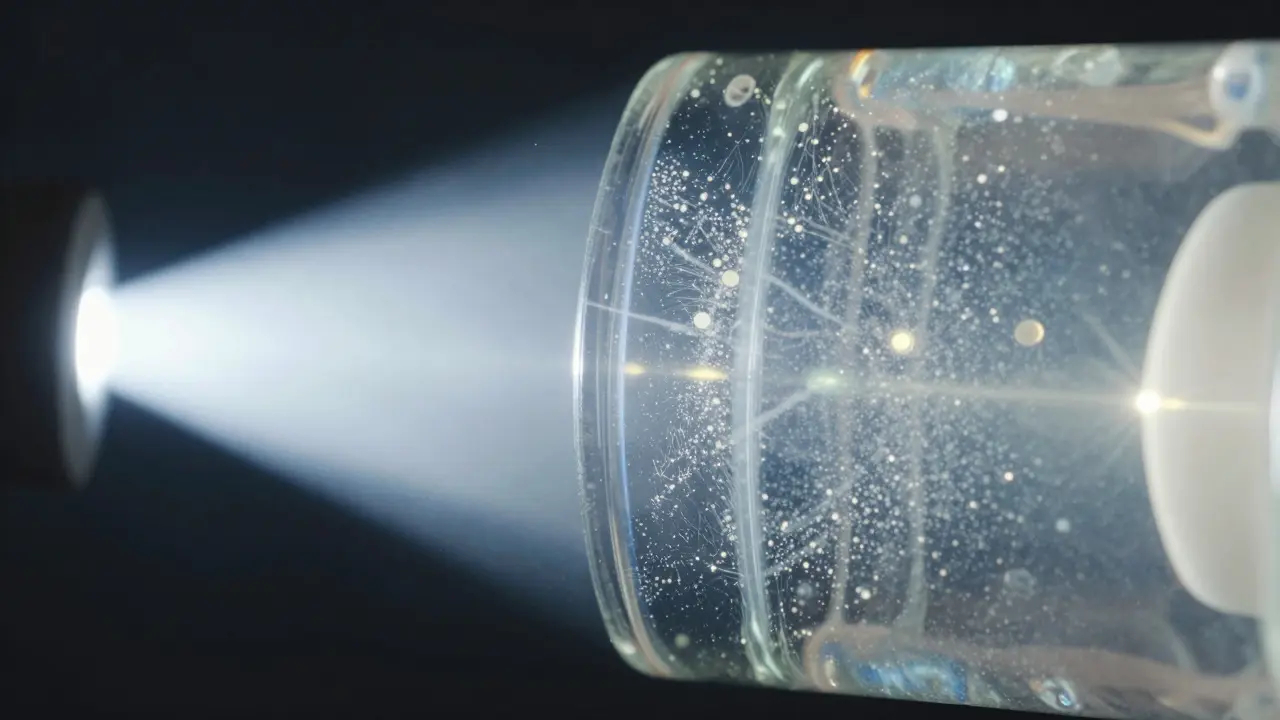
At their core, diffusion filters are made from fine glass or resin with microscopic particles suspended within them. When light passes through this medium, it doesn’t travel in straight lines anymore. Instead, it scatters slightly. This scattering causes small points of light (like specular highlights on eyes or wet hair) to bleed outward just a fraction of an inch. In technical terms, this increases the local contrast in the highlight areas while slightly reducing overall sharpness.
This process is often compared to the "Orton Effect," named after photographer Michael Orton who popularized the technique by blending a sharpened image with a blurred version. However, doing it optically with a filter is faster and preserves dynamic range better than post-processing. The key benefit here is that the blur is directional and subtle. It doesn’t smear the entire image like a low-pass filter would; it only affects the brightest parts. This means your subject’s eyes remain sharp if they aren’t overexposed, but the catchlights get that nice, rounded halo.
Understanding Strength Levels: From Subtle to Strong
Not all diffusion filters are created equal. Manufacturers typically categorize them by strength, usually ranging from 1/4 to 3/4, or sometimes labeled as Low, Medium, and High. Understanding these levels helps you match the filter to your lighting conditions.
- Quarter (1/4) Strength: Ideal for overcast days or when using softbox lighting. It adds a very gentle glow without sacrificing too much micro-contrast. If you shoot mostly indoor portraits with controlled light, start here.
- Half (1/2) Strength: The sweet spot for most outdoor portraits. It handles direct sunlight well, taming harsh shadows and adding a noticeable bloom to highlights. This is the go-to choice for many wedding and lifestyle photographers.
- Three-Quarter (3/4) Strength: Reserved for extreme situations, like shooting against the sun or using hard strobes without modifiers. Be careful here; it can make skin look waxy if overused.
A common mistake is assuming you need the strongest filter to get the best results. In reality, subtlety wins. A quarter-strength filter used in bright light will often produce a more natural result than a three-quarter filter used in dim light.
| Strength Level | Ideal Lighting Condition | Effect on Skin Texture | Risk of Overuse |
|---|---|---|---|
| 1/4 (Low) | Overcast, Softbox, Window Light | Barely noticeable smoothing | Very Low |
| 1/2 (Medium) | Direct Sunlight, Hard Flash | Visible softening, retains detail | Moderate |
| 3/4 (High) | Backlit, Harsh Midday Sun | Strong smoothing, potential loss of texture | High |
The Science of Skin Softening
Why do diffusion filters work so well on skin? Human skin is highly reflective and has complex micro-textures. Digital sensors, especially high-resolution ones, capture every pore, blemish, and oil sheen with ruthless clarity. While this looks realistic, it often feels unflattering in portraiture.
When you place a diffusion filter in front of your lens, you are essentially introducing a controlled amount of optical aberration. This aberration spreads the light from the brightest spots (the oil on the nose, the shine on the cheeks) into the surrounding darker areas. The brain perceives this spread as smoothness. It’s not erasing the texture; it’s integrating it into the tonal range. The result is skin that looks hydrated and even, rather than matte and flat.
It’s worth noting that this effect works best when you are already exposing correctly. If you underexpose and then lift the shadows in post-production, the noise will become visible, negating the softening effect. Diffusion filters work in tandem with proper exposure to create that clean, glowing look.
Choosing the Right Filter for Your Gear
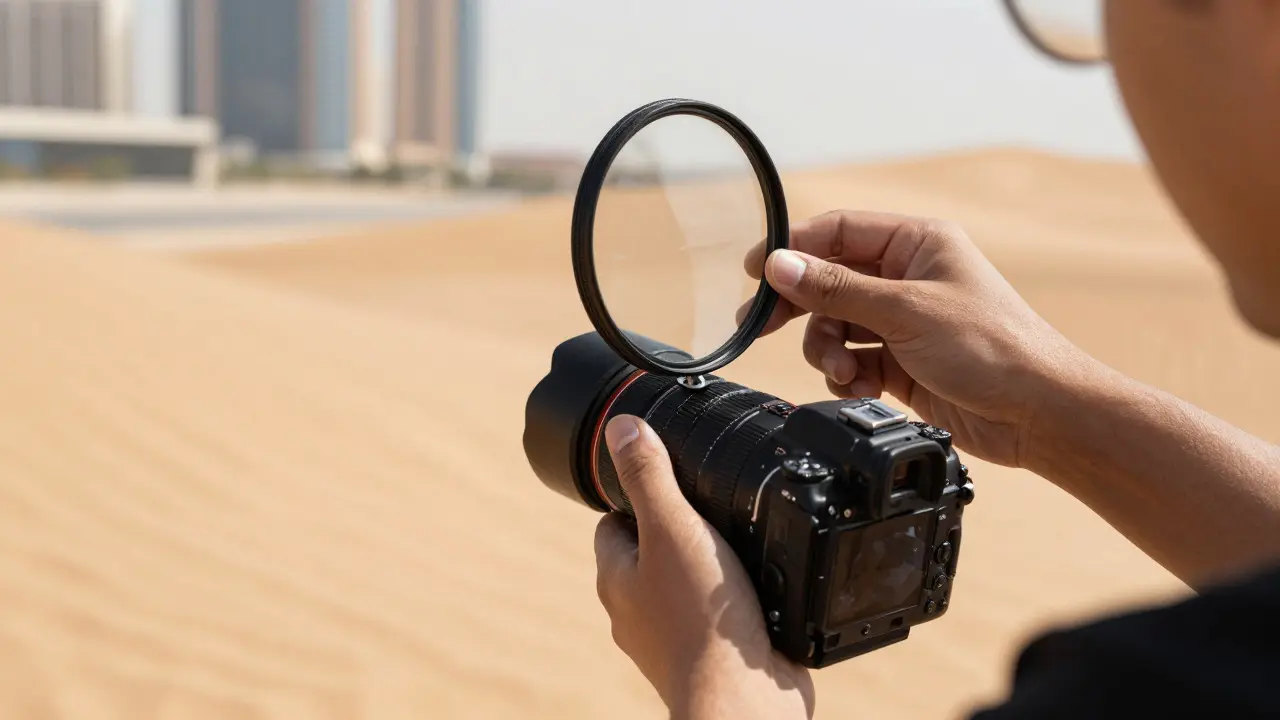
One major consideration is the size of your filter. Most modern lenses use standard thread sizes, but full-frame mirrorless cameras often have shorter flange distances. This can cause vignetting or focus issues with thick, multi-coated diffusion filters. Always check the clearance specifications.
Additionally, consider the coating. Cheap filters can introduce color casts, particularly magenta or green tints, which are hard to correct in post-production. Look for filters with multi-coated surfaces designed to minimize flare and maintain color fidelity. Brands like Tiffen, NiSi, and Kase offer various options, each with different trade-offs regarding thickness and optical clarity.
If you shoot with prime lenses, you have more flexibility. Prime lenses generally have wider apertures, allowing more light to hit the sensor, which enhances the bloom effect. With zoom lenses, especially those with narrower maximum apertures, you might need to step up to a stronger filter to achieve the same visual impact.
Practical Tips for Shooting with Diffusion Filters
Getting the best results isn't just about screwing on a filter. Here are some practical strategies to maximize the effect:
- Shoot in RAW: You need the latitude to adjust white balance and exposure without introducing banding. JPEG compression can artifact the subtle gradients created by the filter.
- Monitor Highlights Closely: Use your camera's histogram or false-color highlight warning. You want the highlights to be near clipping but not clipped. The filter will help recover some of that data visually, but you still need headroom.
- Combine with Polarizers Carefully: Stacking a circular polarizer with a diffusion filter can reduce the effectiveness of both. The polarizer reduces reflections, which are often what the diffusion filter needs to scatter. If you must stack them, put the polarizer closest to the lens.
- Test on Different Skin Tones: The effect varies based on melanin content and skin reflectivity. What looks great on lighter skin tones might look muddy on deeper skin tones if the filter is too strong. Do test shots before the session.
Also, remember that diffusion filters affect everything in the frame, not just the subject. Background bokeh balls will also bloom. This can be a feature, creating a more cohesive, dreamy background, but be aware that it might reduce the separation between your subject and the background if the background is busy.
Common Pitfalls and How to Avoid Them
Even experienced photographers can trip up when using diffusion filters. One frequent issue is "haloing." If you push the saturation or clarity sliders too high in post-production, the soft edges created by the filter can turn into ugly halos around high-contrast edges. Keep your editing subtle. Let the optical effect do the heavy lifting.
Another pitfall is using the filter in low light. Because diffusion filters scatter light, they effectively reduce the amount of light reaching the sensor. In dim environments, this can force you to raise your ISO, increasing noise. Since noise and softness don’t mix well, avoid using strong diffusion filters in low-light scenarios unless you have powerful continuous lighting.
Finally, don’t rely on the filter as a crutch for poor lighting. A diffusion filter cannot fix a bad light direction. If the light is coming from directly above, creating deep eye sockets, no amount of bloom will save the shot. Use the filter to enhance good light, not to rescue bad light.
Frequently Asked Questions
Do diffusion filters work on video?
Yes, and arguably even better than stills. Video requires consistent exposure, and diffusion filters help manage highlight roll-off, preventing harsh clipping in moving images. The bloom effect adds a cinematic quality that is very difficult to replicate authentically in post-production for video.
Can I use a diffusion filter with a macro lens?
It depends on the depth of field. Macro photography often has extremely shallow depth of field. Adding a diffusion filter will soften the transition between focus planes, which can be desirable for beauty macro shots but detrimental for product macro where edge definition is critical. Test carefully.
Is there a difference between glass and resin diffusion filters?
Glass filters tend to be thicker and heavier but offer superior optical clarity and scratch resistance. Resin filters are lighter and thinner, making them better for wide-angle lenses where vignetting is a concern, but they are more prone to scratching and may have slightly lower optical purity.
How does a diffusion filter compare to using a black card in front of the lens?
A black card (or "bloom filter") creates a similar effect by blocking part of the light path, causing internal reflections to scatter. However, it is less predictable and can cause uneven vignetting. A manufactured diffusion filter provides a uniform, controlled effect across the entire frame, making it a more reliable tool for professional work.
Will a diffusion filter ruin my sharpness?
Slightly, yes. All diffusion filters reduce peak contrast and micro-sharpness. However, the reduction is minimal and usually imperceptible in final prints or web images. The trade-off is worth it for the aesthetic improvement in highlights and skin tone consistency.