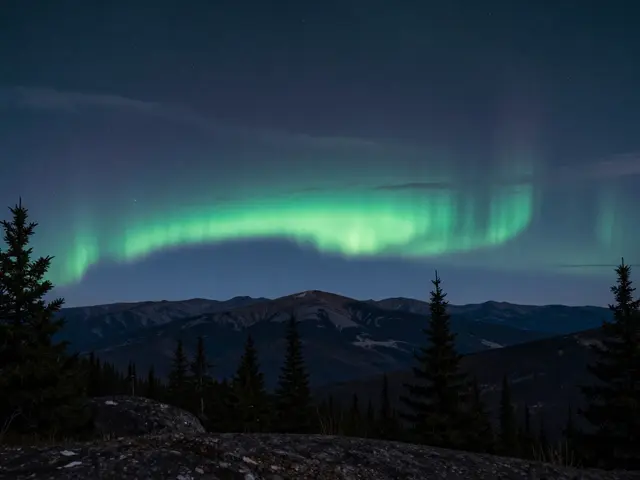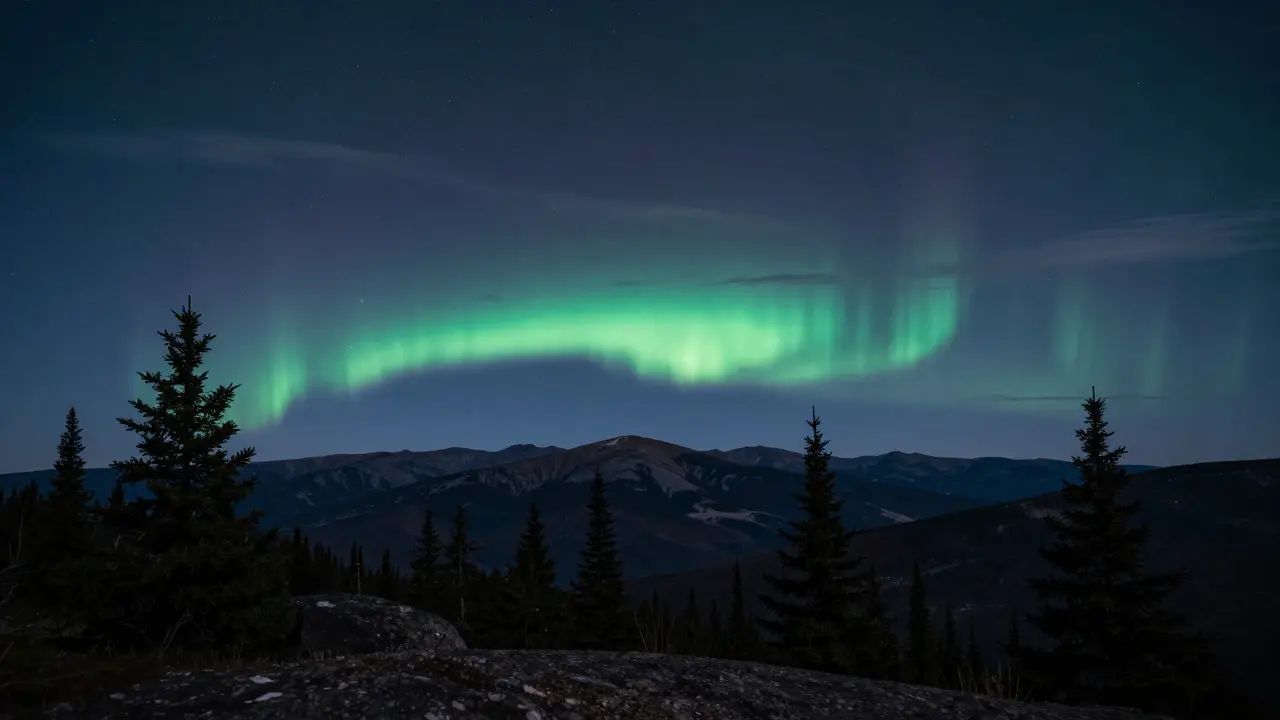
Imagine standing under a sky that suddenly erupts in ribbons of green and purple. It’s the dream shot every landscape photographer chases. But catching it isn’t just about luck; it’s about reading the data. The KP index is your primary tool for predicting when the aurora borealis will be visible, but it’s only half the battle. You also need clear skies, which means understanding weather windows. If you ignore either factor, you might drive three hours into the wilderness only to find clouds or a dark, silent sky.
This guide breaks down how to combine solar physics with local meteorology to maximize your chances of capturing the northern lights. We’ll look at how the KP index actually works, why it doesn't guarantee visibility, and how to use forecast models to find those rare perfect nights.
Understanding the KP Index and Solar Activity
The KP Index is a scale from 0 to 9 that measures the intensity of geomagnetic storms caused by solar wind interactions with Earth's magnetosphere. It’s derived from ground-based magnetometers located around the globe. A higher number means stronger magnetic disturbances, which generally push the auroral oval closer to the equator, making it visible at lower latitudes like Oregon or New York.
Here is how the scale translates to real-world visibility:
- KP 0-2 (Quiet): Aurora is usually confined to polar regions (above 65°N latitude). Unlikely to see unless you are in Alaska, Canada, or Scandinavia.
- KP 3-4 (Unsettled): Visibility expands to mid-latitudes. In places like Portland or Seattle, you might catch faint displays on very clear nights.
- KP 5-6 (Active): Strong chance of seeing auroras across most of the Northern Hemisphere. Colors become more vivid, often showing reds and purples alongside greens.
- KP 7+ (Storm): Rare events where auroras can be seen as far south as Florida or Texas. These are spectacular but unpredictable.
It’s crucial to understand that the KP index is an average of measurements taken over a three-hour period. This means a "KP 5" reading could represent a quiet hour followed by two intense ones, or vice versa. For photography, timing matters. You want to shoot during the peak of the storm, not just when the index says it’s active. Check the G-scale (Geomagnetic Storm Scale) for real-time updates, as it provides minute-by-minute granularity that the KP index lacks.
The Role of Solar Wind and CMEs
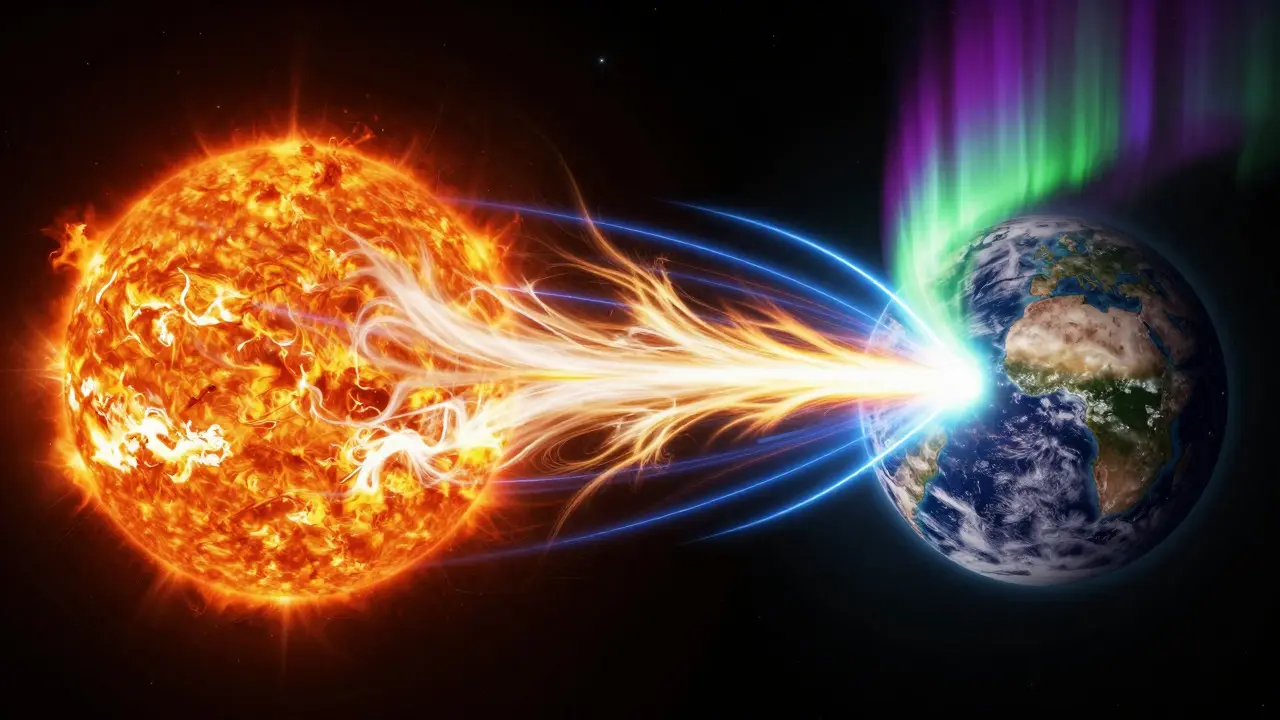
The KP index is a result, not a cause. The driver behind geomagnetic storms is solar wind, specifically Coronal Mass Ejections (CMEs). A CME is a massive burst of plasma and magnetic field ejected from the Sun. When this cloud hits Earth’s magnetosphere, it compresses the field lines, triggering the aurora.
Not all CMEs are created equal. The speed and direction of the ejection determine its impact. A fast CME traveling at 800 km/s can reach Earth in 18-24 hours. A slower one might take four days. To predict the arrival, astronomers track the interplanetary magnetic field (IMF). If the IMF is oriented southward (Bz negative), it couples efficiently with Earth’s northward-pointing magnetic field, maximizing energy transfer. This is known as the "southward Bz" condition. Always check the Bz value alongside the KP index. A high KP with a northward Bz might indicate the storm is ending or weakening.
Tools like SpaceWeatherLive.com provide real-time dashboards for these metrics. Look for the "Arrival Time" prediction for incoming CMEs. If a CME is predicted to arrive at 2 AM local time, set your alarm for 1 AM. The first few minutes after impact are often the brightest due to the initial shock wave compressing the ionosphere.
Navigating Weather Windows and Cloud Cover
Even if the KP index hits 7, you won’t see anything if the sky is covered in clouds. This is where the concept of a "weather window" comes in. A weather window is a specific time and location where atmospheric conditions allow for clear viewing. Finding these requires analyzing multiple weather layers.
Cloud cover is the biggest enemy. Use satellite imagery and cloud probability forecasts. Apps like Windy.com or Clear Outside offer detailed visualizations of cloud density. Look for gaps in the cloud layer, often referred to as "breaks." These breaks can be narrow but sufficient for shooting. Timing is critical here. Clouds move. A break that exists at 10 PM might close by midnight. Plan your session around the movement of these breaks.
Humidity and dew point also play a role. High humidity leads to fog, which scatters light and reduces contrast. Check the relative humidity forecast. Ideally, you want RH below 60%. If it’s higher, expect haze. Haze can wash out the subtle colors of the aurora, making them appear dimmer and less defined. Post-processing can fix some haze, but it’s better to avoid it entirely.
Moonlight is another factor. While a full moon can illuminate the landscape beautifully, it raises the ambient light level, forcing you to use faster shutter speeds. This can reduce the exposure time available for the aurora, resulting in noisier images. However, a bright moon can also create interesting reflections on snow or water. Decide if you want a pure aurora shot or a composite scene. If you’re aiming for the latter, moonlight is a bonus. For pure aurora detail, a new moon or thin crescent is preferable.
Combining Data Sources for Accuracy
No single source is perfect. The best strategy is to cross-reference multiple data points. Here is a workflow I recommend for planning a trip:
- Check the 3-Day Forecast: Start with NOAA’s Space Weather Prediction Center. Look at the 3-day KP forecast. Identify days with KP 4 or higher.
- Analyze Solar Conditions: Go to SpaceWeatherLive.com. Check the CME tracker and Bz orientation. Confirm that a CME is arriving on your target day and that Bz is likely to be southward.
- Review Local Weather: Use a weather app with hourly cloud cover predictions. Look for a window between 9 PM and 2 AM with less than 20% cloud cover. Note the direction of the wind, as it affects cloud movement.
- Verify Moon Phase: Check the lunar calendar. Determine if the moon will be up during your shooting window. Calculate the moonrise and moonset times for your specific location.
If all these factors align, you have a high-probability night. If they don’t, consider shifting your date. Flexibility is key in aurora chasing. Sometimes, the best night is the one you didn’t plan for, so keep an eye on last-minute alerts. Many apps send push notifications when a geomagnetic storm begins unexpectedly.
Equipment Considerations for Low Light
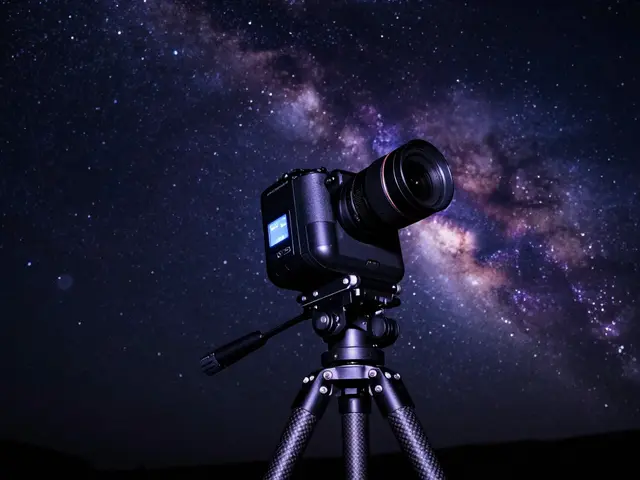
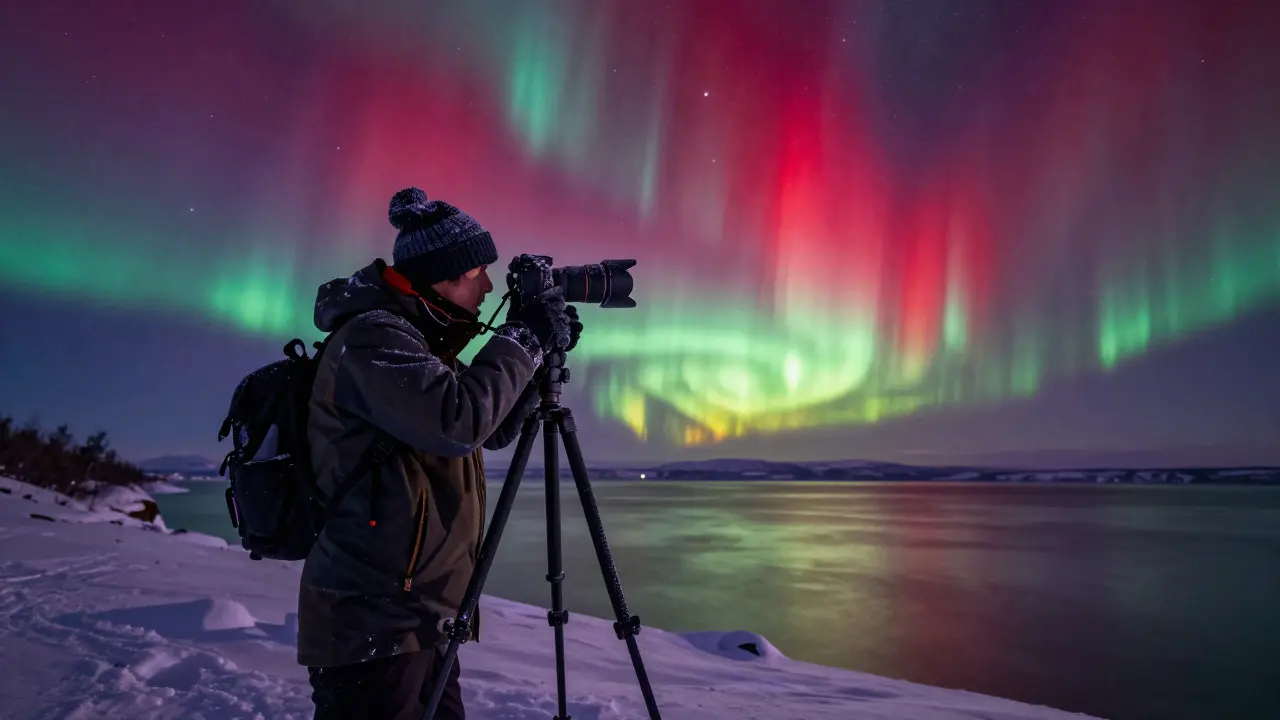
Forecasting is useless if your gear can’t capture the moment. Aurora photography requires specific settings and equipment. You need a camera capable of manual mode, preferably a DSLR or mirrorless with good high-ISO performance. Lenses should be wide-angle (14-24mm) to capture the broad scope of the display. Aperture should be wide open (f/2.8 or lower) to let in maximum light. ISO typically ranges from 1600 to 6400, depending on brightness. Shutter speed should be between 2 and 8 seconds. Longer exposures can blur the moving curtains of the aurora, while shorter ones may lack enough light.
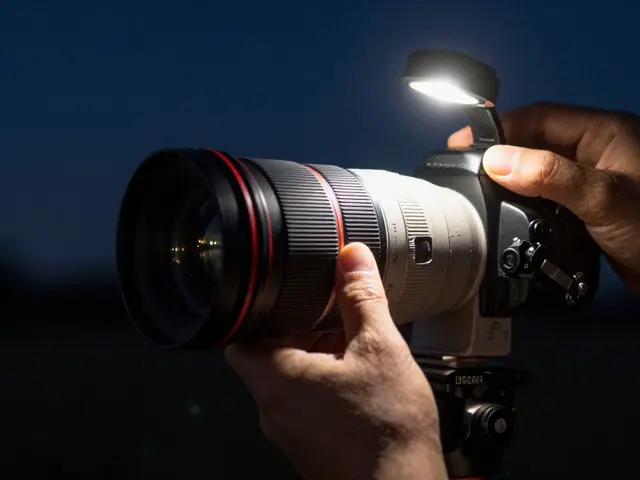
A sturdy tripod is non-negotiable. Cold temperatures can drain batteries quickly, so bring spares and keep them warm in an inner pocket. Remote shutters help prevent camera shake. Lens heaters are useful in humid or cold conditions to prevent condensation on the glass. Without a heater, you’ll spend more time wiping your lens than shooting.
Composition is just as important as settings. Include foreground elements like trees, mountains, or lakes to give scale and context to the aurora. A plain sky shot is beautiful, but adding a foreground makes it compelling. Scout your location beforehand if possible. Know where the best vantage points are and how long it takes to get there. Traffic and road conditions can change rapidly in remote areas.
Common Pitfalls to Avoid
Many photographers miss the aurora because of avoidable mistakes. One common error is relying solely on the KP index without checking cloud cover. Another is staying too close to city lights. Light pollution washes out the subtle colors of the aurora. Drive at least 30-50 miles away from major cities to find truly dark skies. Use light pollution maps to identify dark sites near your travel route.
Another pitfall is waiting for the "perfect" moment. Auroras can change rapidly. What looks like a faint glow can explode into vibrant curtains within seconds. Keep your camera ready and monitor the sky continuously. Don’t be afraid to adjust settings on the fly. If the display gets brighter, drop your ISO or shorten your shutter speed to maintain detail. If it fades, increase sensitivity.
Finally, don’t forget safety. Aurora hunting often involves driving on rural roads at night in cold weather. Bring warm clothing, headlamps, and emergency supplies. Tell someone your planned route and expected return time. Cell service is often unavailable in remote areas, so rely on offline maps.
| KP Level | Intensity Description | Typical Visibility Latitude | Photography Recommendation |
|---|---|---|---|
| 0-2 | Quiet | >65°N | Only shoot if in polar regions; otherwise skip. |
| 3-4 | Unsettled | 55°-65°N | Possible in Pacific Northwest; check cloud breaks carefully. |
| 5-6 | Active | 45°-55°N | High chance in US Midwest/Northeast; prime shooting conditions. |
| 7+ | Storm | <45°N | Rare event; visible even in southern US; prepare for rapid changes. |
Frequently Asked Questions
What is the best time of year to see auroras?
The best months are September through March. During these months, nights are longer, providing more darkness for shooting. Additionally, the autumnal equinox (September/October) often sees heightened solar activity due to the tilt of Earth’s axis, which can enhance geomagnetic coupling. Summer months have shorter nights and more twilight, reducing the window for dark-sky photography.
Can you see auroras from Portland, Oregon?
Yes, but it requires strong solar activity. Portland sits at approximately 45.5°N latitude. You typically need a KP index of 5 or higher to see auroras clearly. During major storms (KP 7+), displays can be vivid and widespread. On weaker nights (KP 3-4), you might only see faint glows on the northern horizon if the sky is perfectly clear. Driving north to darker locations like Central Oregon increases your chances significantly.
How accurate are aurora forecasts?
Forecasts are probabilistic, not guaranteed. The 3-day KP forecast is reasonably accurate for large-scale trends, but short-term variations depend on real-time solar wind conditions. Cloud cover predictions are generally reliable up to 24 hours in advance, but local weather systems can shift. Always treat forecasts as probabilities and remain flexible. Last-minute changes in solar wind speed or direction can alter the outcome dramatically.
Do I need a special camera to photograph auroras?
No, any camera with manual controls will work. Modern smartphones can also capture basic aurora shots, though they lack the dynamic range and low-light performance of dedicated cameras. For professional results, use a DSLR or mirrorless camera with a fast prime lens (e.g., f/1.4 or f/1.8). Wide-aperture lenses gather more light, allowing for cleaner images at lower ISO settings. Avoid using zoom lenses, as they tend to have smaller apertures.
What does a negative Bz mean for aurora visibility?
A negative Bz (southward interplanetary magnetic field) indicates efficient energy transfer from the solar wind to Earth’s magnetosphere. This condition intensifies geomagnetic storms, leading to brighter and more extensive auroras. If the Bz is positive (northward), the solar wind slides off Earth’s magnetic shield, resulting in weaker displays. Monitor the Bz value in real-time during a storm to anticipate peaks in auroral activity.