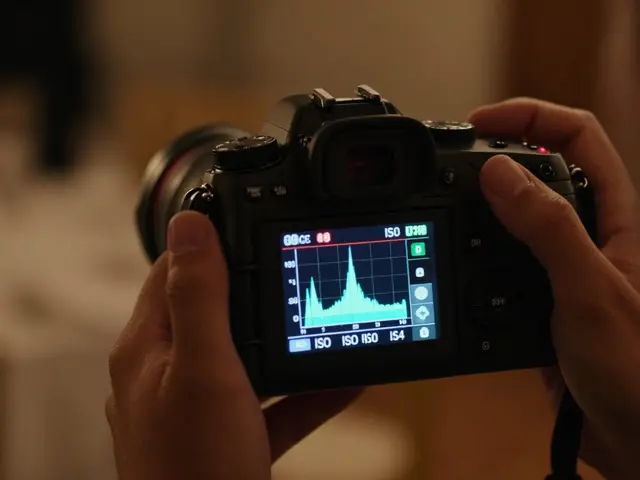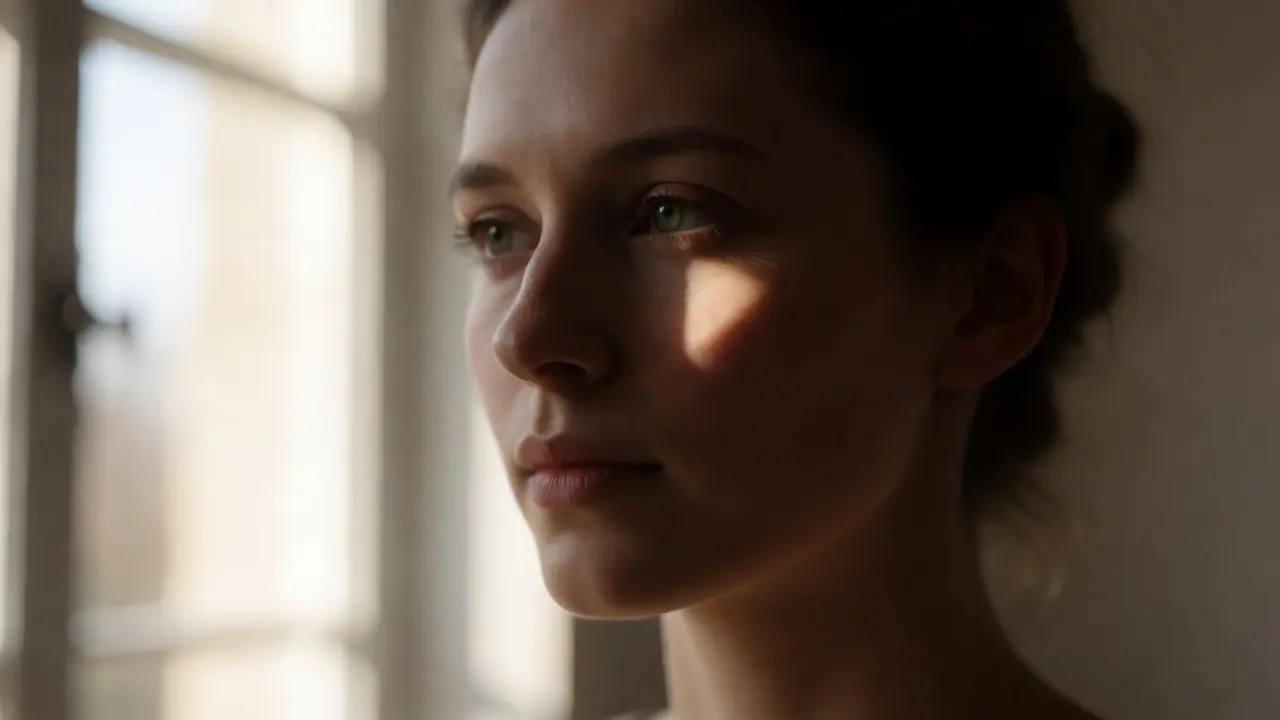
You know that feeling when you try to recreate a classic oil painting look with just your camera and a window? You position the subject, snap a few shots, and end up with flat, boring faces or harsh shadows that cut across their eyes like prison bars. It’s frustrating because you know Rembrandt lighting is the gold standard for dramatic, moody portraits, but it feels elusive without expensive studio strobes. The truth is, you don’t need a $2,000 lighting kit to get that iconic triangle of light under the eye. You just need to understand how sunlight behaves through glass and where to place your subject relative to that single, powerful source.
This guide breaks down exactly how to harness natural window light to create authentic Rembrandt patterns. We’ll cover the geometry of the light, the specific angles that work (and the ones that fail), and how to manipulate contrast without artificial fill lights. If you’ve been struggling to get that painterly depth in your headshots, this is the fix you’ve been looking for.
What Exactly Is Rembrandt Lighting?
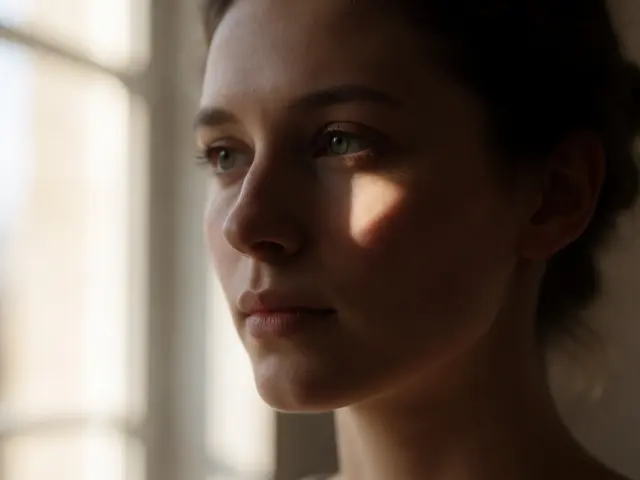
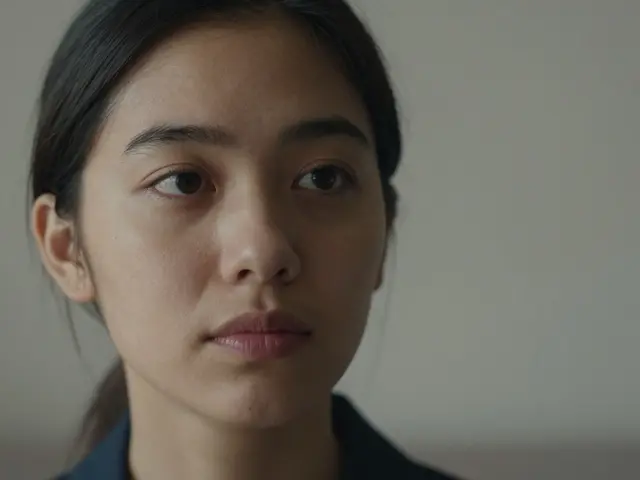
Before we touch a reflector, let’s define what we’re chasing. Rembrandt lighting is a portrait lighting pattern named after the Dutch master Rembrandt van Rijn, who frequently used this technique in his paintings during the 17th century. The defining characteristic is a small, inverted triangle of light on the shadow side of the face, specifically beneath the eye. This triangle must be contained within the cheek and nose shadow; if it touches the edge of the nose, it’s not Rembrandt-it’s loop lighting.
Why does this matter? Because this pattern creates volume. Unlike butterfly lighting, which flattens features, or split lighting, which can look too theatrical, Rembrandt offers a balanced sense of three-dimensionality. It separates the subject from the background and adds emotional weight to the gaze. When using natural light, you are essentially sculpting with the sun. The challenge is controlling the size and hardness of that light source, which changes dramatically depending on whether the sky is clear or overcast.
The Geometry: Angles and Distances
Most beginners fail at window-light Rembrandt because they think about the angle incorrectly. They rotate the subject until the shadow falls right, ignoring the distance between the subject and the window. Here is the rule of thumb: the closer the subject is to the window, the softer the light; the further away, the harder and more directional it becomes.
To achieve the classic pattern, follow these steps:
- Position the Window: Place your subject next to a large window. North-facing windows (in the Northern Hemisphere) provide consistent, soft light throughout the day. South-facing windows offer intense, direct sunlight that acts like a hard spotlight.
- The 45-Degree Rule: Turn the subject so their face is approximately 45 degrees away from the window. Not fully profile, not fully frontal. You want one side of the face lit, and the other side falling into shadow.
- Check the Shadow: Look for the shadow of the nose to fall toward the cheekbone. The goal is for this shadow to merge with the cheek shadow, leaving only that small triangle of light visible under the far eye.
- Adjust Distance: If the shadows are too black and crush detail, move the subject closer to the window. If the transition is too gradual and the face looks flat, move them further away.
A common mistake is having the light hit the face from too high or too low. Ideally, the center of the window should be roughly level with the subject’s forehead or slightly above. If the light comes from below (like a low sun in winter), you might get unflattering "monster" shadows under the chin and nose. In that case, have the subject tilt their chin slightly down or raise the camera angle.
Managing Contrast Without Artificial Lights
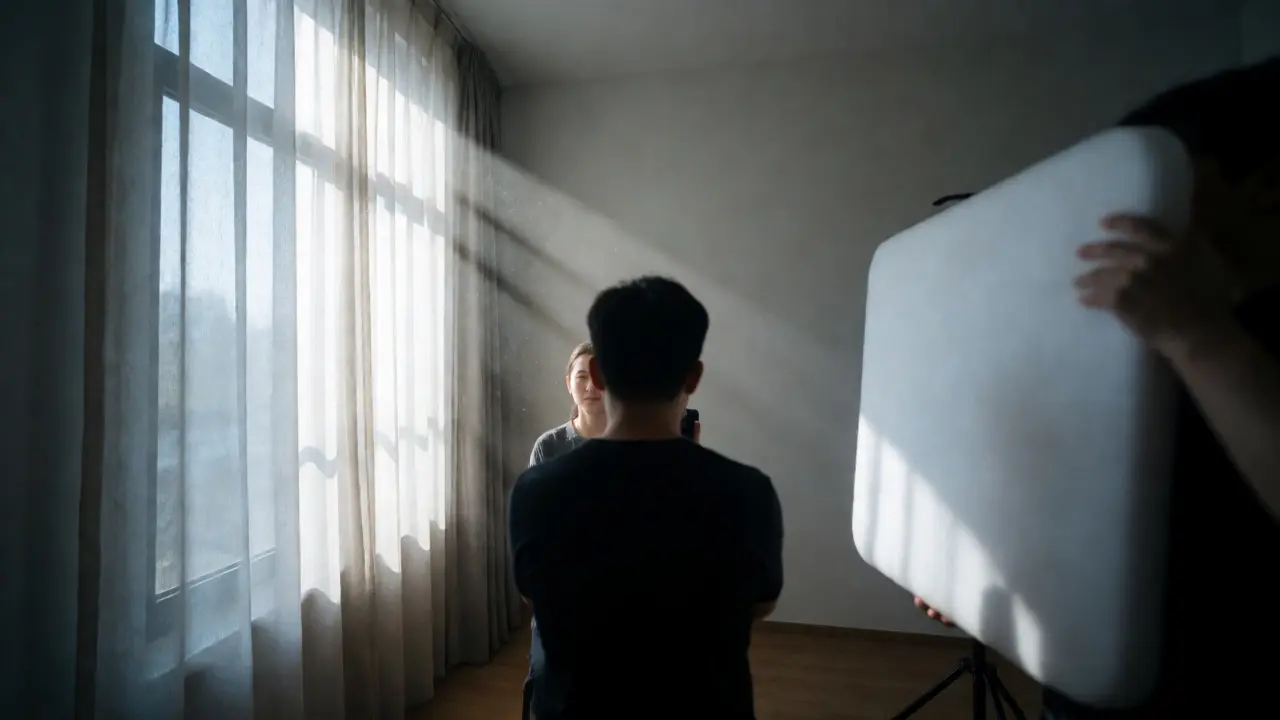
Natural light has a huge dynamic range problem. The bright side of the face might be perfectly exposed, while the shadow side goes pitch black. In a studio, you’d add a fill card. With a window, you have two options: use a reflector or rely on post-processing. But there is a third, often overlooked method: environmental bounce.
If you shoot near a white wall opposite the window, the light bounces back onto the shadow side, lifting the blacks naturally. This is called ambient fill. However, if you are shooting against a dark curtain or outside, you need help. A simple white foam board or even a large sheet of white paper held opposite the window can recover detail in the shadows. Keep the reflector close to the subject but out of frame. The closer it is, the stronger the fill effect.
| Light Condition | Shadow Quality | Best For | Required Modifier |
|---|---|---|---|
| Direct Sunlight | Hard, defined edges | Dramatic, high-contrast art | Diffusion cloth or sheer curtain |
| Overcast Sky | Soft, gradual transitions | Beauty, skin texture focus | Reflector for fill |
| North-Facing Window | Consistent, soft, cool tone | Standard professional headshots | None usually needed |
| Golden Hour Side-Light | Warm, long shadows | Mood, romantic portraits | Bounce card for warmth control |
Troubleshooting Common Pitfalls
Even with the right angle, things go wrong. Here are the most frequent issues and how to fix them immediately.
The Triangle is Too Big: If the illuminated area on the shadow side is larger than a matchbook, your light source is too large relative to the subject, or the angle is too frontal. Move the subject further from the window to make the light smaller and more directional, or turn the subject slightly more toward the shadow side.
The Eye is in Shadow: The catchlight (reflection of the window) must be visible in the lit eye. If the eye is lost in darkness, the portrait feels dead. Ask the subject to lift their chin slightly or adjust the camera height downward. Ensure the window is not blocked by blinds or curtains on the lit side.
Unflattering Skin Texture: Hard window light emphasizes every pore and blemish. If your subject has textured skin, avoid direct midday sun. Wait for cloud cover or hang a sheer white curtain over the window. This turns the entire window into a giant softbox, smoothing out imperfections while maintaining directionality.
Advanced Techniques: Mixing Sources
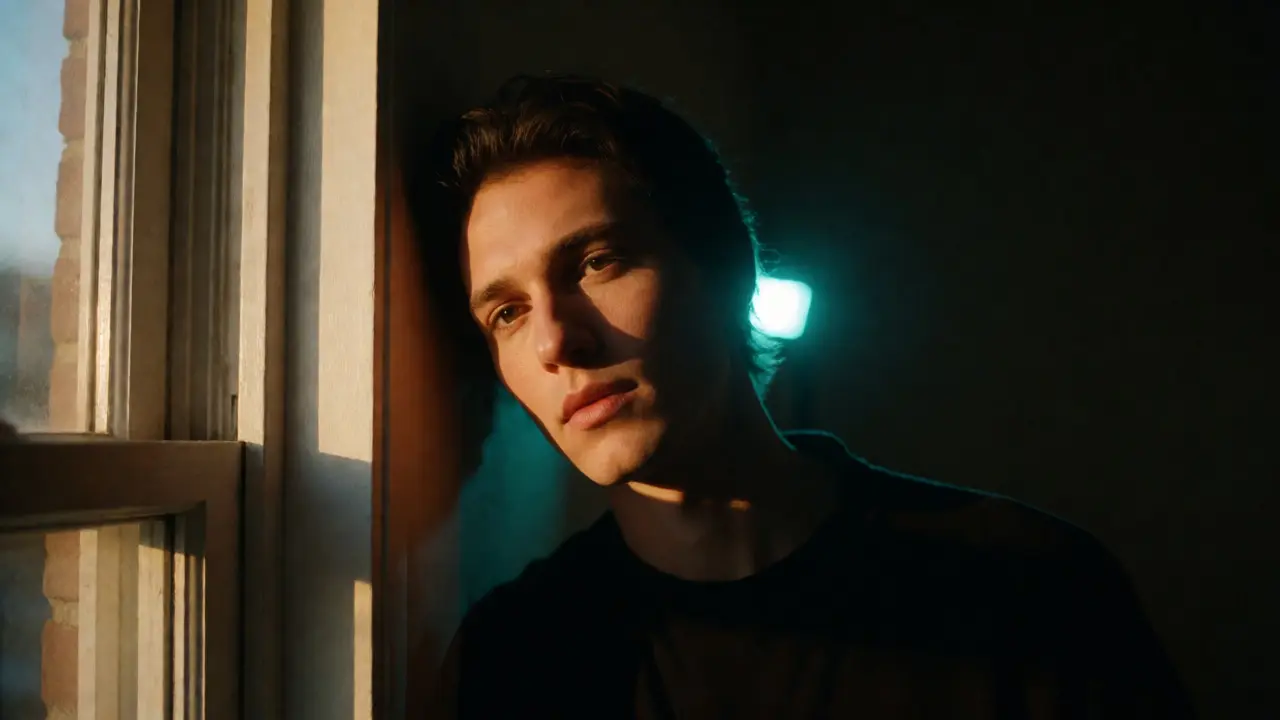
Once you master pure window light, you can start mixing sources for creative control. One popular trick is using a small LED panel as a rim light. Place a battery-powered LED behind the subject, aimed at their hair or shoulder, opposite the window. This separates them from the background without affecting the facial modeling. Since LEDs are continuous, you can see the effect before you shoot.
Another advanced move is gelling the window. If the interior walls are yellow or orange, the reflected light will cast a color cast on the shadow side. Use a blue gel on a small flash to neutralize the warm bounce, or embrace the color contrast by adding a complementary color gel to a rim light. For example, a teal rim light against warm window light creates a cinematic look popular in modern editorial photography.
Post-Processing Tips for Natural Looks
Don’t rely solely on the camera JPEG. Raw files hold the data you need to refine the Rembrandt pattern. When editing, pay attention to the following:
- Exposure Balance: Protect the highlights on the lit side. It’s easier to lift shadows in post than to recover blown-out whites. Set your exposure so the brightest part of the face is just before clipping.
- Local Adjustments: Use a radial filter or brush tool to gently brighten the shadow side. Don’t flatten it completely; maintain some contrast to keep the drama. Aim for a 1-2 stop difference between light and shadow.
- Color Grading: Natural light shifts color temperature throughout the day. Correct the white balance manually. If the light feels too clinical (blue), add a slight warmth in the highlights and keep the shadows neutral or slightly cool for separation.
Remember, the goal is authenticity. Over-editing removes the organic feel of natural light. Let the imperfections exist. The slight grain, the uneven light spill-these are features, not bugs, of shooting with windows.
Can I do Rembrandt lighting with a small window?
Yes, but you need to move the subject further away from the window. A small window acts as a point source, creating hard shadows. To soften it, you can diffuse the light with a sheer curtain or use a reflector to fill the shadows. The key is ensuring the light still hits the face at a 45-degree angle.
What if the sun moves and ruins my setup?
Sun movement is the biggest variable in natural light. Check the sun's path using an app like PhotoPills or Sun Surveyor before shooting. If the sun moves out of alignment, either wait for it to return, block it with a flag, or switch to north-facing light which remains consistent all day.
Do I need a reflector for Rembrandt lighting?
Not strictly necessary, but highly recommended. Without a reflector, the shadow side may become too dark, losing detail. A white reflector placed opposite the window lifts the shadows gently, preserving the mood while keeping the image usable for print or social media.
How is Rembrandt different from Loop lighting?
In loop lighting, the nose shadow forms a small loop on the cheek but does not connect to the cheek shadow. In Rembrandt lighting, the nose shadow connects with the cheek shadow, leaving only a distinct triangle of light under the eye. Rembrandt is generally considered more dramatic and artistic.
Which lens works best for window portraits?
A prime lens between 50mm and 85mm is ideal. These focal lengths compress perspective slightly, flattering facial features, and typically have wide apertures (f/1.8 or f/1.4) that allow you to blur the background and isolate the subject in the window light.