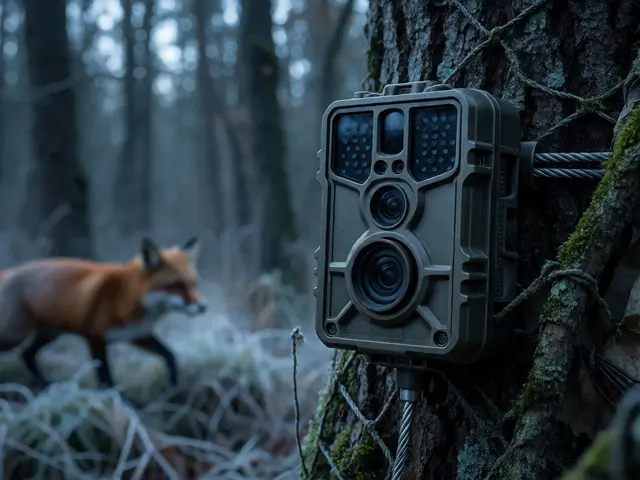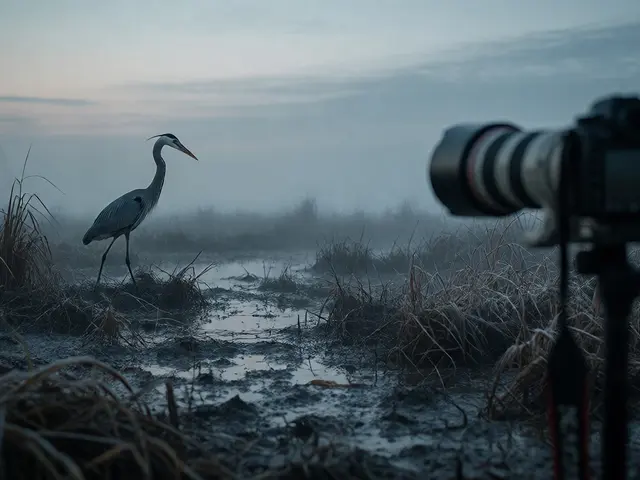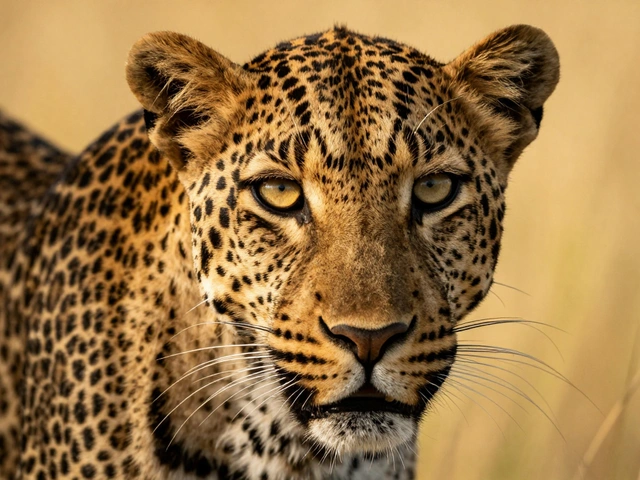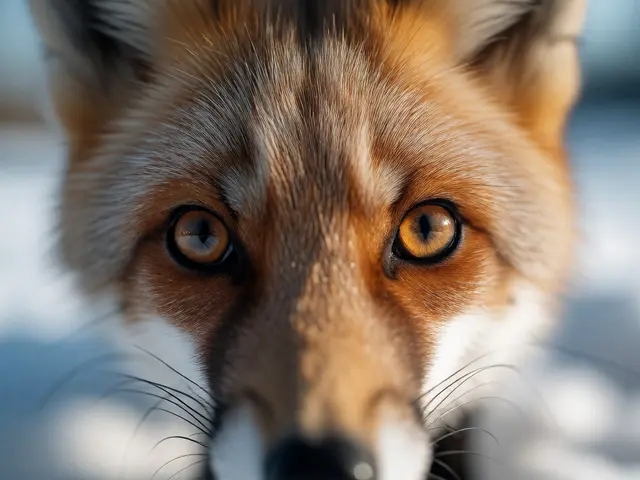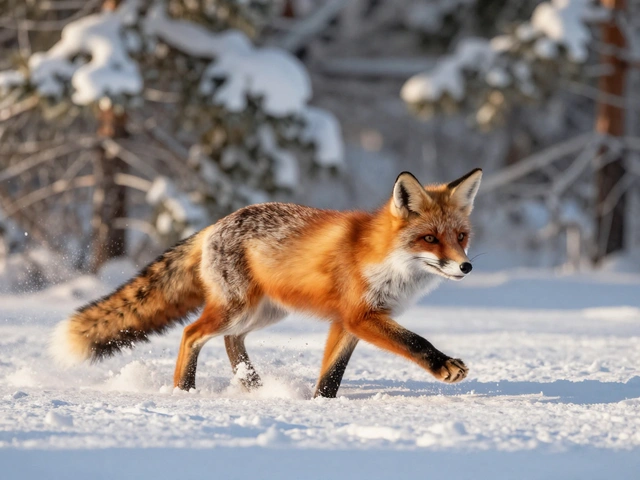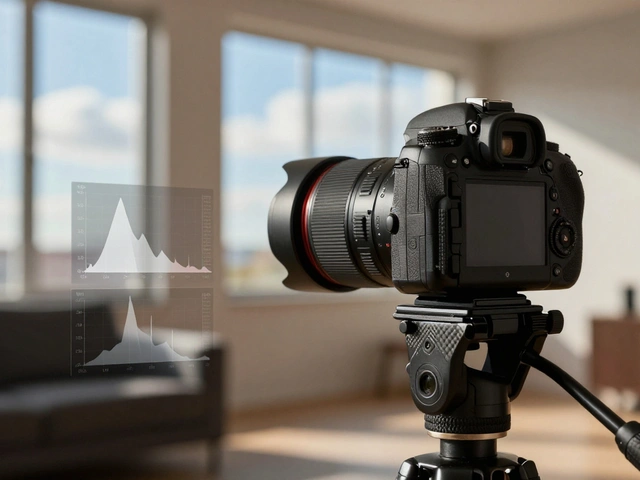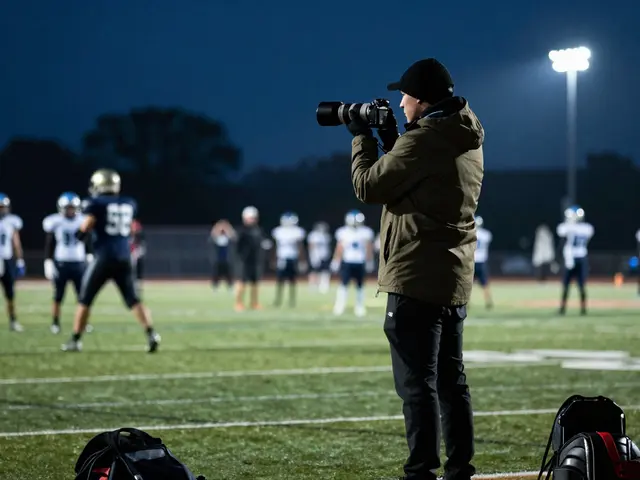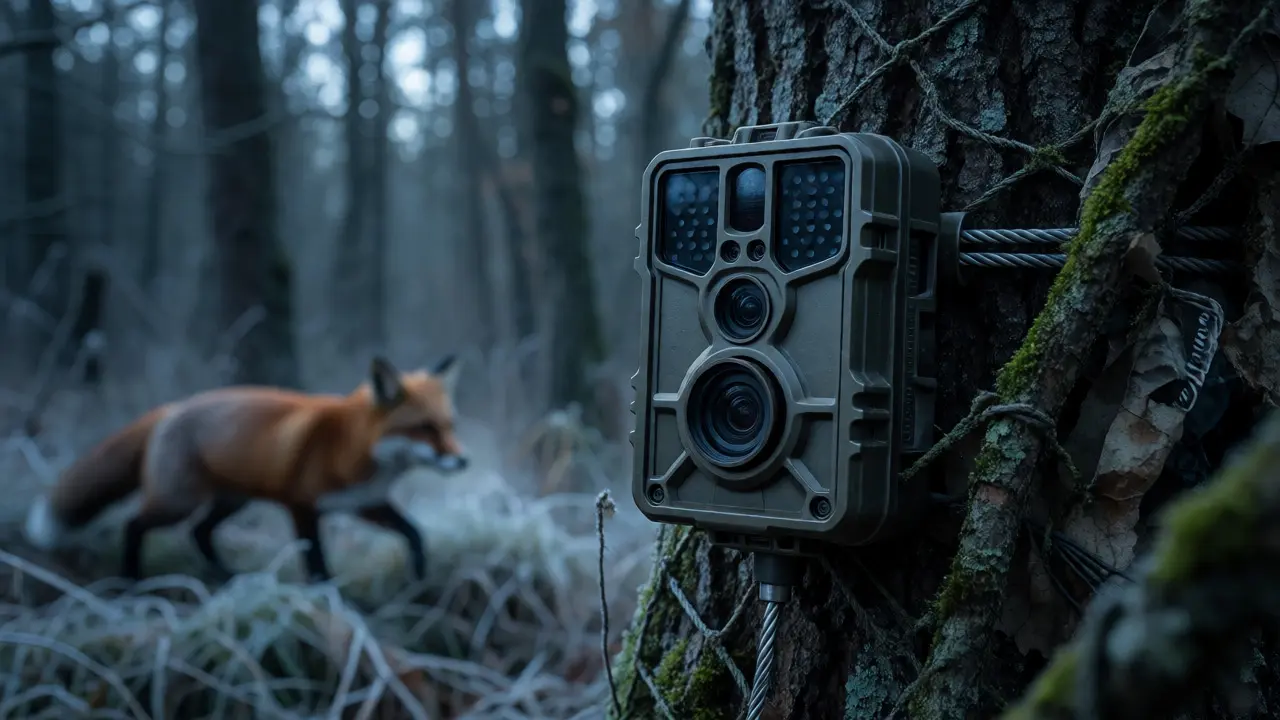
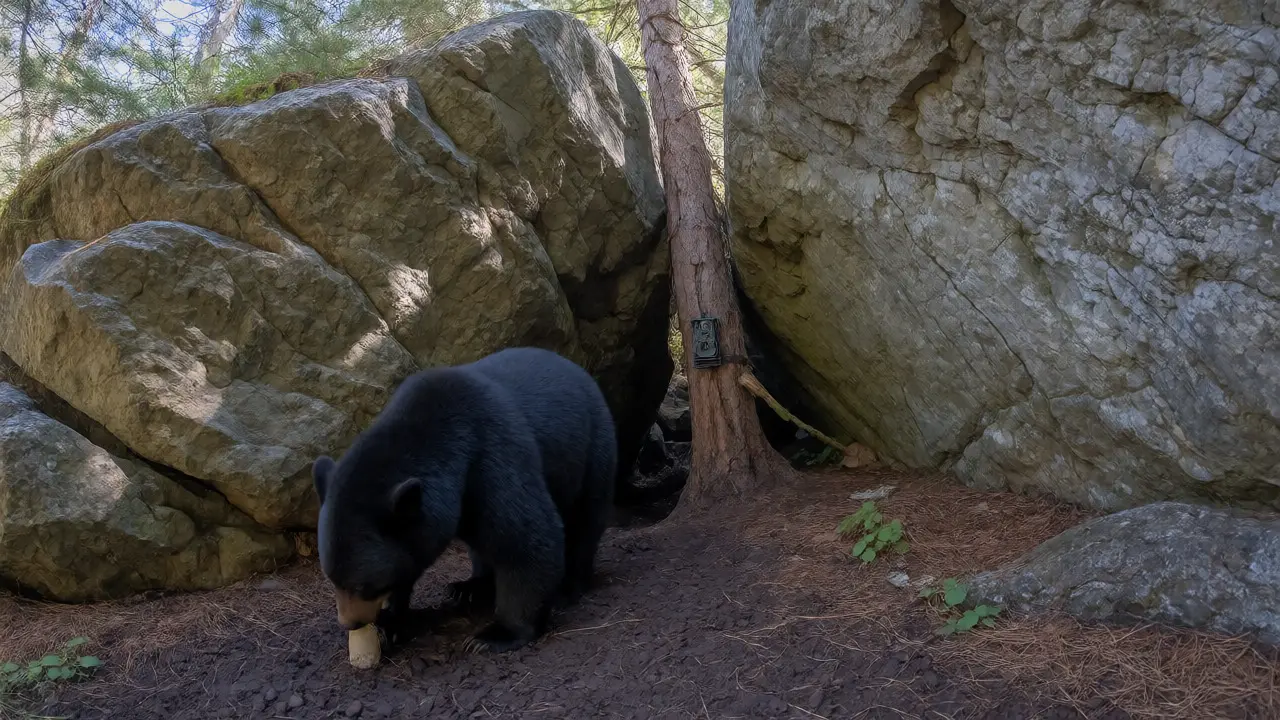
You’ve seen the shots. The perfect frame of a red fox stepping through frost-covered grass, or a black bear pausing to sniff a bait station. It looks effortless, like the photographer just happened to be there at the exact right second. But you know that’s rarely how it works in wildlife photography. Getting those images usually means hours of sitting in a blind, holding your breath, and hoping the wind doesn’t shift. Or, it means using technology to do the waiting for you.
That’s where remote cameras come in. They aren’t just for security guards checking on warehouses anymore. Modern trail cameras are sophisticated tools that can capture high-resolution video and stills without you ever leaving your bed. But slapping a device on a tree and walking away is a recipe for blurry photos, false triggers from falling leaves, and stolen gear. To get usable data and beautiful images, you need to understand how these devices see the world, how they trigger, and how to keep them safe from both curious animals and nosy humans.
How Remote Cameras Actually See the World
Most people think remote cameras work like standard digital cameras with a timer. They don’t. If they did, we’d have thousands of empty frames because animals move unpredictably. Instead, these devices rely on sensors to detect change. There are two main types of detection systems, and understanding the difference saves you from massive storage headaches.
The first is Passive Infrared (PIR). This is the standard for almost all modern trail cameras. A PIR sensor detects changes in heat signatures. When a warm-blooded animal moves across the field of view, the sensor registers the temperature difference against the background environment and fires the shutter. It’s efficient and battery-friendly. However, PIR has blind spots. If an animal moves directly toward or away from the lens along the axis of the sensor, the heat signature might not change enough to trigger the camera. You end up with a photo of the animal’s nose but nothing else, or worse, no photo at all.
The second type is active infrared or laser-based detection, often found in higher-end models. These emit a beam (invisible to most animals) and measure the reflection. If the beam breaks, the camera triggers. This method is faster and less prone to missing slow-moving subjects, but it drains batteries quicker and can sometimes trigger on raindrops or heavy fog if the sensitivity isn’t dialed in correctly.
| Feature | Passive Infrared (PIR) | Active/Laser Sensor |
|---|---|---|
| Battery Life | Longer (months) | Shorter (weeks) |
| Trigger Speed | 0.2 - 0.5 seconds | < 0.1 seconds |
| False Triggers | High (wind/heat shifts) | Low (but sensitive to rain) |
| Best For | General game monitoring | Fast-moving birds or small mammals |
Mastering the Trigger: Reducing False Positives
A dead battery is the number one reason people quit using trail cameras. And the number one reason for dead batteries? False triggers. Your camera thinks a swaying branch is a deer. It snaps a picture. Then another. And another. By day three, you’re out of memory space and power, and you haven’t captured a single actual animal.
To fix this, you need to manage the "trigger zone." This is the specific area where the sensor is most sensitive. You want to clear this zone of any moving debris. That means cutting back low-hanging branches, removing tall grass within ten feet of the lens, and ensuring no objects are swinging in the wind. If you’re setting up in a forested area in Oregon, remember that autumn winds are relentless. Secure loose vines or cut them entirely.
Sensitivity settings are your next line of defense. Most cameras offer High, Medium, and Low settings. Start with Medium. If you find you’re missing slow-moving animals like turtles or salamanders, bump it to High. If you’re getting flooded with photos of falling leaves, drop it to Low. Some advanced models allow you to set "delay" times-the number of seconds the camera waits after taking a burst before it becomes active again. Setting a 3-5 second delay prevents the camera from wasting battery on multiple shots of the same passing animal, unless you specifically want to track movement patterns.
Placement Strategy: Where Animals Actually Walk
Mounting a camera at eye level is intuitive for us, but wrong for wildlife. You need to shoot from their perspective. For large mammals like deer or bears, mount the camera between 24 and 36 inches off the ground. For smaller creatures like raccoons or bobcats, get lower-around 12 to 18 inches. The angle matters too. Try to position the camera so the animal walks perpendicular to the lens, not directly into it. This gives you a full-body profile shot, which is far more useful for identification than a blurry close-up of a snout.
Lighting is the other critical factor. Most trail cameras use flash to illuminate the scene at night. There are three types of flash, and choosing the wrong one can ruin your stealth.
- White Flash: Bright and powerful, similar to a standard camera flash. It produces color images at night. The downside? It’s visible to animals and humans. Deer will often spook and run. Thieves might spot the light and steal the unit.
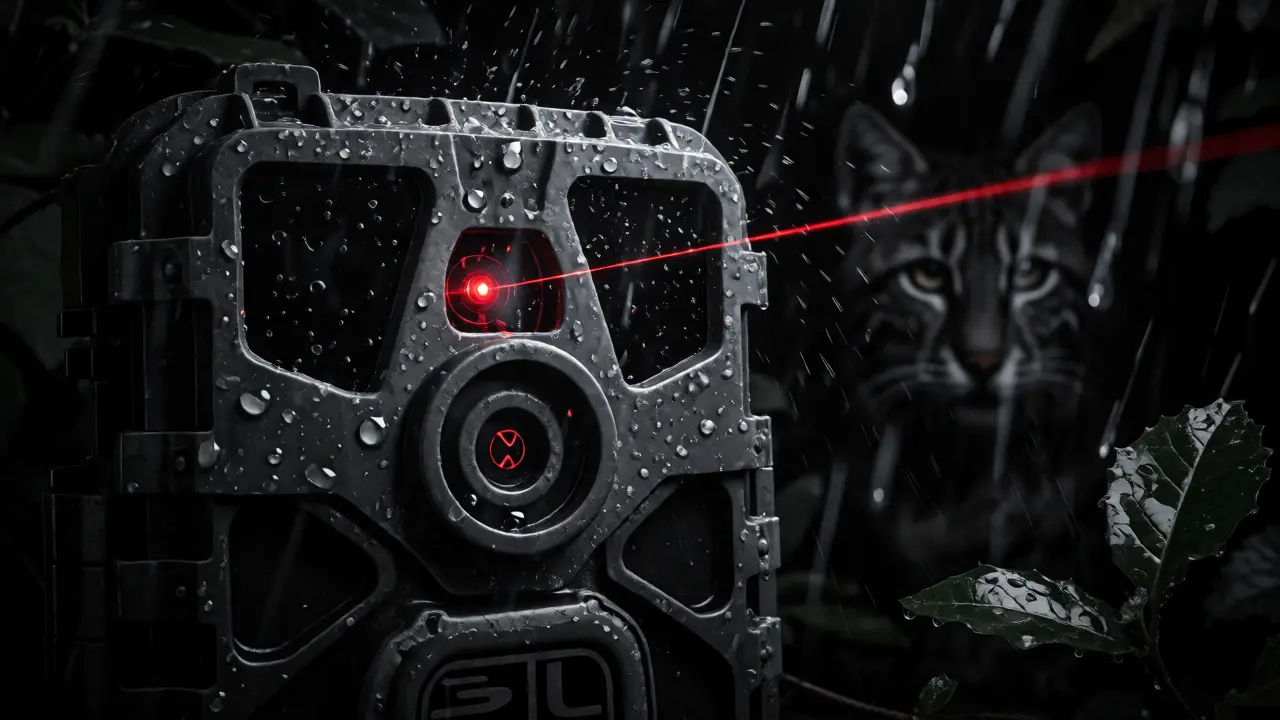
- Invisible (Black) IR: Uses longer wavelength infrared LEDs that are nearly invisible to the human eye and many animals. It captures black-and-white images. This is the best choice for shy species and high-theft areas.
- Low Glow (Red) IR: A middle ground. It emits a faint red glow that is less disturbing than white flash but brighter than black IR. It offers decent image quality without fully spooking mature bucks or wary predators.
When placing your camera, look for "funnels" in the terrain. Narrow paths between rocks, gaps in fences, or trails that pinch together near water sources force animals to walk through a specific spot. Place your camera at the exit of this funnel. You’ll get consistent hits rather than random encounters.
Security: Protecting Your Gear from Theft and Damage
Let’s be honest: remote cameras are expensive, portable, and easy to grab. If you’re working in public lands or near hiking trails, theft is a real risk. Even in private woods, curious neighbors or hunters might take them thinking they’re abandoned.
Never rely solely on the strap that comes in the box. Those nylon straps are easy to cut with a pocket knife. Invest in a steel cable lock or a dedicated trail camera lock box. Mount the camera as high as reasonable (within trigger range) and out of immediate reach. Use baling wire or zip ties to secure the base to the tree trunk, making it difficult to twist off.
Camouflage helps, but placement is better. Avoid mounting cameras on trees that are obviously marked with blazes or signs. Blend the casing with moss or mud if possible. Also, consider the angle of the solar panel, if you have one. Face it south (in the Northern Hemisphere) to maximize charging, but ensure it doesn’t reflect sunlight like a beacon during the day.
Another threat isn’t human-it’s animal. Bears and elk are notorious for rubbing against trees. If your camera is mounted on a thin sapling, a passing bull elk might snap it off. Mount on sturdy trunks at least six inches in diameter. Use anti-rub pads or thick rubber washers between the camera bracket and the bark to prevent damage to the tree and reduce noise that might scare skittish animals.
Data Management: Don’t Drown in Photos
You return home, plug in your SD card, and open your computer. You have 4,000 images. Only 50 are interesting. How do you handle this without losing your mind?
First, format your SD cards in the camera before every deployment. Never reuse a card formatted in a computer; file system errors cause write failures. Second, organize your workflow immediately upon download. Create folders by date and location. Use software like Photo Mechanic or Adobe Lightroom to quickly cull duplicates. Trail cameras often take bursts of 3-5 photos per trigger. Keep the sharpest one and delete the rest instantly.
If you’re using cellular-enabled cameras (which send images via LTE networks), be mindful of data caps. Sending high-res JPEGs consumes bandwidth. Many services allow you to set resolution limits or filter triggers. For example, you can configure the camera to only send images when the body size detected exceeds a certain threshold, ignoring small rodents that trigger the sensor constantly.
Ethical Considerations and Animal Welfare
Just because a camera is remote doesn’t mean it’s harmless. Bait stations attract animals, but improper bait can lead to unnatural behaviors or dependency. In many regions, including parts of Oregon, baiting big game outside of hunting season is regulated or prohibited. Always check local Fish and Wildlife regulations before deploying bait.
Also, consider the impact of flash. While IR flashes are generally safe, frequent white flashes can disrupt nocturnal routines. If you’re studying behavior, avoid using white flash entirely. Stick to IR modes. Furthermore, never place a camera in a way that obstructs a migration corridor or nesting site. We are observers, not participants. If an animal consistently avoids the area around your camera, move it. Don’t let your curiosity stress the subject.
How long do trail camera batteries last?
It depends heavily on usage. With standard AA lithium batteries and moderate activity (a few triggers per day), expect 3-6 months. Heavy traffic or cold weather can reduce this to weeks. Lithium batteries perform significantly better in freezing temperatures than alkaline ones.
Can animals smell the camera?
Yes, especially new units. Plastic and rubber smells can deter shy animals. Wear gloves when handling the camera and rub it with dirt or pine needles to mask human scent. Letting the camera sit empty for a week before turning it on also helps acclimate animals to its presence.
What is the best height for a deer camera?
For adult deer, 30 to 36 inches is ideal. This captures the head and shoulders clearly. For fawns or smaller species, lower it to 18 inches. Ensure the lens is angled slightly downward if the trail is below the camera level to avoid overexposed sky backgrounds.
Do trail cameras work in rain?
Most are IP66 rated or higher, meaning they withstand heavy rain. However, water droplets on the lens can cause glare or false triggers. Wipe the lens clean before deployment and apply a hydrophobic coating (like Rain-X) to help water bead off during storms.
Is cellular coverage necessary for remote cameras?
No, but it changes the workflow. Non-cellular (SD card) cameras require physical retrieval, which risks disturbance but costs less upfront. Cellular cameras provide instant alerts and remote configuration but require a monthly subscription and reliable signal strength in your location.