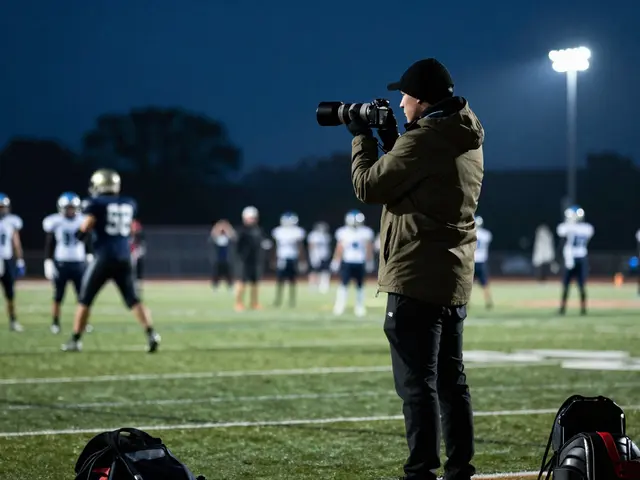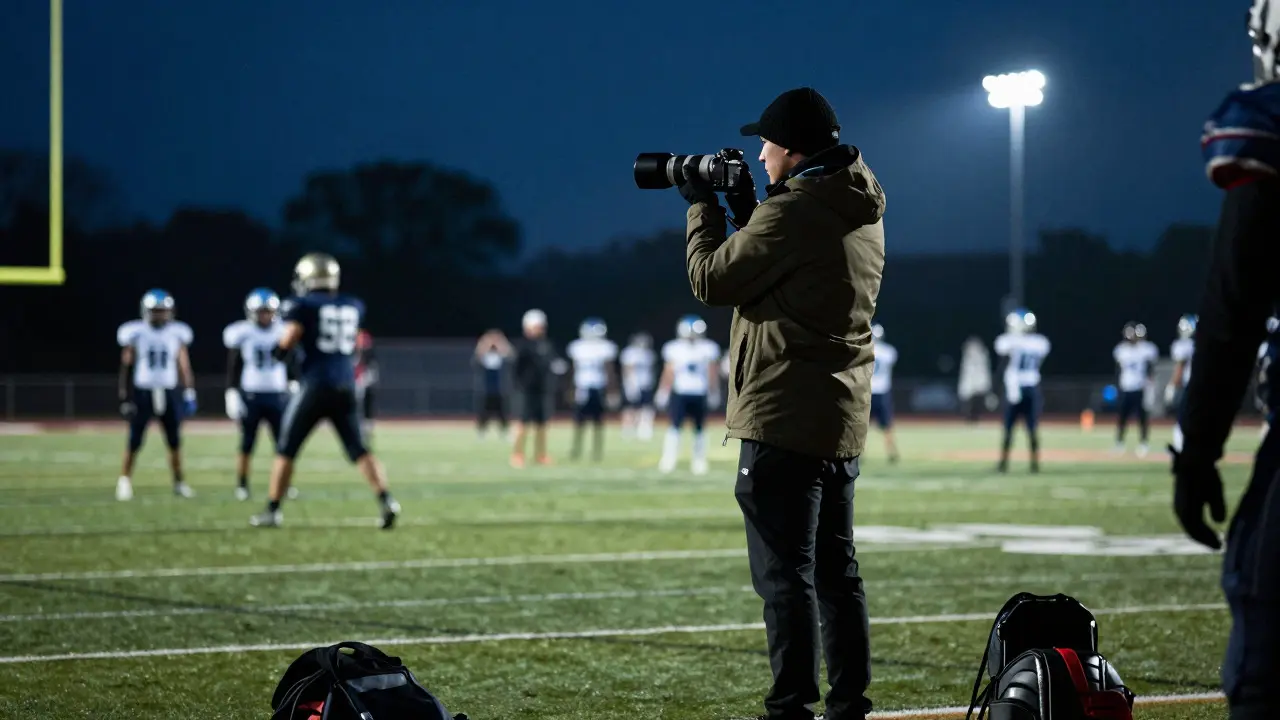
Standing on the sideline of a Friday night football game in Portland, you feel the cold air bite your cheeks while the stadium lights hum overhead. You have your camera ready, but the head coach just shouted at you to move back ten feet. That moment captures the unique tension of high school sports photography: it is a mix of technical skill, bureaucratic navigation, and ethical responsibility. Unlike professional leagues where photographers are contracted and positioned, high school games rely on volunteers, local journalists, or dedicated enthusiasts who must earn their spot through preparation and respect.
This guide breaks down exactly how to get onto that field, what gear actually works under the harsh conditions of a Tuesday night basketball game, and how to handle the tricky issue of minors' privacy without ruining your shot. Whether you are a parent trying to capture your child's first varsity season or a hobbyist looking to build a portfolio, these rules apply everywhere from Oregon public schools to private academies across the country.
Navigating Sideline Access and Permissions
The biggest hurdle isn't technical; it's administrative. Most high schools do not allow random people with cameras to wander the sidelines freely. This is for safety, liability, and crowd control reasons. To get consistent access, you need to understand the hierarchy of authority.
- Contact the Athletic Director (AD): The AD is the final boss. They approve all media access. Email them before the season starts, not during a game. Introduce yourself, state your intent (e.g., "local community photographer" or "parent volunteer"), and ask about their specific media policy.
- Get the Photo Release Forms: In most US states, including Oregon, you need signed releases to use images of minors commercially. For editorial use (newspapers, blogs), fair use often applies, but schools still require paperwork. Ask the AD for a master release form. If you are shooting for a personal portfolio, check if the school allows "non-commercial" use without individual signatures, though having them is always safer.
- Respect the 'No-Go' Zones: Even with permission, there are limits. Usually, you can stay behind the bench line. Do not cross into the playing area unless explicitly invited by a coach. Stay out of the way of ball carriers, fast breakers, and officials.
A pro tip: Bring printed copies of your contact info and a brief bio. Coaches are busy. If they know who you are and trust you won't slow down the game, they will welcome you. If you are new, arrive early. Being late looks unprofessional and makes coaches nervous about punctuality.
Gear Selection for Low-Light Action
High school gyms and outdoor fields present different challenges than professional stadiums. Indoor arenas often have mixed lighting-fluorescent tubes that cast greenish tints and uneven brightness. Outdoor nights rely on floodlights that create harsh shadows. Your gear needs to handle both speed and low light.
| Component | Key Attribute | Why It Matters |
|---|---|---|
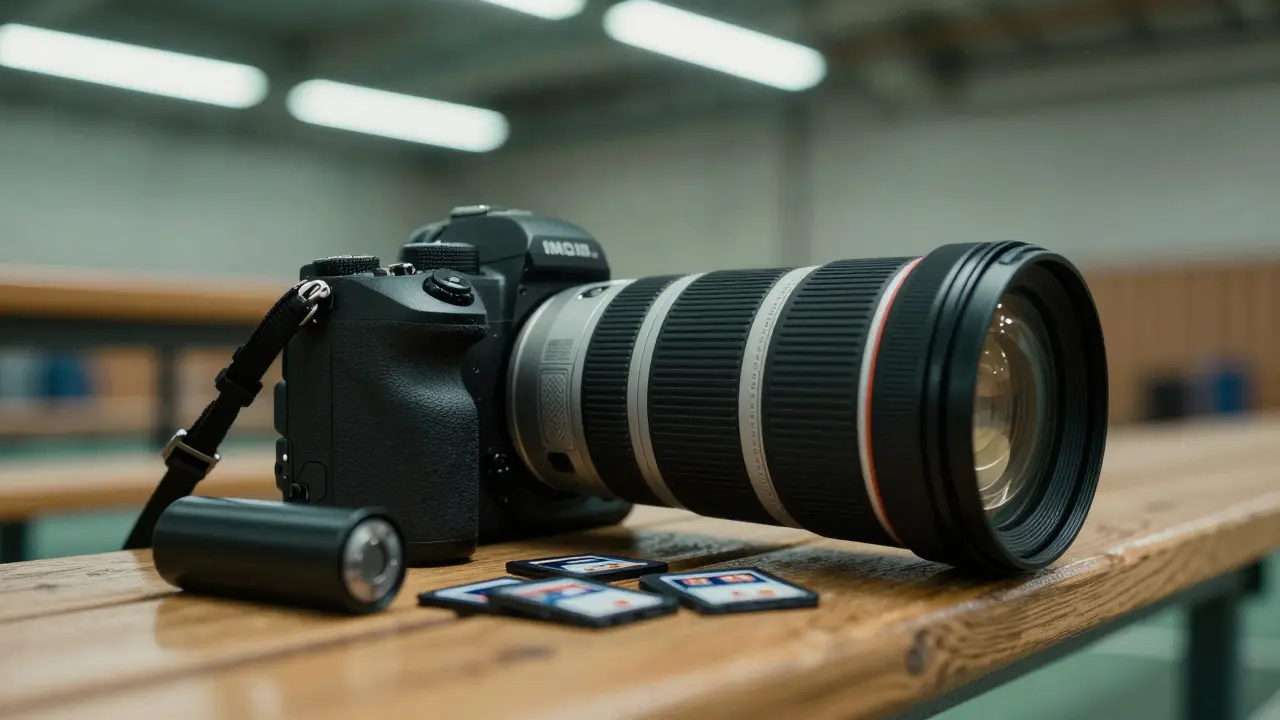
| Camera Body | Fast Autofocus System | Action happens in milliseconds. Mirrorless bodies with eye-tracking AF are superior to older DSLRs for tracking moving players. |
| Lens | 70-200mm f/2.8 | You rarely get close to the action. A long telephoto with a wide aperture lets you isolate players from the background noise. |
| Storage | High-Speed SD Cards | Burst mode fills cards quickly. Use UHS-II or faster cards to avoid buffer delays when you need to shoot again. |
| Battery | Spare Batteries | Cold weather drains batteries. Carry two spares for every one you use in the field. |
Do not overcomplicate your setup. A single lens like the 70-200mm covers 90% of scenarios. Zooming in tight helps you compose shots even when standing far away. Avoid wide-angle lenses for main action shots; they make players look small and cluttered with background distractions. However, keep a 24-70mm in your bag for candid moments: huddles, celebrations, and post-game interviews.
Camera Settings for Freezing Motion
Knowing what to buy is only half the battle. How you set your camera determines whether you get a sharp image or a blurry mess. The golden rule of sports photography is shutter speed priority.
- Shutter Speed: Set your minimum shutter speed to 1/500s for indoor sports. For fast outdoor actions like baseball pitches or soccer headers, bump it up to 1/1000s or faster. Anything slower risks motion blur.
- Aperture: Keep it wide open (f/2.8 or f/4). This maximizes light intake and creates a shallow depth of field, blurring the distracting background.
- ISO: Let it be automatic. Set your ISO ceiling to 6400 or 12800. Modern cameras handle high ISO noise surprisingly well. A noisy sharp photo is infinitely better than a clean blurry one.
- Focus Mode: Use Continuous AF (AF-C) for moving subjects. Pre-focus on a spot where action is likely to happen (like the free-throw line or the base of a batter's box) and wait for the player to enter that zone.
Practice panning. Instead of freezing the player completely against a static background, try following the subject with your camera. This keeps the player sharp while blurring the background horizontally, adding a sense of speed and energy to the image.
Ethics and Privacy of Minors
This is where many photographers stumble. High school athletes are minors. Their parents have legal rights over their image, but the social contract is equally important. You are capturing a vulnerable moment in a young person's life.
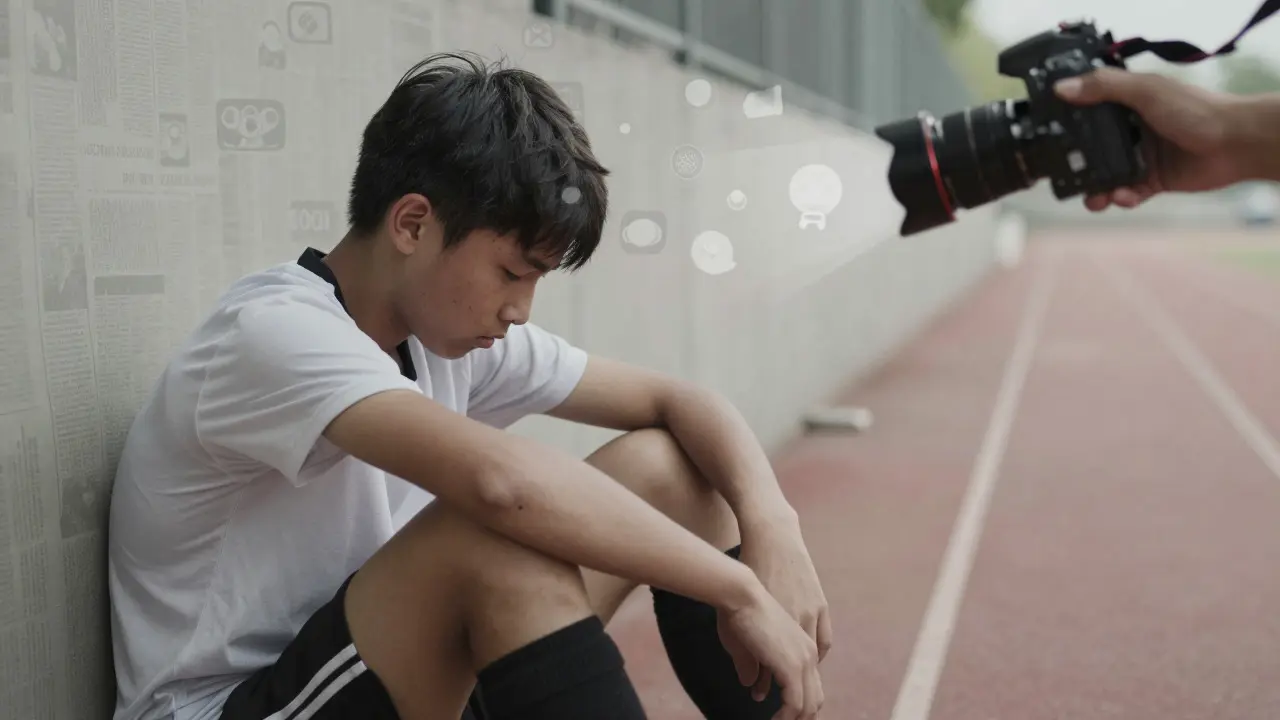
First, avoid the "shock" factor. Don't photograph kids crying alone after a loss unless the team is celebrating together. Context matters. A solo tearful shot can feel invasive; a group hug after a win feels celebratory. Always consider the emotional weight of the image.
Second, respect the "Right of Publicity." While editorial use is protected, using a photo of a 16-year-old quarterback on a commercial billboard for your camera shop requires explicit parental consent. When in doubt, ask. Schools usually provide a list of students who have opted out of media coverage. Check this list before publishing anything identifiable.
Finally, give credit. Tag the school, the team, and the athlete (with permission). It builds goodwill. If you publish on social media, tag the official school account. They share content frequently, which expands your reach and shows you are a partner, not a parasite.
Common Pitfalls and How to Avoid Them
Even experienced photographers make mistakes in the heat of the moment. Here are the top three errors to watch for.
Ignoring the Background
In sports, the background is as important as the subject. Look for clean lines: a plain wall, a blurred crowd, or a clear sky. Avoid backgrounds with trash cans, bright jerseys of opposing teams, or cluttered equipment bags. Changing your position by just five feet can transform a messy shot into a clean portrait.
Forgetting to Shoot Verticals
Most websites and newspapers prefer vertical (portrait) orientation for single-subject action shots. It fits mobile screens better and allows for cleaner cropping. Hold your camera vertically for key moments like dunks, goals, or tackles. Horizontal (landscape) is better for group shots or wide environmental context.
Running Out of Storage Mid-Game
It happens more often than you think. Check your card space before every quarter or inning. If you are shooting in RAW format, a single game can consume 20GB or more. Carry multiple cards and offload them between halves if possible.
Building a Portfolio from Local Games
High school sports are a goldmine for building a portfolio. You get diverse lighting, varied emotions, and recurring subjects. Start by creating a simple online gallery. Select your best 10-15 images per season. Quality over quantity always wins. Edit consistently: correct white balance for gym lights, boost contrast slightly, and remove dust spots.
Reach out to local newspapers or community blogs. They are always looking for fresh, high-quality content. Offer them a weekly package of your best shots. This establishes you as a reliable source. Over time, this local reputation can lead to higher-level opportunities, such as covering college games or regional tournaments.
Do I need a press pass to shoot high school games?
Usually, no. A press pass is required for professional leagues or large college events. For high school games, a verbal or written permission from the Athletic Director is sufficient. Some schools may issue a temporary badge for identification purposes, but it is not a universal requirement.
What is the best focal length for basketball?
A 70-200mm lens is ideal. It allows you to stand at the baseline or mid-court and fill the frame with the player. If you are very close to the court, a 50mm prime might work, but the flexibility of a zoom lens is safer for unpredictable movements.
How do I deal with flash restrictions?
Flash is generally banned in high school gyms because it distracts players and reflects off shiny surfaces. Rely on high ISO and fast lenses instead. If you are allowed to use flash, use it sparingly and bounce it off the ceiling if possible, but assume you will be shooting without it.
Can I sell photos taken at high school games?
Yes, but you need a model release from the minor's parent or guardian for commercial use. Editorial use (news, blogs) does not require a release. If you plan to sell prints directly to families, ensure you have signed consent forms on file to avoid legal disputes.
How many photos should I take per game?
There is no fixed number. Aim for quality over quantity. A good photographer might select 50-100 usable images from a full game. Shooting too much slows you down and clutters your editing process. Focus on key plays, reactions, and decisive moments.