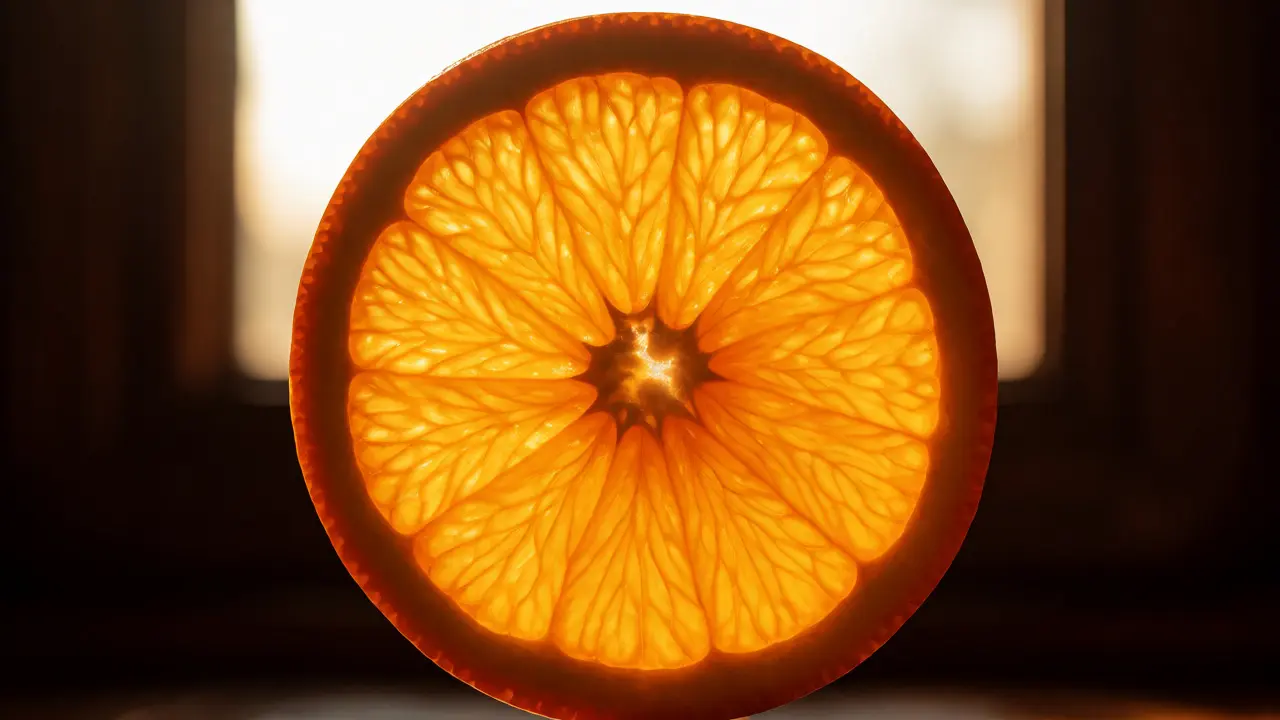
You know that moment when you bite into a ripe peach or hold up a slice of citrus to the sun? That glow isn't just pretty-it's physics. In food photography, this effect is called backlighting. It happens when the primary light source sits behind your subject, shining through it rather than bouncing off its surface. Most beginners make the mistake of lighting their plates like a stage actor, blasting the front with softboxes. But for things like lemon wedges, beer glasses, or rising steam, front-lighting kills the drama. Backlighting reveals texture, depth, and that mouth-watering translucency that makes viewers hungry before they even taste the food.
Why Light Through Matters More Than Light On
Think about a glass of iced tea. If you light it from the front, you see the ice cubes and maybe some condensation. You miss the amber hue of the liquid itself. Now move that light source behind the glass. Suddenly, the drink glows. The colors saturate. The edges define themselves against the background. This is because materials like liquids, thin fruits, and leafy greens are semi-transparent. They absorb some wavelengths and transmit others. Front lighting only captures what reflects back; backlighting captures what passes through.
This distinction changes how you approach composition. You're no longer trying to illuminate every crumb on a cookie. You're trying to highlight specific elements that benefit from transmission. A thick steak doesn't need backlighting as much as a delicate slice of prosciutto does. Understanding which foods "transmit" light versus which ones "reflect" it is the first step to mastering this technique. If you try to backlight a bowl of opaque chili, you'll just get a dark silhouette. But backlight a clear broth with floating herbs? Magic.
Setting Up Your Light Source
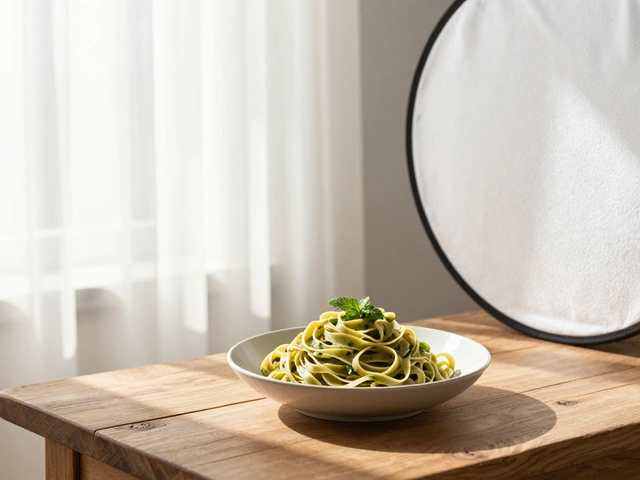
You don't need expensive studio gear to start. In fact, many professional food photographers prefer natural window light for backlighting because it's softer and more directional. Here is the basic setup:
- The Subject: Place your food dish between the camera and the light source.
- The Light: Position a large window, softbox, or reflector directly behind the plate, slightly offset to one side to avoid flatness.
- The Camera: Shoot facing the light. This means you are shooting into the light, not away from it.
- The Reflector: Crucial. Because the light is coming from behind, the front of your food will be in shadow. Use a white foam board or silver reflector close to the camera lens (out of frame) to bounce light back onto the front of the food.
The angle matters. Pure backlighting (180 degrees from the camera) can create too much glare or wash out details. Most pros aim for a 135 to 160-degree angle relative to the camera axis. This creates a rim light around the edges while still allowing some detail on the top surfaces. Experiment with moving your light source higher or lower. High backlighting works well for drinks and tall stacks. Low backlighting emphasizes the horizon line and works great for cookies or flatbreads.
Capturing Translucent Slices
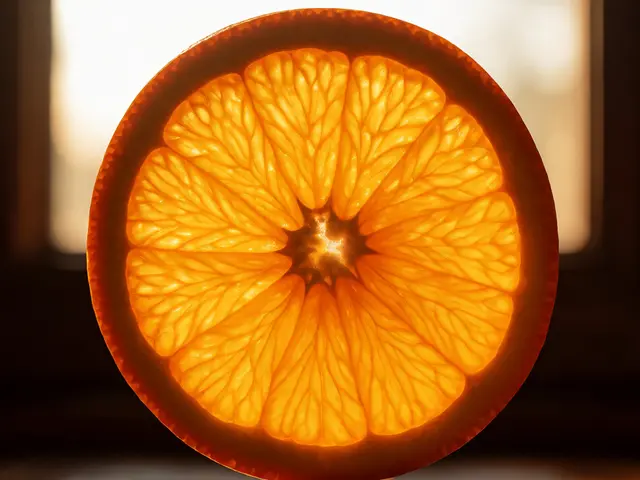
Translucency is where backlighting shines brightest. Citrus fruits, berries, and thin vegetable slices are prime candidates. When you slice an orange thinly and place it against a strong light, the segments pop with vibrant color. The membrane structure becomes visible, adding intricate detail that front-lighting hides.
To nail these shots, focus on cleanliness. Any fingerprint or water spot on a glass or fruit skin will scatter light and look messy when backlit. Wipe down your props meticulously. Also, consider the background. Since the light is passing through the subject, a dark background often helps the glowing subject stand out. A black velvet cloth or a dark wooden board can make a translucent lemon slice look like a stained-glass window.
| Food Type | Lighting Strategy | Why It Works |
|---|---|---|
| Citrus Slices | Strong Backlight | Reveals internal segment structure and vibrant pigments. |
| Clear Beverages | Backlight + Rim Light | Illuminates liquid color and ice clarity without reflection glare. |
| Leafy Greens | Side-Backlight | Highlights vein patterns and fresh texture. |
| Thick Meats | Front/Side Light | Preserves surface texture and sear marks; backlighting causes silhouettes. |
| Baked Goods | Soft Side Light | Shows crust texture; backlighting can blow out highlights on sugar/glaze. |
Mastering Steam Highlights
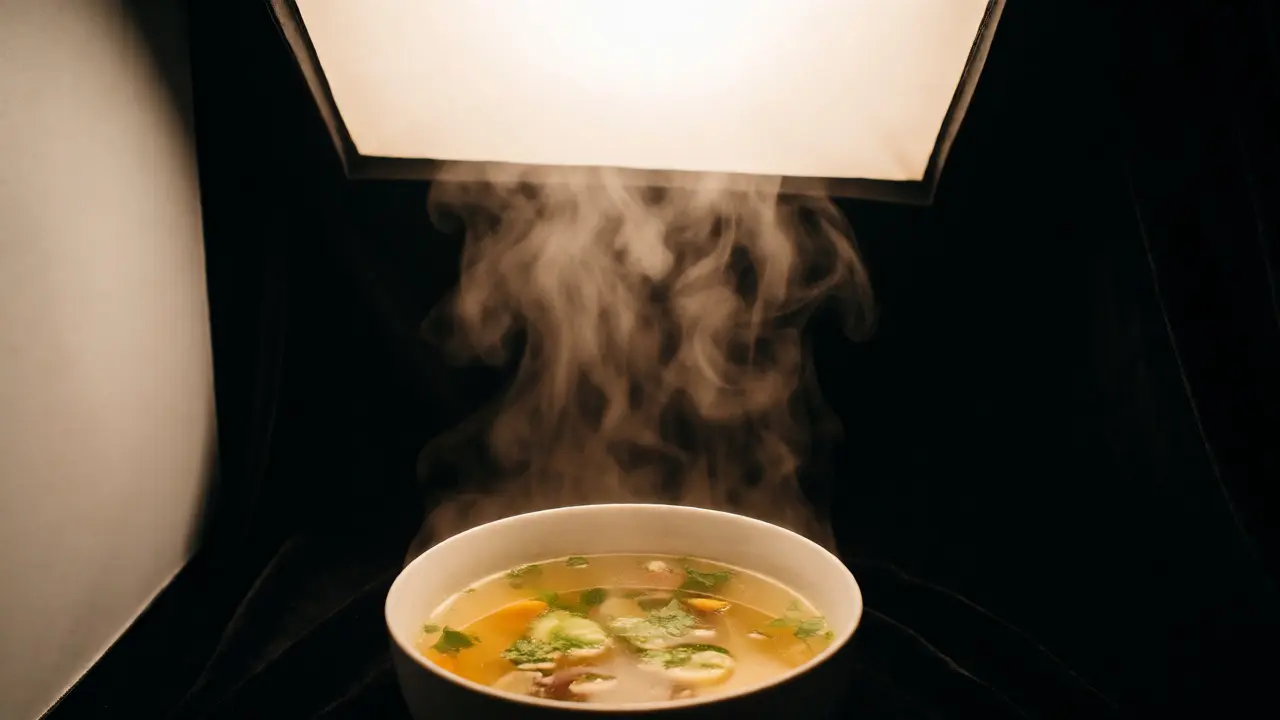
Nothing says "freshly cooked" like rising steam. But capturing steam is notoriously difficult. Why? Because steam is essentially invisible water vapor. To photograph it, you need contrast. You need a dark background and a light source positioned behind the steam, but above the food level. This is technically still backlighting, but specifically targeted at the vapor.
Here’s the trick most tutorials miss: timing and temperature. Steam rises fastest when the food is hottest. You have seconds to capture it before it dissipates. Have your camera settings locked in beforehand. Use a fast shutter speed (1/200s or faster) to freeze the motion of the wisps. If your shutter is too slow, the steam blurs into a haze.
For better visibility, mist the air above the food with a fine spray bottle filled with water. These tiny droplets catch the light better than pure vapor, creating distinct, photogenic plumes. Also, ensure your background is truly dark. A white wall will swallow the steam. Move your setup near a dark curtain or use a black poster board held vertically behind the dish. The light hits the steam particles, reflecting toward your lens, while the dark background provides negative space for the white steam to pop against.
Controlling Glare and Reflections
Shooting into the light introduces a new enemy: lens flare and unwanted reflections. Glassware, glossy sauces, and wet surfaces act like mirrors. If your light source is too intense or too close, you might get a starburst effect from your aperture blades or a hazy veil across the image.
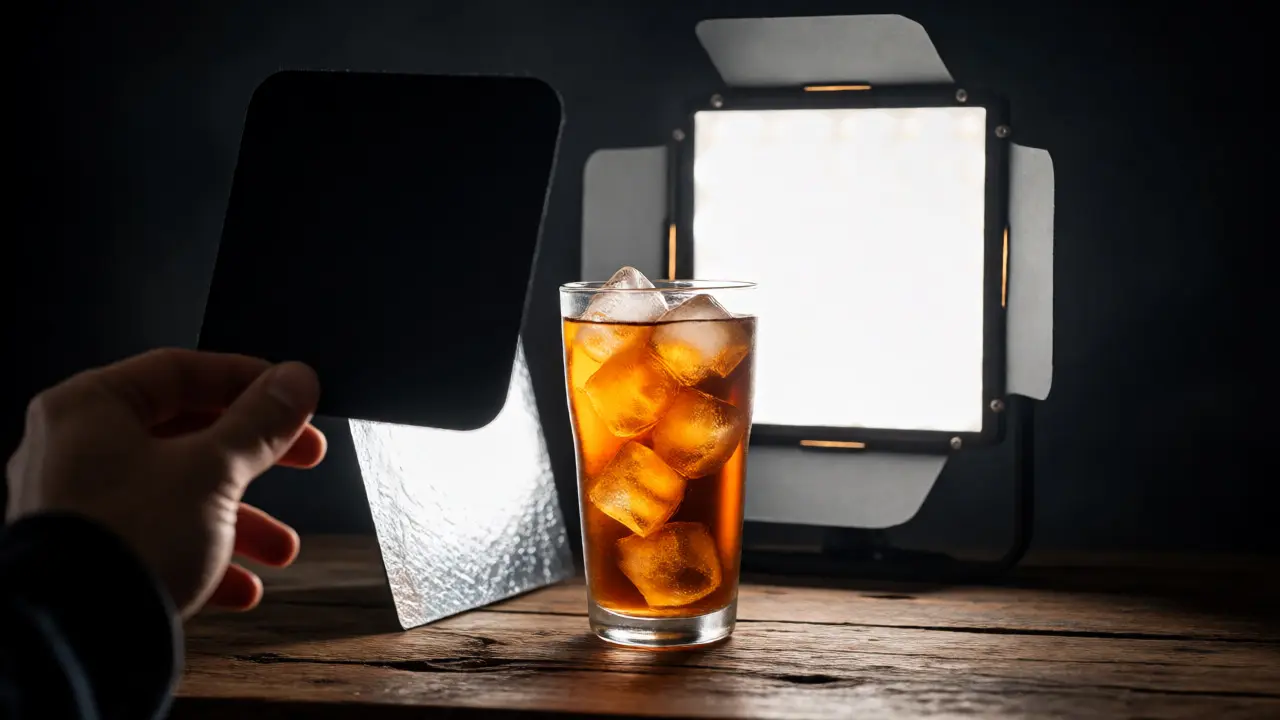
To control this, use flags. A flag is simply a piece of black cardstock or foam core placed strategically to block stray light from hitting the lens directly. Hold it just outside the frame, between the light source and the camera lens. This preserves the backlighting on the food but protects the lens from direct glare.
Polarizing filters are another powerful tool. They cut through reflections on non-metallic surfaces like glass and water. If you’re photographing a cold brew coffee with ice, a polarizer can remove the harsh white reflections on the ice cubes, letting you see the clarity of the liquid underneath. Rotate the filter while looking through the viewfinder until the glare disappears. Just remember that polarizers reduce light intake by 1-2 stops, so you may need to adjust your ISO or aperture accordingly.
Practical Workflow for Consistent Results
Consistency is key in commercial food styling. You can’t rely on random sunbeams if you’re shooting a series of ten dishes. Here’s a repeatable workflow using artificial light:
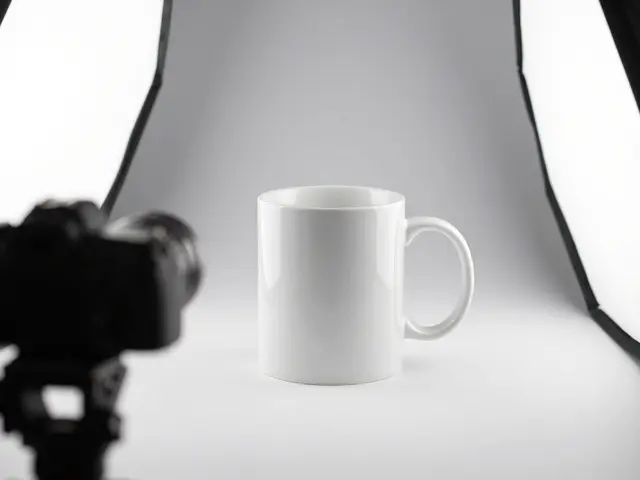
- Set the Key Light: Place a strobe or continuous LED panel behind your set, angled slightly downward. Diffuse it with a large softbox or scrim to soften the shadows.
- Add Negative Fill: Place black cards on the sides opposite the light to deepen shadows and add contrast. This prevents the image from looking flat despite the bright backlight.
- Position the Reflector: Bring a white bounce card close to the front of the food to lift shadows. Keep it subtle; you want dimension, not a flatly lit object.
- Test Exposure: Take a test shot. Check your histogram. Ensure the highlights aren’t blown out (clipped). If the edges of your food are pure white with no detail, dial down the power or increase the distance of the light.
- Fine-Tune Focus: With high contrast scenes, autofocus can hunt. Switch to manual focus and zoom in on the live view to ensure the critical point (like the tip of a strawberry or the rim of a glass) is sharp.
Remember, backlighting isn't a one-size-fits-all solution. It’s a creative choice. Sometimes you want the moody, dramatic look of a backlit soup. Other times, you want the clean, appetizing appeal of a front-lit salad. Knowing how to blend both-using backlight for rim definition and front light for detail-is what separates amateur snapshots from professional editorial shots.
Troubleshooting Common Issues
If your images look washed out, your light is likely too strong or too diffuse. Try removing the diffuser or moving the light further away to harden the quality. Harder light creates sharper shadows and more defined textures, which can help translucent subjects stand out.
If your steam looks like smoke, it might be too dense. Let the food cool for a minute or two. Or, check your background. Is it cluttered? Steam needs empty space to rise visibly. Clear the area behind the dish.
If your translucent slices look muddy, check for moisture. Water droplets on the surface of fruit can refract light unpredictably. Pat them dry gently with a lint-free cloth before shooting. Also, ensure your camera sensor is clean. Dust spots become very apparent when shooting against bright, uniform backgrounds created by backlighting.
Do I need a flash for backlighting?
No, natural window light is excellent for backlighting and often preferred for its softness. However, if you are shooting indoors without windows or need consistent power, a speedlight or studio strobe with a large modifier works well. Continuous LEDs are also popular for video and easier visualization of light direction.
How do I stop my food from becoming a silhouette?
Use a reflector. Place a white foam board or silver reflector on the camera side of the food, close to the subject but out of frame. This bounces light back onto the front of the food, filling in the shadows caused by the backlight while preserving the glowing edges.
What is the best aperture for backlighting?
It depends on the desired depth of field. For isolated subjects like a single wine glass, f/2.8 to f/4 creates a creamy bokeh that separates the subject from the background. For full table spreads, use f/8 to f/11 to keep everything sharp. Be aware that small apertures (high f-numbers) can cause starbursts from bright light sources if they are visible in the frame.
Can I backlight opaque foods?
Yes, but differently. Instead of transmitting light through the food, you use backlighting to create a rim light or edge highlight. This separates the subject from the background and adds three-dimensional form. Combine this with front-side lighting to reveal surface texture.
Why is my steam not showing up?
Steam requires contrast. Ensure you have a dark background behind the steam. Additionally, position your light source behind and slightly above the food so it illuminates the steam particles against the dark backdrop. Using a fine water mist can also help make the vapor more visible to the camera sensor.