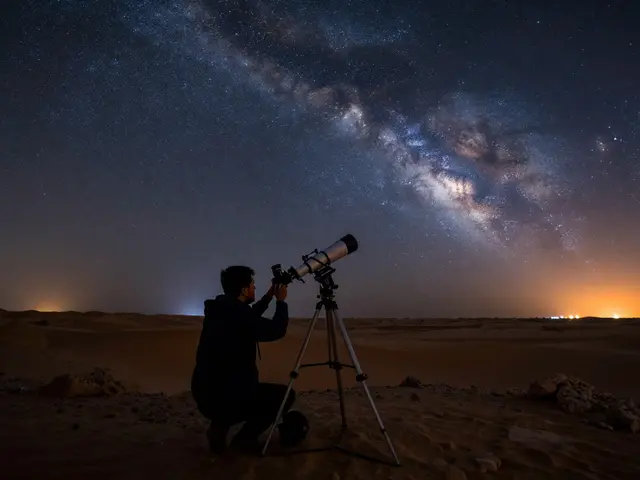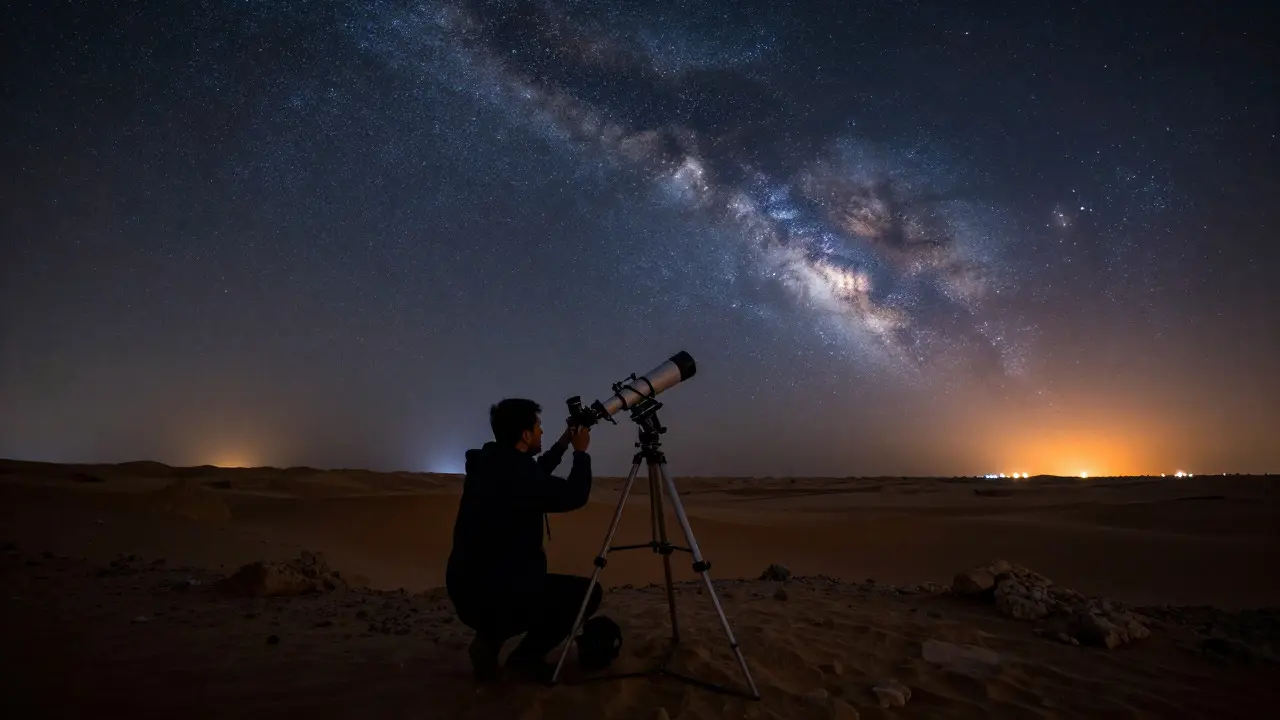
Most people think white balance is a setting you dial in on your camera before hitting the shutter. In astrophotography, that mindset gets you into trouble. The sky doesn't have a single color temperature. It has millions of stars, each burning at different temperatures, plus nebulae glowing from ionized gas and galaxies reflecting ancient light. Trying to force a single "correct" white balance in-camera often results in flat, gray images or weird color casts that are hard to fix later.
The real magic happens after you shoot. By understanding how white balance interacts with deep-sky objects, you can choose between two distinct paths: preserving the scientific accuracy of what's actually there, or pushing for artistic impact. Both are valid, but they require different workflows and expectations.
Why Standard White Balance Fails in the Dark Sky
In daylight photography, we use white balance to neutralize the ambient light source-sunlight, tungsten bulbs, or fluorescent office lights. We want a white shirt to look white, not yellow or blue. But when you point your lens at the Andromeda Galaxy, there is no ambient light source to neutralize. You are capturing direct emissions from objects millions of light-years away.
If you set your camera to "Auto White Balance" (AWB), it tries to find a neutral gray in the frame. Since most of the frame is black space, AWB often locks onto a bright star or a distant city glow, creating inconsistent colors across the image. A better approach is to shoot in RAW format is a file format that captures unprocessed sensor data, allowing full control over color and exposure in post-production. RAW files store the raw electrical signals from your sensor, giving you the flexibility to adjust white balance without losing quality.
Even then, setting a specific Kelvin value in-camera isn't critical. What matters is consistency. If you are stacking multiple exposures of the same object, keep your white balance setting identical for every shot. This makes alignment and stacking much easier. You can always shift the entire image warmer or cooler later.
Natural Color: Chasing Scientific Accuracy
For many astronomers and serious astrophotographers, the goal is to show the object as it truly appears in terms of color ratios. This is called "natural color" or "true color." It’s not about making the picture pretty; it’s about fidelity.
Achieving true color requires understanding the physics behind the light. Stars emit light based on their surface temperature. Hotter stars appear blue-white, while cooler stars appear orange-red. Nebulae, however, don't follow this rule. They glow because atoms like hydrogen and oxygen are excited by ultraviolet light from nearby stars. When these atoms return to a lower energy state, they emit specific wavelengths of light. Hydrogen-alpha emits red light, while Oxygen-III emits green-cyan light. These are narrow-band emissions, meaning they come out in very specific colors regardless of the star's temperature.
To replicate this naturally, you need to capture those specific wavelengths accurately. If you shoot through a standard broadband filter, you get a mix of all visible light. Post-processing this to match reference images from professional observatories (like Hubble) involves careful calibration. You might need to adjust the gain of individual color channels to ensure the ratio of red to green to blue matches known spectral data.
This path is demanding. It requires:
- Calibrated sensors: Ensuring your camera's red, green, and blue channels respond evenly across the spectrum.
- Reference comparison: Comparing your final image to authoritative sources to check color ratios.
- Patient processing: Spending hours tweaking channel curves rather than just applying a global white balance slider.
The result? An image that feels honest. When you see the Orion Nebula in its characteristic reds and greens, it looks familiar because it aligns with our understanding of how those gases behave. It’s less about "wow factor" and more about "this is what it is."
Creative Tones: Artistic Interpretation
On the other side of the spectrum lies creative processing. Here, white balance becomes a tool for mood and composition rather than accuracy. You aren't trying to prove the galaxy exists; you're trying to evoke a feeling.
Many popular astrophotography images you see online use creative tones. The Milky Way core might be pushed toward warm golds and oranges to suggest heat and density, while the surrounding stars are cooled to icy blues for contrast. This isn't "fake"-it's an interpretation. Just as a landscape photographer might use a polarizing filter to deepen blue skies, an astrophotographer uses white balance shifts to enhance visual dynamics.
Creative white balance allows you to:
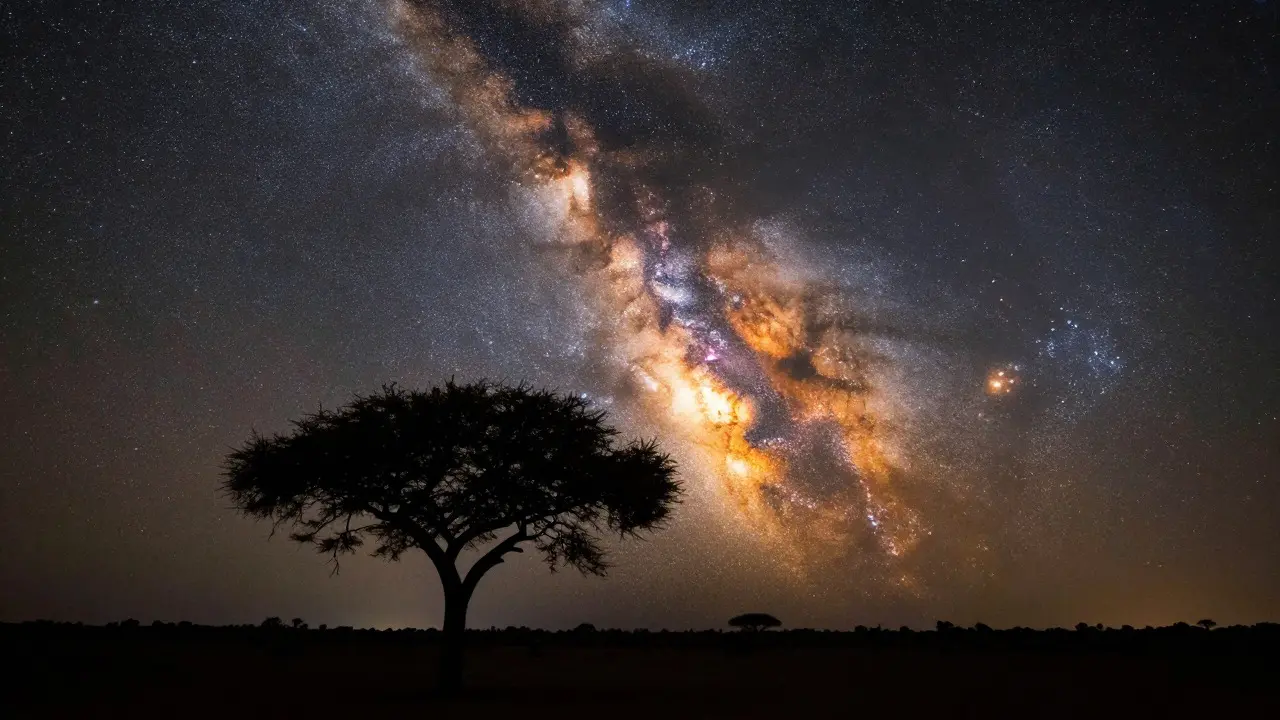
- Separate foregrounds: If you include a silhouette of a tree or a mountain, you can make the sky cool blue while keeping the foreground dark and moody, creating depth.
- Emphasize structure: Shifting the white balance slightly warmer can bring out detail in the dust lanes of the Milky Way, making them pop against the brighter star fields.
- Create harmony: Matching the color temperature of the night sky to the ambient light on your subject (like a moonlit lake) creates a cohesive, dreamlike atmosphere.
This approach gives you total freedom. There is no "right" answer. If you want the Pleiades cluster to look violet instead of blue, you can do it. If you want the Andromeda Galaxy to have a subtle purple hue, go for it. The key is consistency within the image. Don't let one part of the sky look unnaturally warm while another part looks cold, unless that contrast is intentional.
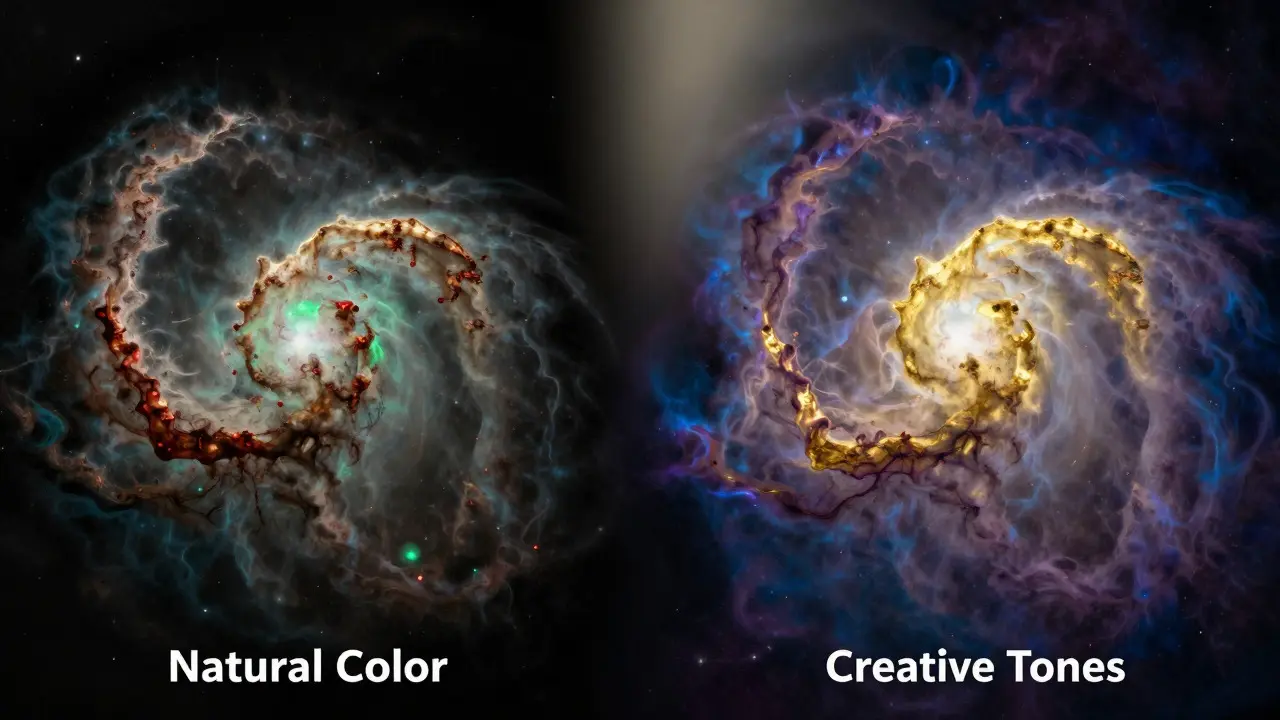
The Workflow: From RAW to Final Image
Whether you aim for natural or creative results, the workflow starts the same way. You shoot in RAW. You stack your images using software like DeepSkyStacker or PixInsight to reduce noise. Then, you import the stacked master into editing software like Adobe Lightroom or Photoshop.
Here is where the decision branches.
- Initial Neutralization: Set your white balance to a neutral starting point. In Lightroom, this often means dragging the temperature slider until the histogram looks balanced, or using the eyedropper tool on a known white star (if available). This gives you a clean canvas.
- Assess Your Goal: Ask yourself: Do I want this to look like a textbook diagram, or do I want it to look like a painting?
- Natural Path: Use the HSL panel to fine-tune specific hues. For example, if your hydrogen-alpha regions look too pink, shift the red hue toward orange. Check against reference images. Keep saturation moderate.
- Creative Path: Play with the temperature and tint sliders boldly. Try shifting the temperature 1000K warmer and see how it affects the overall mood. Use split toning to add subtle shadows of cyan and highlights of amber. Experiment until the image feels "complete" to your eye.
A pro tip: Work in layers. Make a duplicate layer of your base image. Apply your white balance adjustments on that top layer. This way, you can toggle visibility to compare your creative version against the neutral original instantly. This helps prevent over-processing.
Common Pitfalls to Avoid
Even experienced photographers stumble here. One common mistake is assuming that "more saturation" equals "better color." In astrophotography, oversaturated colors often look garish and artificial. True beauty in deep-sky imaging comes from subtlety. A slight shift in tone can be more powerful than a neon flash of color.
Another pitfall is ignoring the foreground. If you are shooting a wide-angle scene with the Milky Way above a landscape, your white balance must account for both. If the sky is set to 4000K (cool) but your foreground was lit by a flashlight at 5600K (neutral), the transition will look jarring. Blend the tones carefully, perhaps using masks to apply different white balance settings to the sky and the ground separately.
Finally, don't forget about the moon. Moonlight has a different color temperature than starlight. If you are shooting during a crescent moon phase, the ambient glow can cast a faint blue or silver tone over the entire scene. Deciding whether to preserve that natural moonlight tint or remove it for a darker, starrier look is part of the creative process.
Choosing Your Style: A Decision Framework
So, which path should you take? It depends on your audience and your intent. If you are sharing your work with fellow astronomers or submitting to science-based competitions, lean toward natural color. Accuracy builds trust. Show that you understand the object you’re photographing. If you are posting on social media, selling prints, or creating art for personal enjoyment, lean toward creative tones. Visual impact drives engagement. A striking, moody image stops the scroll; a scientifically accurate but dull image might not. You can also blend the two. Many successful astrophotographers use a "natural base" but apply subtle creative enhancements. For example, they might keep the nebula colors accurate but tweak the white balance of the background stars to create a pleasing gradient. This hybrid approach offers the best of both worlds: credibility and beauty.
| Feature | Natural Color Approach | Creative Tone Approach |
|---|---|---|
| Primary Goal | Scientific fidelity and accuracy | Visual impact and emotional response |
| White Balance Setting | Calibrated to match reference spectra | Adjusted for mood and contrast |
| Post-Processing Focus | HSL adjustments, channel balancing | Temperature/Tint sliders, split toning |
| Audience | Astronomers, scientists, educators | General public, art collectors, social media |
| Risk | Images may appear flat or dull | Colors may look artificial or unrealistic |
Frequently Asked Questions
What is the best white balance setting for astrophotography?
There is no single "best" setting. For maximum flexibility, shoot in RAW and set your camera to a neutral preset like Daylight (5500K) or leave it on Auto if you plan to correct it heavily in post. Consistency across your frames is more important than the specific number.
Should I use a white card to calibrate my white balance at night?
Generally, no. A white card illuminated by a flashlight introduces a new light source that doesn't represent the sky. Instead, rely on the RAW data and adjust white balance in post-processing using the histogram and visual inspection of star colors.
How do I make the Milky Way look golden?
To achieve a golden tone, increase the temperature slider in your editing software. Start with a modest shift and observe how the dust lanes react. You may also need to boost the orange/yellow saturation in the HSL panel to emphasize the warm tones in the galactic core.
Does white balance affect noise reduction?
Indirectly, yes. Extreme shifts in white balance can amplify noise in certain color channels. If you push the image very warm, the blue channel might become noisy. It’s best to perform noise reduction before major white balance shifts, or use advanced algorithms that handle chroma noise independently.
Can I change white balance on JPEG files easily?
Yes, but with limitations. JPEG files have less dynamic range than RAW. Large white balance shifts on JPEGs can lead to banding or loss of detail in shadows and highlights. Always prefer RAW for serious astrophotography work.